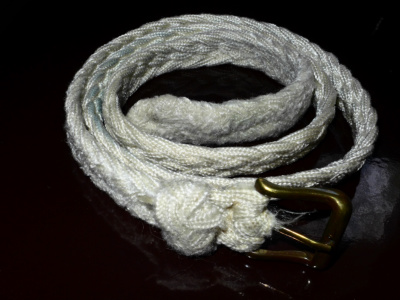
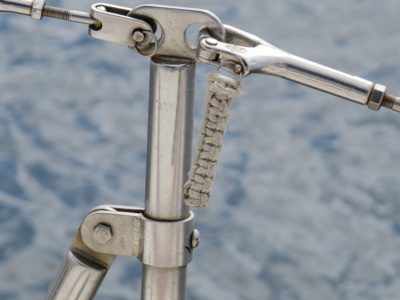
This knot is both decorative and useful. We use it to make lanyards for pelican hooks, zippers, key rings and flashlights. We have used it with very fine line to make jewelry, and once we even used it to make a belt when John Santic, our crew on a passage to Easter Island discovered he had forgotten to bring one.
You will need a length of line that is twelve times the finished length of the lanyard. Figure 1 shows how the knot is begun. You can either use two split rings as shown, or one split ring and an overhand knot at the opposite end of the lanyard. The most difficult part of the lanyard is tying the first knot as shown in Figs. 2 , 3 and 4.

Tie it as shown in Figs. 2 and 3 and pull it tight as in Fig. 4. Once this knot is done, you repeat the process until the lanyard is done. Note that one of the lines always passes on top of the two center lines while the other always passes underneath. If the line is small, it is not always easy to keep track of which line passes on top, so I tie a small knot at the end of the top line as shown in Figs. 4-6. Fig. 7 shows the lanyard almost completed.
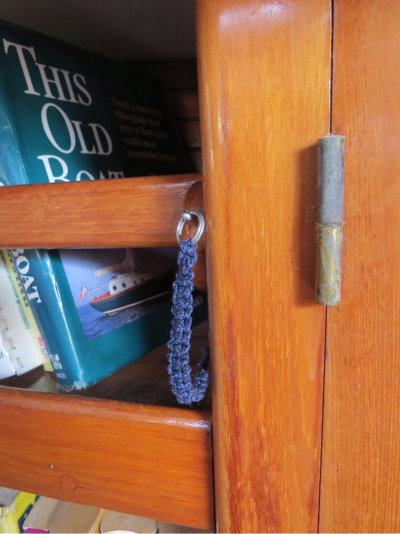
To finish, I cut the ends, leaving about 1/8 inch (3mm), and use a lighter to melt the remaining ends. While they are still hot, I use my finger to press the ends flush. The following are photos of a couple of completed lanyards.