

Our First Sorento Project… Installing a Hitch
/
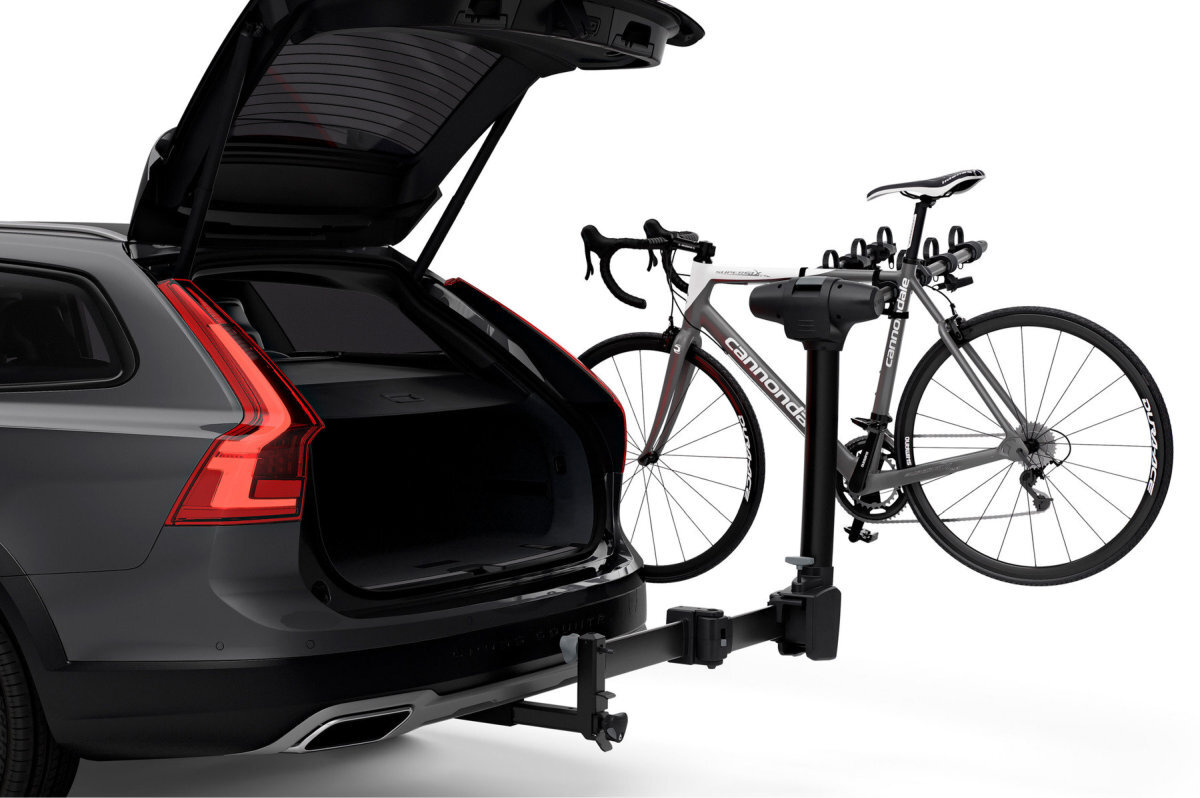
The installed hitch and bike rack
We have a long list of projects for our new Kia Sorento to make it more suitable as a camping, trekking, biking and road trip platform, and today, we checked the first item off. One of the key projects was how we’d mount our bikes. The main criteria are that the bikes can be easily mounted and removed, secure when traveling – especially on long road trips, and that we still have easy access to the tailgate area. I ruled out roof mounted bike racks; I can’t imagine I’d be able to routinely lift our bikes onto the roof of our SUV without scratching the paint and/or inflicting damage to some part of my old body. In addition, sooner or later I’d surely forget they were there as I pulled into a low parking garage or drive-thru.
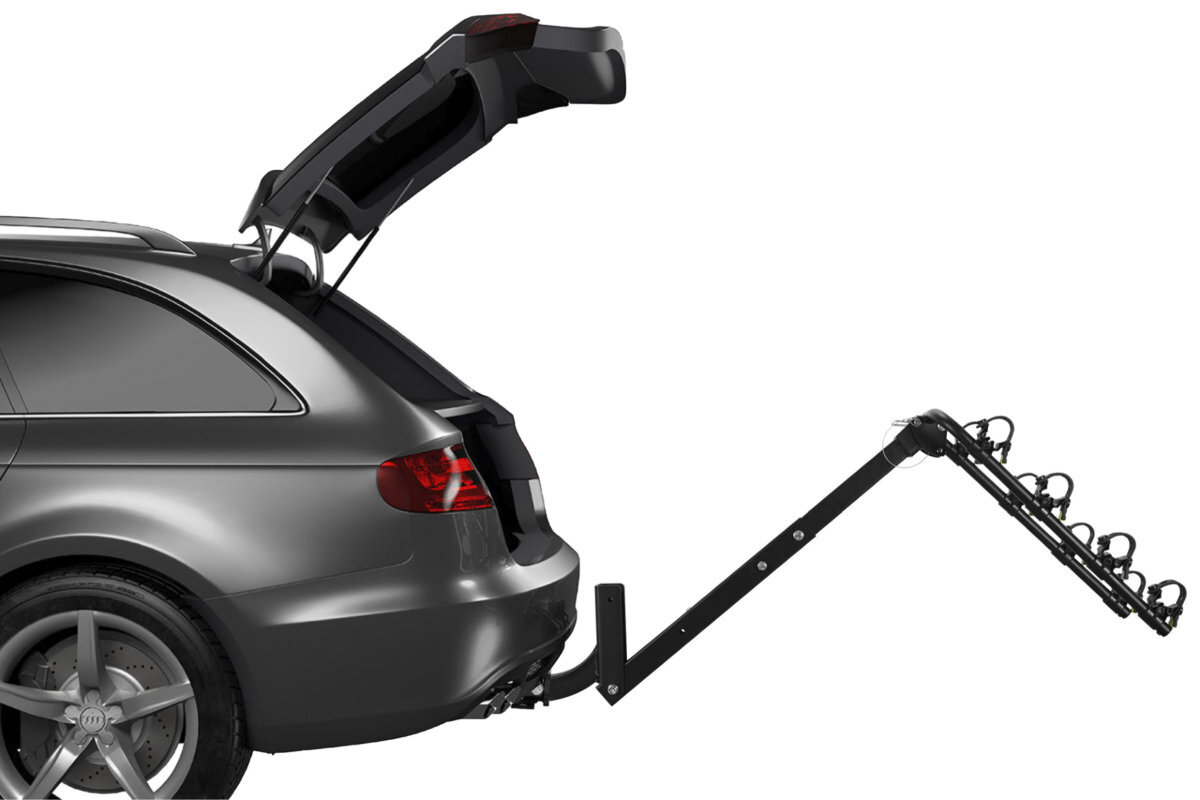
There are rear mount bike racks available that swing the bikes out of the way of the tailgate without having to remove them. One type, the swing-out style, swings the bikes away from the vehicle, much like opening a gate. Another type, the swing-down style, rotates the bike down and away from the tailgate. The cost for these bike racks range from about $150 to upwards of $800. Since we have $80 bikes, I’m leaning towards the low end of the spectrum, which pretty much rules out the swing-out style.
A swing-away type bike rack
A swing-down type bike rack
As it turns out, I found just what I needed on Craiglist. I spotted a Yakima swing-down bike rack for two bikes, complete with locks, for the bargain price of $25. It was dirty and dusty, but otherwise of good quality and in nice shape. After a little clean-up, it looked great.
One thing all these bike racks have in common, however, is that they attach to the car via a tow hitch… an option our Kia didn’t come with. So… I did some research. Curt makes one that had good reviews and is designed for a 2020 Sorento, and Amazon had them on sale at the reasonable price of $150. It is meant to be installed by a DYIer, and was pre-drilled to fit the existing holes in the Sorento. The hitch comes with instructions and all the hardware. I watched a couple of YouTubes and it looked like even a klutz like me ought to be able to install it, so I made the decision to buy it.
The instructions that came with it indicated that a professional could install the hitch in 60 minutes and a novice DIYer could do it in 90 minutes. Translating that to DPT (David Project Time) means I could probably do it in about 3 hours.

A more realistic time for me is to double this again
The installation was actually pretty straightforward. There were a couple of minor problems that the other YouTubers either didn’t mention or glossed over. You can watch my YouTube on the installation here if you’re interested.

The hitch was installed almost without a hitch
In my mind, one measure of the difficulty of a project and whether it was successfully completed is how much blood is shed along the way. It seems no project is worth doing if I don’t drip at least a couple of drops. With the projects related to Blue, it seemed I was always gashing my head on a cabinet or door frame. Based on this, my hitch project was just a minor success. I only managed a small scrape on my arm. Hopefully I’ll do better on the next project.
See you next week.