

Finding the Right Camera for the Northern Lights
/
Since the objective of making a trip to Fairbanks in the middle of February is to see and photograph the Northern Lights, we though it would be nice if we had a camera suitable for taking photos of the Aurora Borealis. We both have iPhones and Marcie has a nice Canon point-and-shoot that she loves. It has a great zoom with image stabilization, and we rarely go anywhere without it – usually stuck in a pocket or waist pack. I also have a nice Panasonic Lumix that I use for my videos.
All of these cameras take good photos – certainly good enough for our blogs, website, social media, and YouTube videos, but they aren’t the greatest for astrophotography (a term I just learned, BTW). For that, we needed to up our game. Time for a little research.
First a caveat… when it comes to photography, my knowledge is pretty superficial. I shoot my stills and videos using the automatic, point-and-shoot mode, and let the camera’s “smarts” figure out how to take the best shots. To get the best photos of the Northern Lights, however, my research indicates I’ll need to use the manual mode, and adjust all the settings myself. And to do that, I needed to get educated on what all those settings are for.
So, I spent the last couple of weeks learning about cameras – Raw vs. JPG; ISO, aperture, and shutter speed settings; white balance; long exposure noise reduction; ALO mode; histograms; pros and cons of various lens; bulb mode; and how to manually focus the camera for night photography. I’m beginning to understand the basics, and I think I can now safely say that I probably know about 1/10th of what many of you, our friends who read our posts, know about cameras.
Next, I did some research on the best cameras for the job. If I wanted to spend $2000 - $3000 for the camera, there are some absolutely amazing DSLR, full frame cameras available that would undoubtedly do a splendid job. Since I may only use it for astrophotography for this one trip, however, this parsimonious Scotsman is setting a much more reasonable budget – say $500.
On the other hand, it would be nice if the new camera could replace the Lumix DSLR that I currently use for blog and YouTube posts. Thus, in addition to performing well in low light conditions, the new camera should be able to shoot reasonable videos. I also want it to have an articulated display, which is a nice feature when I’m lying underneath our van making a how-to video on installing a diesel heater, for example. Finally, it’s a totally personal preference, but I’m partial to Canon cameras.
Given my budget requirements, it soon became obvious that I should be looking at used cameras, and there were several Canon camera options that met the requirements:
Canon EOS 6D Mark II and Canon EOS 5D Mark IV: Both of these full-frame DSLRs offer excellent low-light performance, thanks to their large sensors and relatively high ISO range. They also have articulated touchscreen LCDs, and fast and accurate autofocus systems. Either would be great choices, but, unfortunately, even used ones cost more than my target budget.
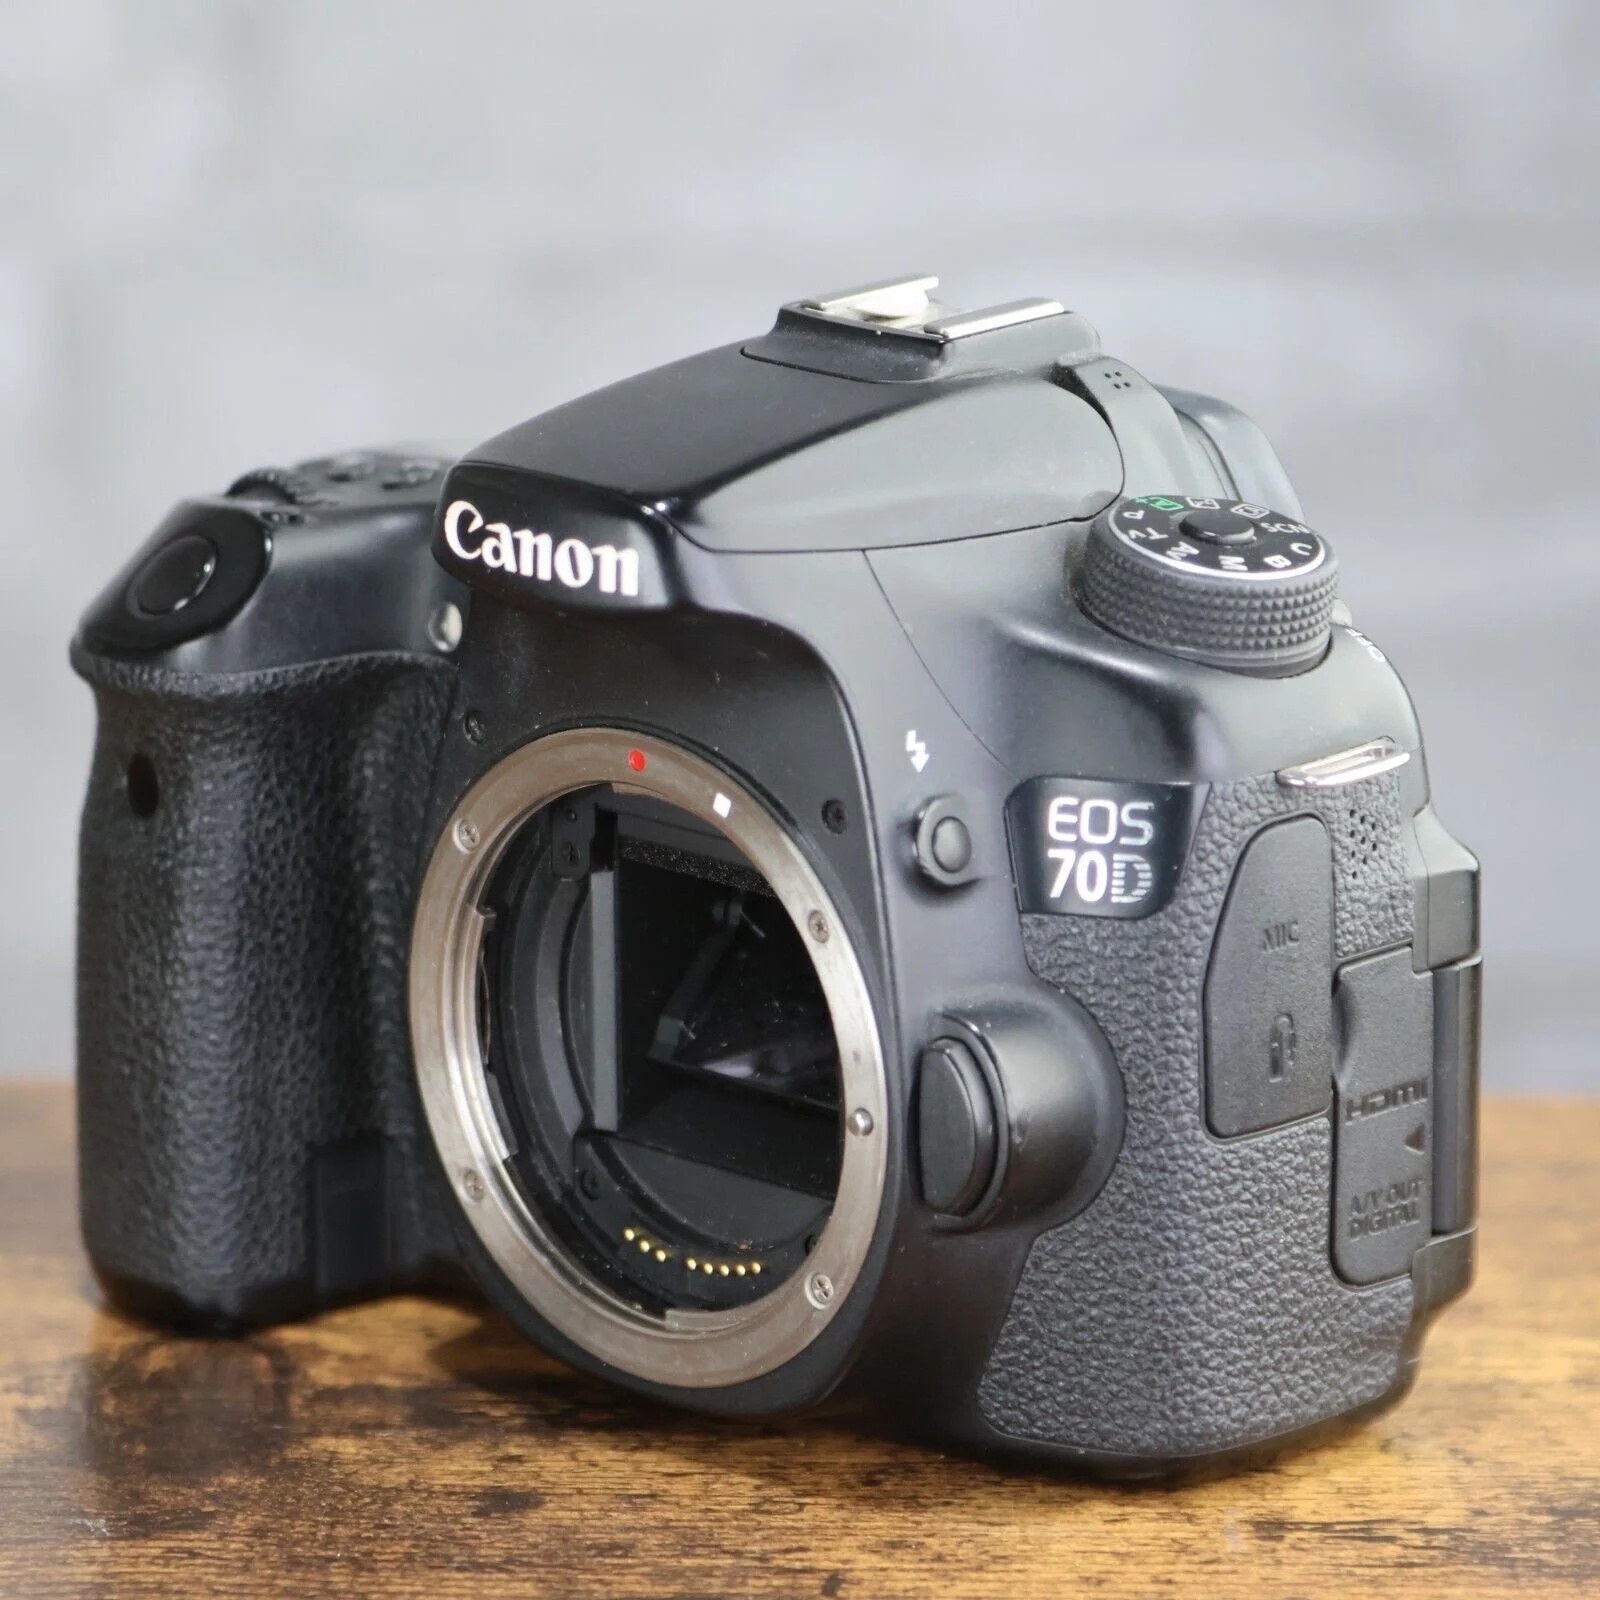
Canon EOS 70D, 80D, and 90D: Any of these models would fit the bill. The 70D is the oldest and the 90D is the newest. They aren’t full-frame DLSRs, but still have large sensors and resolutions, wide ISO ranges and articulated touchscreen LCDs.
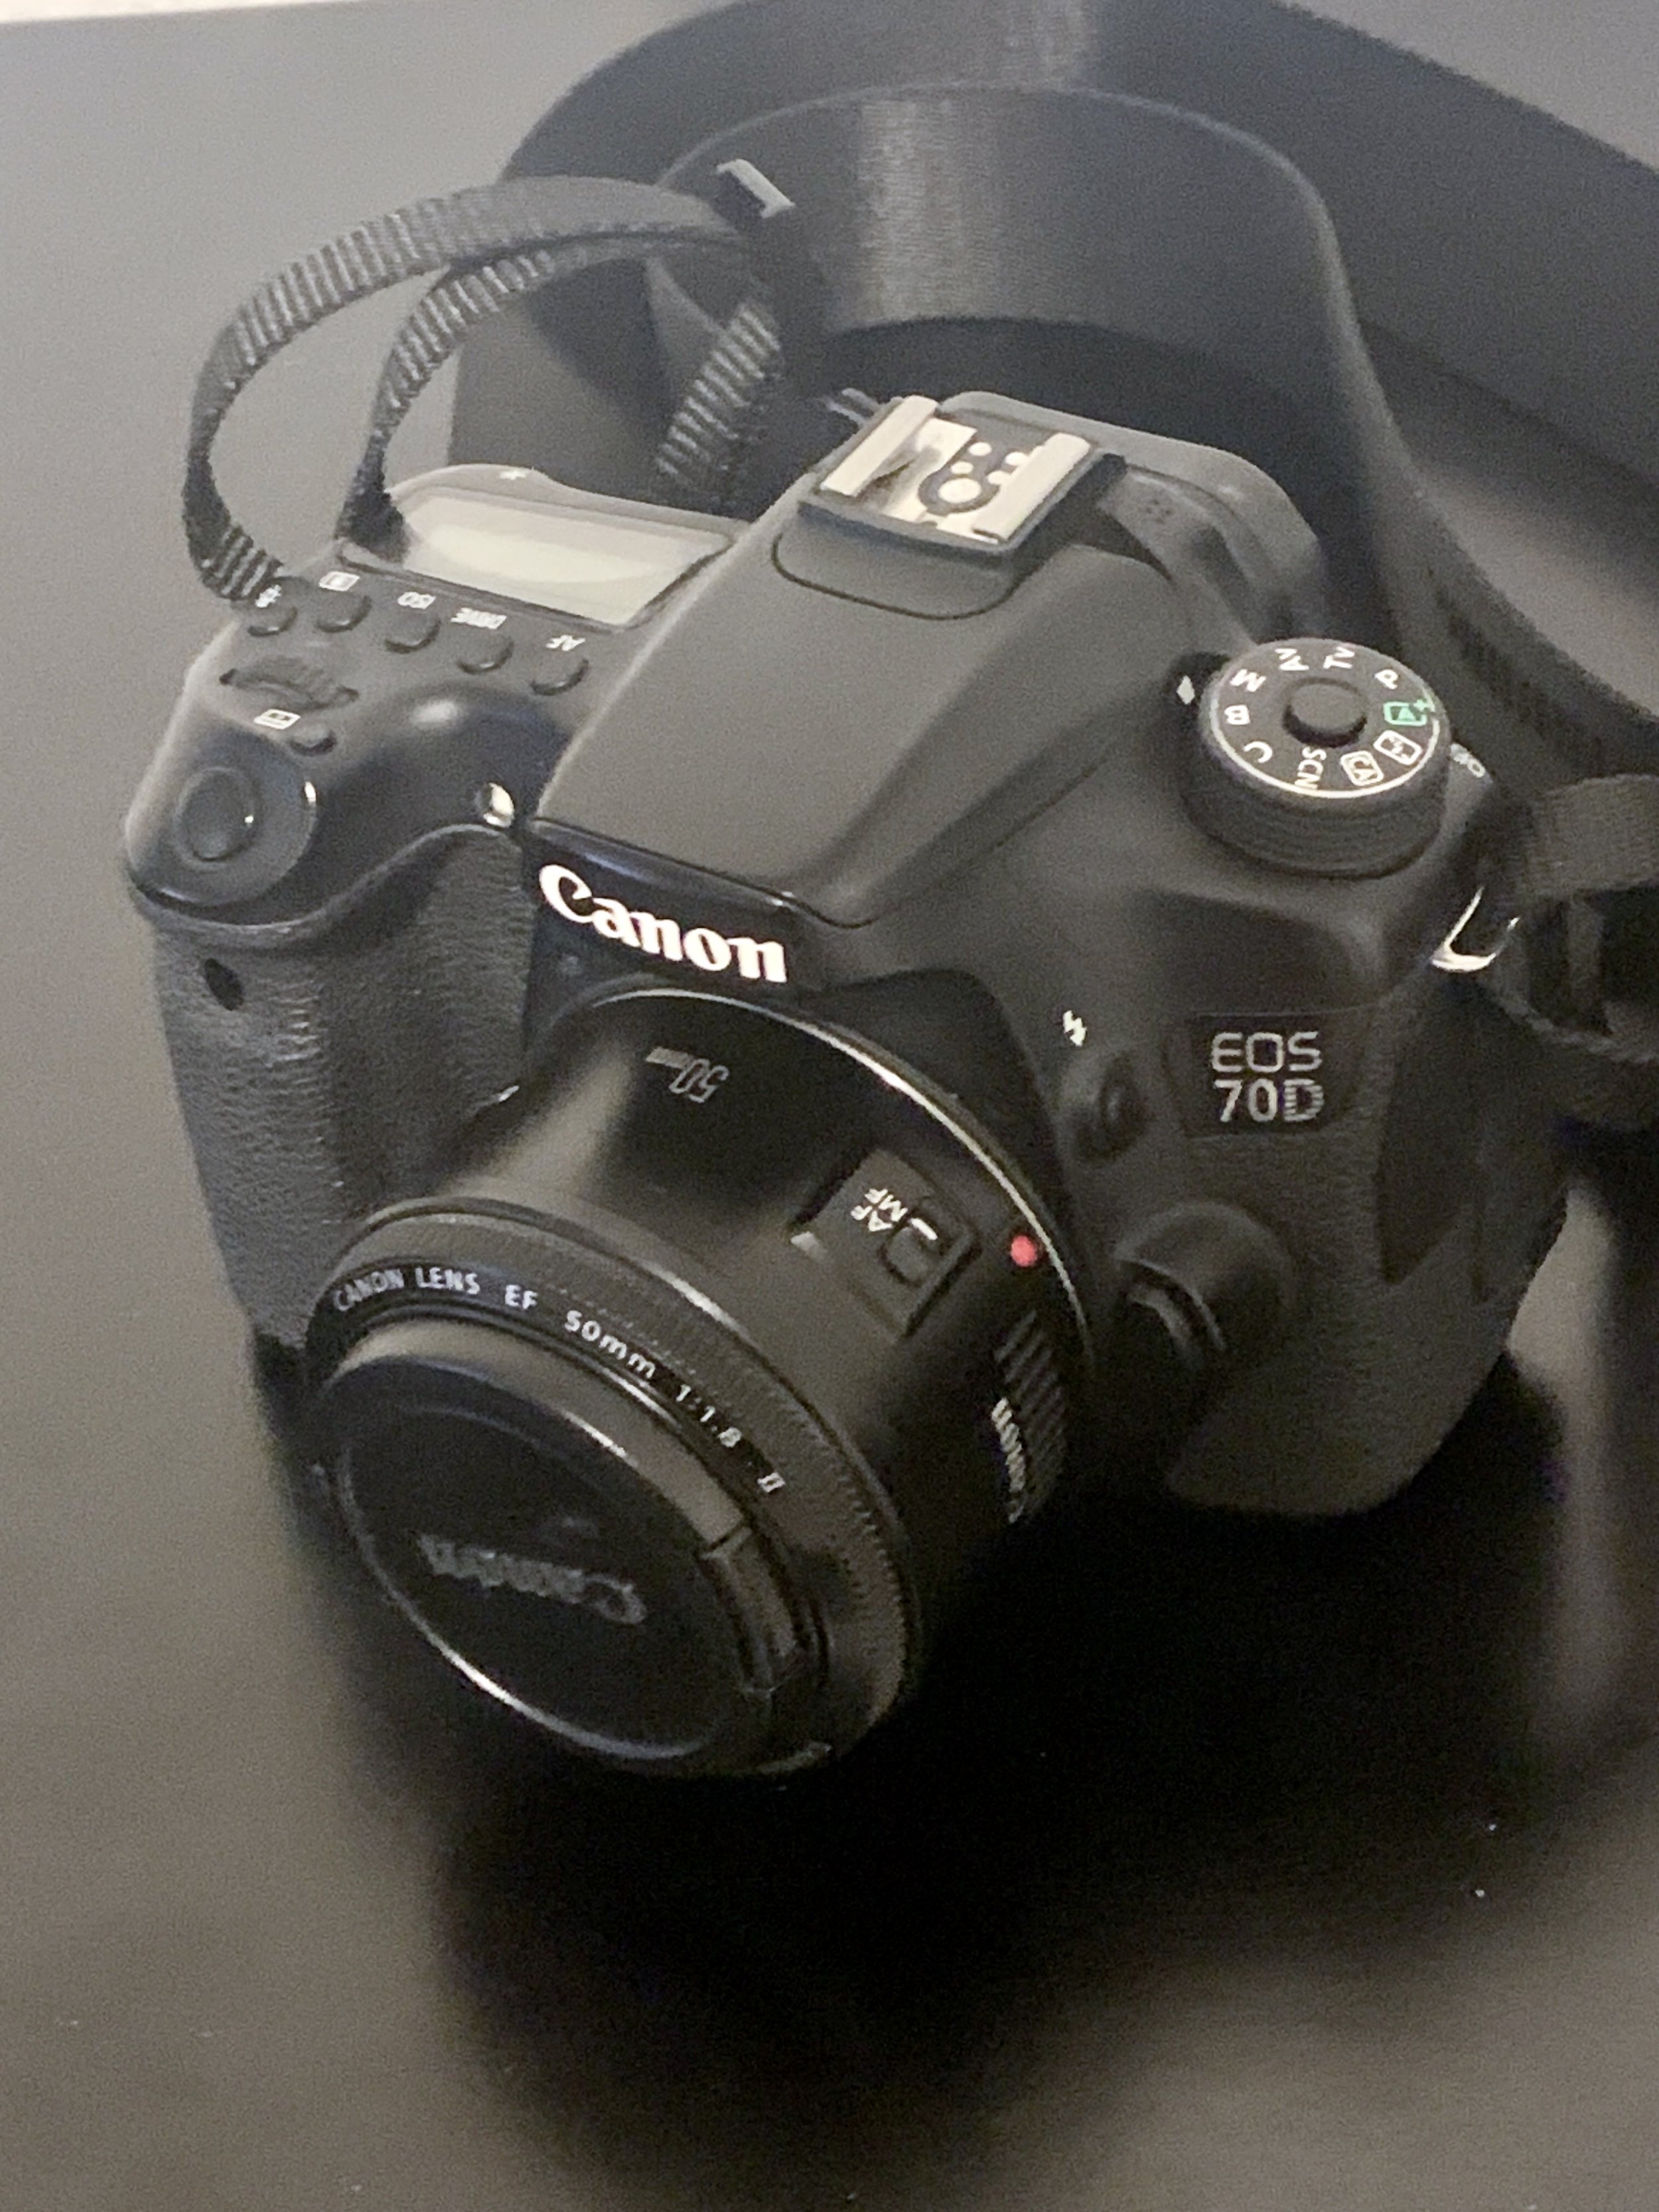
I checked all the usual places to find used gear – Facebook Marketplace, CraigsList, eBay and online camera shops – for good deals, and ended up buying a nice, slightly used EOS 70D for $225 – not bad for a camera that listed for $1699 when new. For lenses, I bought a Canon EF 28-105mm f3.5-4.5 Macro lens and a Canon EF 50mm f1.8 II Lens. To complete the package, I bought two spare batteries, a tripod, strap and a backpack case to carry it all. The total cost for everything was $493.


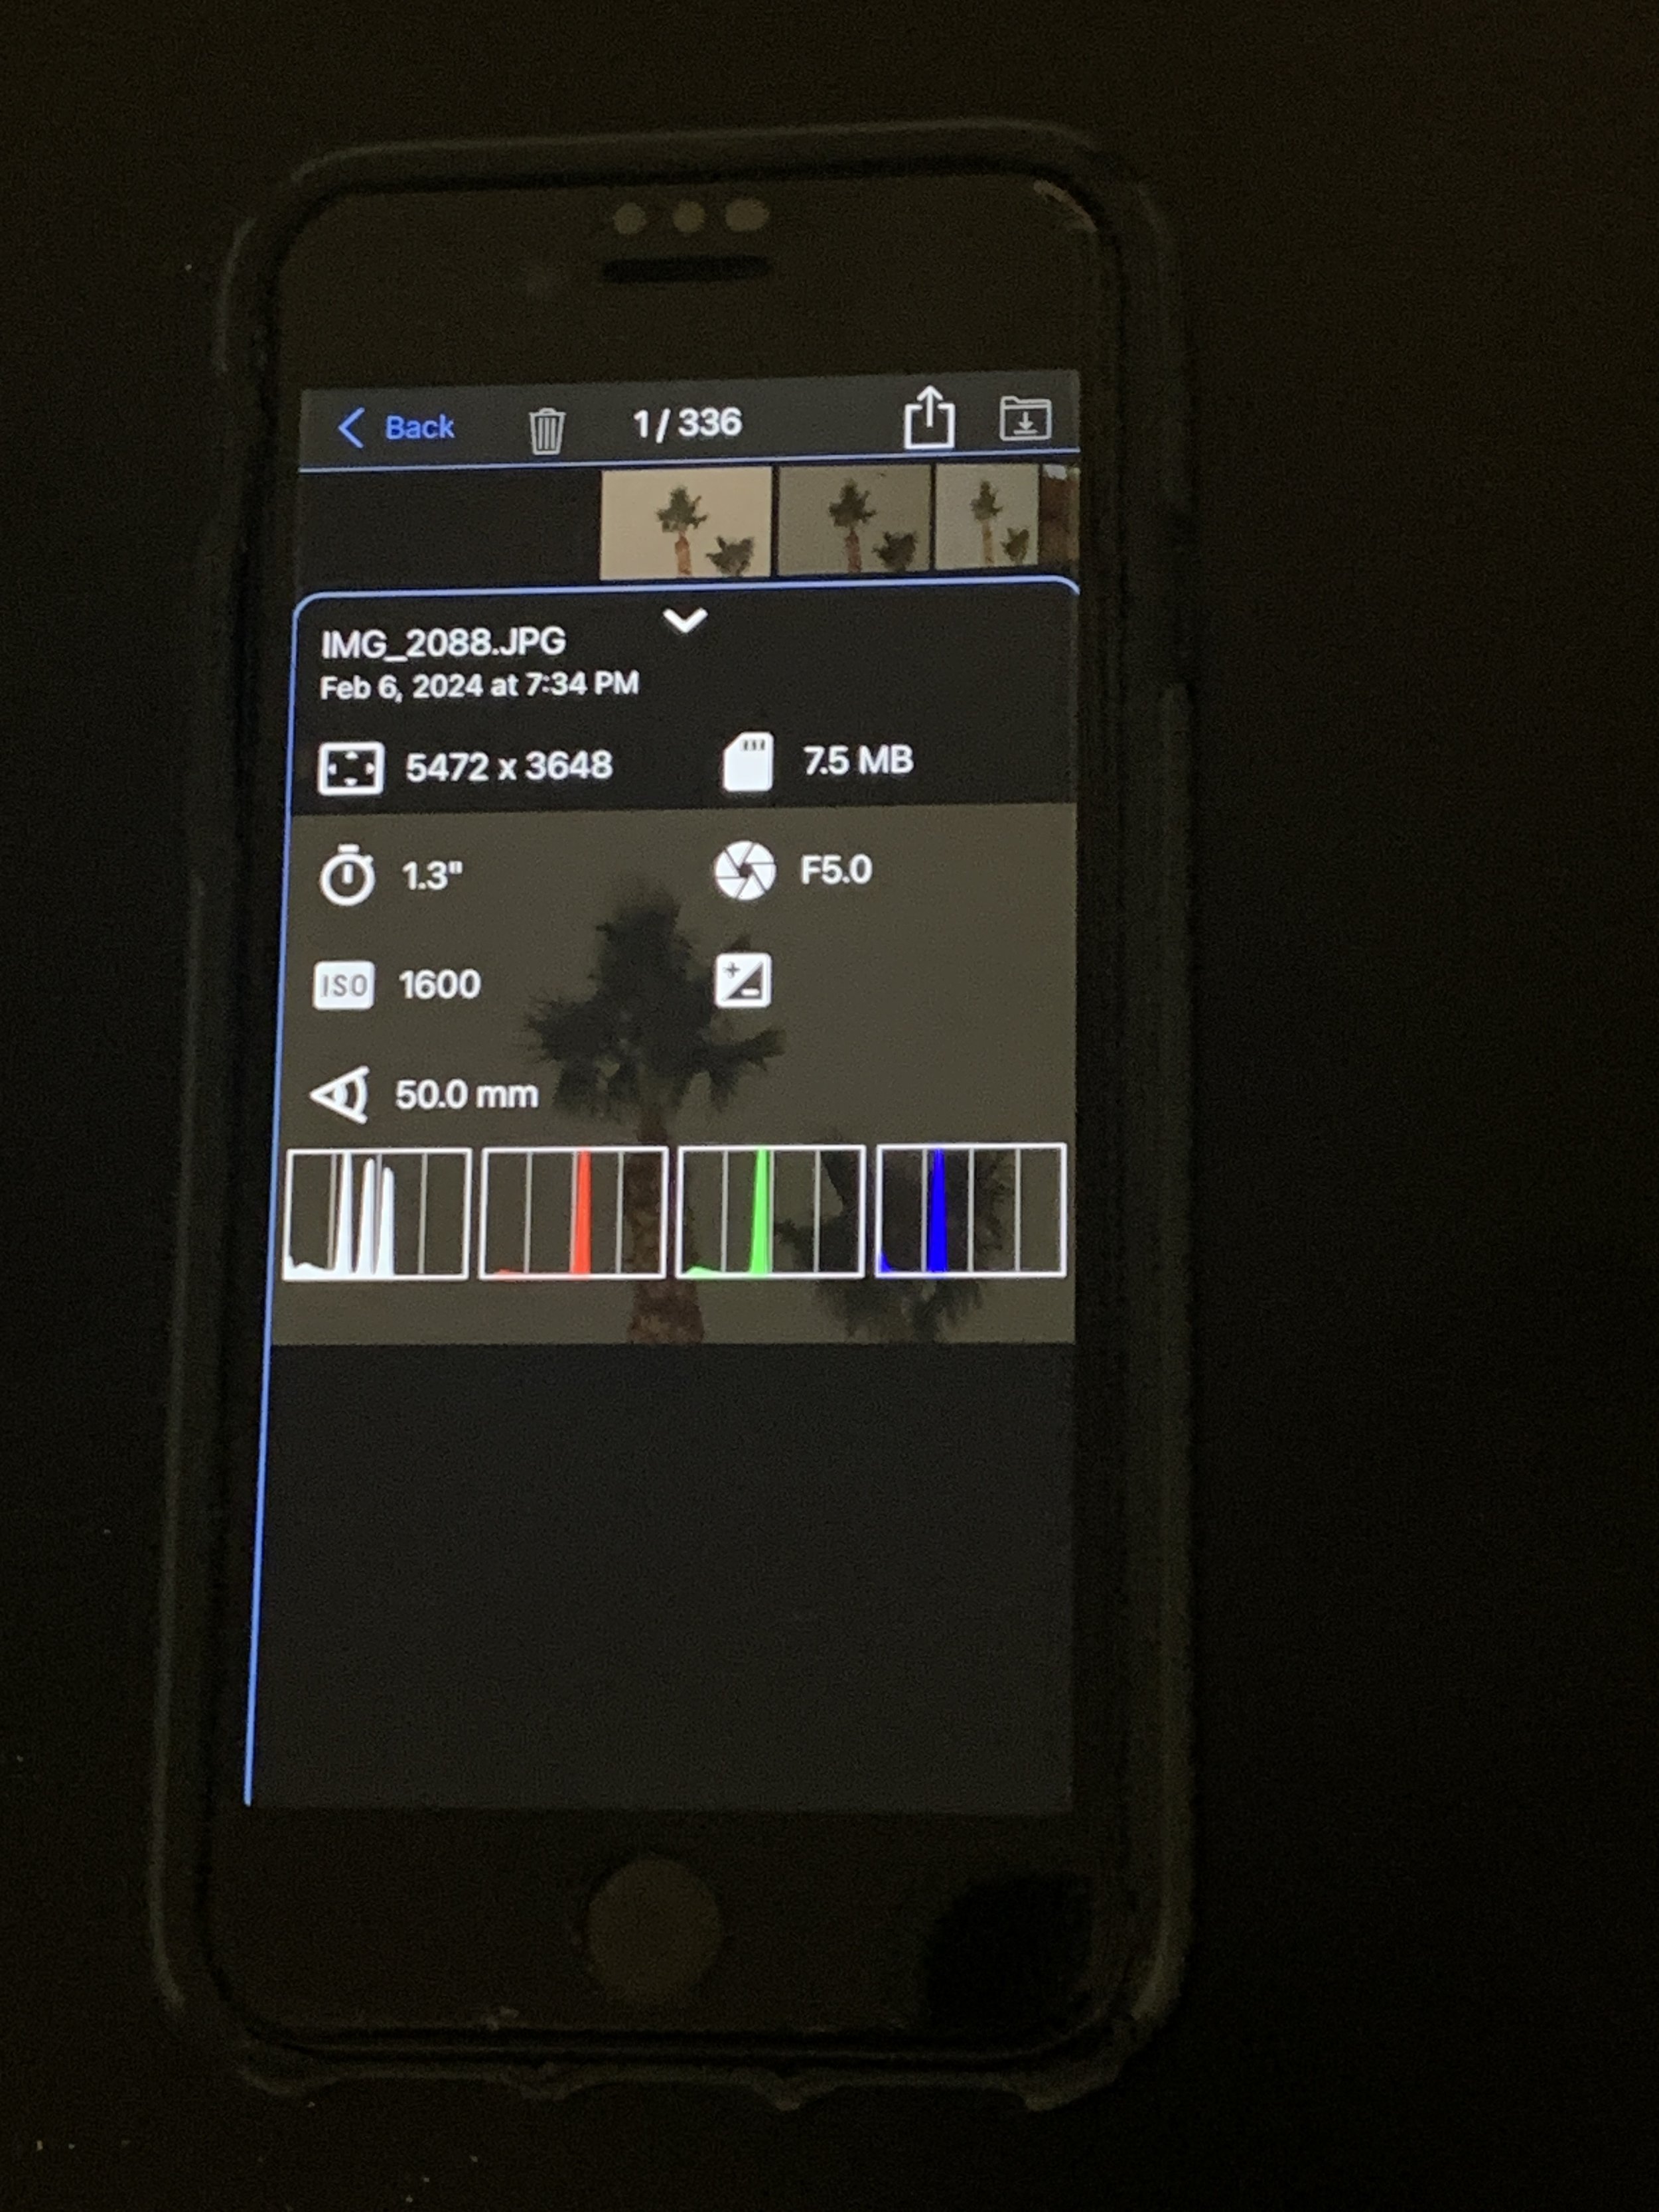
I spent a couple days getting used to all the settings and features of the new camera, and we spent one evening taking night shots in our backyard. One feature I especially like is that it is WiFi-enabled. There is an app for my iPhone that connects it to the camera and allows me to check and/or change all the pertinent settings, snap pictures, and review each photo – all remotely via my phone. I won’t have to fumble around looking for camera buttons in the dark, and I may even be able to tweak the ISO, aperture and shutter speeds, then shoot pictures from the warmth of our rental car.

So, I’m as ready as I’ll ever be to take some glorious Aurora Borealis photos. Of course, the downside is that if my photos are less than great, I won’t be able to blame the equipment.
See you in Fairbanks...