The Blue View - Cockroaches Aboard

roach cookies Cockroaches, like head lice and bedbugs, are something that most of us don't particularly like to talk about. We are especially reluctant to admit we have them. We don't have lice or bedbugs, but as of today, Nine of Cups certainly has cockroaches.

In our  fifteen years of sailing, we've had and eradicated the little buggers four or five times. It is always better to prevent them from getting aboard in the first place, but it is hard to avoid roaches. When you buy groceries, they're in the plastic bags. If you set your backpack down for a minute on the floor, they crawl in. They lie in wait in packaged cardboard boxes of pasta or crackers. They crawl inside bunches of bananas. We began leaving all of our groceries on the dock or in the dinghy, removing every item from its bag, box or over-wrap and  inspecting it carefully before allowing it aboard. A hassle for sure, but much easier than trying to get rid of a whole herd of undesirables later.

Tying up to a jetty or pier also gives them a great opportunity to get aboard. We would almost always prefer to anchor out, but sometimes anchoring isn't an option. Such was the case in Mauritius. If we wanted to visit Port Louis, we would have to side-tie to the wooden and concrete jetty at the Caudin Marina, which would no doubt be teeming with unwelcome critters once the sun went down. We sprayed the docklines and fenders with insecticide in the hope it would keep them at bay.

As we were reading in bed one evening, I spotted a very large, very brazen, and undoubtedly very pregnant roach watching me from outside the screen over the port beside the bed. I gave her my most intimidating stare, but she just stared right back. I tried swatting her off the screen, but she merely scurried up the screen towards the deck. I grabbed a flashlight and went hunting for her, but had no luck finding her. A couple of days later, I spotted her on the galley counter, and this time I got her, but by then I was sure she had laid her eggs. Sure enough, a couple of weeks later we started seeing her little ones – first one, then a couple more. Once we arrived in Durban, I began our eradication program.

We use boric acid to eliminate them. It is much less toxic than most insecticides and very effective. For round one, we use an old salt shaker filled with the boric acid powder. We shake out a light dusting of the powder along the floor and edges of the counters where we've seen them, as well as under any nearby floorboards. The theory is that roaches are very fastidious creatures, much like cats. If they get dirt or dust on their legs and feet, they preen themselves. If they just tracked through the boric acid, it gets ingested as they clean themselves, and it does them in. Since they've tracked it back to their nests, the others living there, including any newly or soon-to-be hatched offspring will also get a dose. I sprinkled the boric acid around the galley and saloon four days ago. I saw one later the same day, but haven't seen another one since.

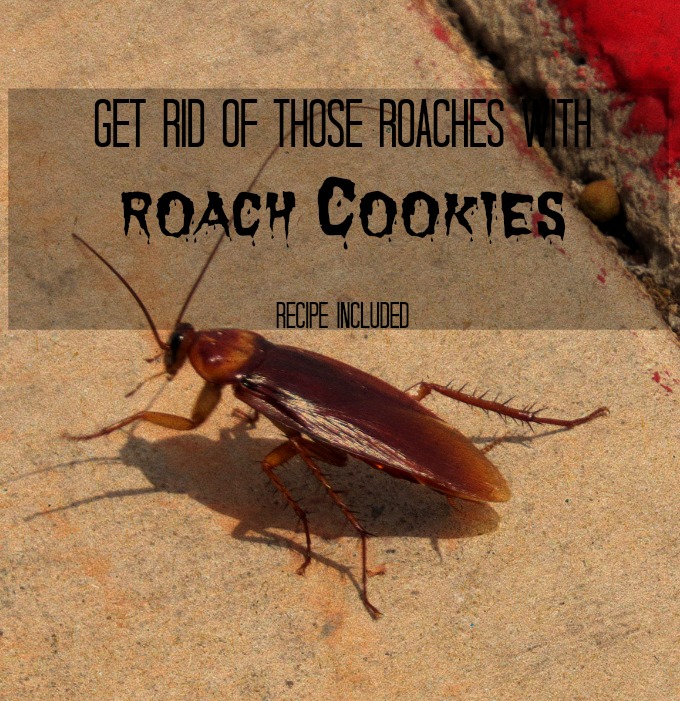
For round two, we make and distribute roach cookies. Our recipe is below. Obviously, keep them out of reach of children and pets.

Roach Cookies
Recipe Type: Dessert
Cuisine: Deadly!
Author: David Lynn
Make this yummy dessert for your roaches...they'll die for it!
Ingredients
  • 3 parts boric acid powder
  • 1 part flour
  • 1 part sugar
  • milk
Instructions
  1. Mix dry ingredients with enough milk to form a thick paste. Roll out or put teaspoon size dollops on wax paper. Let them air dry. When dry, cut into roach-size servings. Actually, we put a teaspoonful of paste in used plastic bottle caps and let them air dry. We then distribute the caps throughout the boat, sometimes using double-stick tape to keep them in place. Any remaining roaches after round one are attracted to the cookies, which they munch and then take some home to their kiddies.


The Blue View - Removing the Speed Transducer

Like most boats, Nine of Cups has a paddle wheel type speed transducer. This little gizmo protrudes from a hole in the bottom of the boat, and as we move through the water, the paddle wheel turns. It is connected to a display in the cockpit that converts the revolutions of the paddle wheel to speed through the water, and shows the result in knots. spped transducer ready to go

Not that many years ago, before GPSs were so cheap and prevalent, it was an essential piece of equipment. Now, with the multitude of GPSs aboard, it is less important, but it is still useful in determining the strength of the current. For example, as we were headed around the bottom of Madagascar on this last passage, it seemed like we were really moving along, but the GPS showed we were only doing 4 knots over the ground. The speed transducer, however, indicated we were doing 6.2 knots through the water. The difference was due to an adverse 2.2 knot current.

The paddle wheel usually works quite well as long as we keep moving. If we stop somewhere for more than a few days, however, it often gets fouled with small sea creatures, and needs to be cleaned before it will work again. Because of this, I usually pull it out and replace it with a dummy plug whenever we are going to stay in one place for awhile.

transducer and plug

The first time I removed the transducer, I was filled with trepidation. I was about to open a rather large hole in the bottom of the boat. What if I dropped the plug and/or transducer down into the bilge? What if I couldn't force the plug or the transducer back into its hole? What if the plastic housing that holds the transducer in place broke? We were in Bristol, RI at the time, and I actually called the nearby boatyard to have them on alert with their Travelift®, just in case something went wrong. I'm sure they were quite amused by my inexperience, but they told me the slipway was all clear.

I tied small lengths of line to both the transducer and the plug so they wouldn't go far if I dropped either or both of them. I placed a tapered wooden plug and hammer nearby, just in case. Then I took a deep breath, gritted my teeth and unscrewed the transducer. Sure enough, as it popped out of its housing, there was a very impressive 2-foot geyser of water shooting from the hole. I grabbed the plug, and after a little finagling, I got it in place and screwed down tight.  Most of the water went down into the bilge, and the remaining water on the floorboards was quickly cleaned up with a squeegee and sponge. Like many learning experiences on Nine of Cups, the anticipation was, thankfully, much worse than the reality. Another dragon slayed.

Since then, I have removed and replaced the transducer dozens of times. While I am certainly not totally relaxed or blasé about the process, I am not nearly as concerned about it as I was that first time. Marcie took these photos when I was inserting the transducer for our Indian Ocean passage.

removing the transducer

BTW, a newer design of the housing includes hinged flaps that partially cover the intake side of the hole when the transducer is removed, reducing the amount of water that shoots into the boat. It seemed like a good idea, so we bought one and installed it during one of our haul-outs. It worked fine a few times, but eventually got gummed up and broke off as I pushed the plug in place.

The Blue View - Reworking the Alarm Indicator Panel

One of the things that started getting a little flaky on our Indian Ocean crossing was our indicator and alarm panel. This is a panel with a number of LEDs which light up when any of several pumps are running or when we have an alarm condition. redone panel

For example, one of the LEDs lights when the pump for the pressurized fresh water  system is running. This pump should only come on when a faucet is turned on. If it comes on periodically when all the faucets are closed, we probably have a leak in the system. If it runs continuously, we either have a big leak or the water tank has run dry (or both). When we are in a quiet anchorage, we can hear the pump running, but at sea with the wind howling or when we are motoring, we can't hear it. Should a fitting come lose, the pump will continue running until the water tank is empty – not a good thing – then continue running until the motor burns up – also not good.

If we have an alarm condition, one of the LEDs lights up and in addition, a very loud horn starts blaring. The horn is loud enough to wake us, and can be heard anywhere on the boat no matter how much the wind is shrieking. When we hear the horn, right after we remove our fingernails from the ceiling, we check the alarm panel to see which LED is illuminated and then shut the horn off. An example of an alarm condition is the high water alarm which lets us know the water under the floorboards is rising and the small automatic bilge pump is not keeping up with it.

I built the panel a few years ago, and I have never been very happy with it. It functioned okay, but the aesthetics were an embarrassment. The lettering consisted of stick-on labels, and the LEDs were mismatched and enough out of alignment to make me cringe every time I looked at it. I've been meaning to rework it for quite some time, but it never became a high enough priority. On this passage, the bilge pump LED starting flickering on and off whenever the engine was running -  probably due to a loose wire. In addition, several of the LEDs had been pushed back out of their respective holes when I inadvertently fell against the panel after an unexpected wave hit us. As long as I was fixing the wiring and LEDs, ...

the old panel

I removed the panel and reworked the wiring behind it. I also made a new front panel, doing a better job of drilling the holes for the LEDs this time. I used dry transfer type for the lettering. The new wiring is more robust than the old, and the cosmetics are greatly improved.

new circuit board

If you are interested in seeing the schematic, drop us an email and we will send you a copy.