The Blue View - Winterizing Nine of Cups
/ As we are preparing Nine of Cups for a couple of months by herself, one of the jobs on our pre-departure checklist is to prepare her for freezing temperatures. This will be a first for Cups – and us as well. In her entire life, she has never had to be winterized. She grew up with her first parents in Texas, and never saw a hard freeze. Since she’s been ours, we’ve never left her on her own when there was a chance of freezing. So, we had a lot to learn about how best to protect her.
Not to worry. As with most things today, there is no end to internet sources with tons of information on how to winterize a boat. One of the best sources we found was the Boat US site. Since they are in the boat insurance business, they have a vested interest in helping boaters prevent damage – and claims. I did my research and this is the plan I came up with.
- Hot water tank. I removed the intake fitting from the tank, then opened the drain valve, letting the contents of the hot water tank drain into the bilge. Then I connected the inlet and outlet hoses together.
- Fresh water system. Obviously, this is one of the most likely systems to freeze. The entire fresh water system must be purged, then refilled with a non-toxic antifreeze. We pumped the tanks dry using both the pressure pump and foot pump. Then we poured a gallon of propylene glycol antifreeze into each tank and pumped both dry again. Next, we poured two gallons of antifreeze into the port tank and four gallons into the starboard tank. We used the starboard tank to purge all the lines: we opened the faucet furthest from the tank – the sink in the aft head - and let it run until we saw a steady stream of pink water coming out. This was done with both the hot and cold faucets. Then these were closed and we worked backward toward the tank at each faucet.

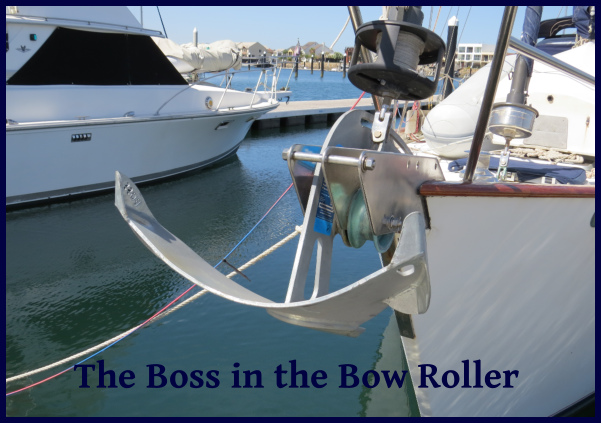
- Seacocks and thru-hulls. Nine of Cups has twelve thru-hulls with seacocks located below the water line. Two of these, the cockpit drains, have to be left open so that when it rains, any accumulated rain water can drain out of the cockpit. Every other seacock should be winterized. To do this, I closed each seacock and removed the hose from it. Then I drained the hose and used a turkey baster to draw out any remaining water from the seacock. After checking the hose clamps and replacing any that were corroded, I reattached and secured the hose to the seacock.
- Engine raw water cooling system. Our engine uses fresh water for cooling the engine which already had a fresh charge of normal ethylene glycol antifreeze. This coolant, as well as the engine oil and transmission oil, are cooled using seawater that flows through three heat exchangers. The seawater side of the cooling system must be purged and flushed with antifreeze. I started by removing the raw water intake hose, draining it and following the seacock winterizing procedure above. Then I removed the cap from the raw water strainer. One of us started the engine, then watched the water being pumped from the exhaust while the other poured antifreeze into the raw water strainer. Once the exhaust water turned pink, we continued pumping antifreeze through the system for another 30 seconds, then we shut the engine down and put the cap back on the strainer.
- Watermaker. We have a Katadyne watermaker, and I contacted them directly for their recommended process for winterizing. Following their directions, I disconnected the sea water intake from the seacock (after closing it, of course), then drained it and followed the procedure for winterizing the seacocks as above. I added the appropriate amount of membrane preservative to a gallon of food grade antifreeze. This is a more expensive type of propylene glycol with no alcohol or anti-corrosion additives. The gallon of antifreeze was pumped through the watermaker, then shut down.
- Holding tank. Our holding tank was pumped out, then partially filled with fresh water and pumped out again. Then a gallon of antifreeze was poured into it.
- Heads. The intake hose for each head was removed and drained, and the seacock winterized. Before reattaching the hose, a gallon of antifreeze was pumped through the head. The outlet for the aft head is not connected to a holding tank, so after pumping antifreeze through the head, the outlet hose and seacock for it were winterized.
- Deck wash. The inlet hose was drained and the sea cock winterized. Then the inlet hose was dipped into a bucket of antifreeze and the pump turned on until pink water was seen at the deck wash faucet.
- Speed transducer. The speed transducer was removed and replaced with the blank plug.
- Sea water foot pump. The intake hose was drained and the seacock winterized. The intake hose was immersed in a bucket of antifreeze and the foot pump was operated until the discharge water turned pink.
- Fresh water foot pump. The pump was operated until the water was pink.
- Miscellaneous. The tea kettle was drained. The fridge was turned off, cleaned out and left open. The pressure water system breaker was turned off.

We used a total of 15 gallons of non-toxic propylene glycol antifreeze, and one gallon of food grade antifreeze. West Marine conveniently had their antifreeze on sale, so the cost was quite reasonable –certainly cheaper than the cost of repairing a frozen head. The entire process took the better part of a day, but took considerably less time than I expected.
BTW, the average low temp for the Chesapeake City area in December is only 36 degrees F (2 degrees C), so there is a very good chance all this effort was for nothing. Since we did go to the trouble of winterizing Cups, however, I have no doubt the area will experience unseasonably warm temps this year.
My apologies for the lack of pix in this blog. We had every intention of taking a slew of photos while we winterized Cups, then we were so intent on getting the job done, we totally forgot to take a single shot.
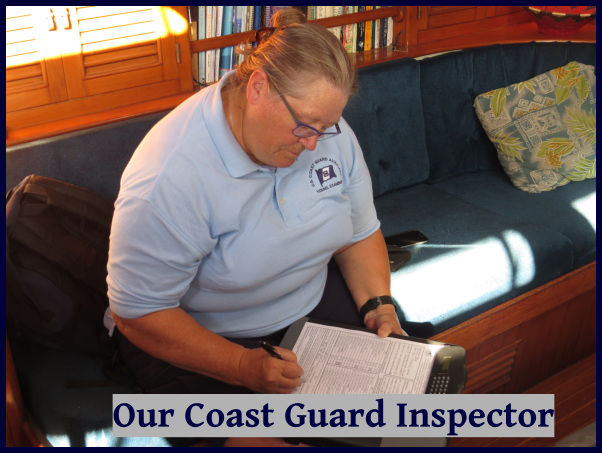
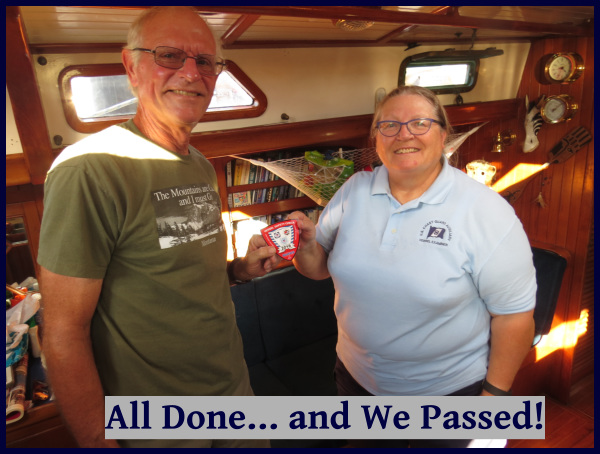
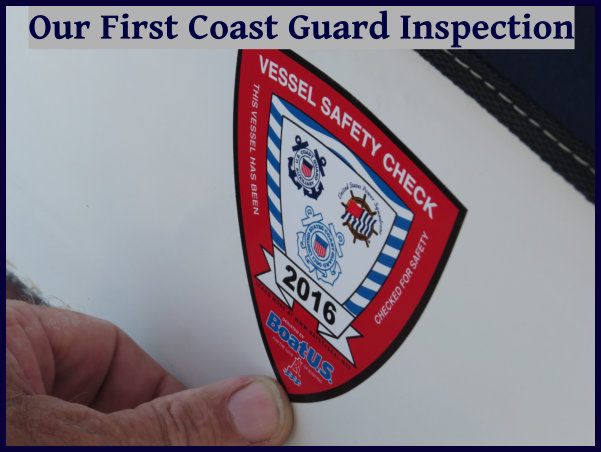 Since we were planning to spend a few days moored in Washington D.C., I thought it might be possible to schedule a U.S. Coast Guard Auxiliary inspection. According to their website, the Coast Guard Auxiliary will do a free, no-strings-attached inspection of a recreational vessel on request. If we pass the inspection, we get a signed form to that effect, as well as a decal to apply to the hull which shows that we not only requested an inspection, but that we passed. If we don’t pass, there is no fine or citation issued, nor are we reported to anyone. Any deficiencies are pointed out and the appropriate corrective measures discussed. It seemed like a no-brainer.