Anti-fouling Our Big-bottomed Girl

I never appreciate how big Nine of Cups is until I start painting her bottom. With a modified full keel, our 45' (14m) girl has a big, big bottom … a lot of area to cover with anti-fouling paint. Painting the bottom has become my job … mostly because it seems I do little else aboard plus I can't screw it up very much. It's pretty mindless work … right up my alley. We typically haul-out every 12-18 months. Our last haul-out was in Mandurah, Australia in May 2014, so we're overdue. Before that, it was Kettering, Tasmania in November 2012 … only proving the point that cruising is doing boat work in exotic places. That said, we were surprised and pleased by the condition of Cups' hull when we hauled out this time. After a pressure-washing, the hull was pretty clean and still looked blue which means our last bottom job lasted quite a long time.

haul out in trinidad


There are several reasons to anti-foul Cups on a regular basis. The paint retards the growth of organisms on the hull. Growth on the hull and prop reduces speed and also may transport harmful marine life from one area to another, infecting new areas with marine pests such as mud snails and fanworms. We've seen first hand how quickly these pests can propagate and take over.

fanworms

We tend to use whatever anti-fouling paint is locally available. Even inexpensive antifouling paint is expensive. We expect to pay ~US$1000 for 15-20 liters … enough for 2-3 coats. Estimating the amount of antifouling paint you need is relatively easy. There are all sorts of formulae on line. Sometimes the 20-liter (5 gallon) bucket is cheaper and we opt for it. This time we chose Jotun, a Spanish product. Jotun describes it as “a one component acrylic, hydrolysing antifouling coating based on ion exchange technology .” There you have it … all you need to know. In English, basically, it's very toxic stuff, using copper-based additives as a biocide.

5 gallon bucket of jotun

The prepping is not difficult. David usually wet sands the waterline areas and I lightly sand other areas that require it and which can be reached without using the scaffolding (it's a height thing!). The hull is rinsed with fresh water and allowed to dry thoroughly overnight. The waterline is masked so we don't slop over onto the topsides.

masking

We alternate bottom paint colors between blue and black, sometimes red. We tried green once … it was a mistake. I'm applying dark red this time around, mostly because that's what was available. The purpose of alternating colors is to 1) be able to see where you've painted and more importantly 2) once she's in the water, to see where the paint is wearing off. If we can see lots of blue under red, we know it's definitely time for another anti-fouling job. We use ablative or self-polishing paint which means the paint sloughs off over time due to interaction with the water. When it sloughs, the algae, barnacles and sea critters hopefully slough off with it or do not adhere to it in the first place because of the biocides in the paint. A tie-coat was recommended which helps the new paint adhere to the old and I applied that first.

grey over blue

I wear a protective suit, gloves and a respirator to apply it. It is not a becoming look … think Pillsbury Dough Boy in baby blue. Painting the large, open areas of the hull is quick and easy. I use a roller and it goes pretty quickly. It's the tight areas around the prop and the very bottom of the keel that are more challenging only because you have to scrunch down and use a brush to get at them. I learned the hard way that without a respirator, the fumes can just about knock you out.

painting attire

The whole job is usually accomplished in two days. This time, however, it stretched to three days. The heat is fatiguing and I took breaks every hour or so to cool down and drink water. The tie coat was applied in the morning. After a 2-hour dry time wait, I applied the first coat of red anti-fouling.

first coat almost done

David joined me in order to get as much done as possible, but the two coats was all we could manage. On Day 2, we applied the second coat of red early in the morning. It requires a 6-hour dry time and then the afternoon showers began. On Day 3, the boat stands were moved so we could paint the unpainted areas under the stand pads and applied a third and final coat. Typically whatever paint is left over is applied to the leading edges until all the paint is used up. We called it a good job done, said hallelujah and disposed of all the used supplies. Cups was ready to go back into the water.

removing boat stands

Since the bottom paint is always one of the very last jobs to do on the boat, I love looking at Nine of Cups when the job is finished. She looks all clean and shiny and ready to go … until next year!

cups looking fine

Annual Ditch Bag/ Safety Inspection

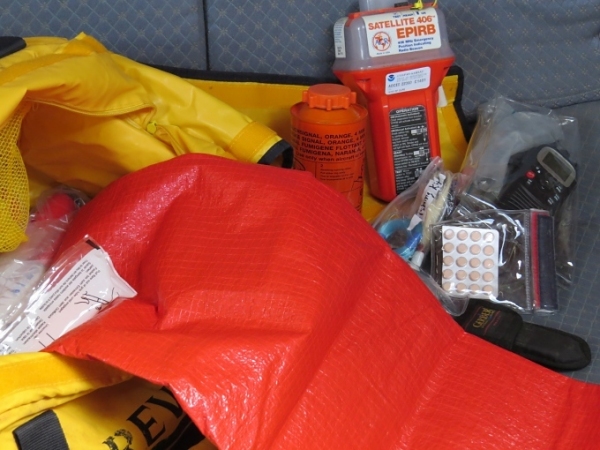
I've heard them referred to as ditch bags, overboard bags, abandon-ship bags and grab bags. Whatever you call them, it's that time of year again. Annually, it's my job to complete the ditch bag/safety equipment inspections aboard Nine of Cups. I've blogged about this in the past, but I thought it might be a good reminder if you haven't done it in awhile that this might be a good time to consider doing it. It's one of those things that tends to slip your mind unless you have it on your calendar or pre-passage checklist. ditch bag contents

I have a checklist I use and just work methodically down the list. I update it from time to time as we add or delete items from the list. Some checks are easy and take less than a minute … test the EPIRB and check that the decal is current, for instance. Some items, like making sure the spare GPS and VHF are operative, take a little longer since they're stored without batteries. Then there are others that are time-consuming like making sure the manual watermaker works and then re-pickling it. Nonetheless, since our lives might depend upon each and every one of these invaluable items, we inspect them yearly, hoping we'll never have to use them.

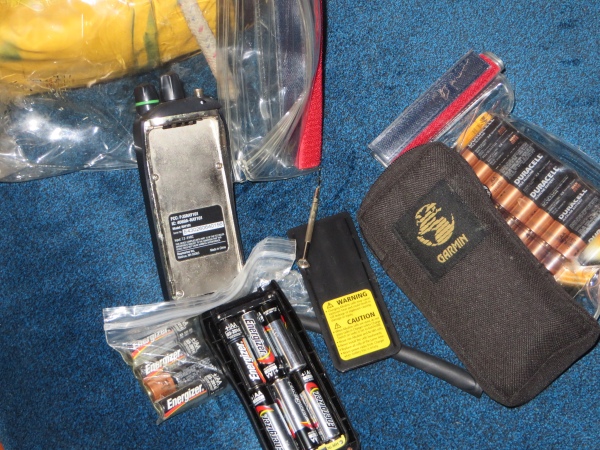
This year there were a number of things that needed updating. David got a new passport and our boat docs were renewed. I replaced the old docs with the new and also replaced the US$100 cash we borrowed when heading home to Las Vegas last time. There were several out of date AA batteries and I replaced those with some we'd brought back with us from the States. We must have borrowed and not returned the little screwdriver we pack with the VHF and GPS because it was nowhere to be found. I replaced it with a spare one from the tool drawer (probably the same one that was originally in the ditch bag).

gps and vhf

Once the ditch bag inspection was complete and the contents repacked and stowed, I made notes for myself for next year's inspection. More batteries will need changing out next year as will some of the flares. Several of the meds are near their expiration dates, too. I moved on to the safety inspection.

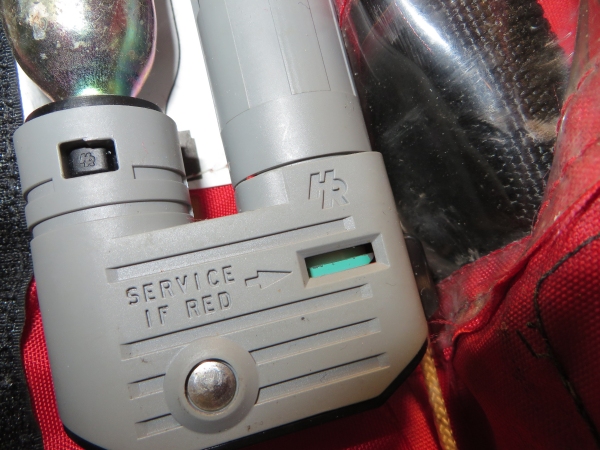
Our inflatable PFDs are in good shape … both canisters showed green and the strobe lights and whistles work.

green light on pfd

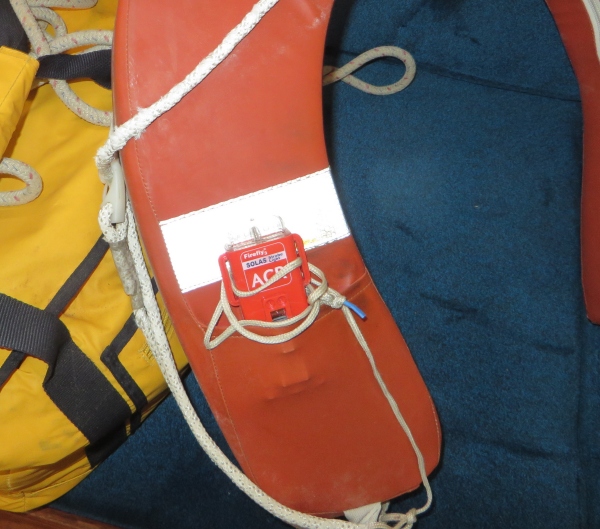
We added a new strobe light to the horseshoe just recently.

horseshoe strobe

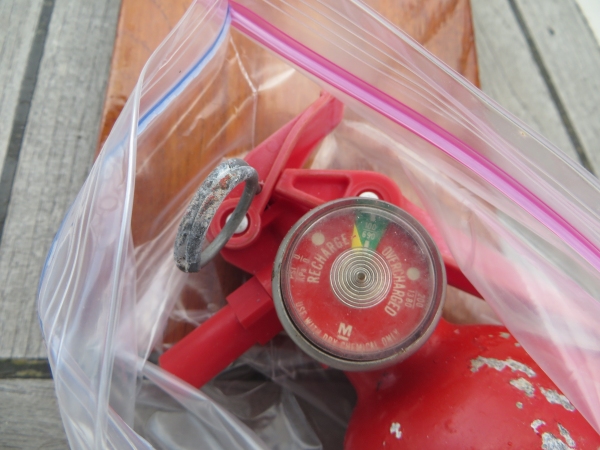
The fire extinguishers (all five of them) were fine except for the one in the cockpit which needed replacing. The others just needed their annual dusting off.

replace cockpit fire extinguisher

We have two EPIRBs aboard, one in the ditch bag (an older one) and one in a holder by the cockpit ladder, ready to grab in an emergency. I tested it, confirmed we'd put the new decal on it and rechecked the date for battery expiration.

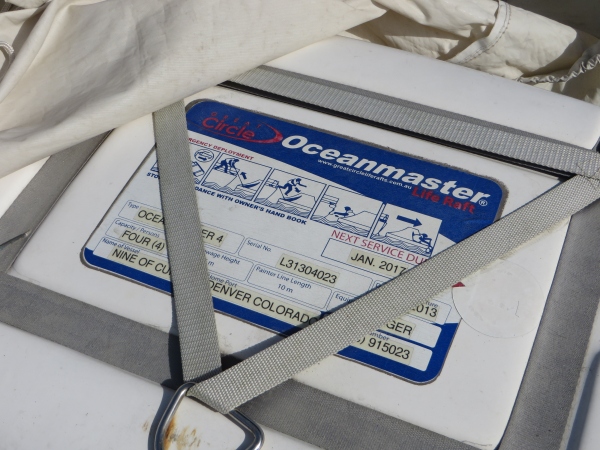
Last, but certainly not least, I took a good look at our Great Circle life raft. It's mounted on the coach roof in a sealed canister, so there's not much to see. I noted, however, that it's due for its 3-year inspection in January 2017, so I put that on my calendar as a reminder.

liferaft reminder date

The entire check took about an hour … well-spent time for safety and peace of mind.

We have an updated checklist available. If you'd like a copy, just drop an email to Gentry and she'll e-mail it to you.

Back on the Job

I'm pleased to report, the to-do list is growing shorter … at least the to-do list that has any chance of getting done. David has been working long, hard, hot days and it shows. Cups is looking great and David is looked tired. The topside repairs and painting are done … a tedious, labor-intensive project, but well worth doing. Cups' topsides are gleaming. We ordered a new vinyl decal for Nine of Cups, so she can have her name back on the stern … to be applied by a local sign company. The last decal was applied when Cups was christened in 2000. We got our money's worth. The cutlass bearing has been replaced, as well as the shaft seal. David will re-attach our carved Nine of Cups nameboards on the bow as soon as the varnish has cured.

gleaming topsides

Annual engine maintenance has been completed. The diesel and propane tanks have been topped up. David spent several days stripping the teak cap rail and trim pieces on the starboard side and then varnishing (actually Uroxsys, but I'll let him tell you about that). The varnishing, sanding, varnishing, sanding, varnishing process is also time and labor-intensive, but it was long past due and the results are stunning.

sanding the cap rail

He's now working on replacing a through-hull and seacock. Unfortunately, it's located in the engine room, difficult to access and tough to work on. It has required cutting, grinding, pushing, pulling, grunting, sweating profusely, purchasing replacement parts and hoses and a significant amount of swearing. You'll definitely hear more about this in the days to come.

replacing thru hull

In between varnishing and through-hull work, he's still trying to revive the fridge. He tries and then temporarily gives up. He usually thinks about it for a day or two and/or sleeps on it and comes up with another thing to try. If the new idea doesn't work (and so far, it hasn't), he reverts to thinking and sleeping on it. He's persistent and resourceful. I'm hoping he's successful. The next couple of days will tell. We've decided we will not postpone our departure because of an inoperative fridge. We'll make do without refrigeration if we have to.

what about the fridge

So what's left? I've just done our annual “ditch bag” and safety inspection (more on that later) and that's good to go. I've written a few extra blogs to keep you entertained while we're not in internet-land. We just purchased the bottom paint and we'll tackle that job very soon, as soon as the varnishing is complete. It's always one of those things that has to wait till the very last minute. We're hoping to splash within a day or two after the anti-fouling has been applied. Once we're back in the water, we still need a few days to get Cups put back together. We'll get used to living on the water again and get Cups ready for her first passage of the year.

David will reattach the head stay and we'll hank on the headsails which we stowed during our absence. The rig needs to be tuned. The heads need to be checked out to insure they're operating. All the instrumentation needs a thorough check. We'll launch the dink and make sure the dinghy engine is running properly. Things need to be stowed. There's last minute laundry and provisioning just before we leave. Provisioning this time will be a bit easier than it was the past few years … no oceans to cross and a few stops along the way to top up the larder.

Charting our course is always done just before we leave … mostly because we rarely decide where we're going till the last minute. We have downloaded the Carib and US east coast charts to the iPads though. Then there's the check-out procedure itself and, of course, waiting for a weather window.

Be patient … we're getting close.