

Blue View – Cabinets for Blue
/
Blue’s most recent upfit

At last - some cabinets
Since we’ve been focusing on our upcoming walk of the Via Francigena, poor Blue has been neglected for the past couple of months. I finally did manage to find a couple weeks which I devoted to installing the rear walls, overhead cabinets and rebuilding the bed support.
Plywood walls

For the rear wall covering, I made a cardboard template to match the outline of the wall area, then punched holes in it to match the mounting holes. I used this template to mark the outline and hole locations on a 4x8 sheet of 1/2” plywood. After cutting the plywood to size, I did a dry fit to make sure it fit and that I could screw it into place, then took it to a local countertop fabricator to have the interior side and edges laminated with Formica®.
BTW, on some of the other of Blue’s surfaces, I did my own laminating. I’ve done several countertops over the years with good success, as long as the surfaces and edges were flat, but the last few that I did myself for Blue didn’t work out well. I don’t know whether it’s the new health and eco-friendly contact cements, the extreme temperature variations the cement has to withstand here in Vegas or my technique, but the edges don’t want to stay stuck. We’ll see how the professionally done work holds up.
Cabinets
Next up were some cabinets over the bed. Lowes was having a sale on unfinished oak wall cabinets that looked like they would work. The walls in Blue aren’t square, so my plan was to remove the faces and doors from the Lowes cabinets, build my own frames to match the contour of Blue’s walls, then attach everything together and mount them.
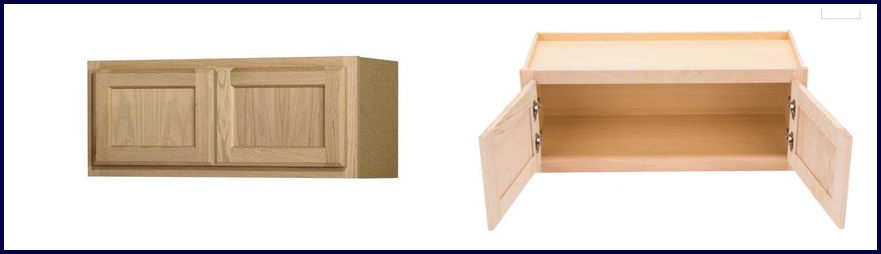
Lowes had unfinished 30x12 and 36x12 oak cabinets on sale
I built the frames out of 1x2 pine and made the sides and bottoms with 1/4” prefinished plywood. The ends will eventually be covered.
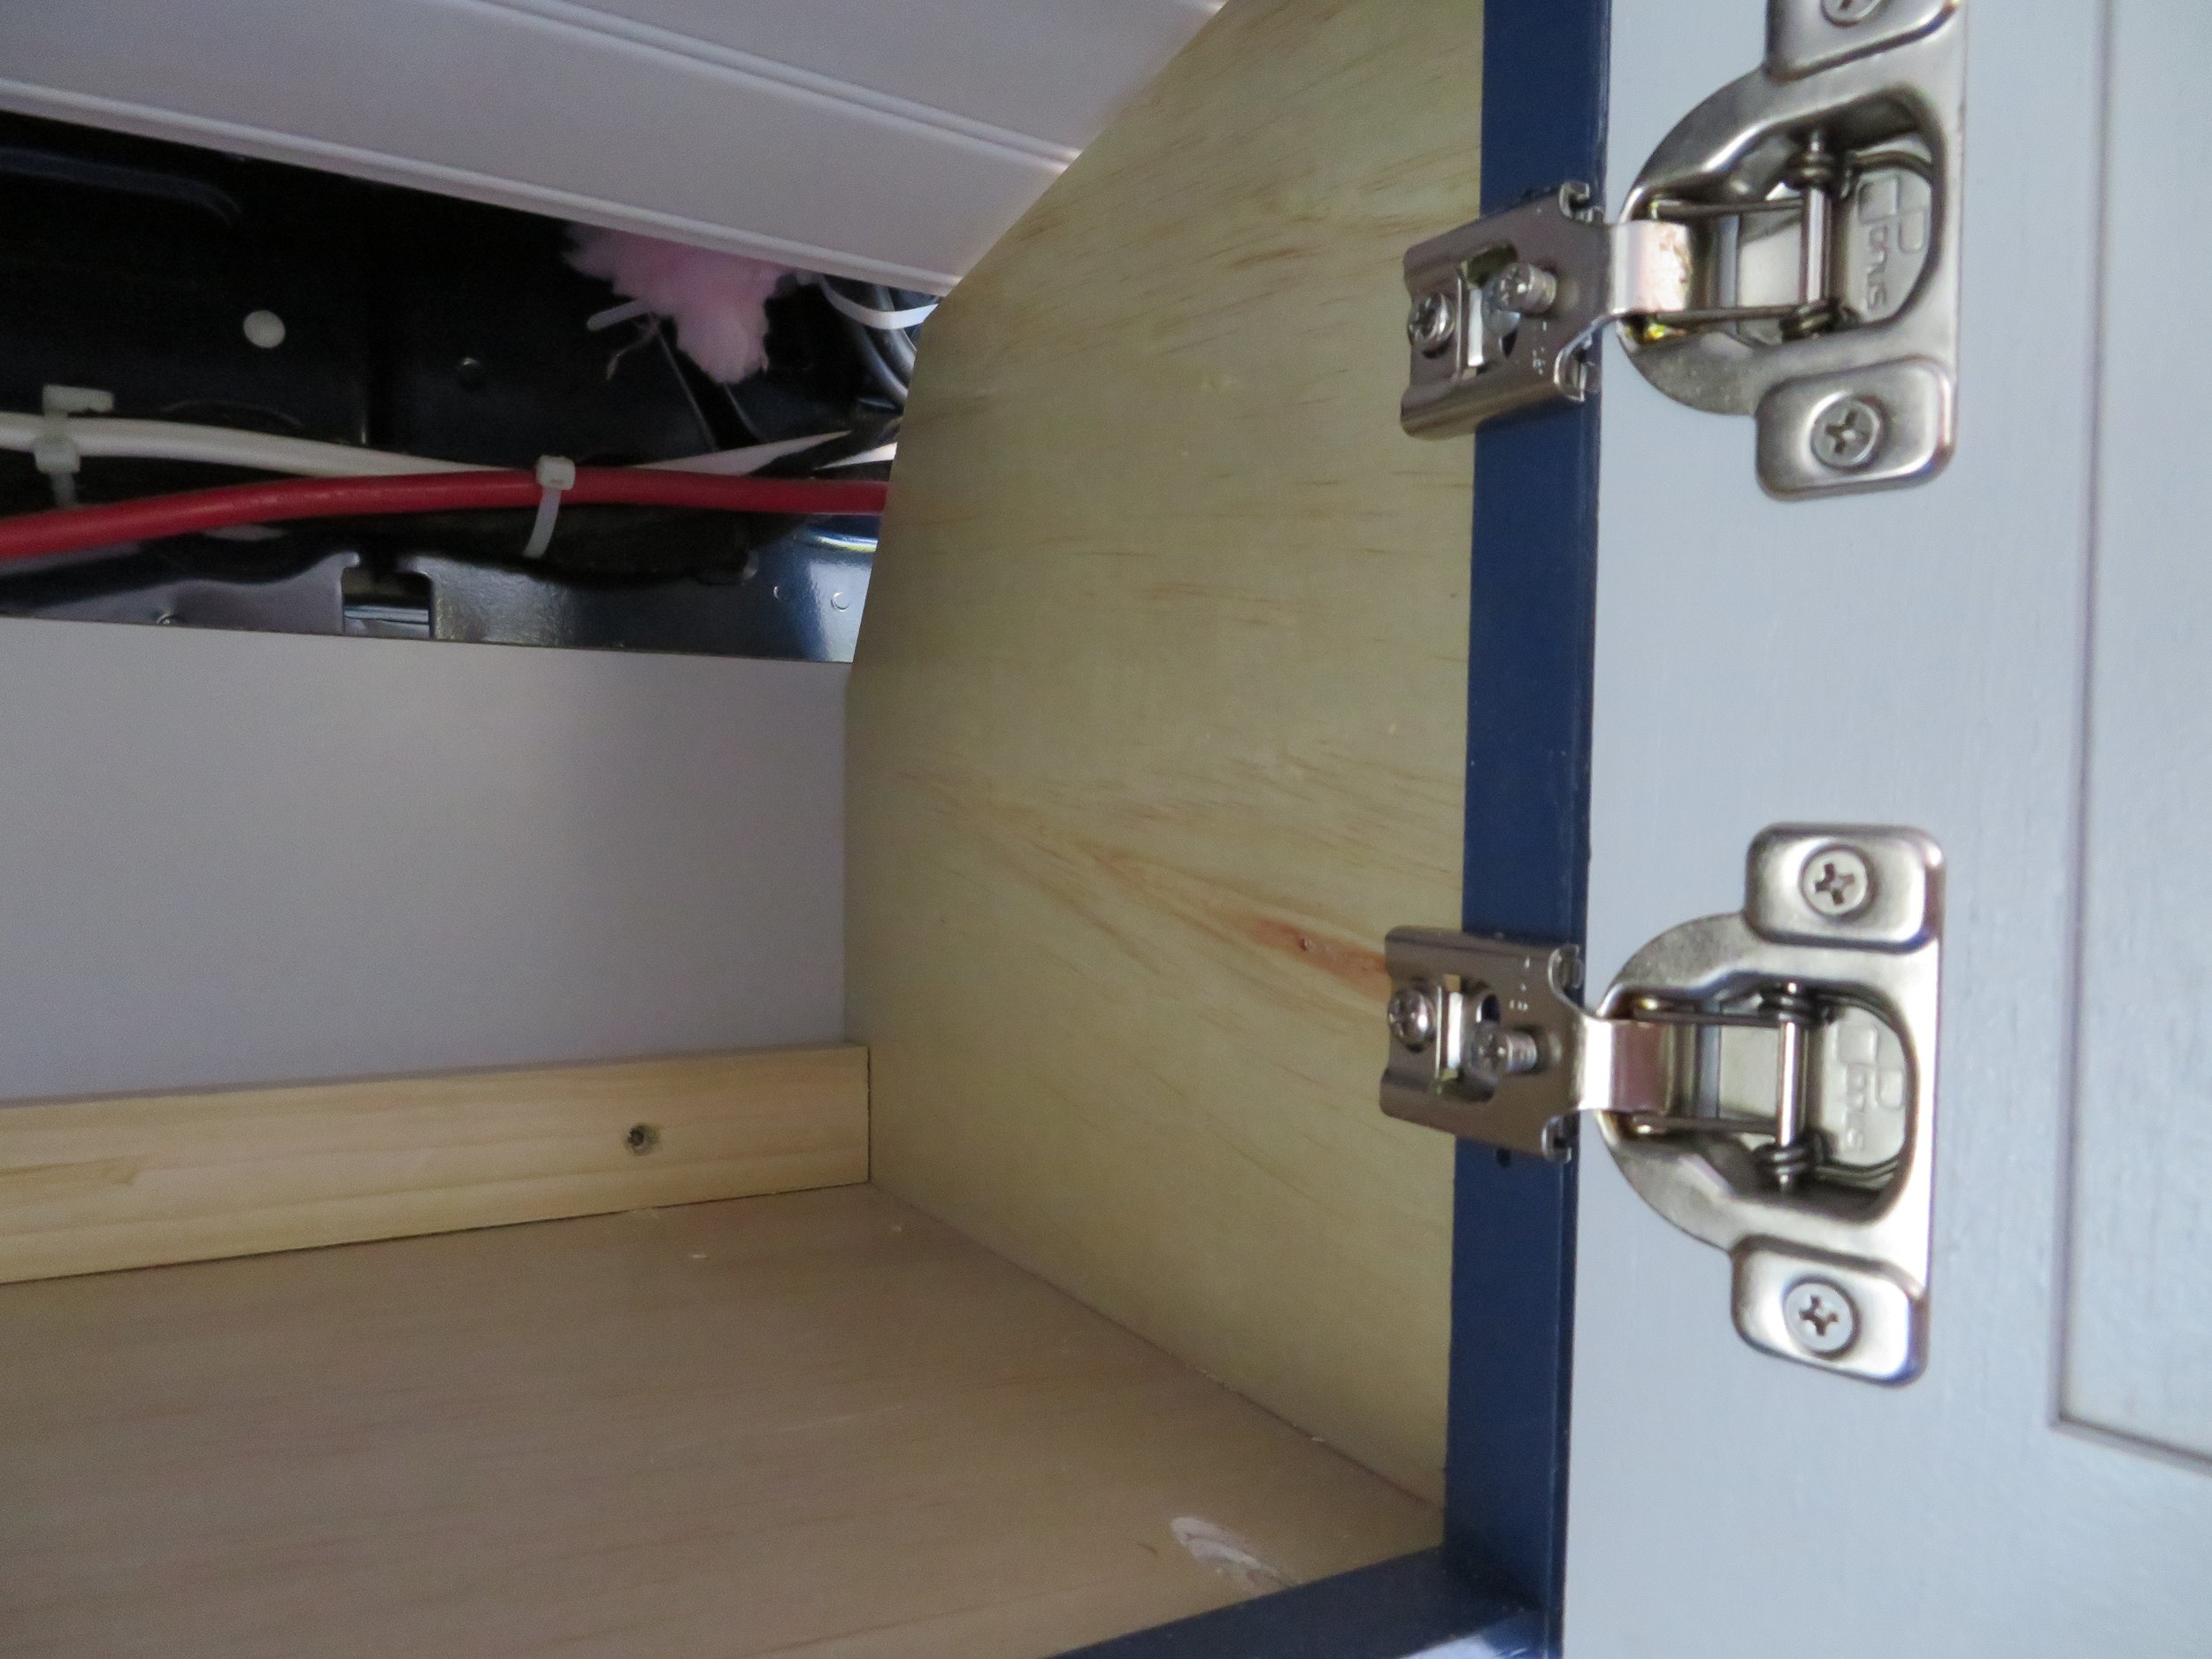

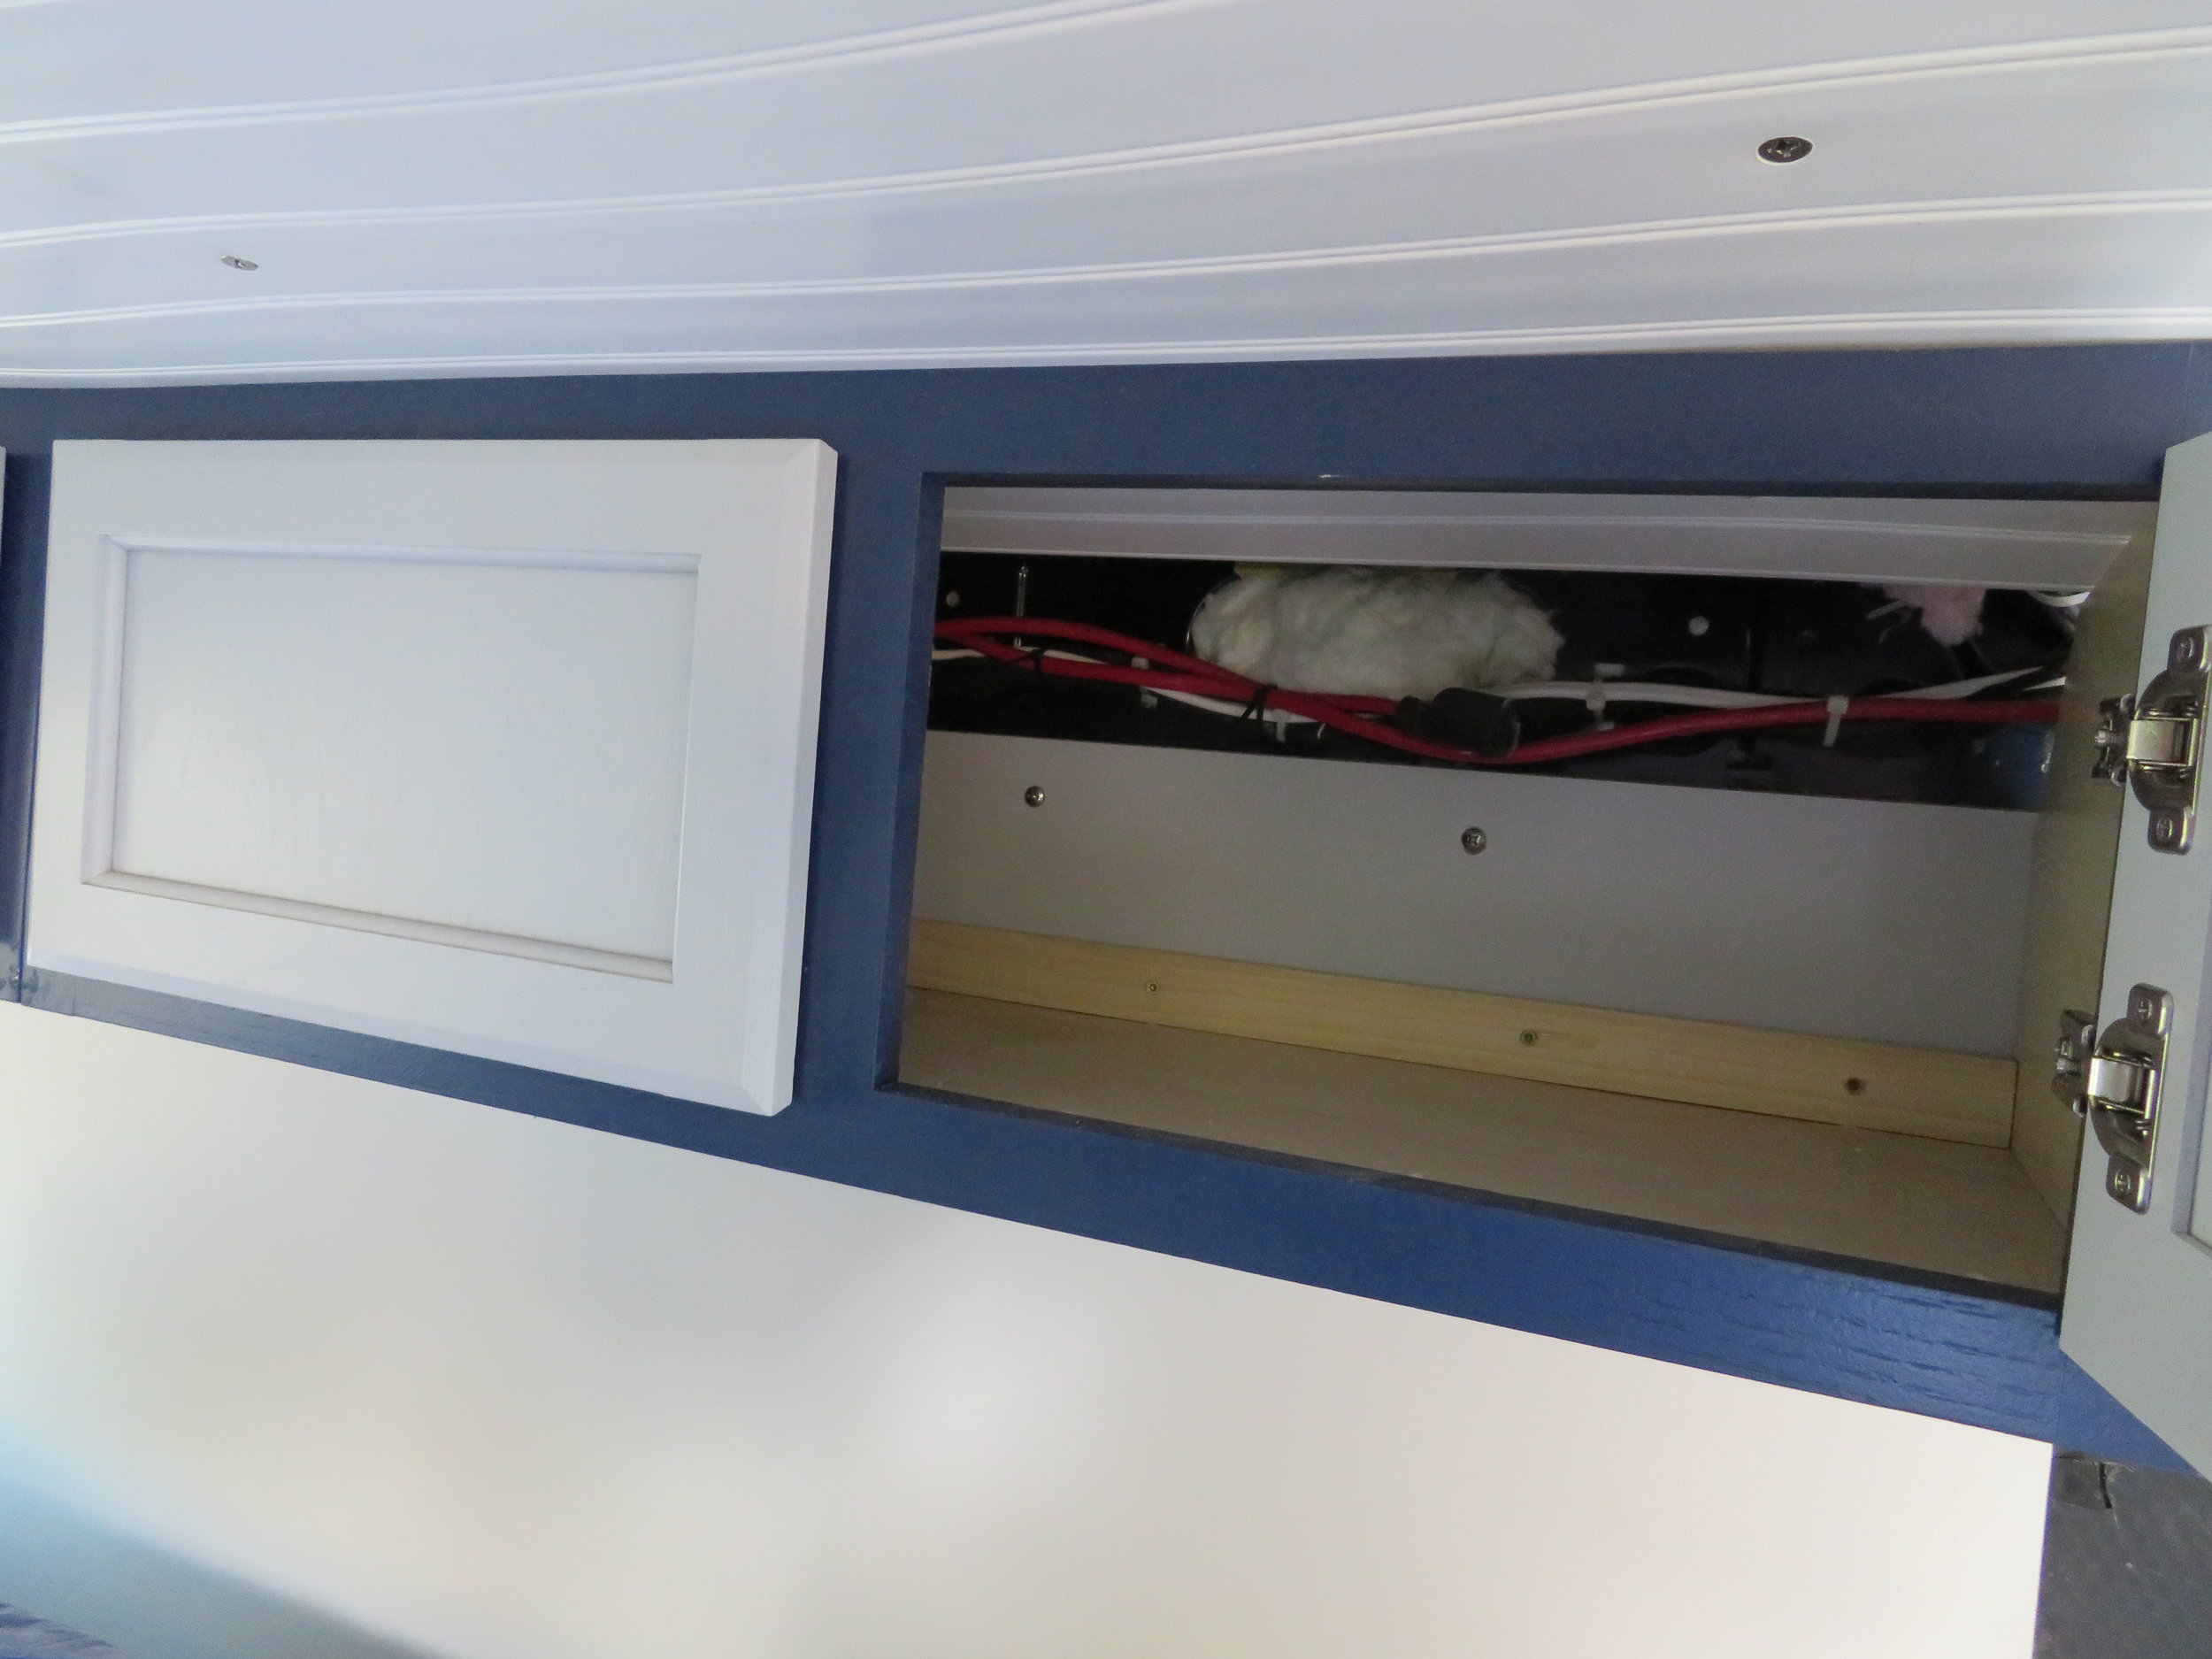
I haven’t decided whether to cover the wiring. It’s nice having access to it.
I painted the oak faces and doors using a High Volume, Low Pressure (HVLP) paint sprayer. On my earlier attempts in Blue, I could not get the smooth surface I wanted, despite using every possible combination of foam and bristle brushes and foam rollers. Latex paints just don’t seem to give the high luster, smooth finish I was used to with the oil based marine enamels I used on Nine of Cups for all those years.

Wagner Flexio 3000
The paint sprayer, a Wagner Flexio 3000 Handheld HVLP Paint Sprayer, worked quite well. It comes with both a high volume sprayer for normal painting and a finish sprayer for smoother finishes. I used the finish sprayer and started with two layers of primer to fill in as much of the oak grain as possible, then four coats of finish paint. I used a high gloss, latex cabinet paint and added a dose of Crown Hard Coat to speed the cure time and add durability to the finish. The Hard Coat also thins the paint enough to enable it to flow well through the finish sprayer.
I let the paint cure for a couple of days, then screwed and glued it all together. Then the finished cabinets were screwed to the sides and ceiling of Blue.
Bed Frame

1-1/2”x1-1/2” aluminum angle

Bed frame in place
The old bed frame was constructed of 2x4s. It was heavy, took up a lot of space and was not aesthetically pleasing. This time around, I used a 1x4 oak plank for each side wall, and 1-1/2” x 1-1/2” quarter inch aluminum angle for the bed slats. I made notches in the 1x4 planks for the aluminum to sit in, then bolted the planks to the side walls. The ends of each aluminum angle dropped into its corresponding notch. I drilled and tapped 1/4”-20 holes in the aluminum and bolted the bed frame in place using panhead machine screws. The end result was a lightweight, strong bed support that freed up an extra 2” of storage space underneath. The extra space should give me just enough room to add a shelf under the bunk and above the storage bins providing us a place to store our screen house, camp chairs, camp stove and a few other long skinny items.

What’s Next…
Next on the list is to finish the walls forward of the bunk, add drawers under the front end of the bed, add a vertical cabinet in front of the driver’s side cabinets, and redo the enclosure for the composting toilet – all of which will have to wait until our return from the Via Francigena. Thank goodness Blue is a patient sort.