

Keeping the Critters Out - Insect Screens for Blanche
/Because we plan to head to the north country, we decided it would be prudent to add insect screens to Blanche’s back door and slider door. We’ve been nearly eaten alive in the past by mosquitoes, black flies, and no-see-ums, and prefer to avoid the bloodletting.
I did a bit of research online and there are several commercial insect screen alternatives for vans. We considered the custom-designed insect screens specifically made for Ram Promaster vans. We narrowed it down to three companies, but either the lead time was too long and/or the price was outrageously high. To us, $1,000 seemed a bit much for insect screens. There had to be an alternative, and, of course, there was.
Several companies produce ‘fits most vans’ insect screens. Some screen descriptions provide measurements, while others do not. We narrowed it down to Living in a Bubble, an Australian-made insect screen (and Aussies know their insects, believe me!) for medium to high roof vans, and ordered them from Amazon at ~$200/screen. Better than $1000, but still pretty pricey.
We chose these screens because 1) they were not a fixed installation and could be stored conveniently in a pouch when not in use; 2) they were available in a couple of days through Amazon; 3) an informative video showed easy installation.
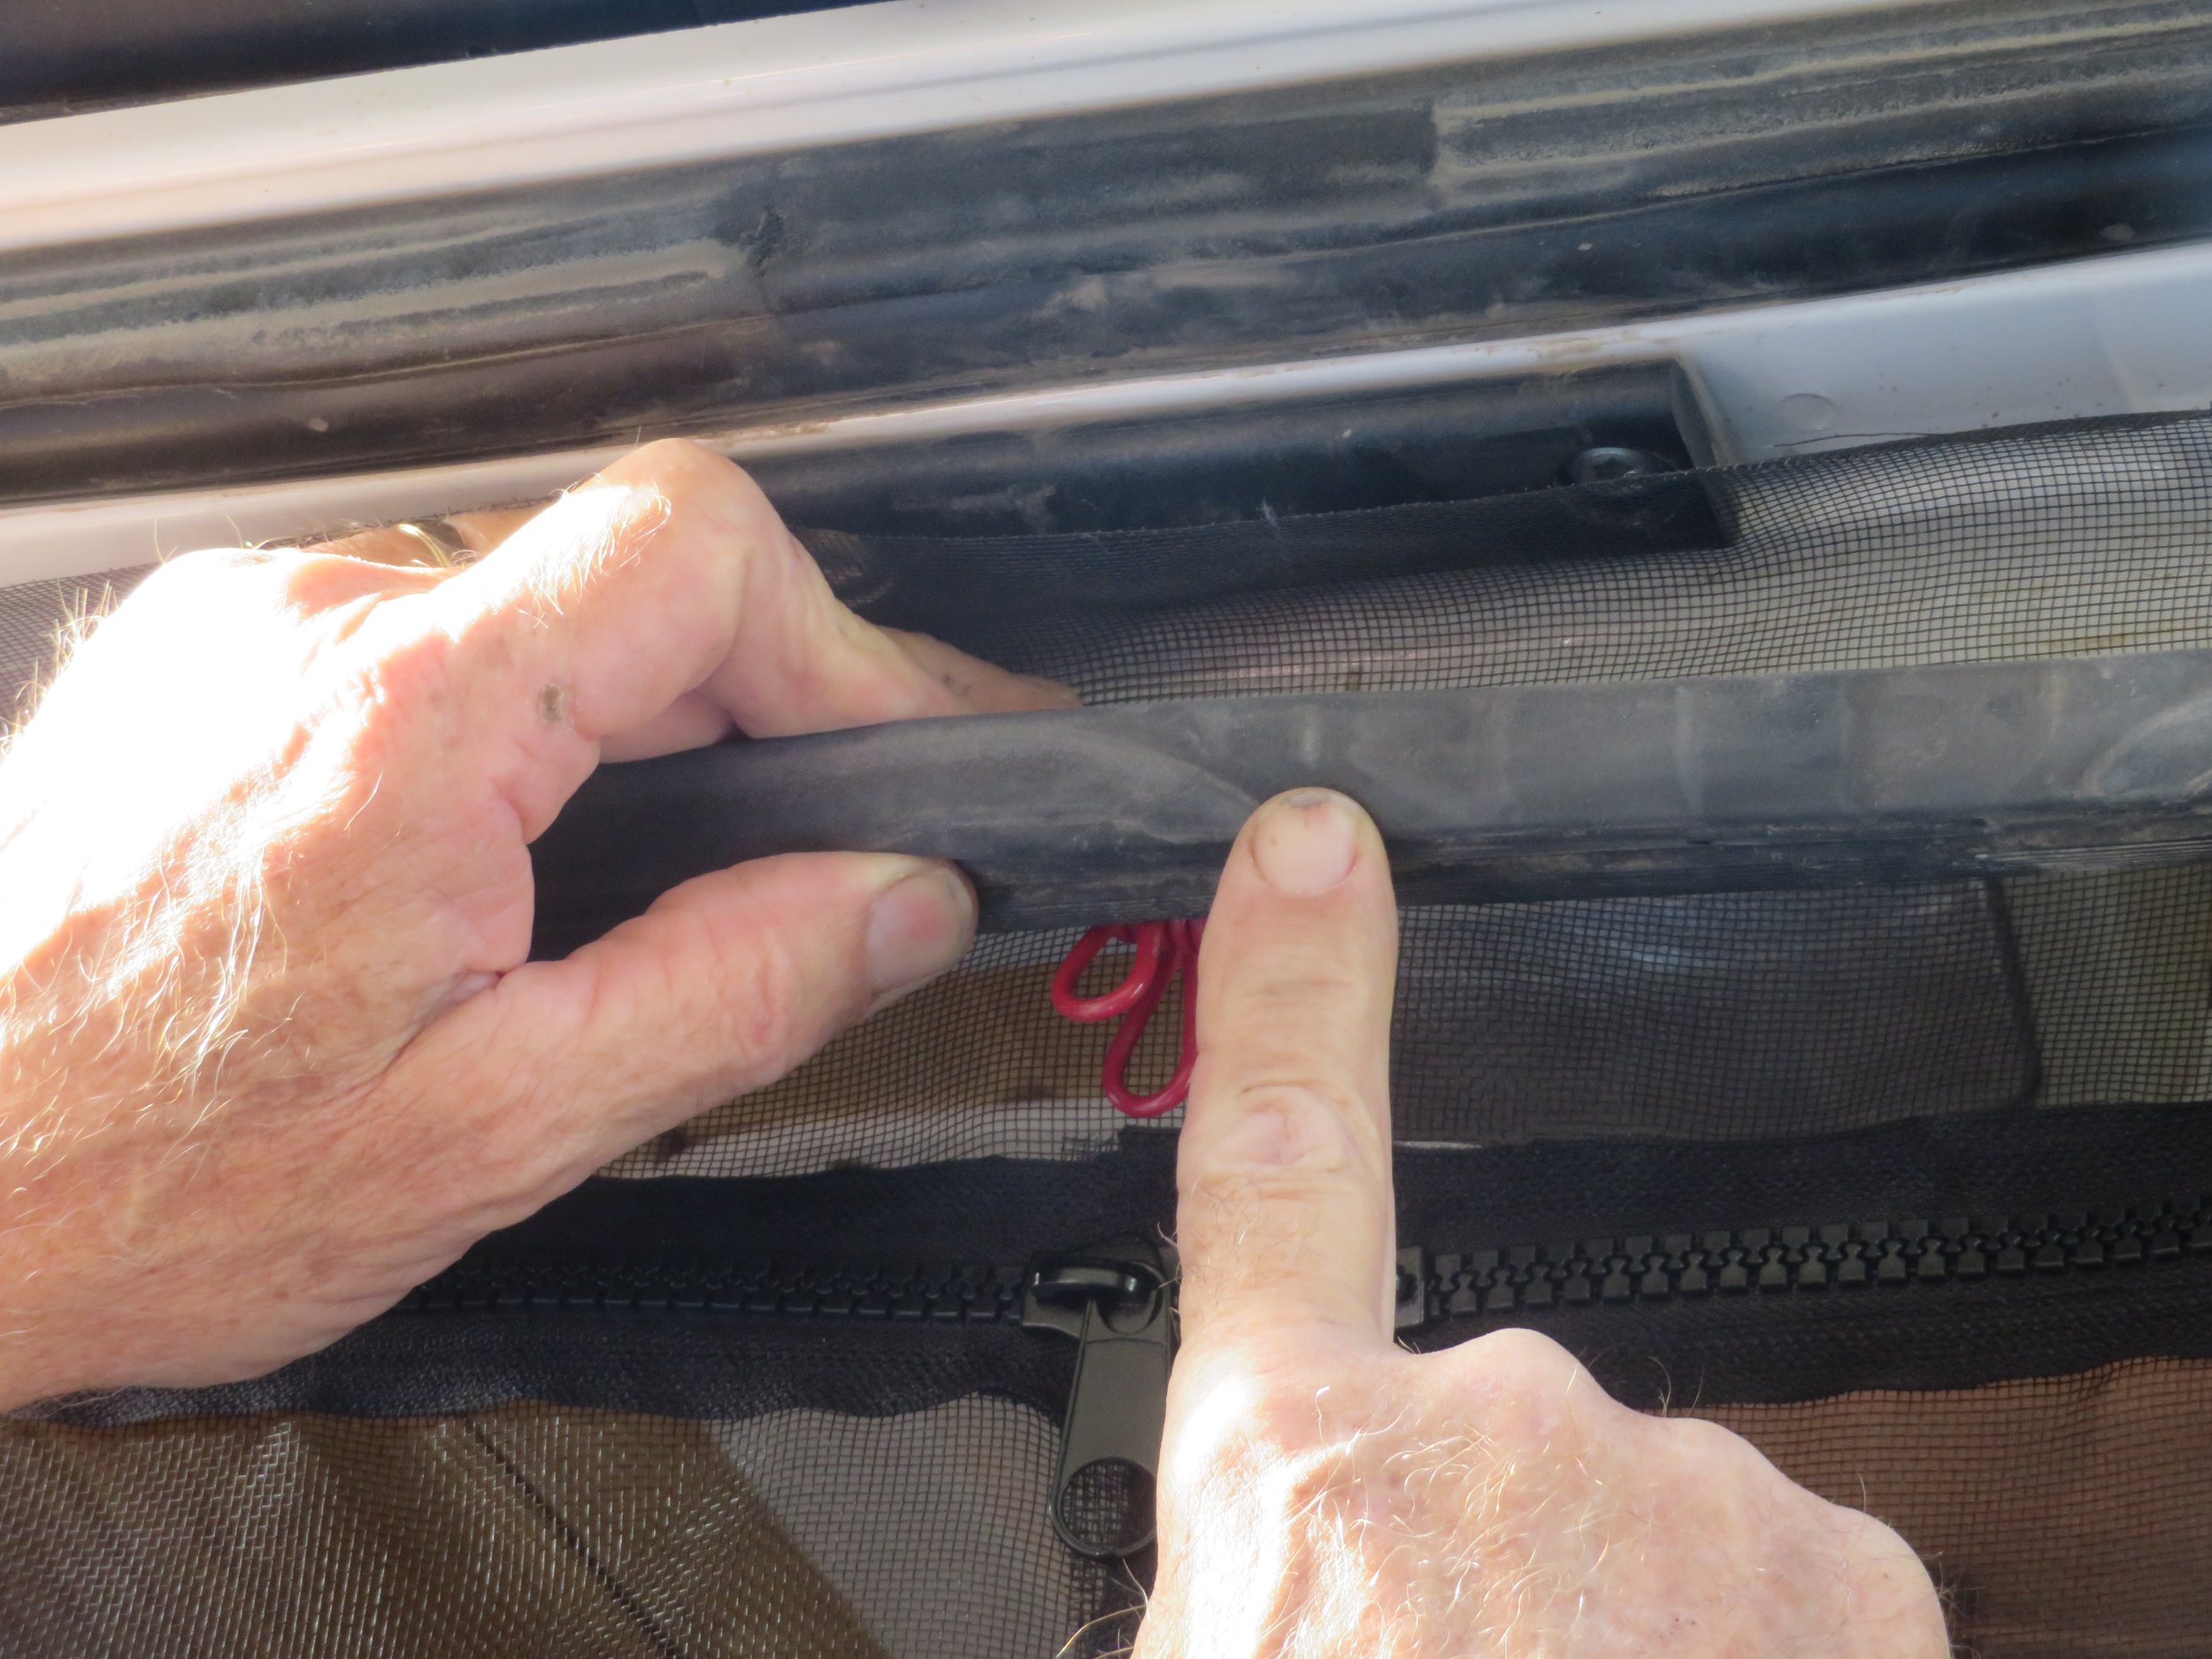
When received, the rear door screen didn’t fit width-wise. It was probably our fault for not being more precise with our measurements. The slider door could have been made to work but only with significant alteration. It was too long and baggy, and it seemed if we were going to pay $200 for something that needed considerable alteration, we might as well give it a go ourselves. We returned both screens and set to work on our own design. We’d learned through our research that several of the commercial insect screens were held in place by placing the screen material under the door gaskets. David took a sample piece of screen and tried it… it worked.
First, we determined which type of screening material we needed. We settled on a lightweight, durable, high mesh density (18*16/sq inch), black screening material and after careful measurements, ordered the appropriate amount of MAGZO Screen Door Replacement Mesh from Amazon.
We also decided that we’d like three zippers in the rear screen… one 72” vertical zipper up the middle and two 30” zips horizontally along the top so that the screen could be fully opened when necessary. I chose black, #10 heavy-duty separating plastic zippers with double pull tabs so the zips could be opened from inside or outside. Having installed lots of zippers on sail covers and mast cover projects on Nine of Cups, I would have preferred YKK zips, but the lead time was too long. Instead, I ordered YaHoGa brand from Amazon and like them just fine.
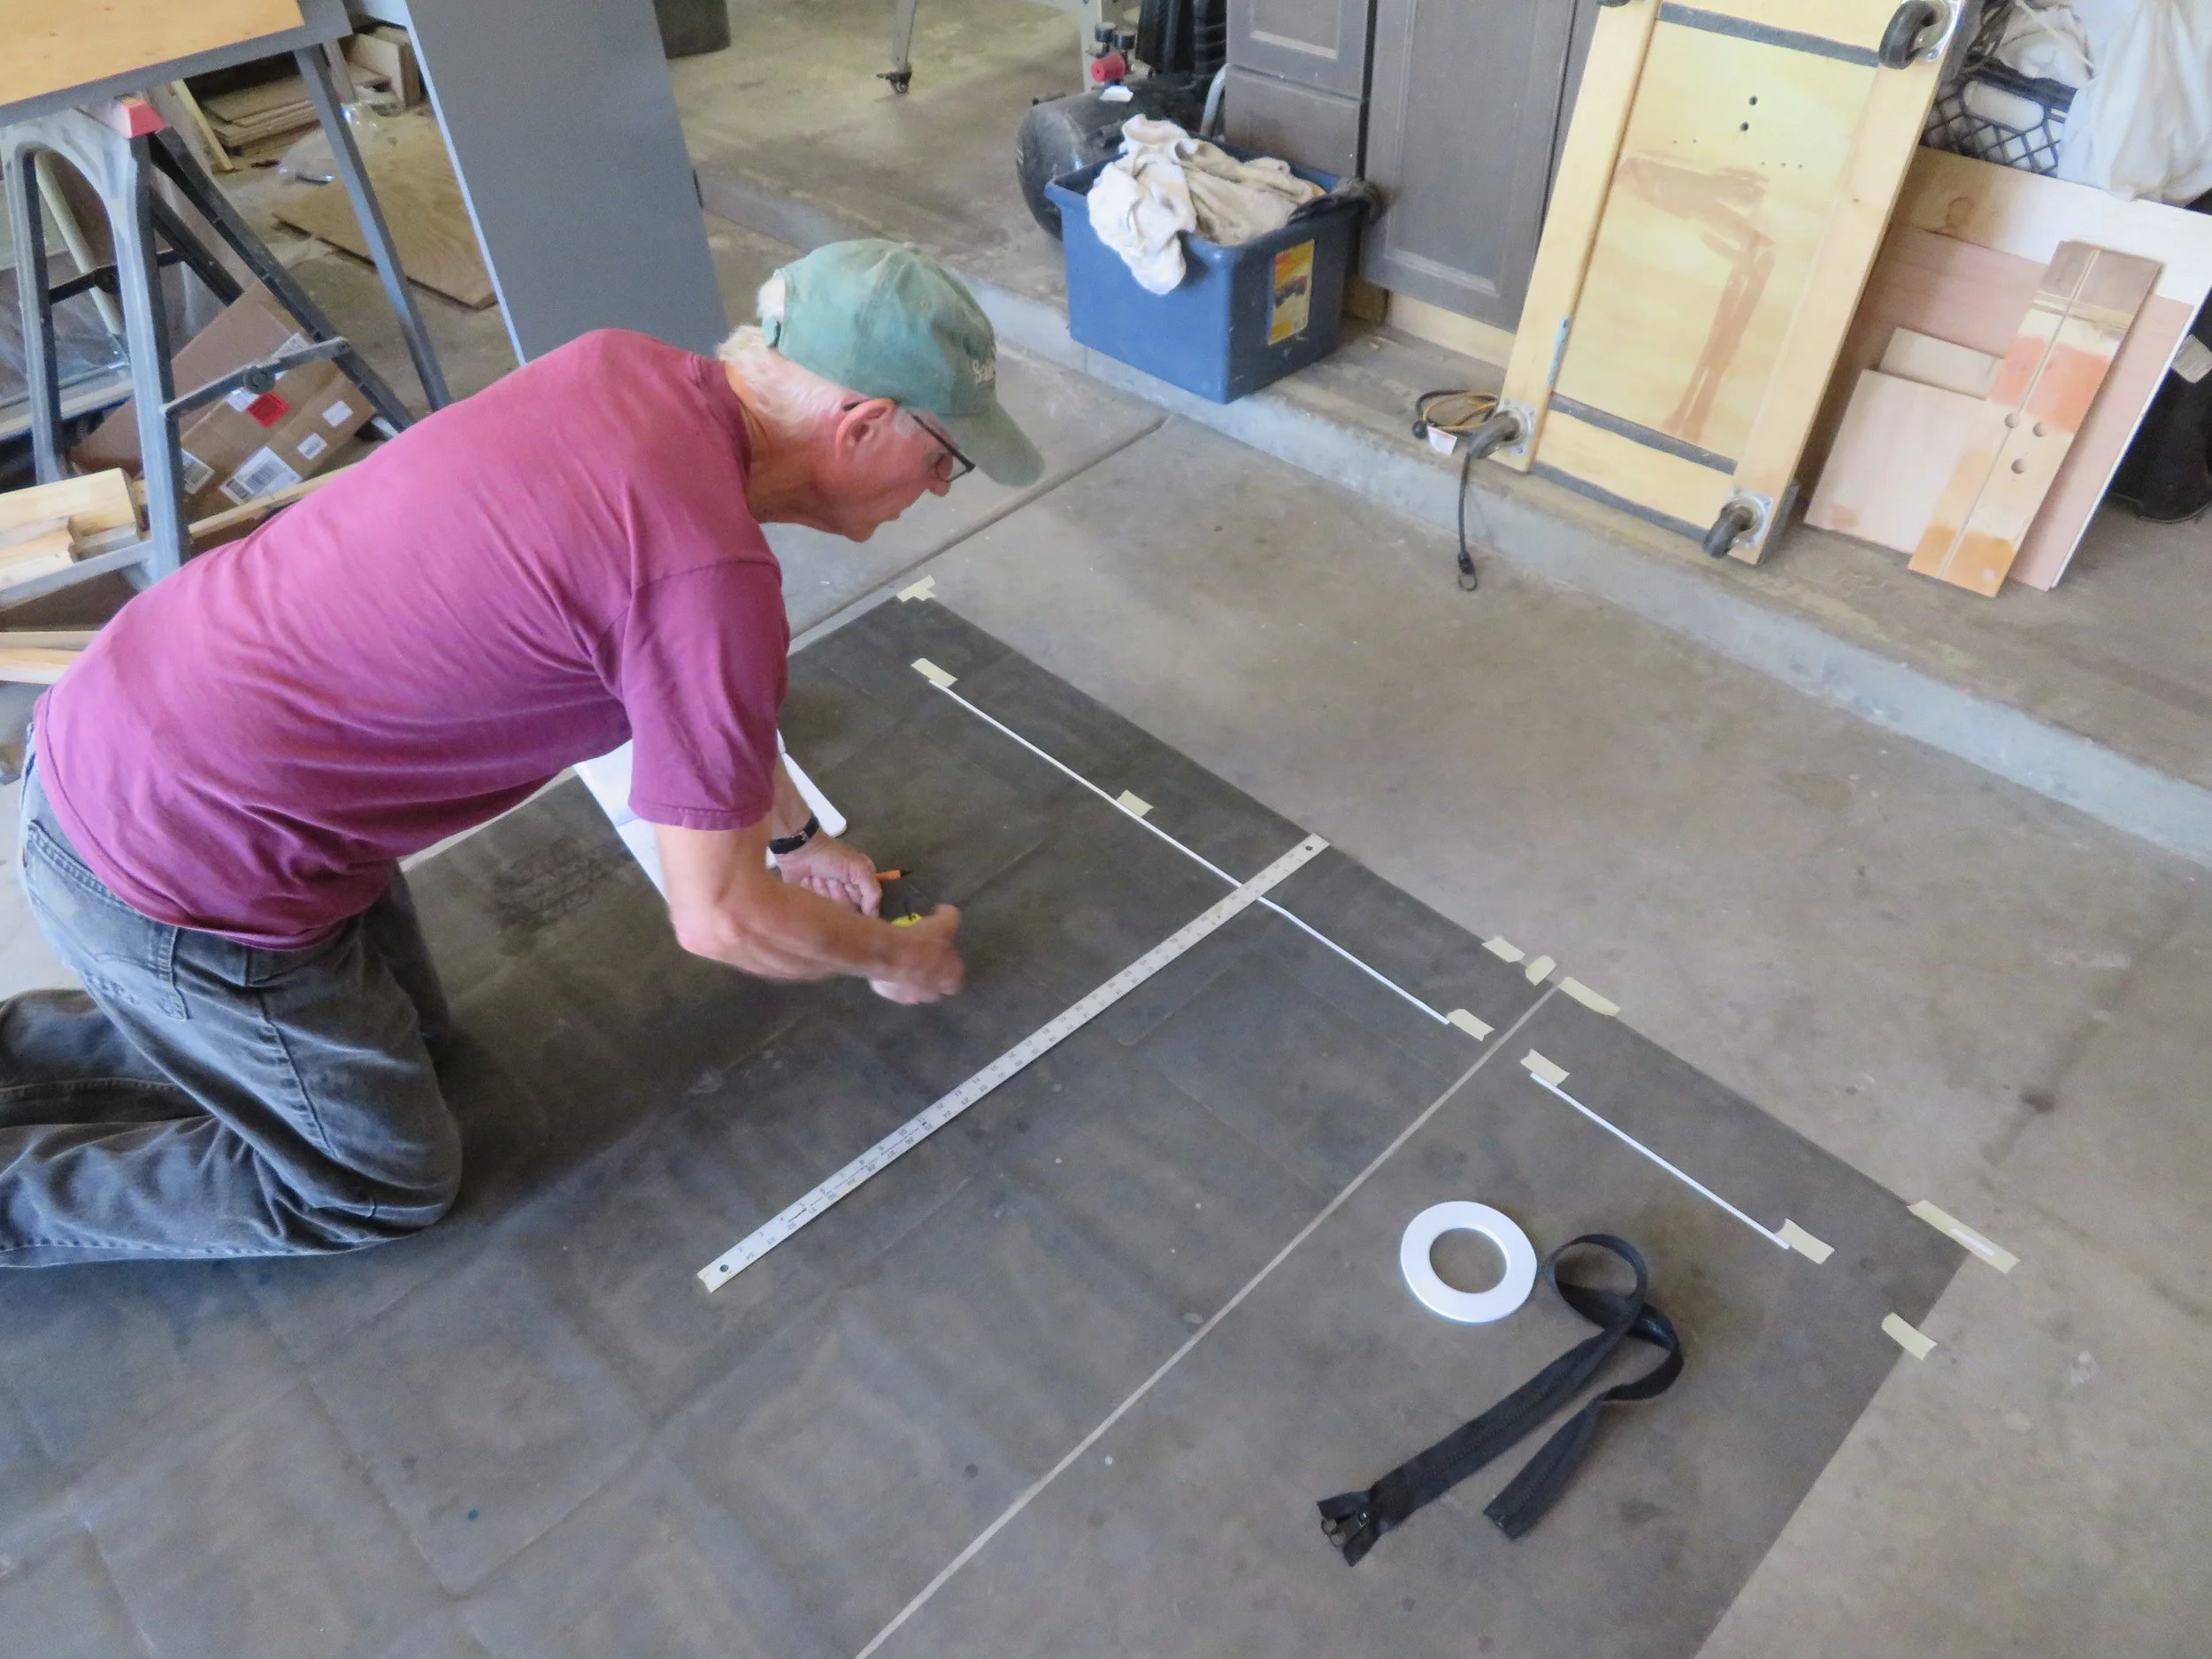
David measured, laid out, and cut the screen on the garage floor. We determined exactly how much room we needed to tuck the screening material behind the gasket and allowed a bit extra and marked it accordingly. We also measured and marked exactly where the zips should be placed.
I tackled the rear door screen first and used a double-stick binding tape to keep the zippers in place while I was sewing. This turned out to be quite a mistake because the adhesive stuck to the sewing machine needle, the thread, and everything else it came in contact with. I’d not experienced this in the past, but evidently, the adhesive binding tape I chose was not destined to be used for this sewing project. After replacing the needle and cleaning up the goop, I figured out I could use the tape to keep the zip in place and pin the opposite side for sewing, then remove the tape without consequence from the other side, pin and sew it. It wasn’t as onerous as it sounds and it worked well. Once everything was in place and we were happy with the fit, we trimmed the excess screen from around the outside edges of the gasket.
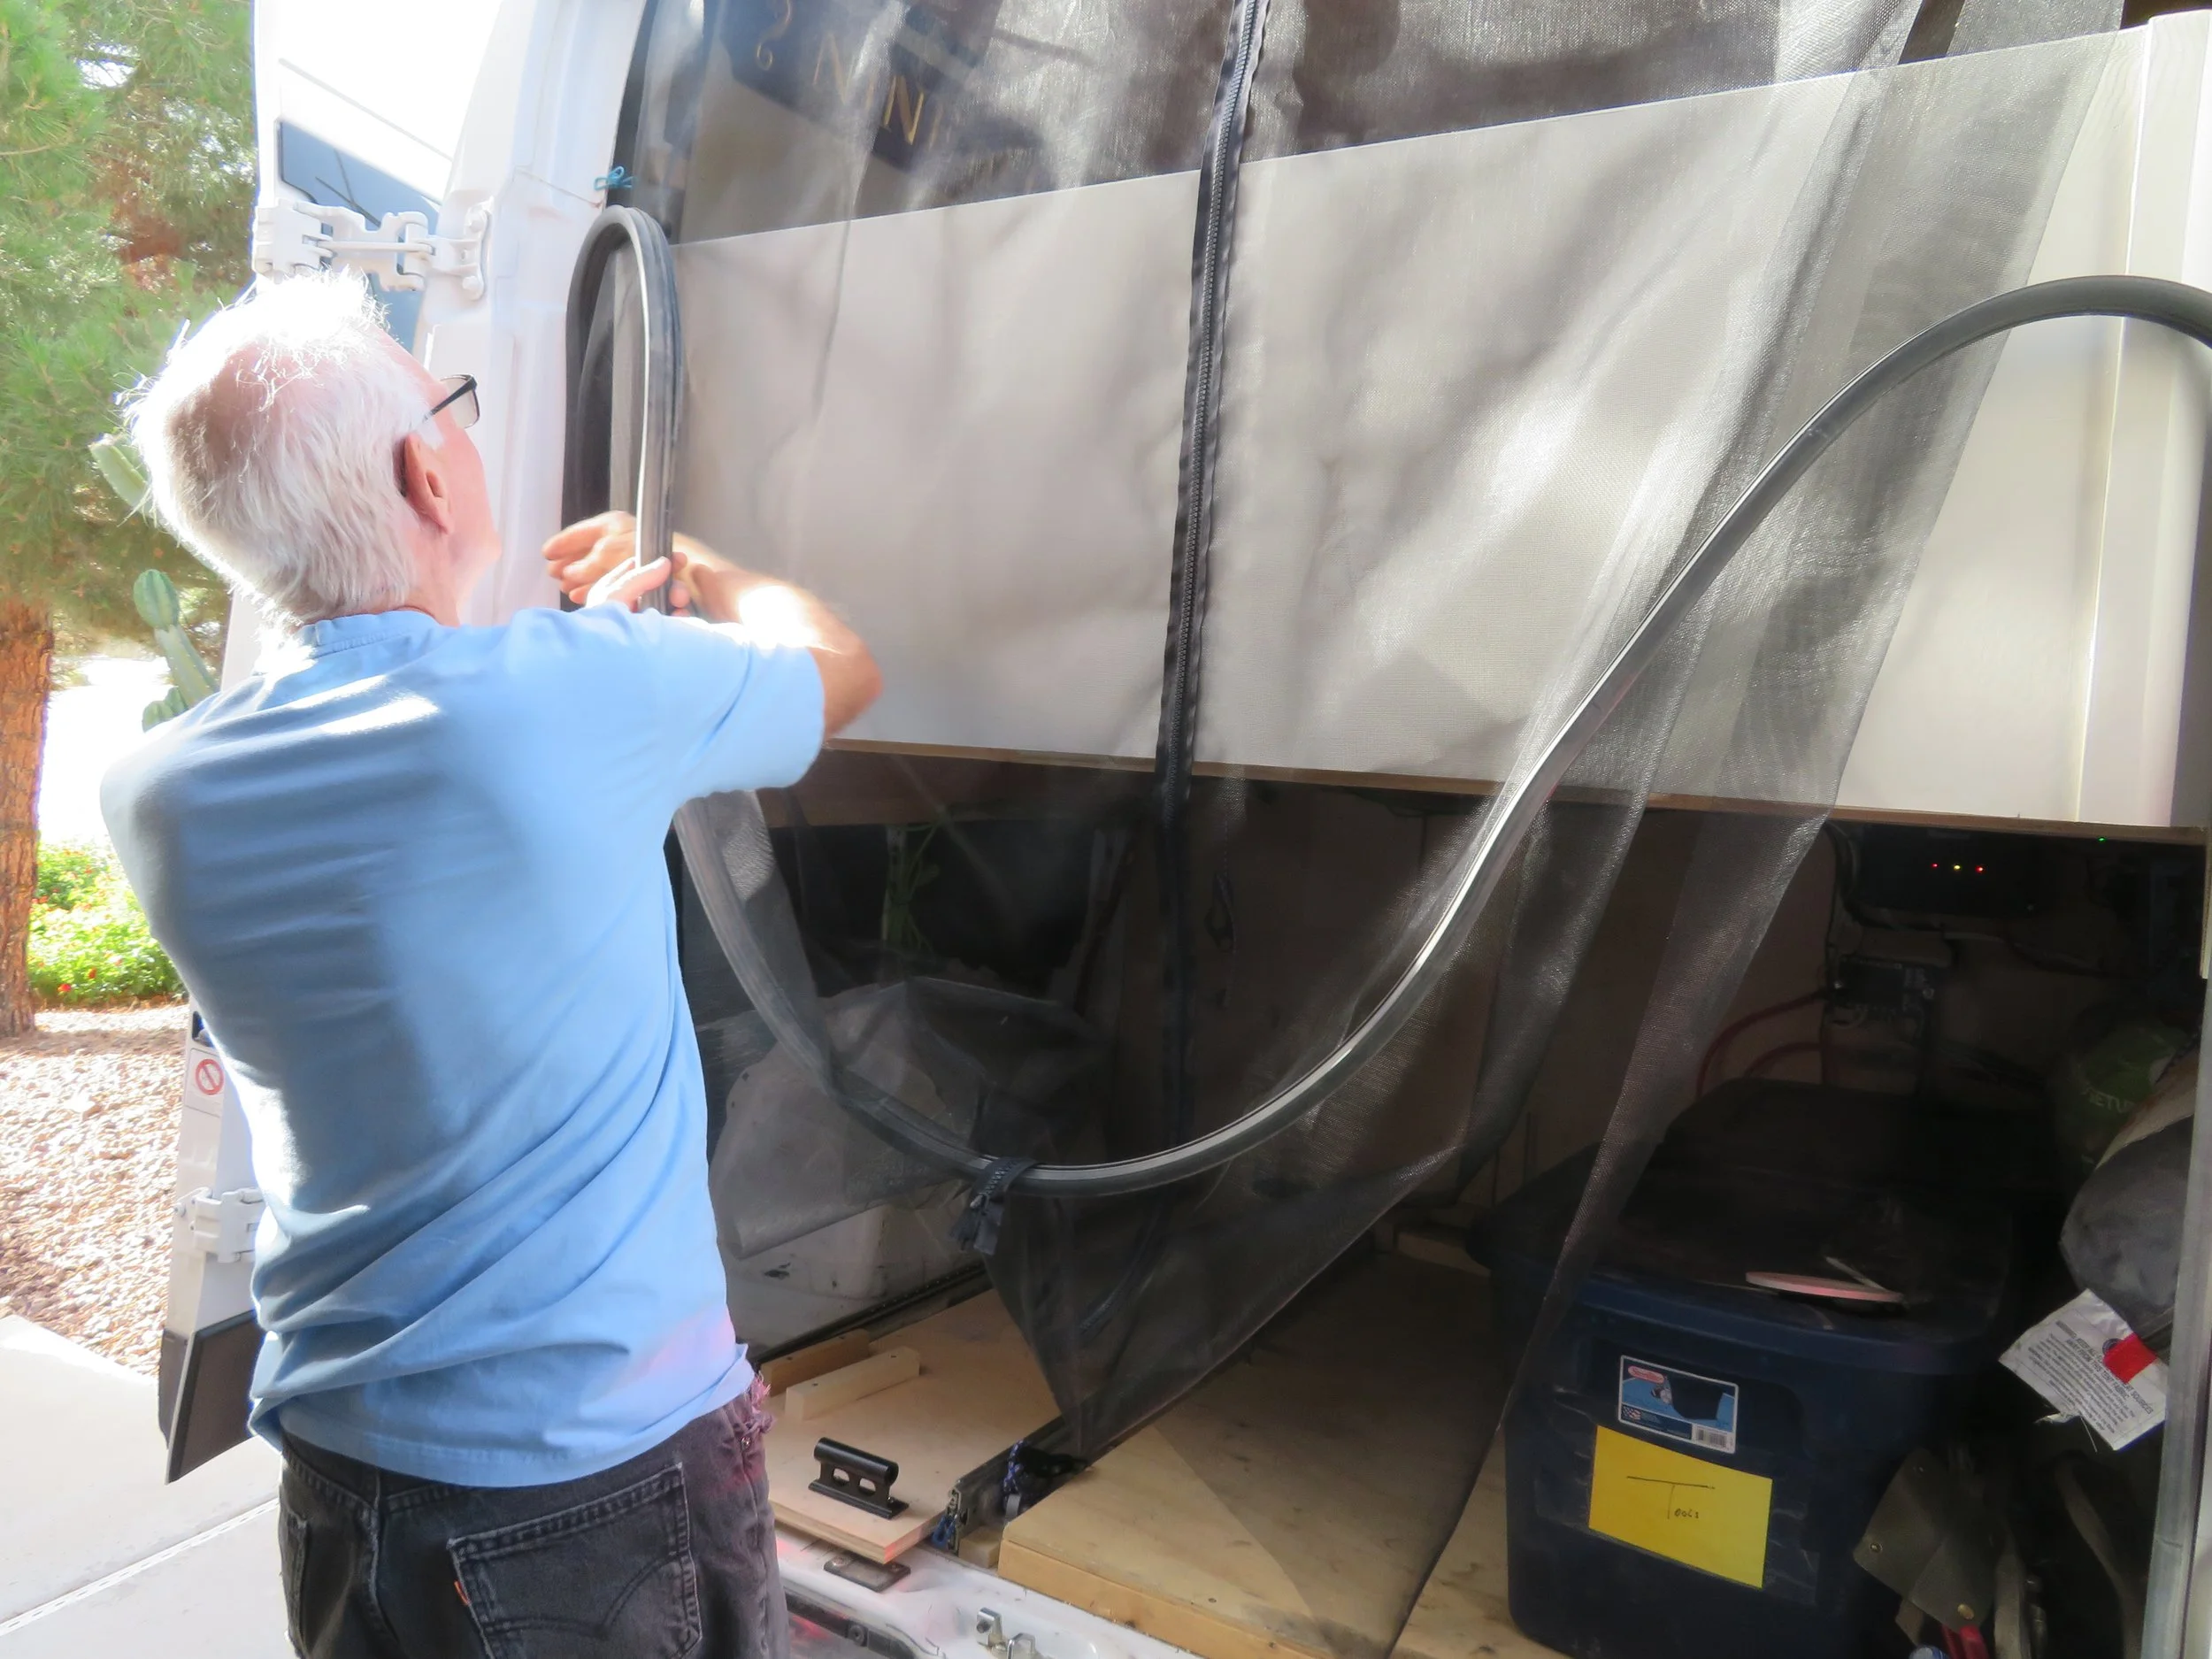
Once I completed the sewing, we installed the rear screen using clips to hold the screen in place while David snugged the grommet back in place. It worked like a charm.
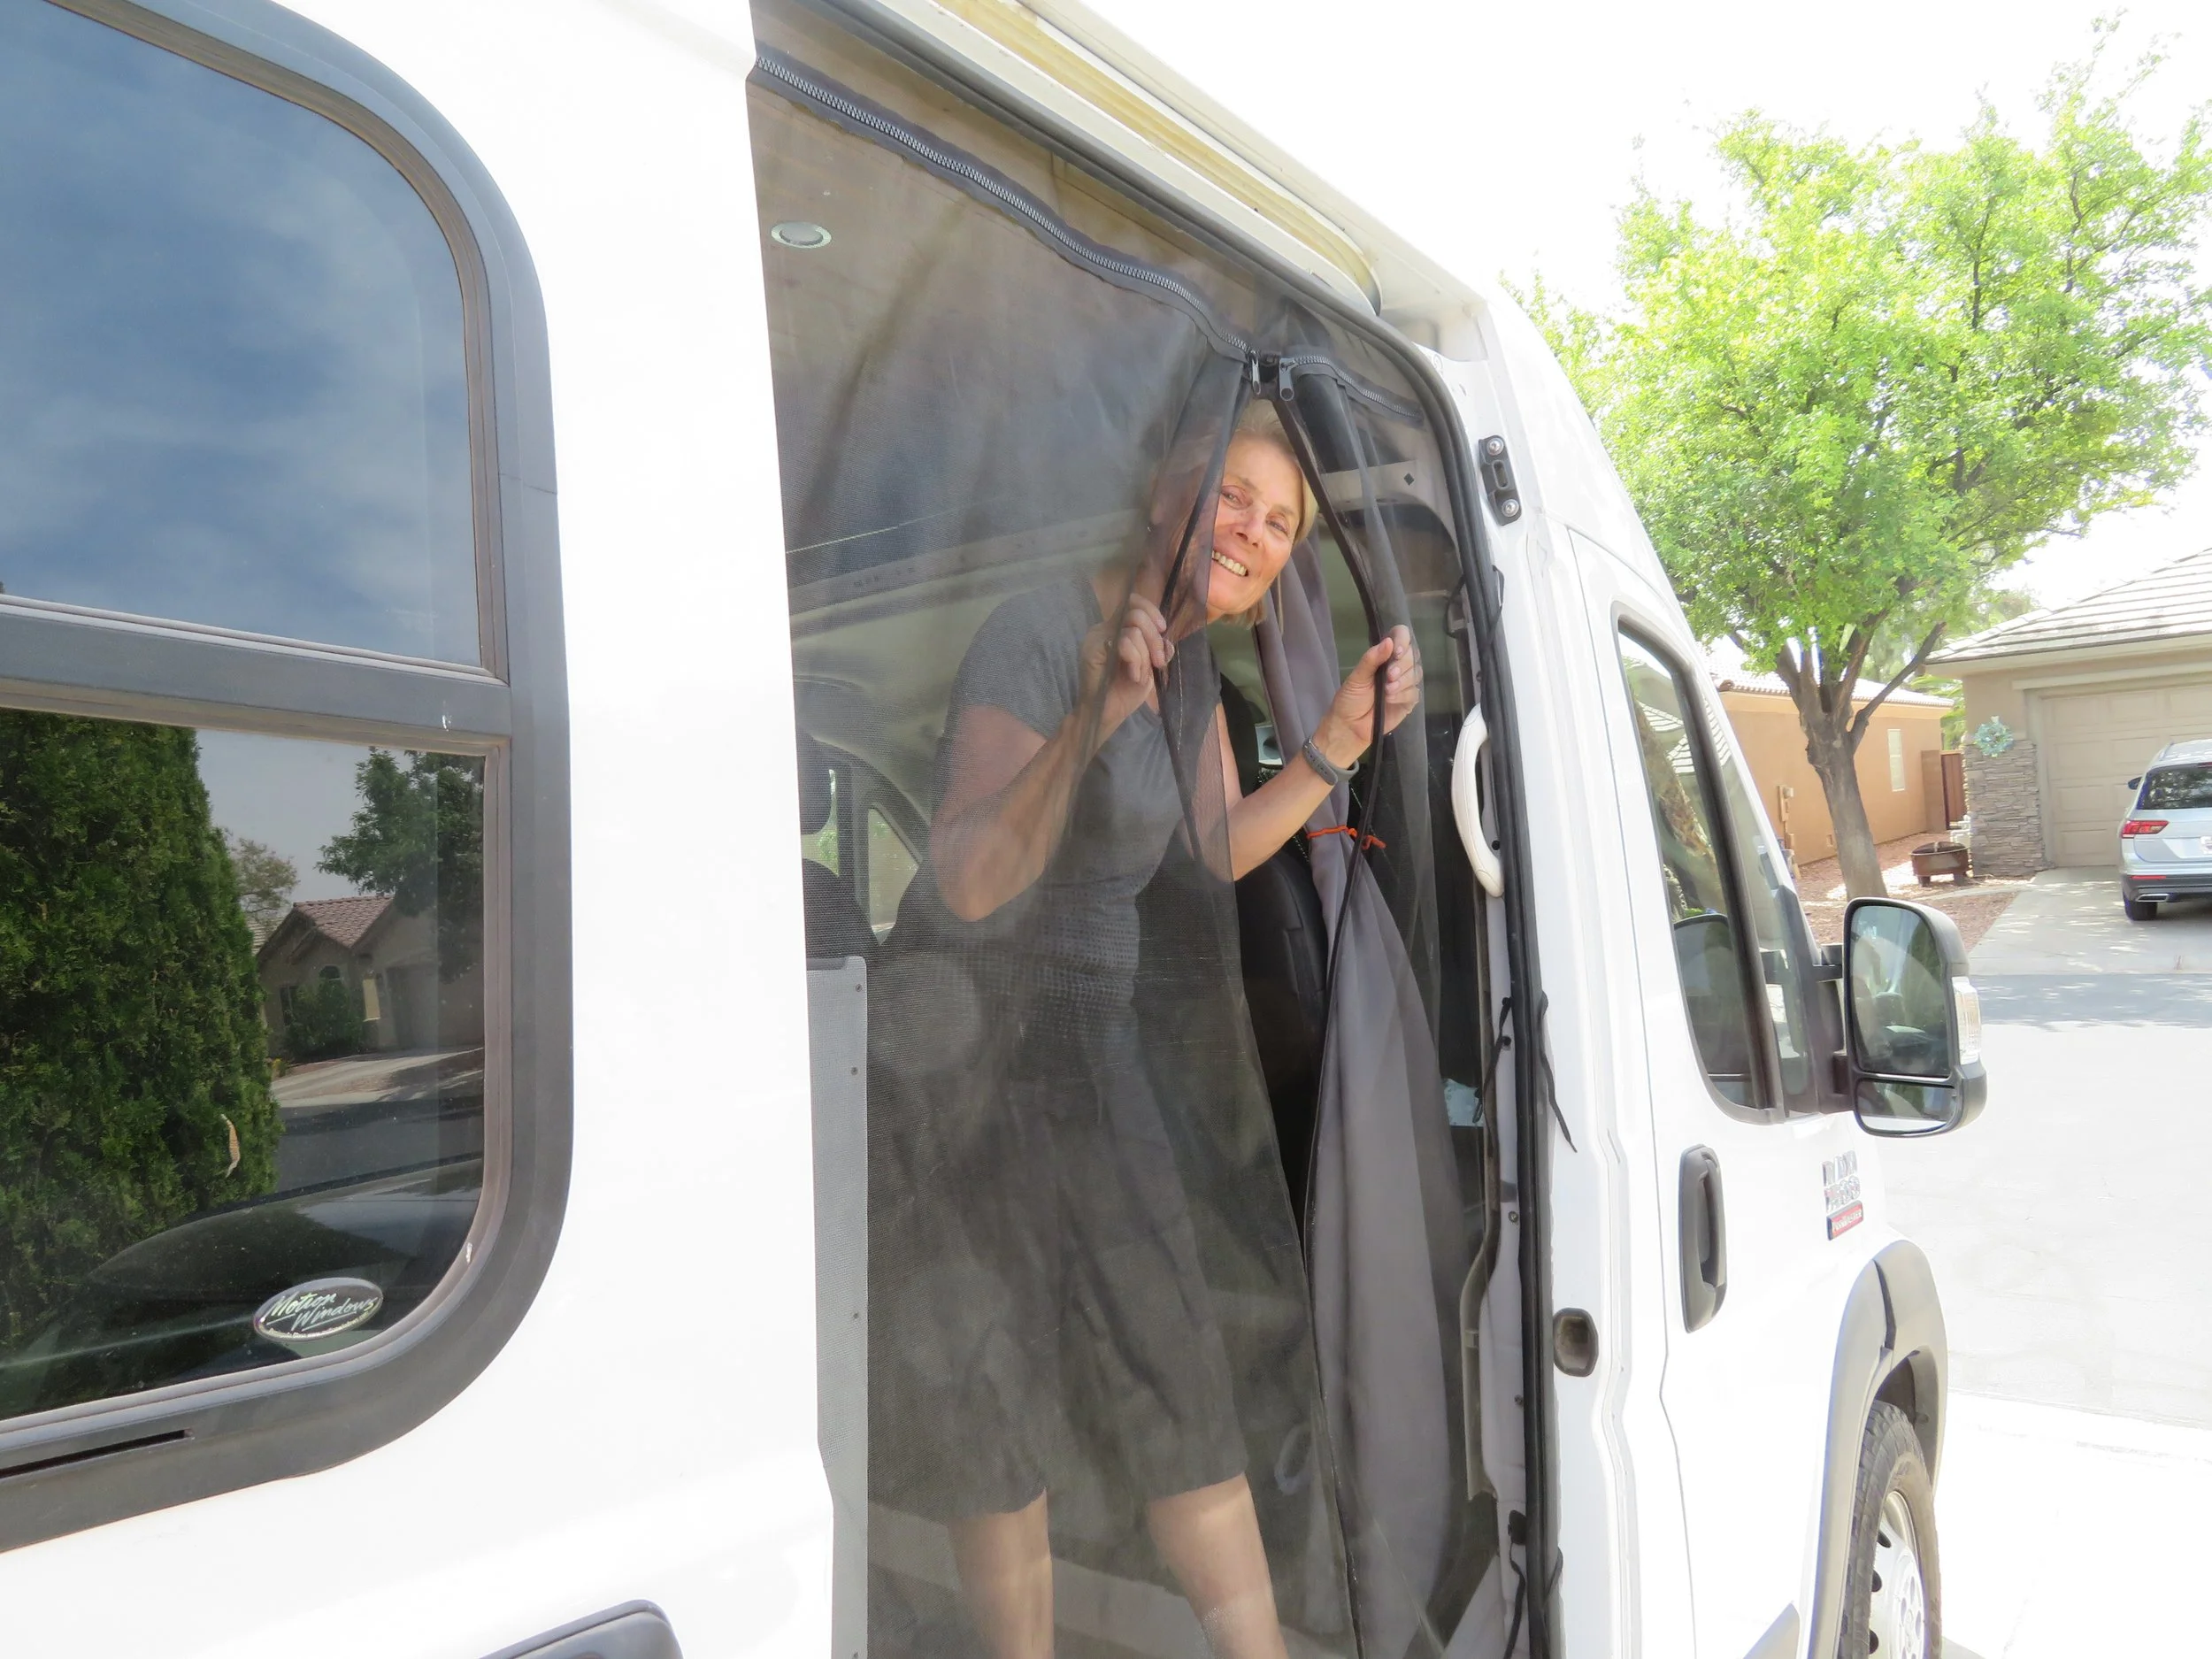
Now onto the slider door which was a little different. First, we wanted a magnetic closure for entry with zips along the top to allow it to be opened all the way. We also wanted the entry to be off-center, so I would have easy access to the grab handle to get into Blanche. (We don’t have running boards yet, and it’s a long step up.)
I ordered more of the same zips… a 12” and a 36” and they worked perfectly for the top of the screen. We ordered more of the same screening material and then had to figure out what to use for the magnetic tape for the entry opening. We surmised we could buy a patio or garage door screen with a magnetic opening and modify it for our purposes. In the end, however, we purchased Gauder A+B Magnetic Tape for Fly Screen and Mosquito Net with self-adhesive and it was both cheaper and easier.
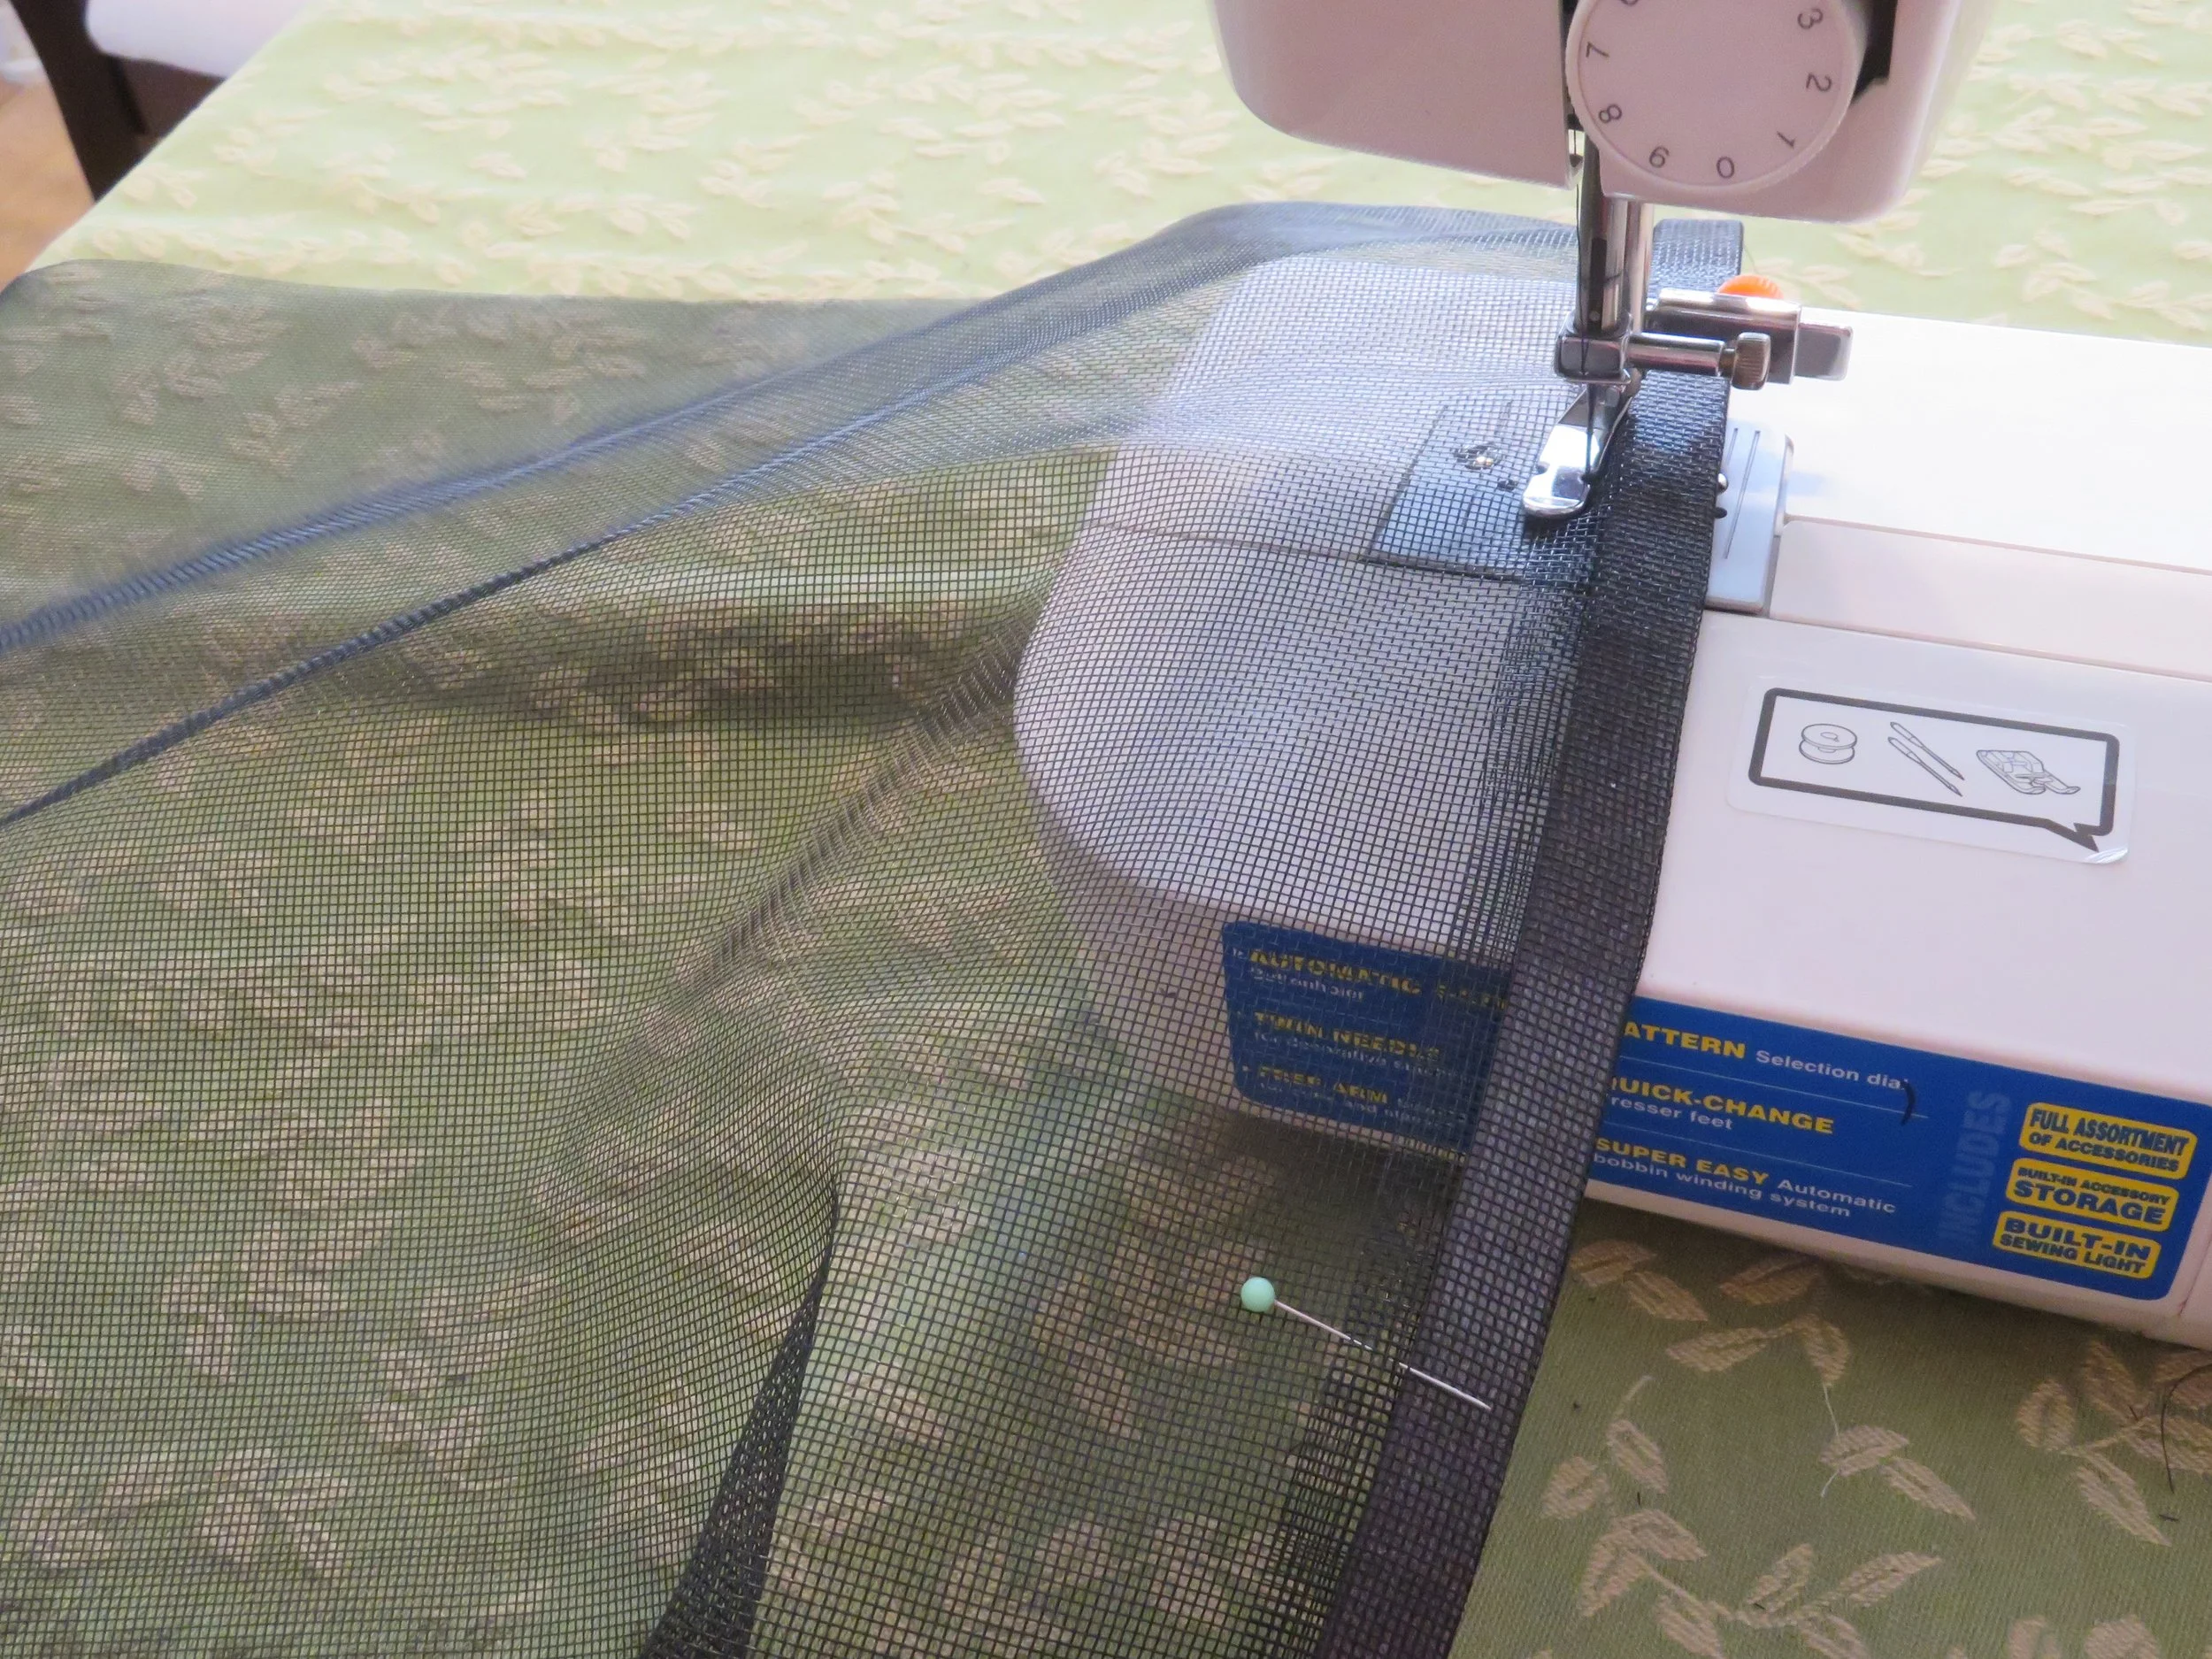
I ended up sewing the magnetic tape inside a tube created along the entry edges of the screening material. The zipper foot worked well for the close stitching.
The self-adhesive on the reverse side of the magnetic tape might have worked if it was for a one-time, permanent installation, but since we intended it for constant entry and exit, we reckoned the tape would pull away from the screening material. Subsequent testing proved this theory to be true. I ended up sewing the tape inside a tube created along the entry edges of the screening material and it seemed to work just fine. I hadn’t anticipated how the magnets would be attracted to the metal surfaces of the sewing machine, pins, scissors, and any other piece of nearby metal, so the going was slow at times, but not unmanageable. David installed the finished screen in about an hour. We can open the entry door easily and then it pretty much closes by itself when the magnets come in contact with each other.

A couple of bugs (yikes, no bugs, please) needed to be worked out. In the areas where all the zippers meet, there is a gap in the screen material. This problem was easily overcome by attaching a little flap of material that hangs down and covers the exposed opening.
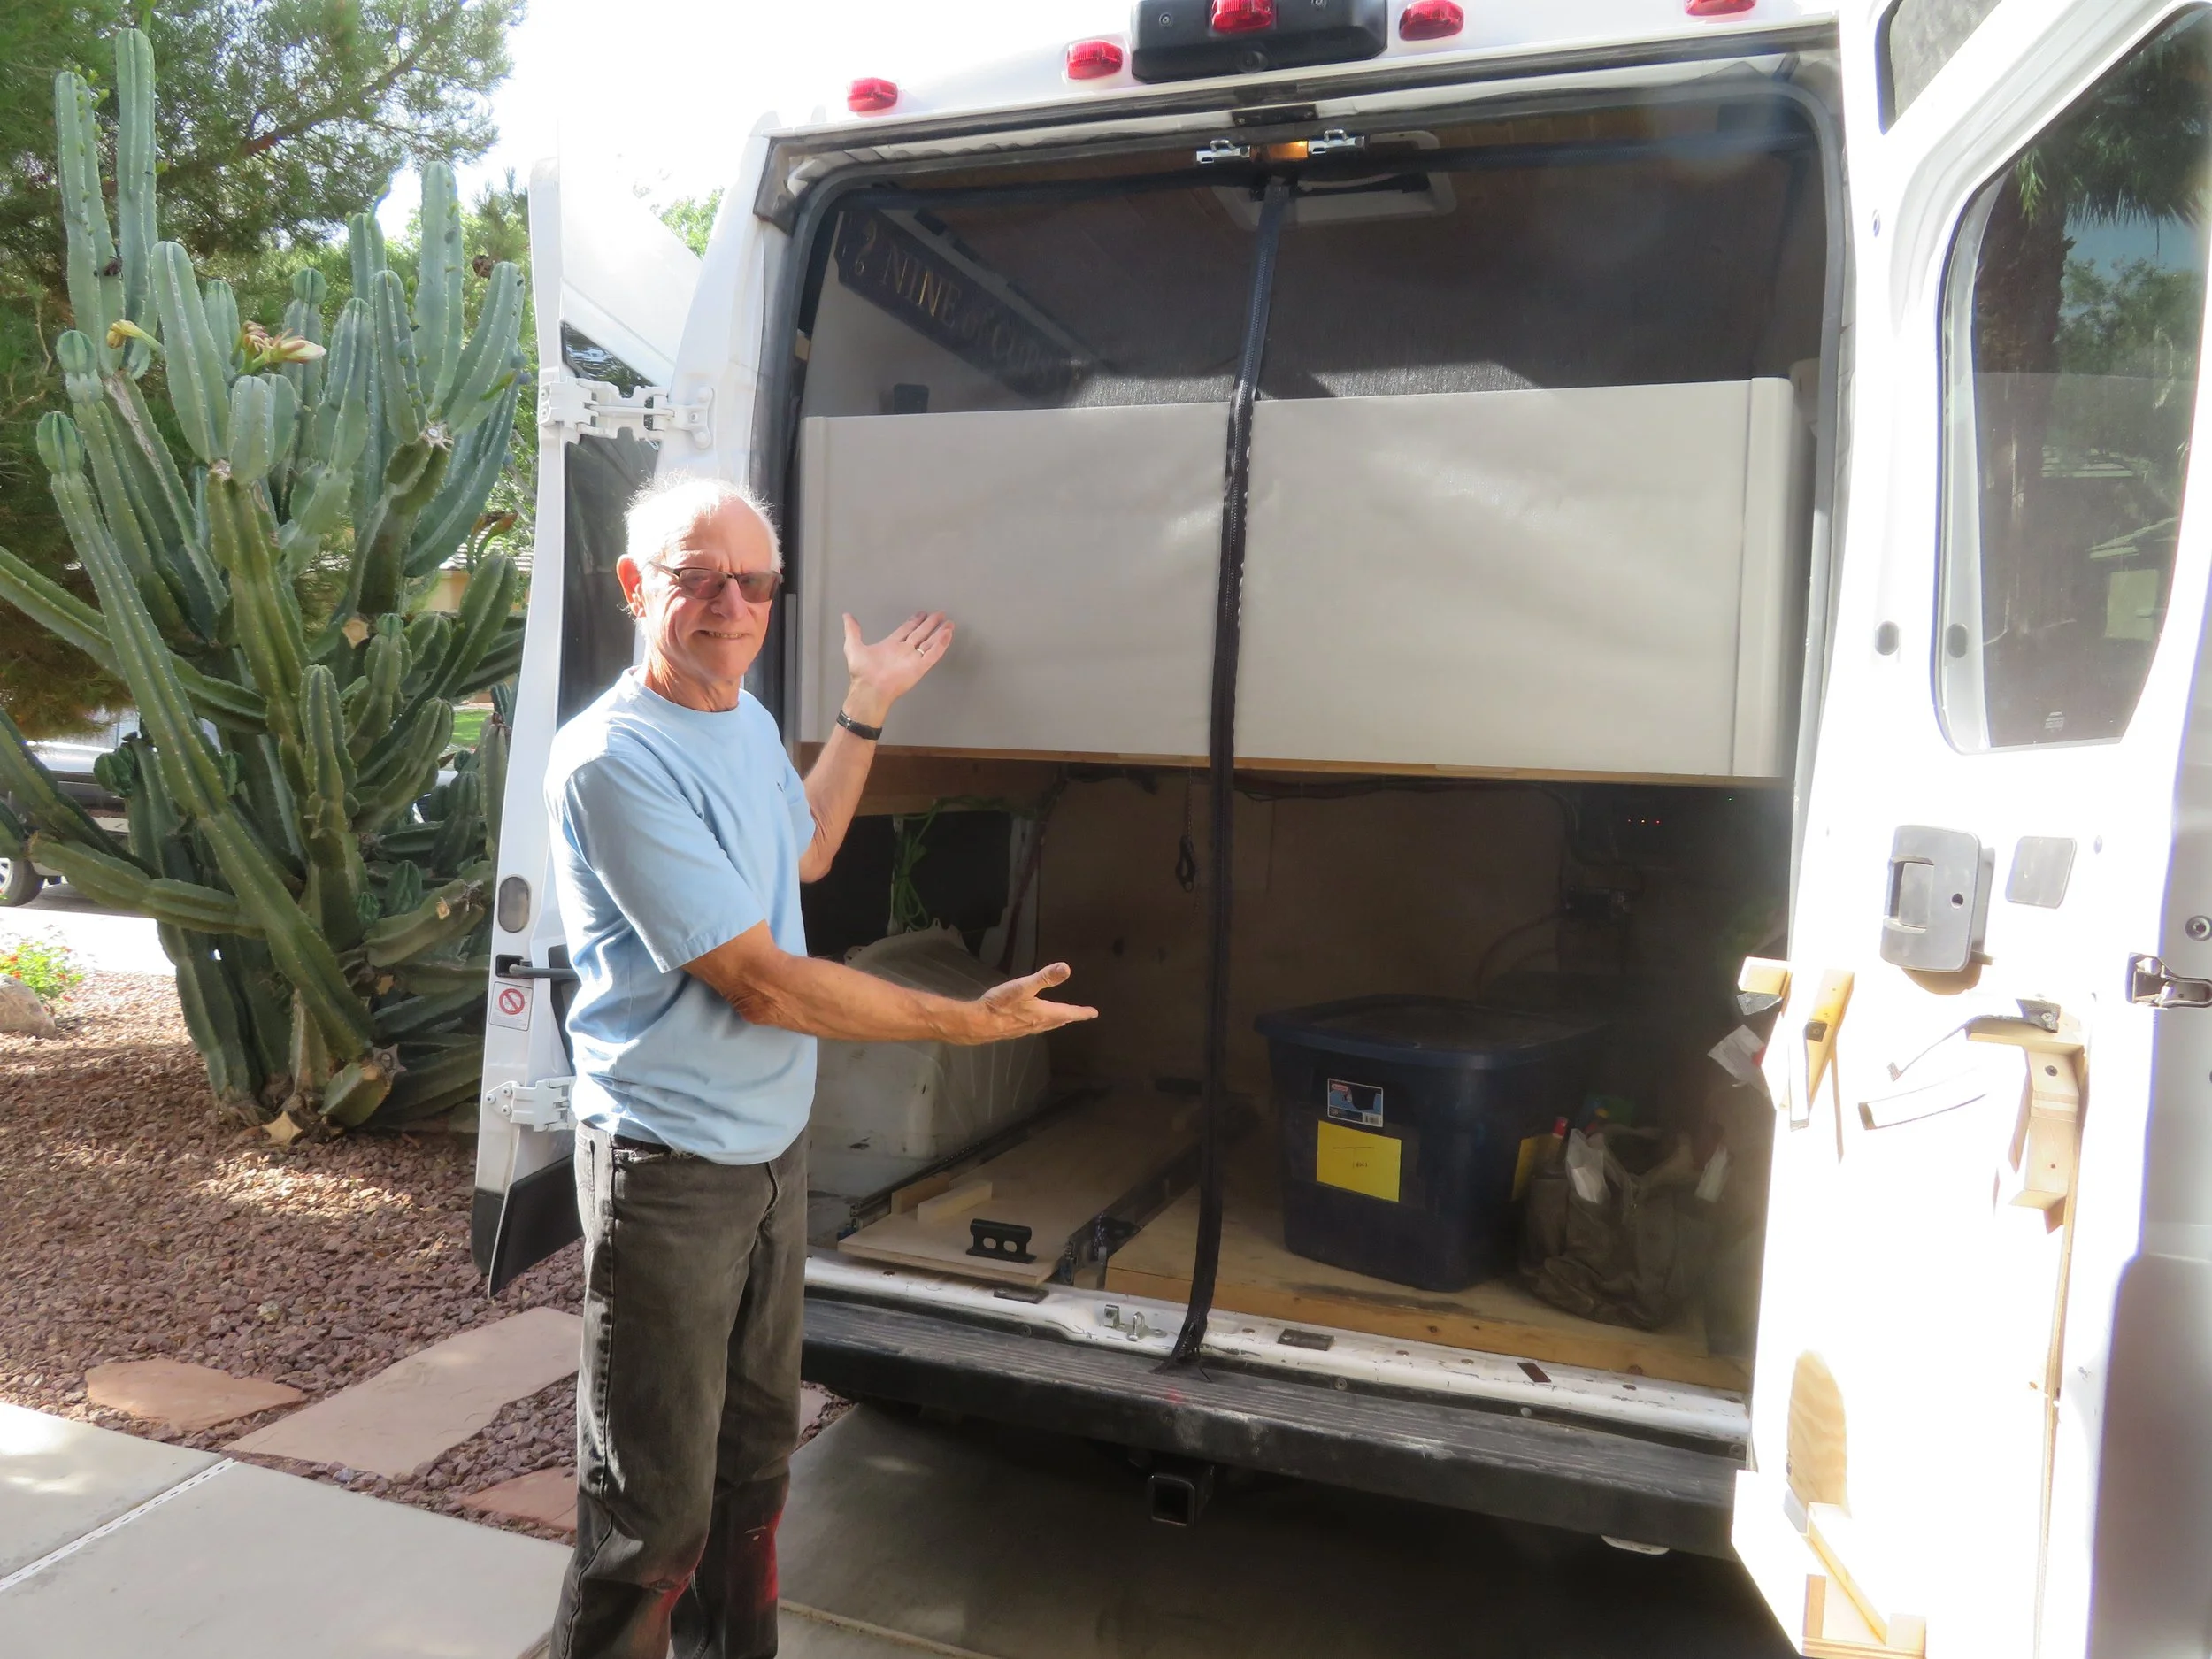
In the back, when the screening material is not in use, it can easily be tucked inside the inside edge of the van and be out of the way when opening and closing the doors. On the slider, however, there’s no room to tuck the screen inside the van without it getting caught in the door. We pondered solutions and it turned out that simple flat black shoelaces tucked under the door gasket in strategic places on the forward screen allowed us to roll the screen and tie it out of the way when not in use.

Flat black shoelaces worked well to tie the slider screen out of the way when not in use.
Another small issue was the bottom of the screen on both the rear and slider doors. We didn’t want bugs to be able to slip through into our living area. We added a piece of magnetic tape along the bottom of the screens and they either stick to the van metal parts or to a strip of metal that David installed just for that purpose.
Time will tell how our DIY insect screen project fares in its efforts to keep out the critters. I’ve ordered a roll of black screen repair tape… just in case. Semper paratus. The total project cost about $130 and a couple of days’ work, a far cry from the $1000 we originally considered or even the $400+ for the screens I would have had to modify. I think I have big credits and I’m currently contemplating just how I’ll spend them.
By the way, this is the last project to complete. We’re packed, loaded, and off. Join us next time as we head north towards the western terminus of the Great Northern Auto Route.