

An Easy DIY Battery Heater
/Did you know that lithium-ion batteries don't do well in cold temperatures? They can't be charged below freezing and totally shut down if the battery temperature drops below zero degrees Fahrenheit. Most electric vehicles cope with this problem by heating the batteries to keep them above 40 degrees F.
The house batteries in Blanche, our Promaster van, consist of two Renogy 100 amp-hour lithium-ion batteries. They can be purchased with an internal heater, but this option adds a couple hundred dollars to the cost, so we bought the unheated version. This isn’t usually a problem here in Las Vegas, but with our wintertime road trip to New England, it was important to find a way to keep the batteries warm. We came up with this inexpensive, do-it-yourself battery heater that can be built easily and quickly.
Here’s the parts needed to build the heater: ( Note: I used to provide links to the products we purchased on Amazon, but these links typically only work for a few weeks. Instead, I’ll provide the wording I used to search for the individual parts.)

These silicone heating mats that I found on Amazon will heat up when connected to 12 volts DC. I bought four of them. Search for “heater mat, 25 w, 12 v”.
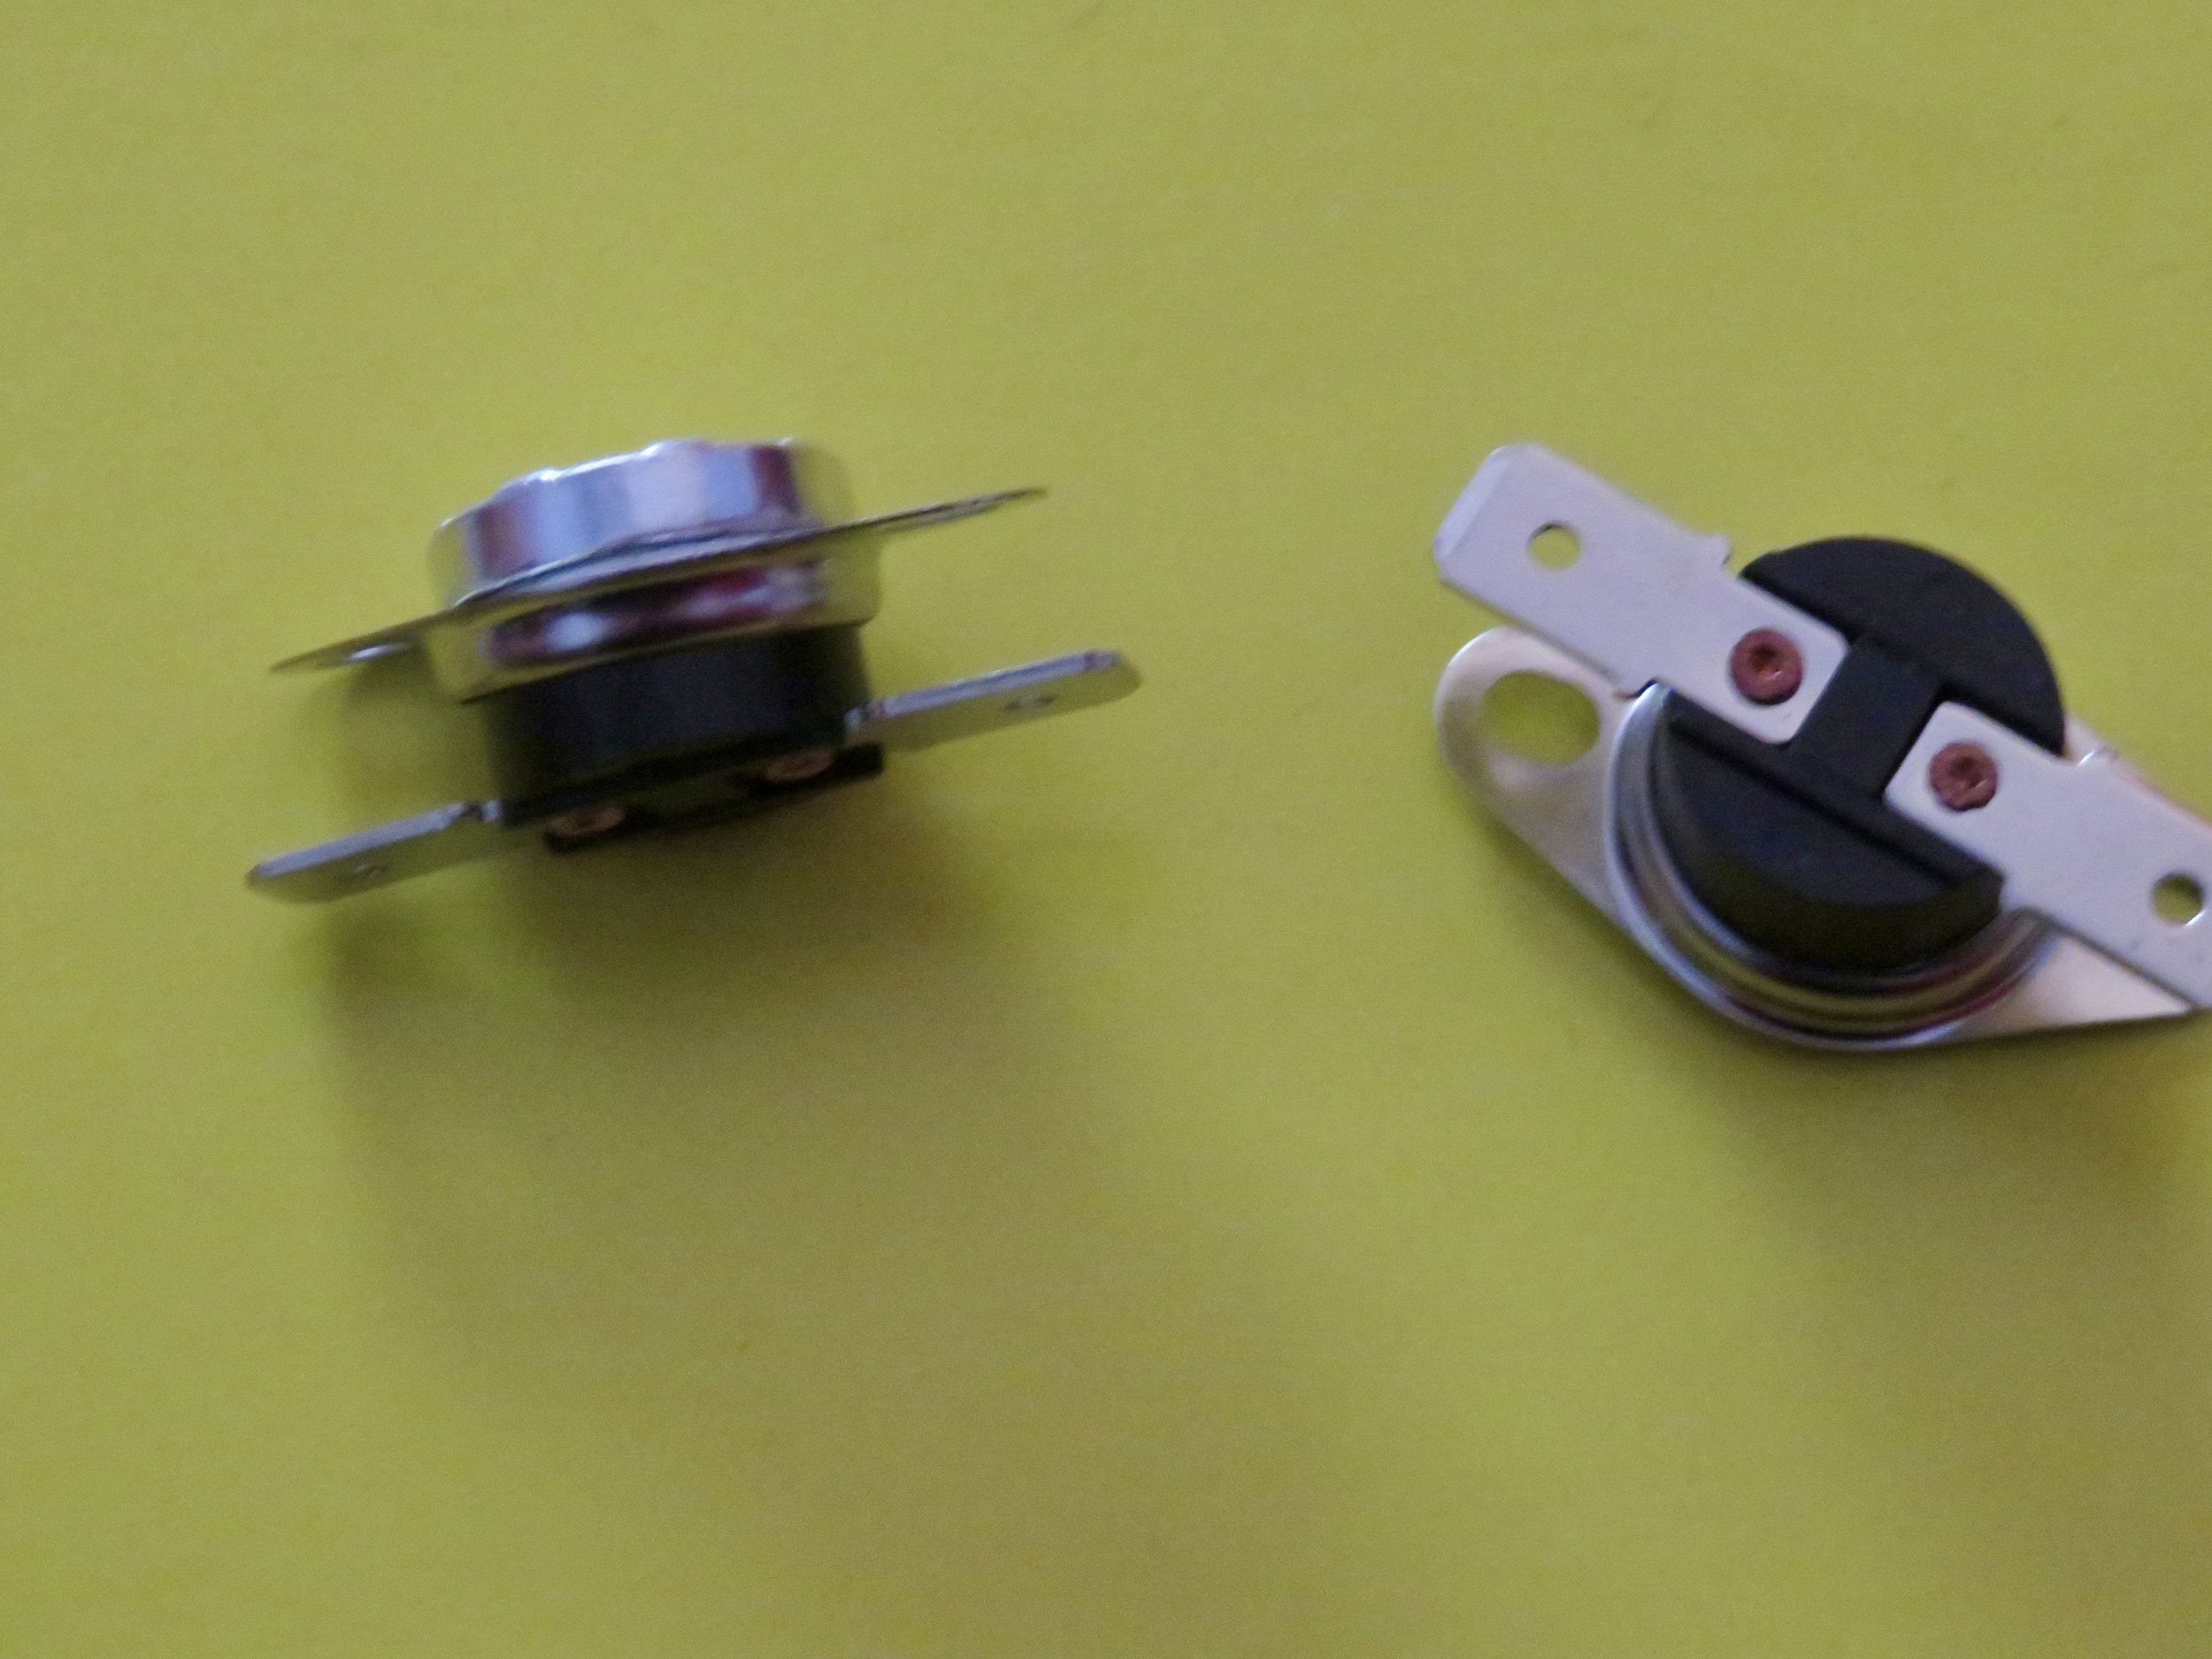
These thermal switches will turn on when the temperature drops below about 40 degrees Fahrenheit, and turn the circuit back off when the temperature rises back up above 40 degrees. Search for “Thermal Control Switch, 5 degrees C, normally closed”. Note that the temperature rating is usually in degrees C, and you want the normally closed version. A normally open switch will turn the heater on whenever the temperature goes above 40 degrees - the opposite of what we want.
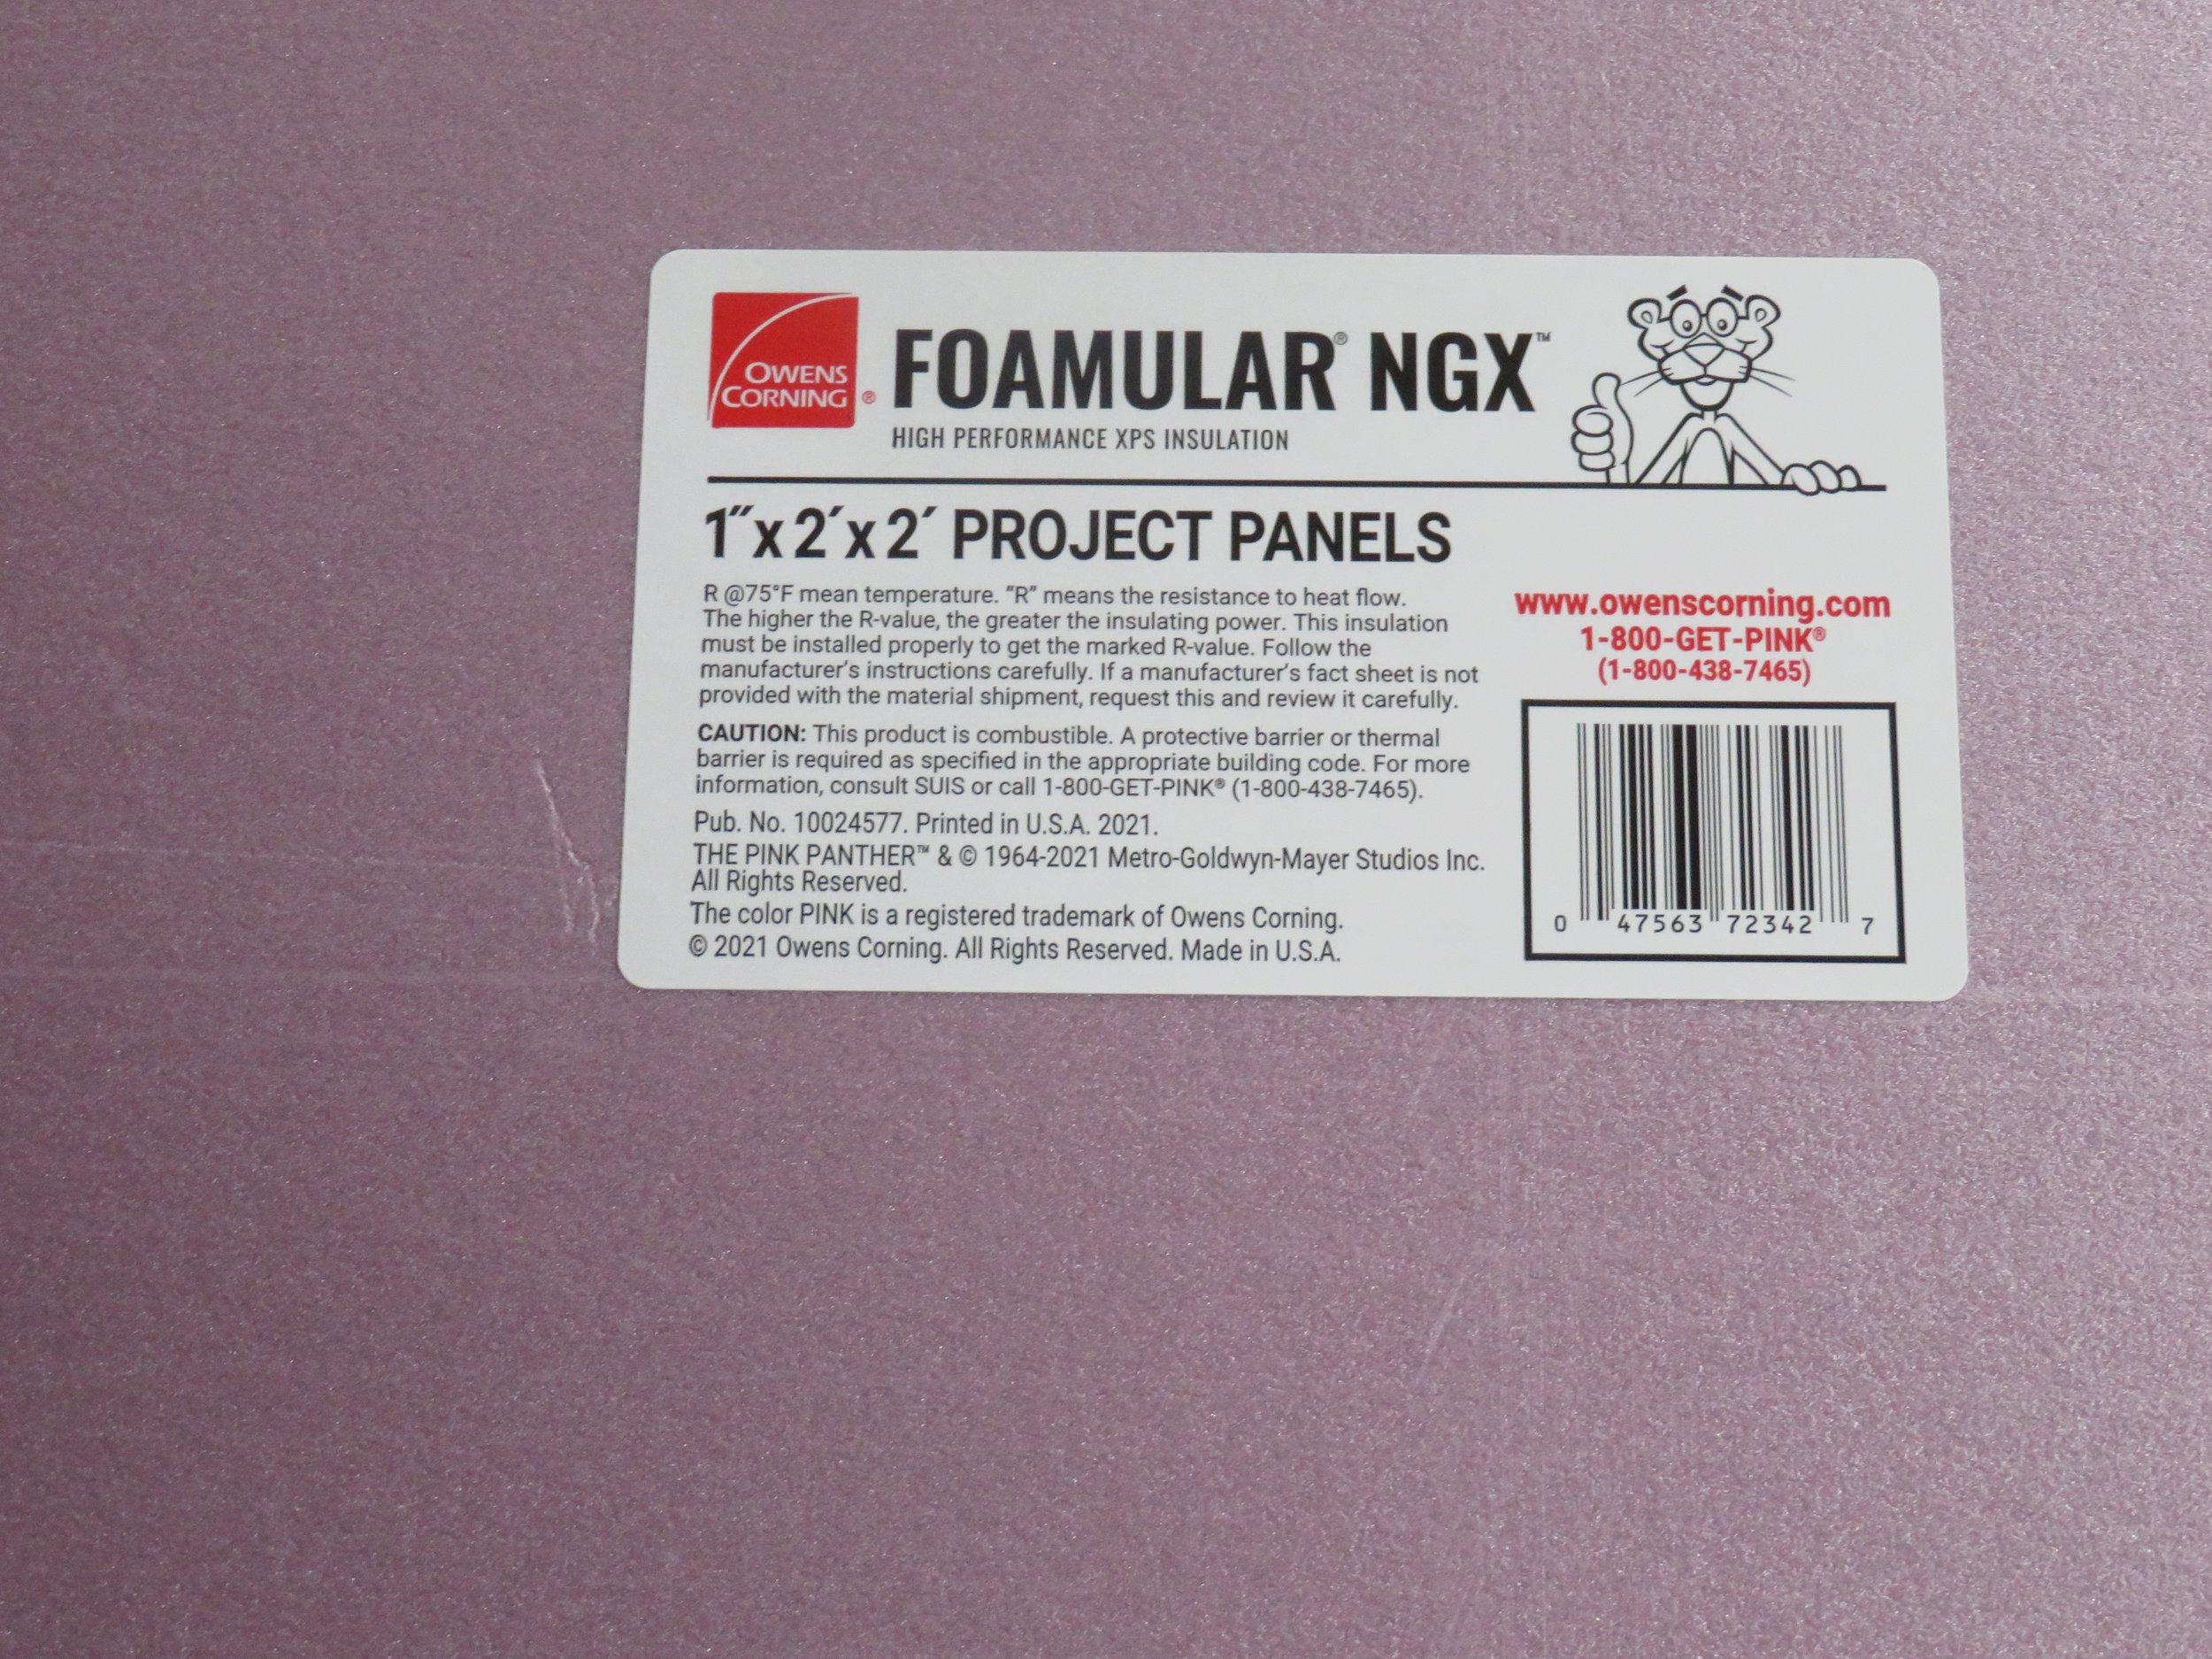
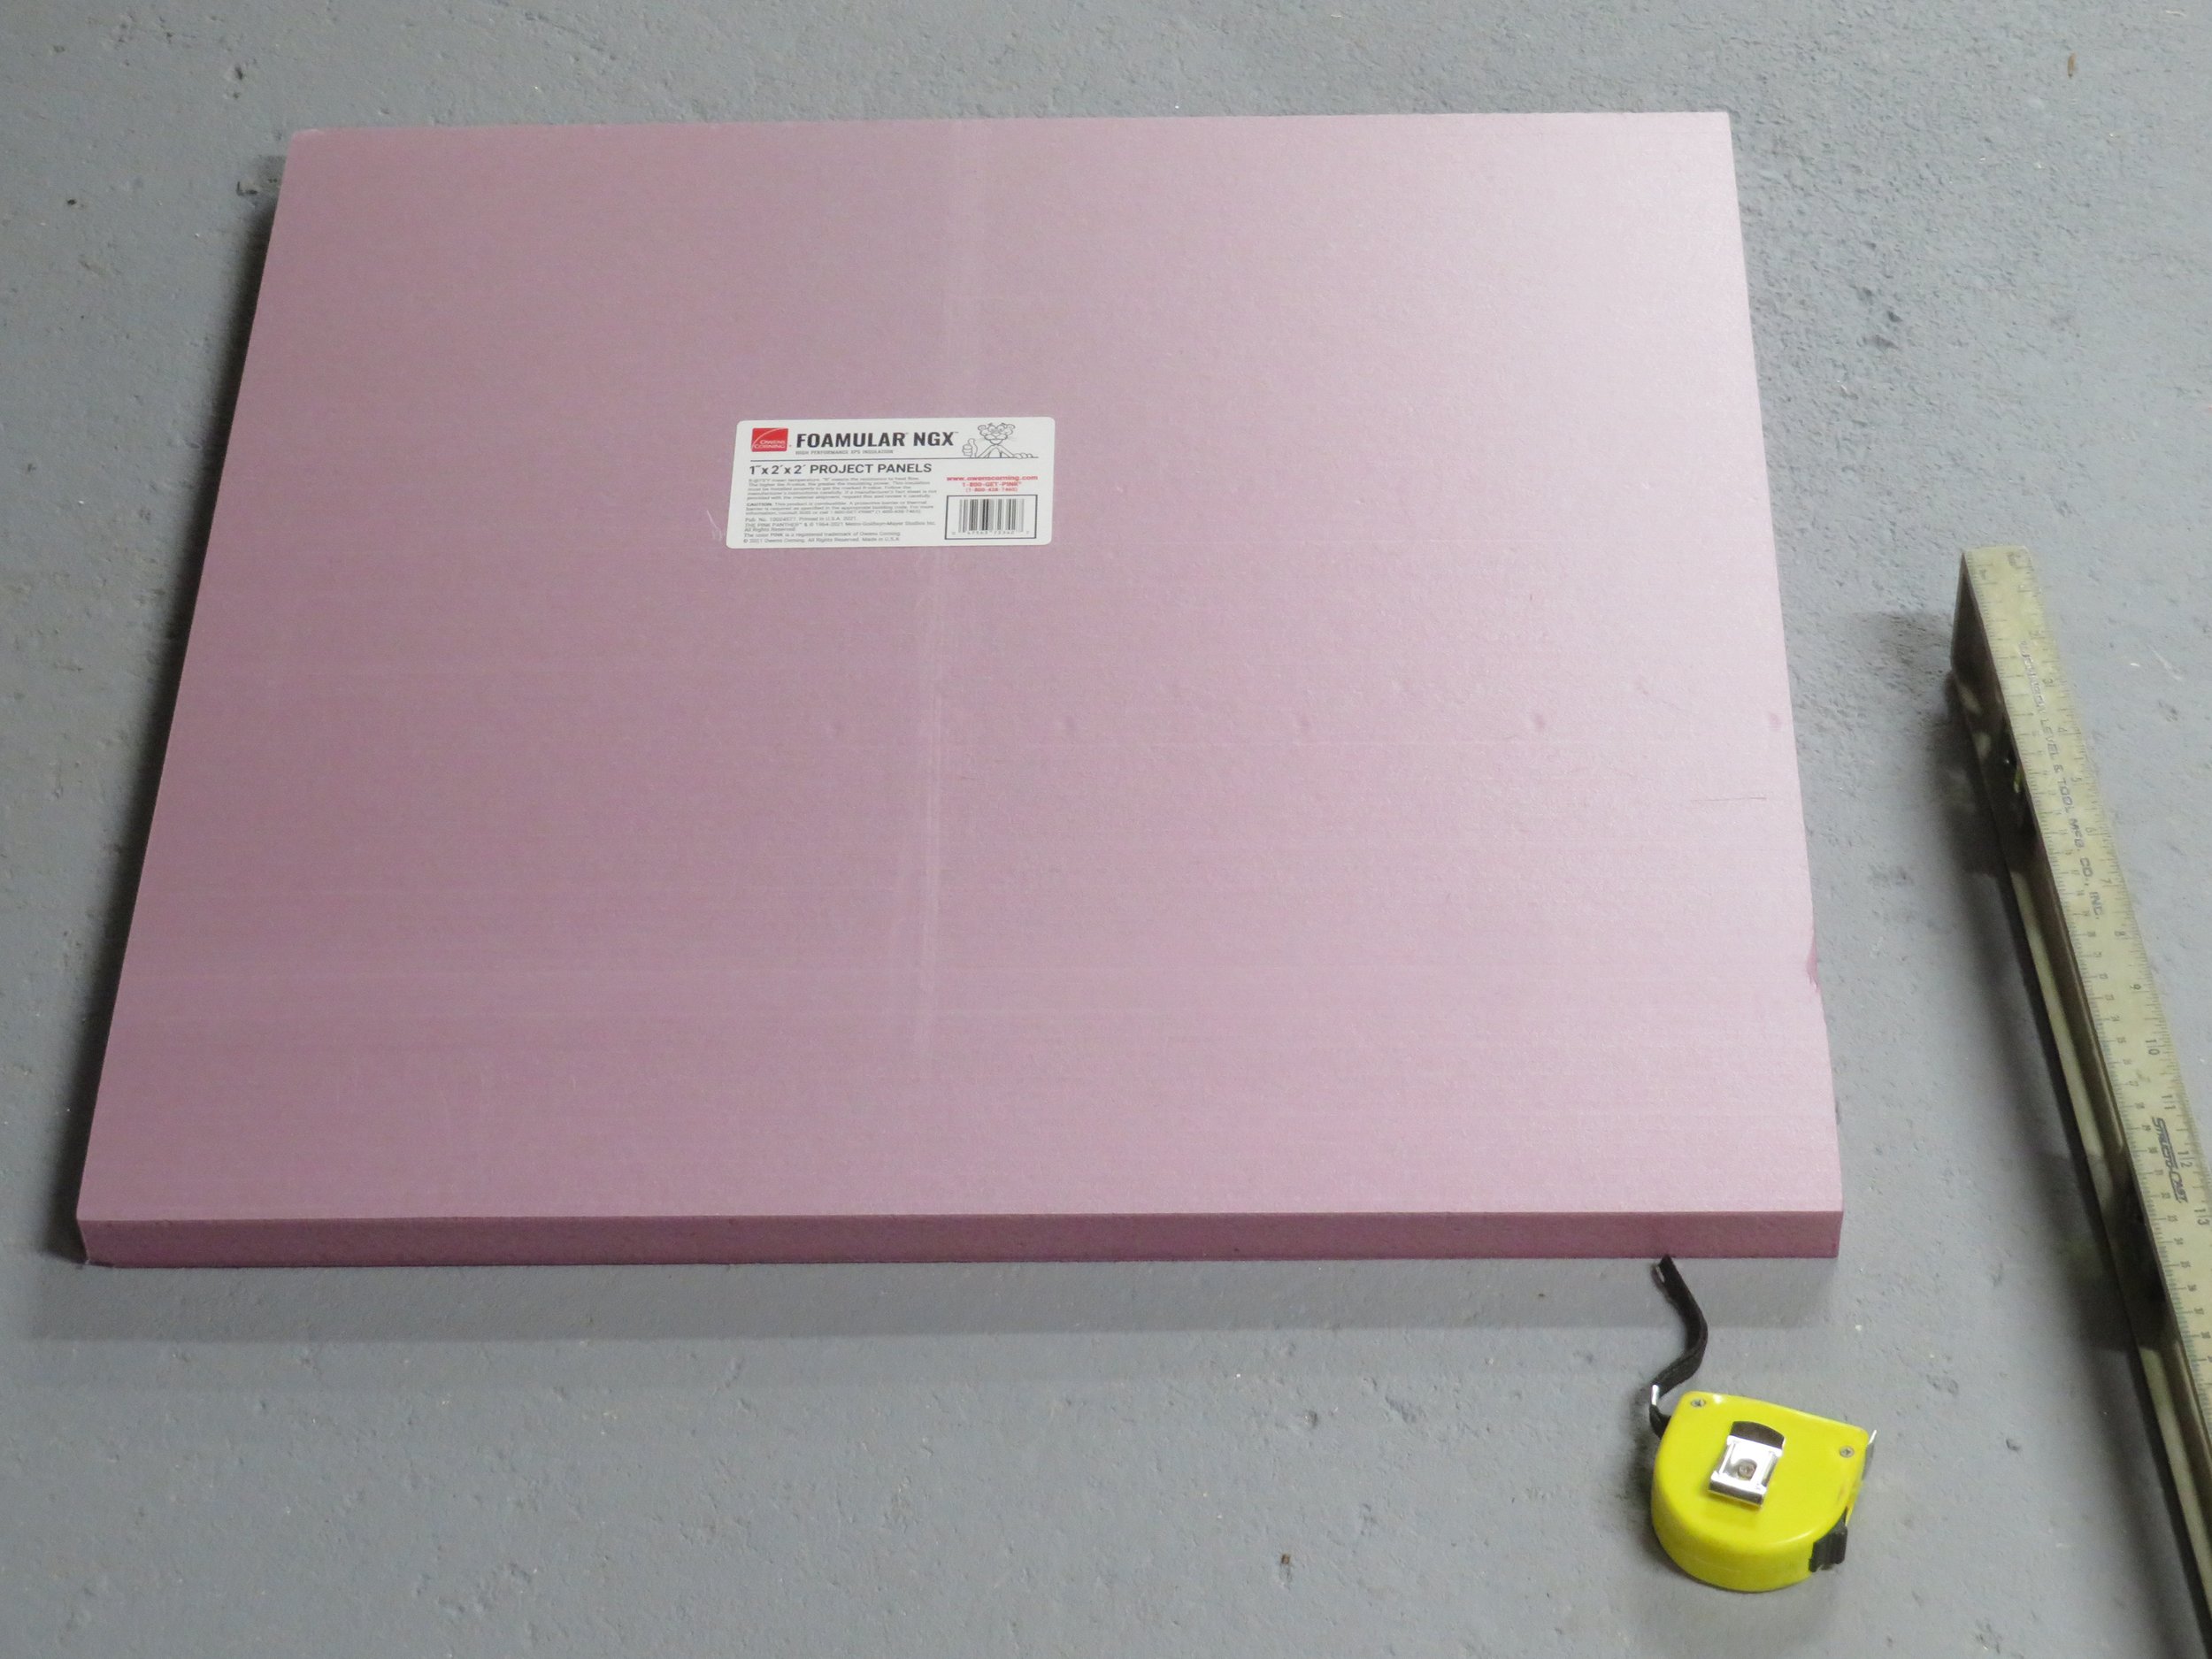
These 1-inch thick foam panels can be cut to size and then used to insulate the batteries. They are usually available at any big box lumber store - Lowes, Home Depot, Menards, etc.

You'll also need an assortment of red crimp connectors, butt connectors, small ring terminals and quick disconnect terminals.
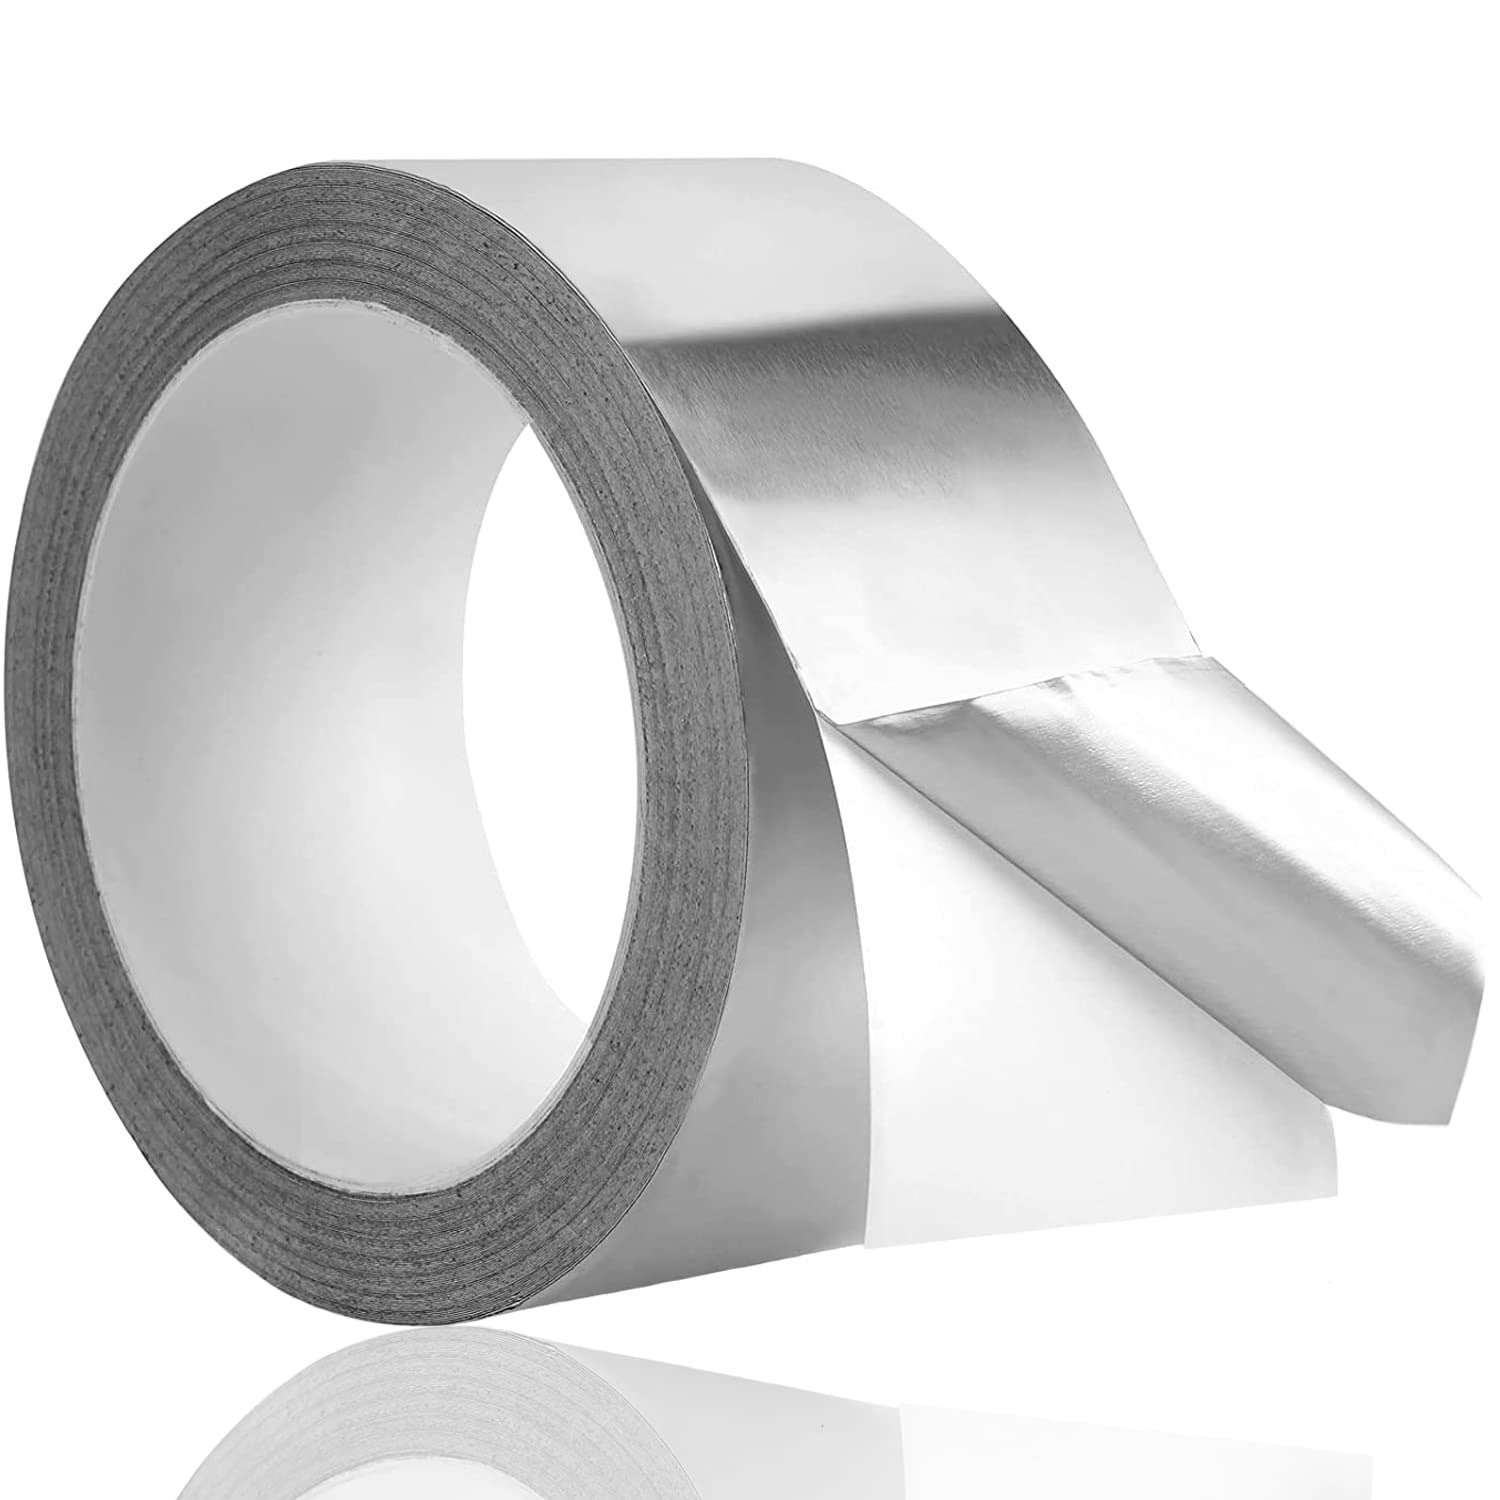
To hold the heater mats, switch, and insulation in place, I used water heater insulation tape, which can withstand high temperatures and sticks well even cold temperatures. Available on Amazon or any big box hardware/lumber store.

The wire I used was 18 gauge stranded. For our van, I needed about 5 feet of both red and black. I bought this spool on Amazon. Search for “18 AWG, 2 conductor stranded wire”.
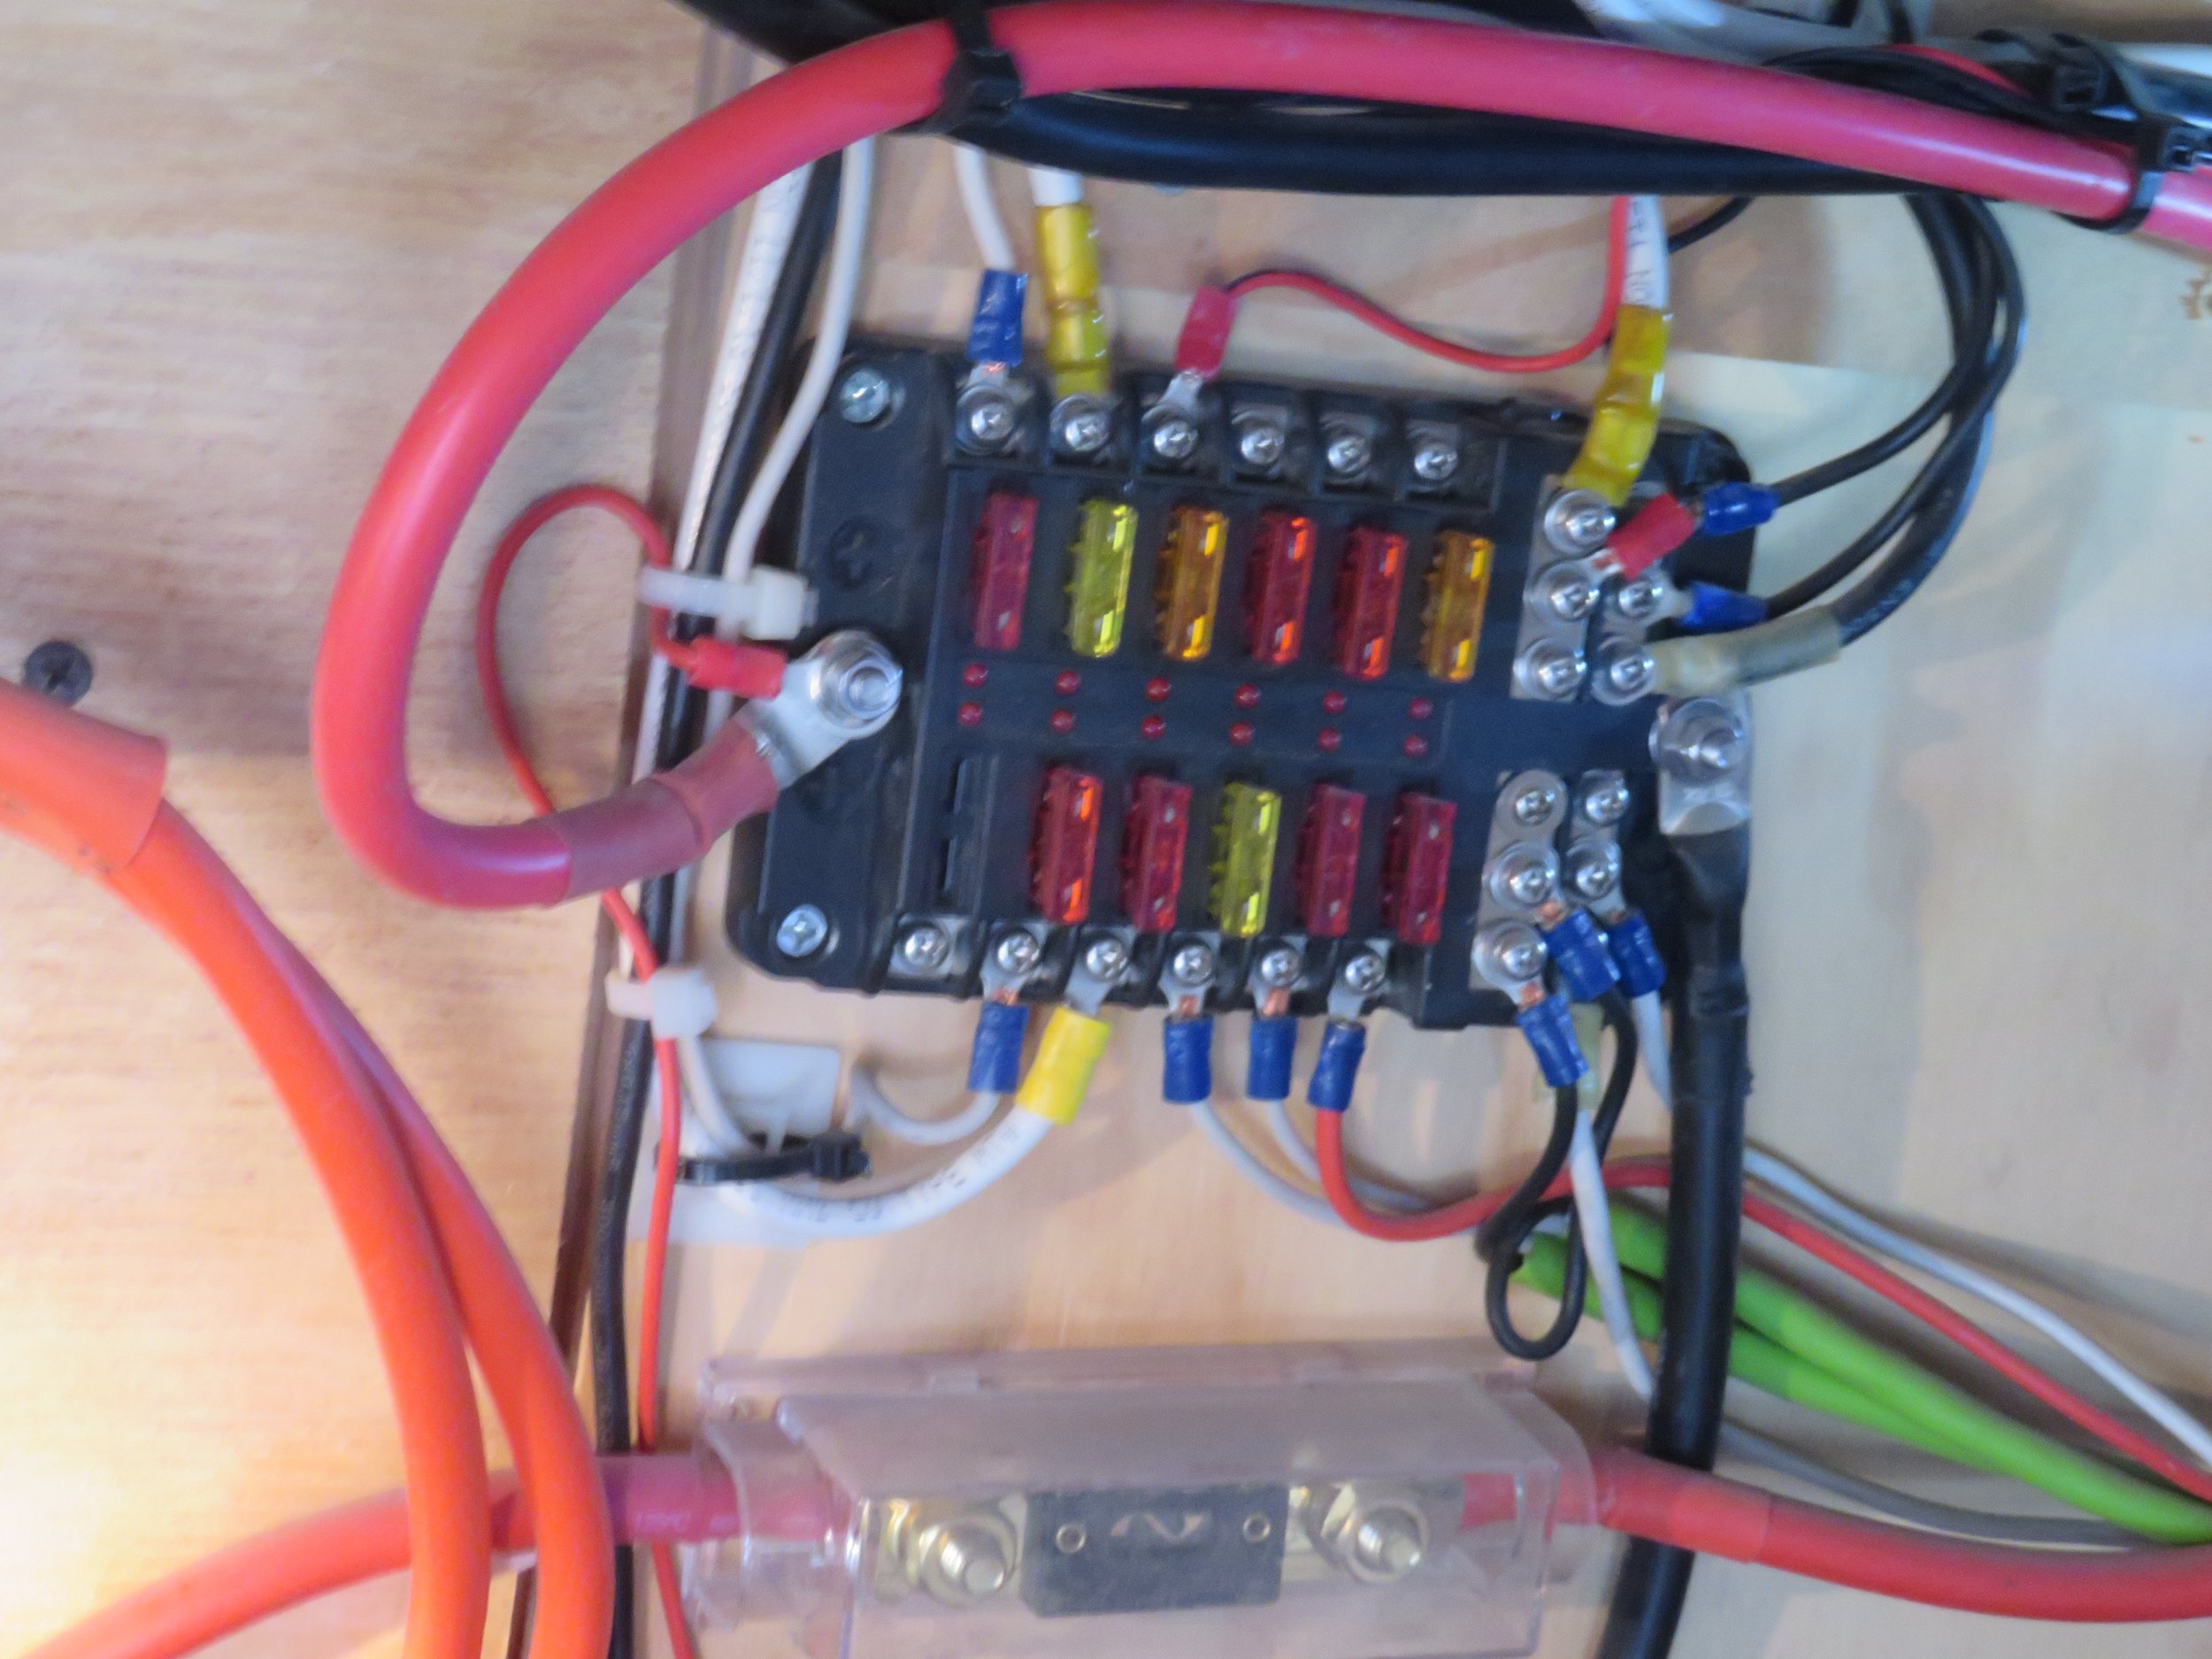
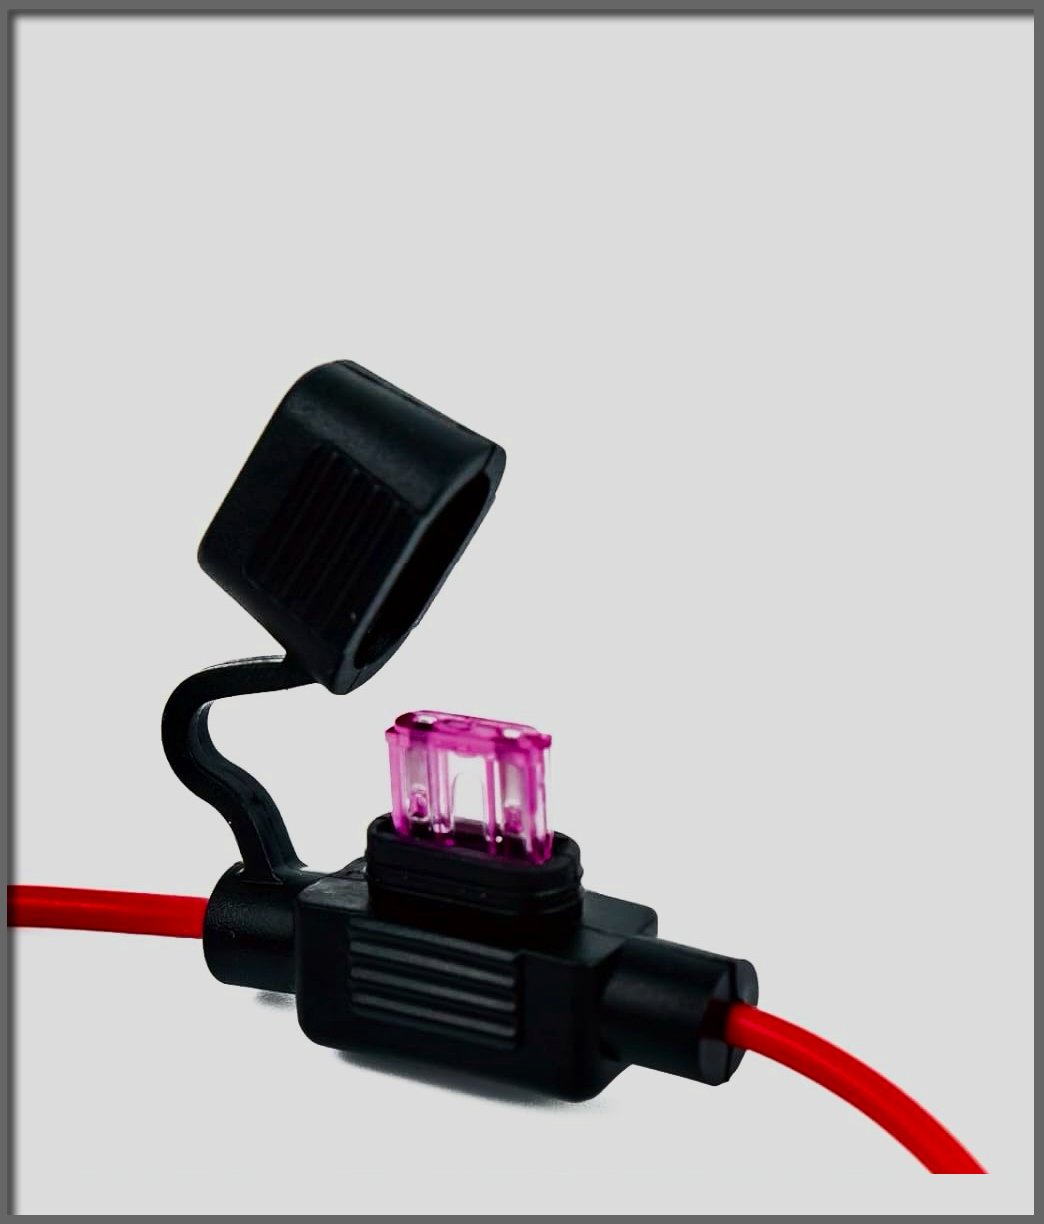
Our van has a fuse panel to make the connection to the battery. If yours doesn't, you'll need an inline fuse to make the connection to the battery. In either case, you will also need a 2 amp fuse. Search for “inline fuse, 18 AWG”, and “ fuse, mini blade 2 amp”.

This is the schematic of the circuit. A connection is made from the battery, through a 2 amp fuse to the thermal switch. The other side of the switch is connected to the first heating mat. I used 4 mats, two on each battery. The mats are connected in series. The second thermal switch on the negative side is not really needed. I added it as a redundant safety measure in case the first one fails. One side of that switch connects to the last heating mat, and the other side of that switch connects to the battery negative.


Use a strip of the heater tape to temporarily attach the mats to the batteries. Then make all the crimp connections between the heating mats and from the heating mats to the switches. Use the 18 gauge wire to make the connections between one of the switches and the fuse, and between the other switch and the battery negative. I used ring terminals to make the connections to the fuse block.

Use more of the insulation tape to secure the mats and switches in place.

If it's cold enough, now is a good time to insert the fuse and test the circuit. I estimated that the current draw should be just over half an amp, but I'm seeing slightly more than 0.6 amps, which is certainly in the ballpark. I did this on a cold day. On a warm day, you'll have to get creative to test the circuit... maybe lay an ice pack against each of the switches?
Next, I cut the foam panels to size. The dimensions of the foam pieces I needed are given below. If your batteries are a different size or mounted differently than mine, you'll need to modify the dimensions accordingly.
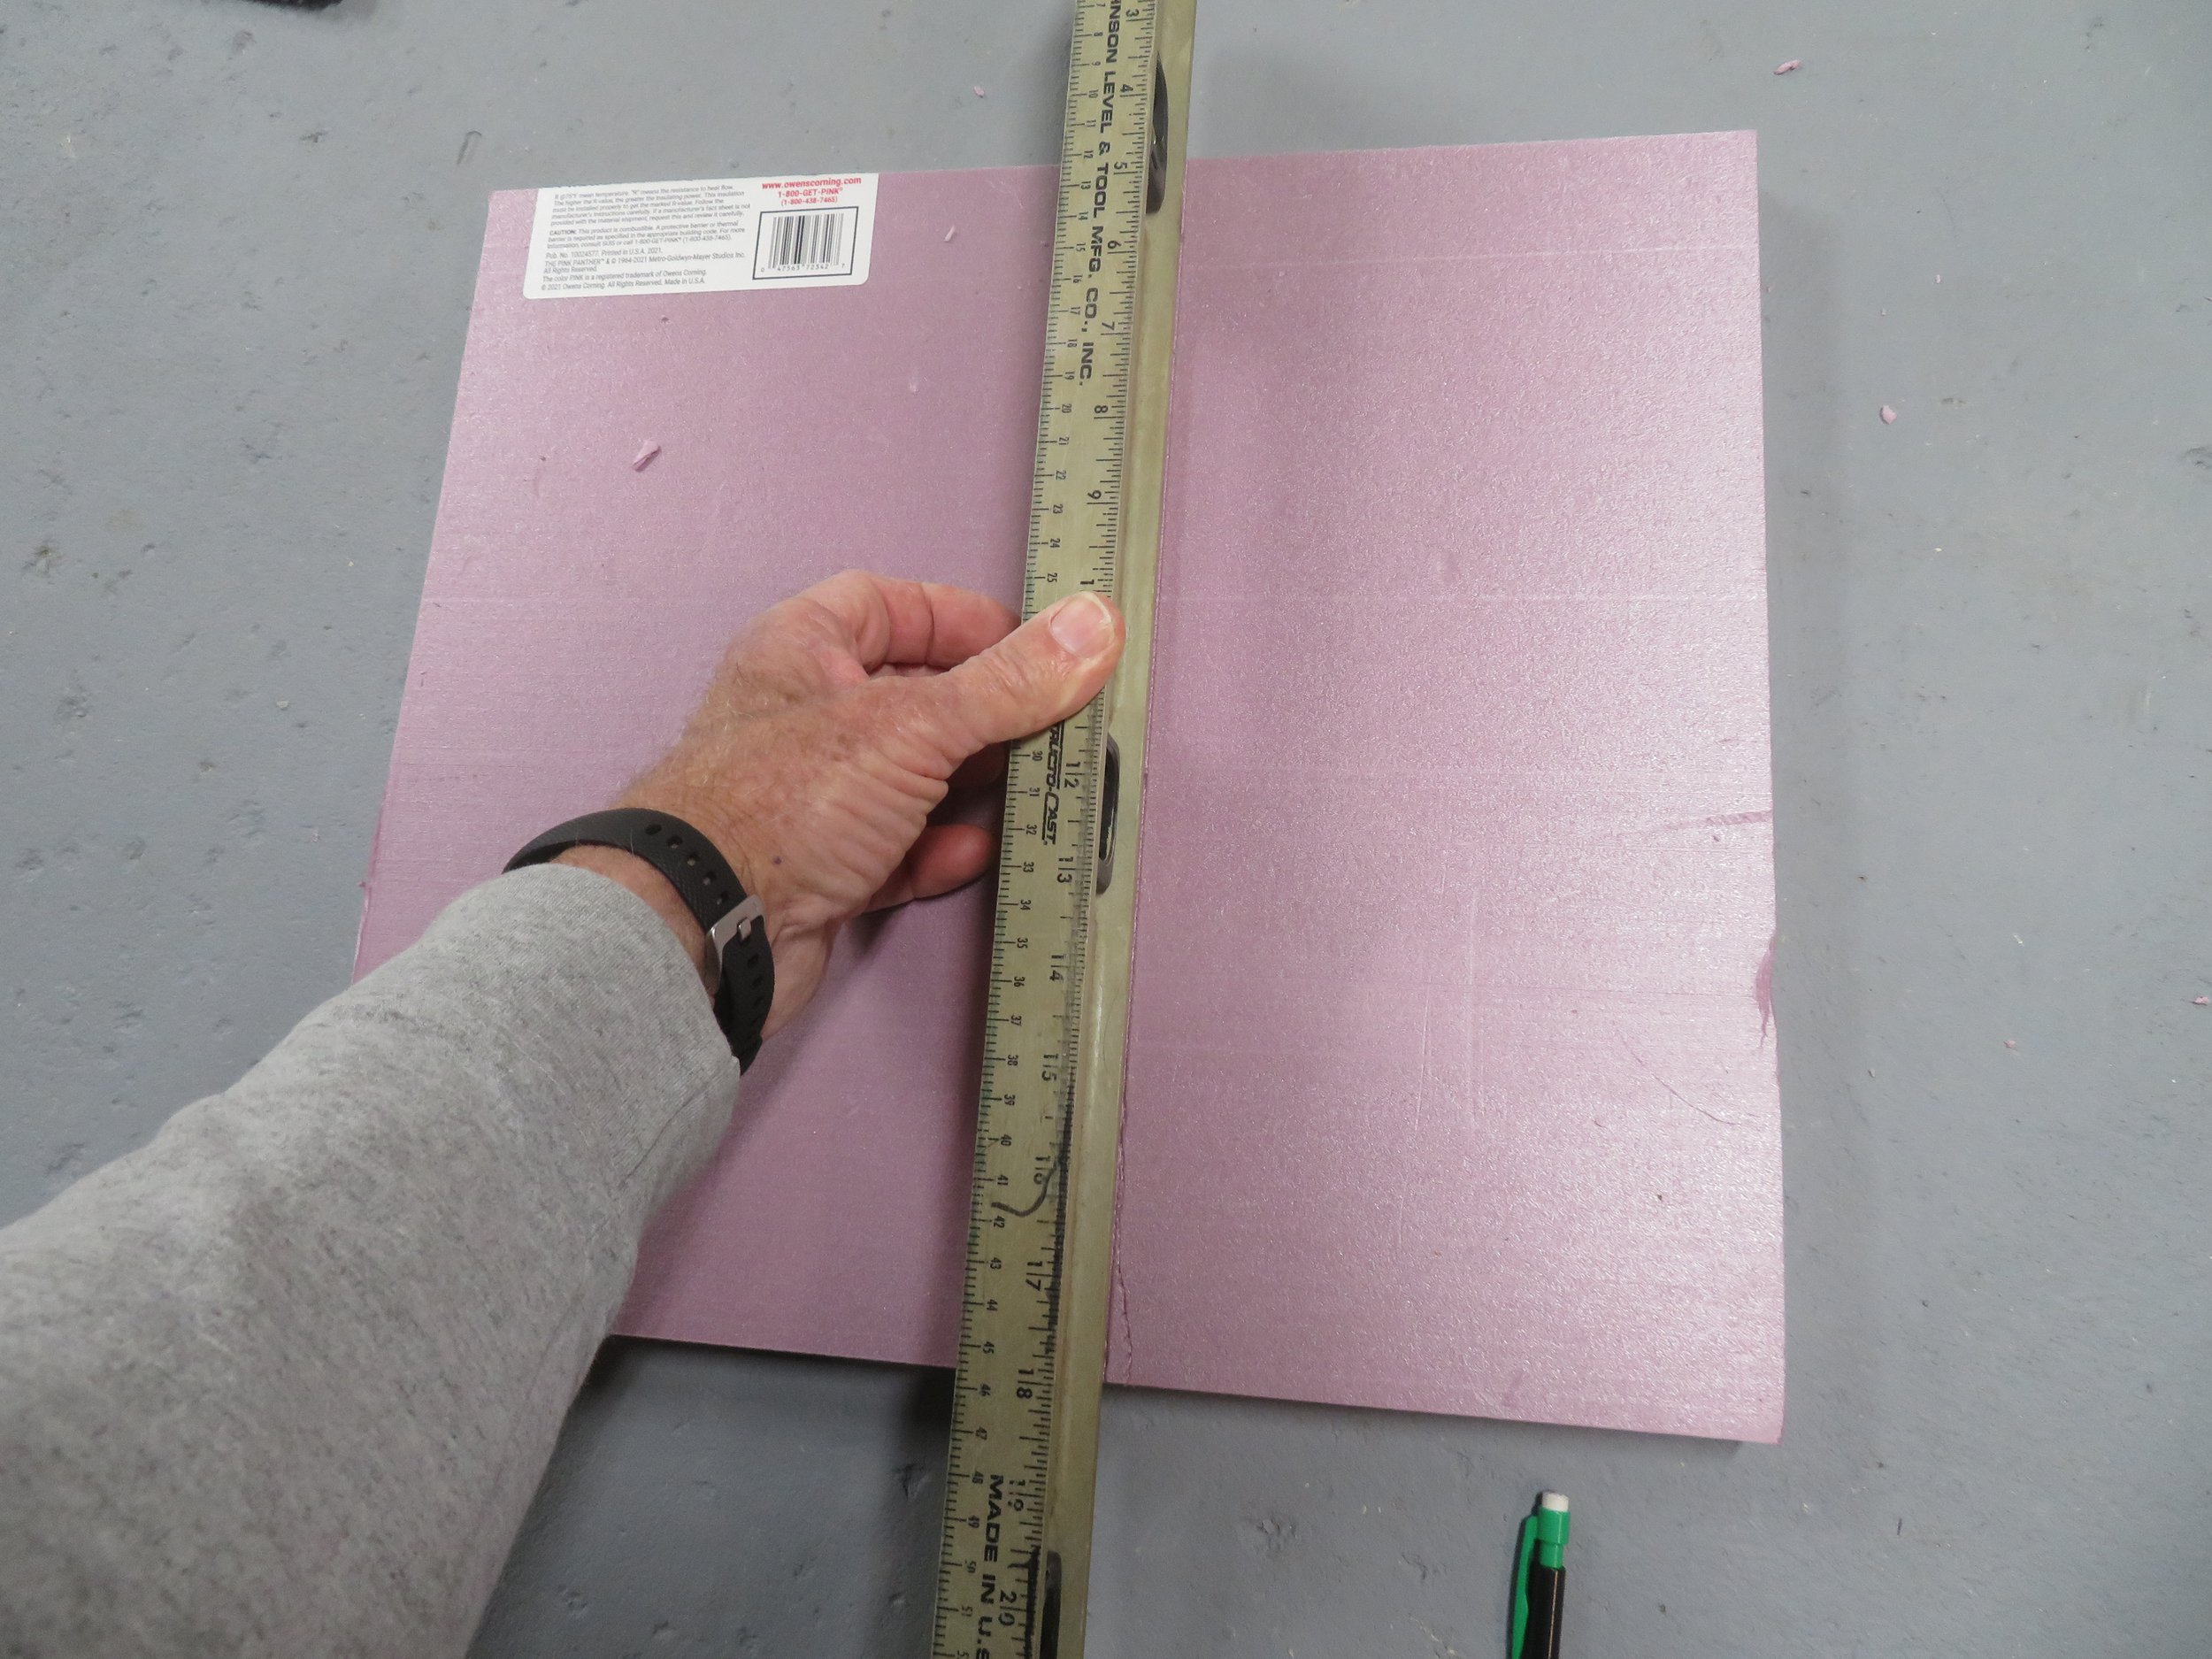
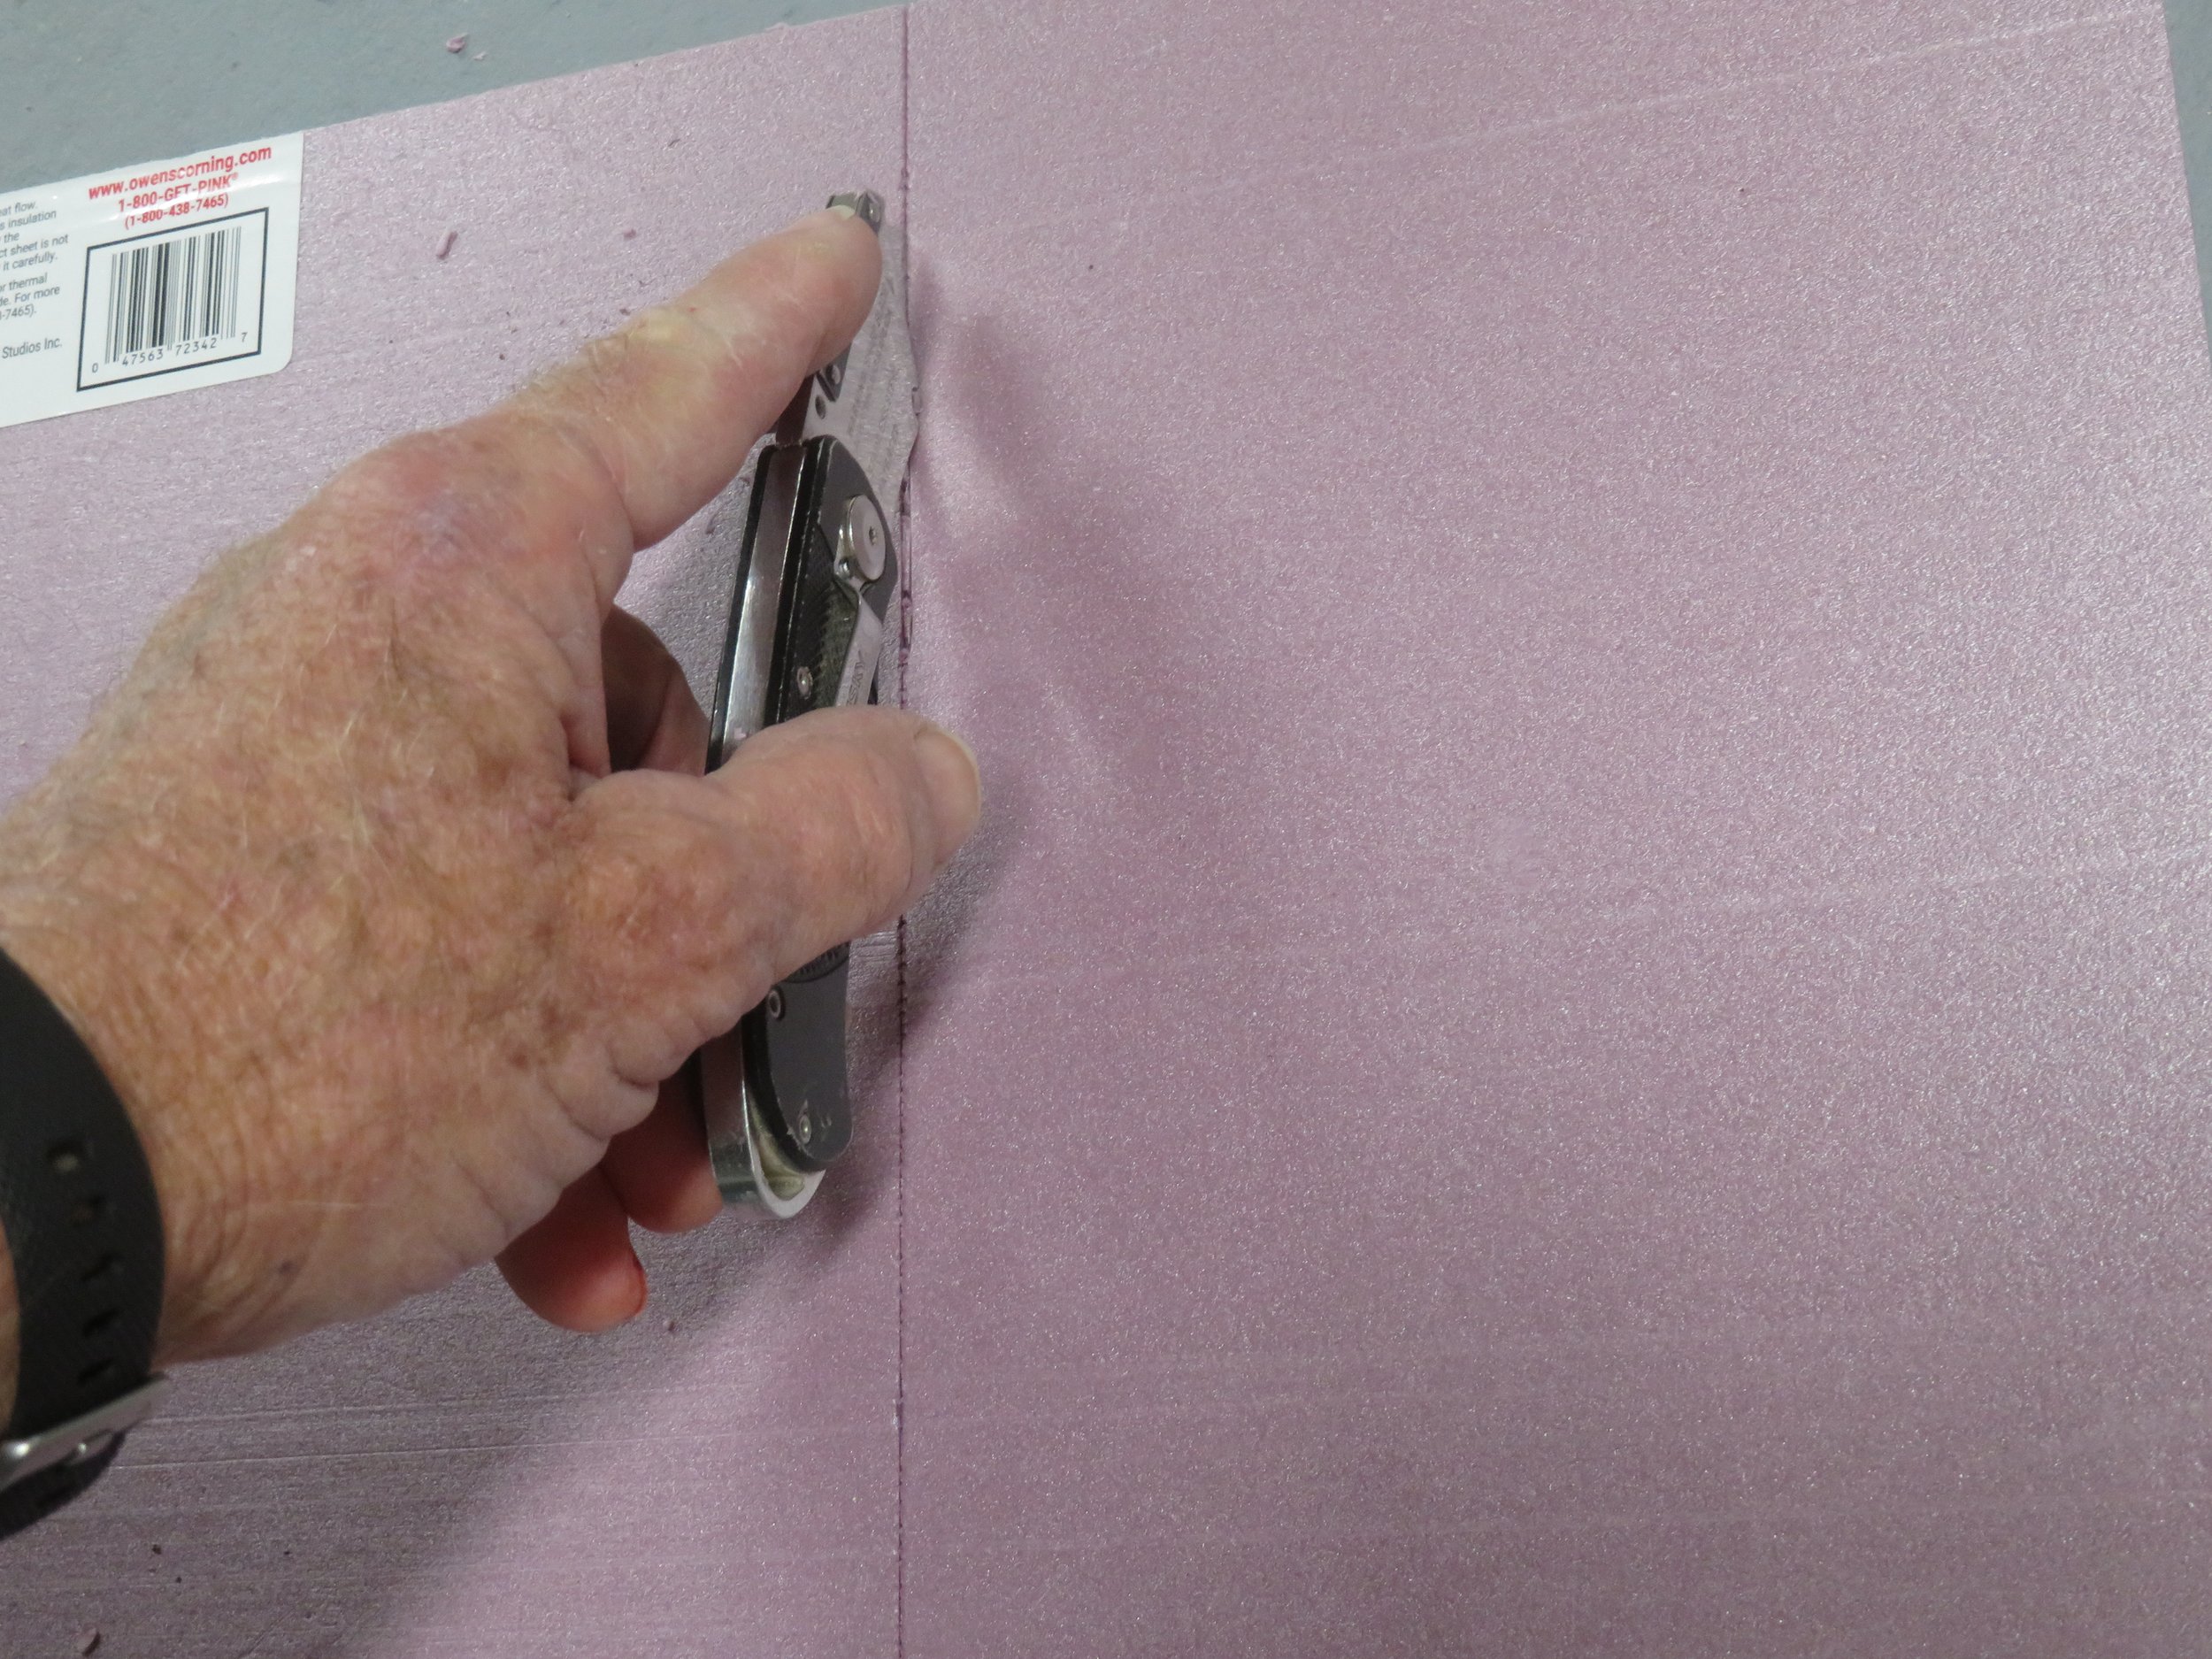
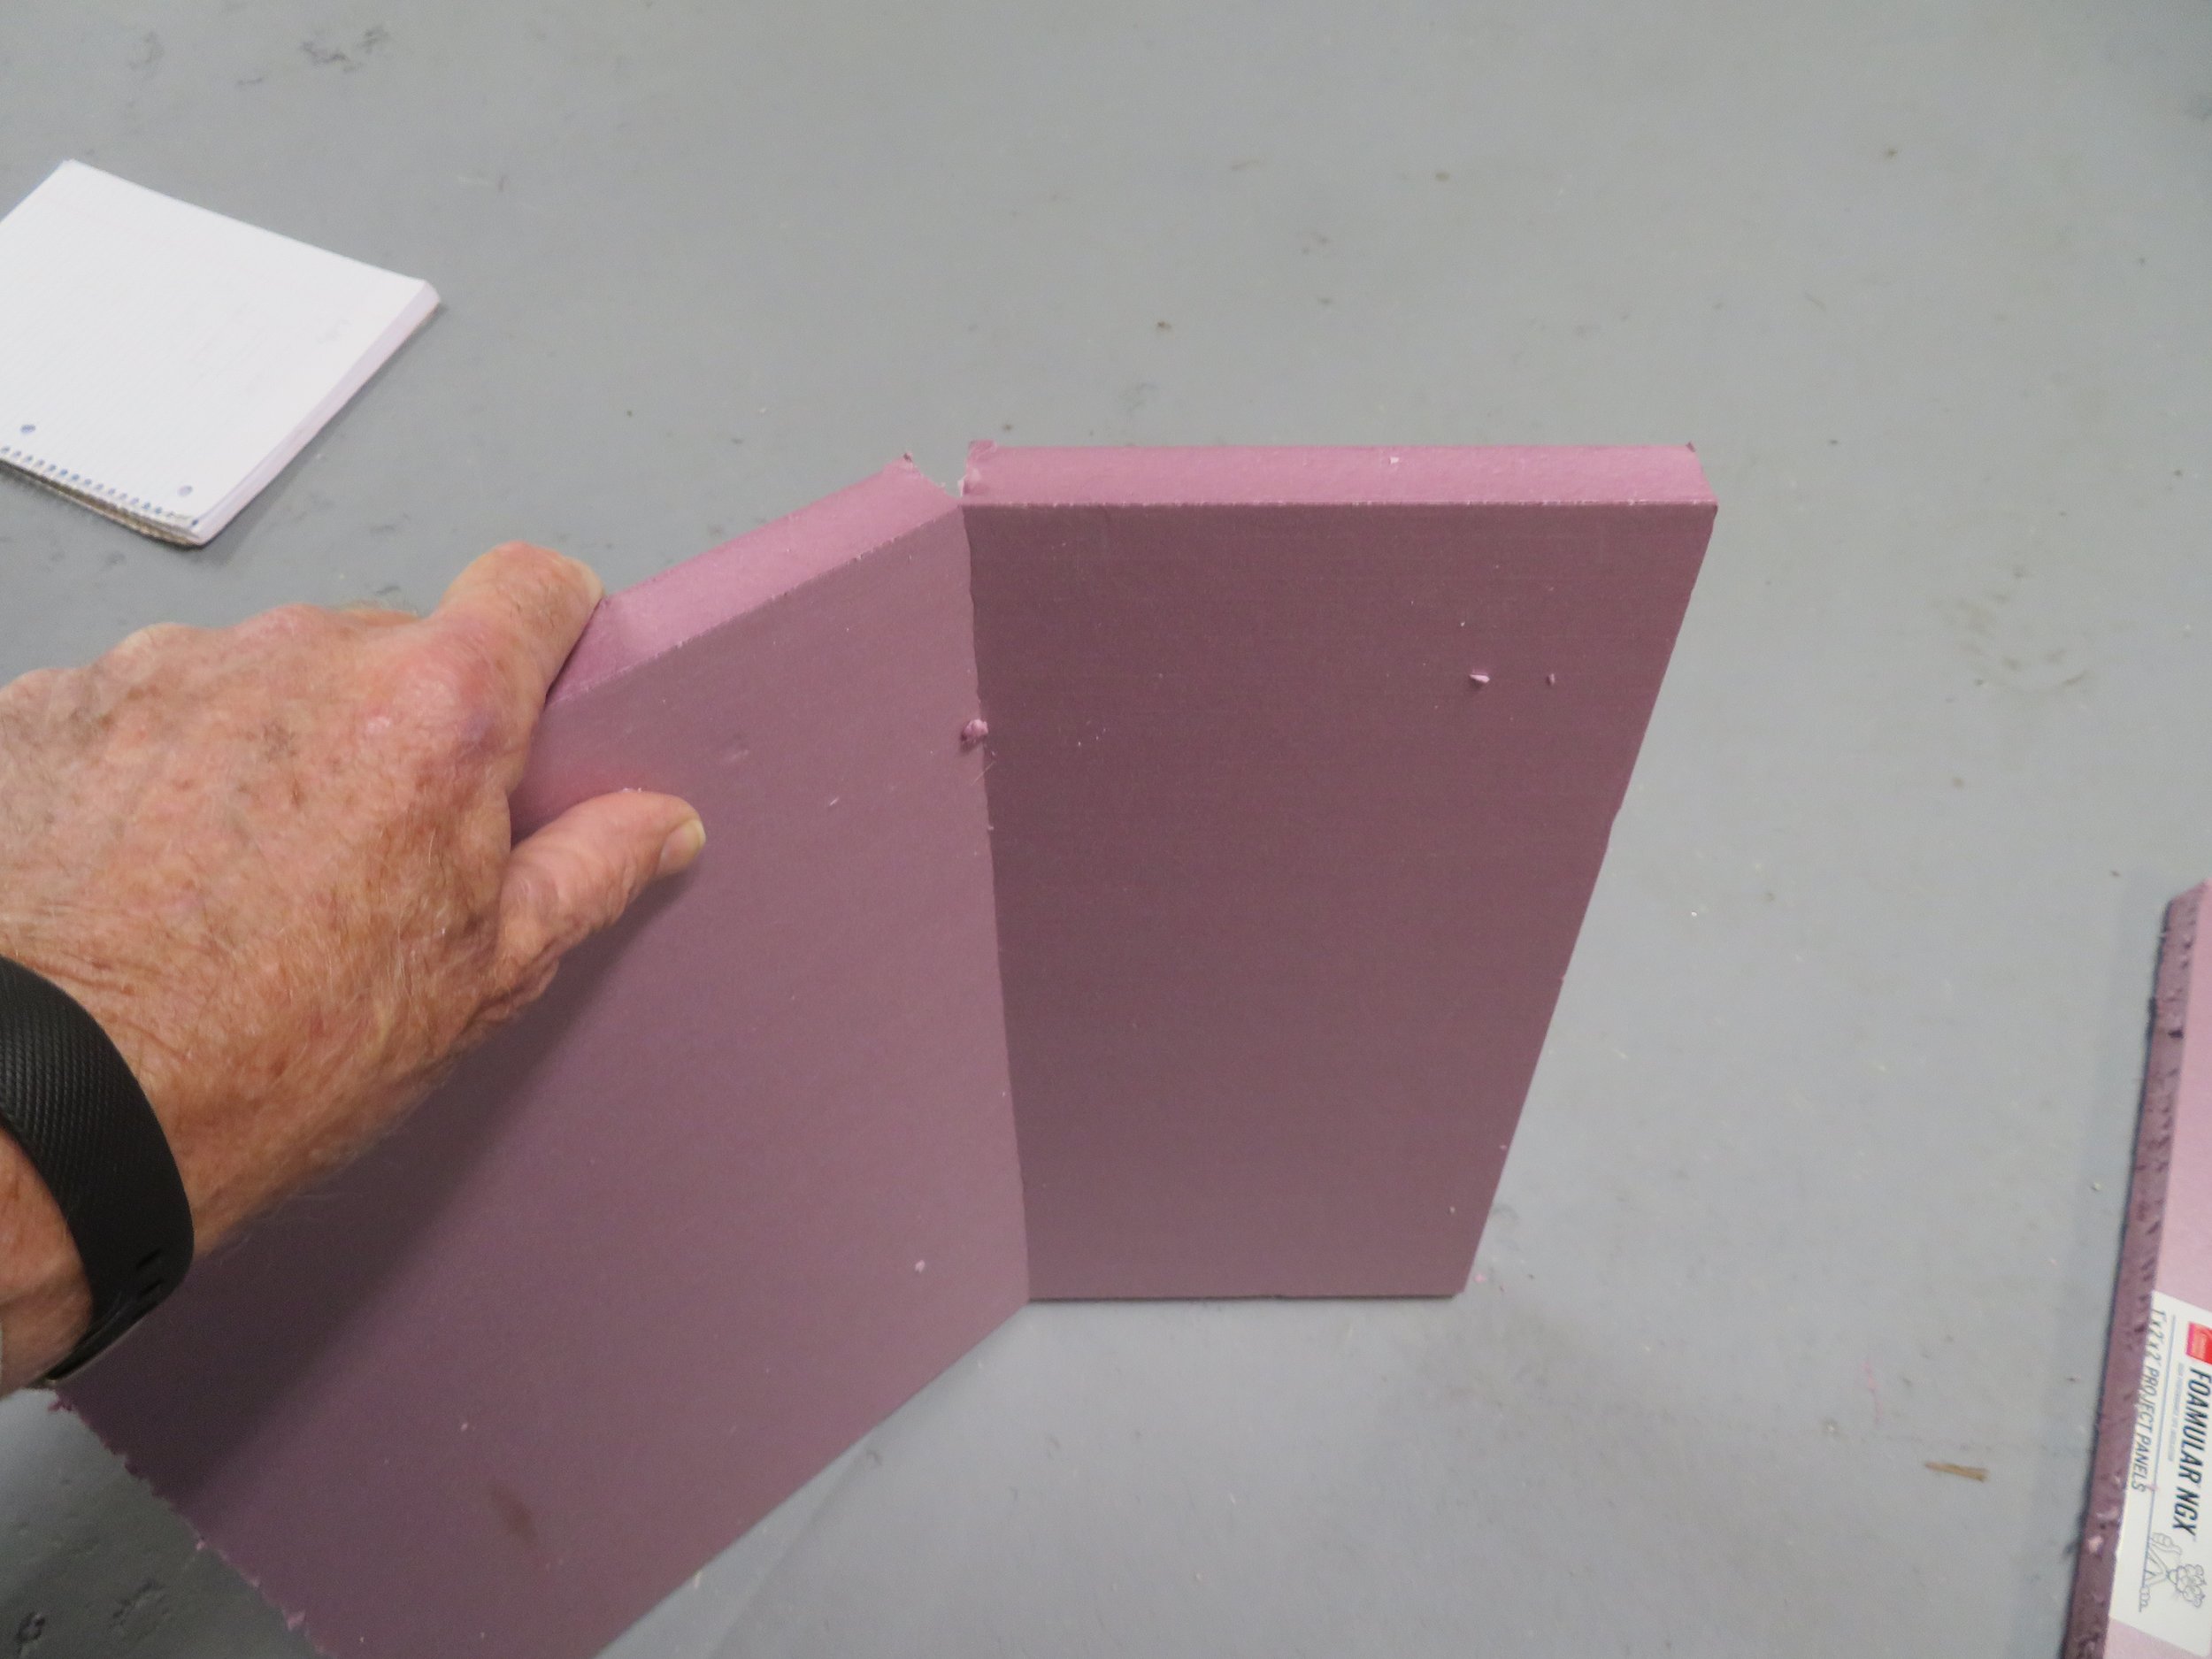
Use a straight edge and a box cutter to score a line on the panel, then use the box cutter to deepen the cut. Finally, snap the foam along the cut. I cut pieces to fit all four sides of the two batteries, plus two pieces to cover most of the top.
Here are the dimensions of the Renogy batteries: 12.99” x6.77” x 8.43” / 330mm x 172mm x 214mm
Dimensions of the foam pieces for each battery:
Front/Back: 14-1/4” x 8” / 362mm x 203mm. (2 pieces)
Ends: 7” x 8” / 178mm x 203mm. (2 pieces)
Top: 14-1/4” x 4-1/2” / 362mm x 114mm (1 piece)
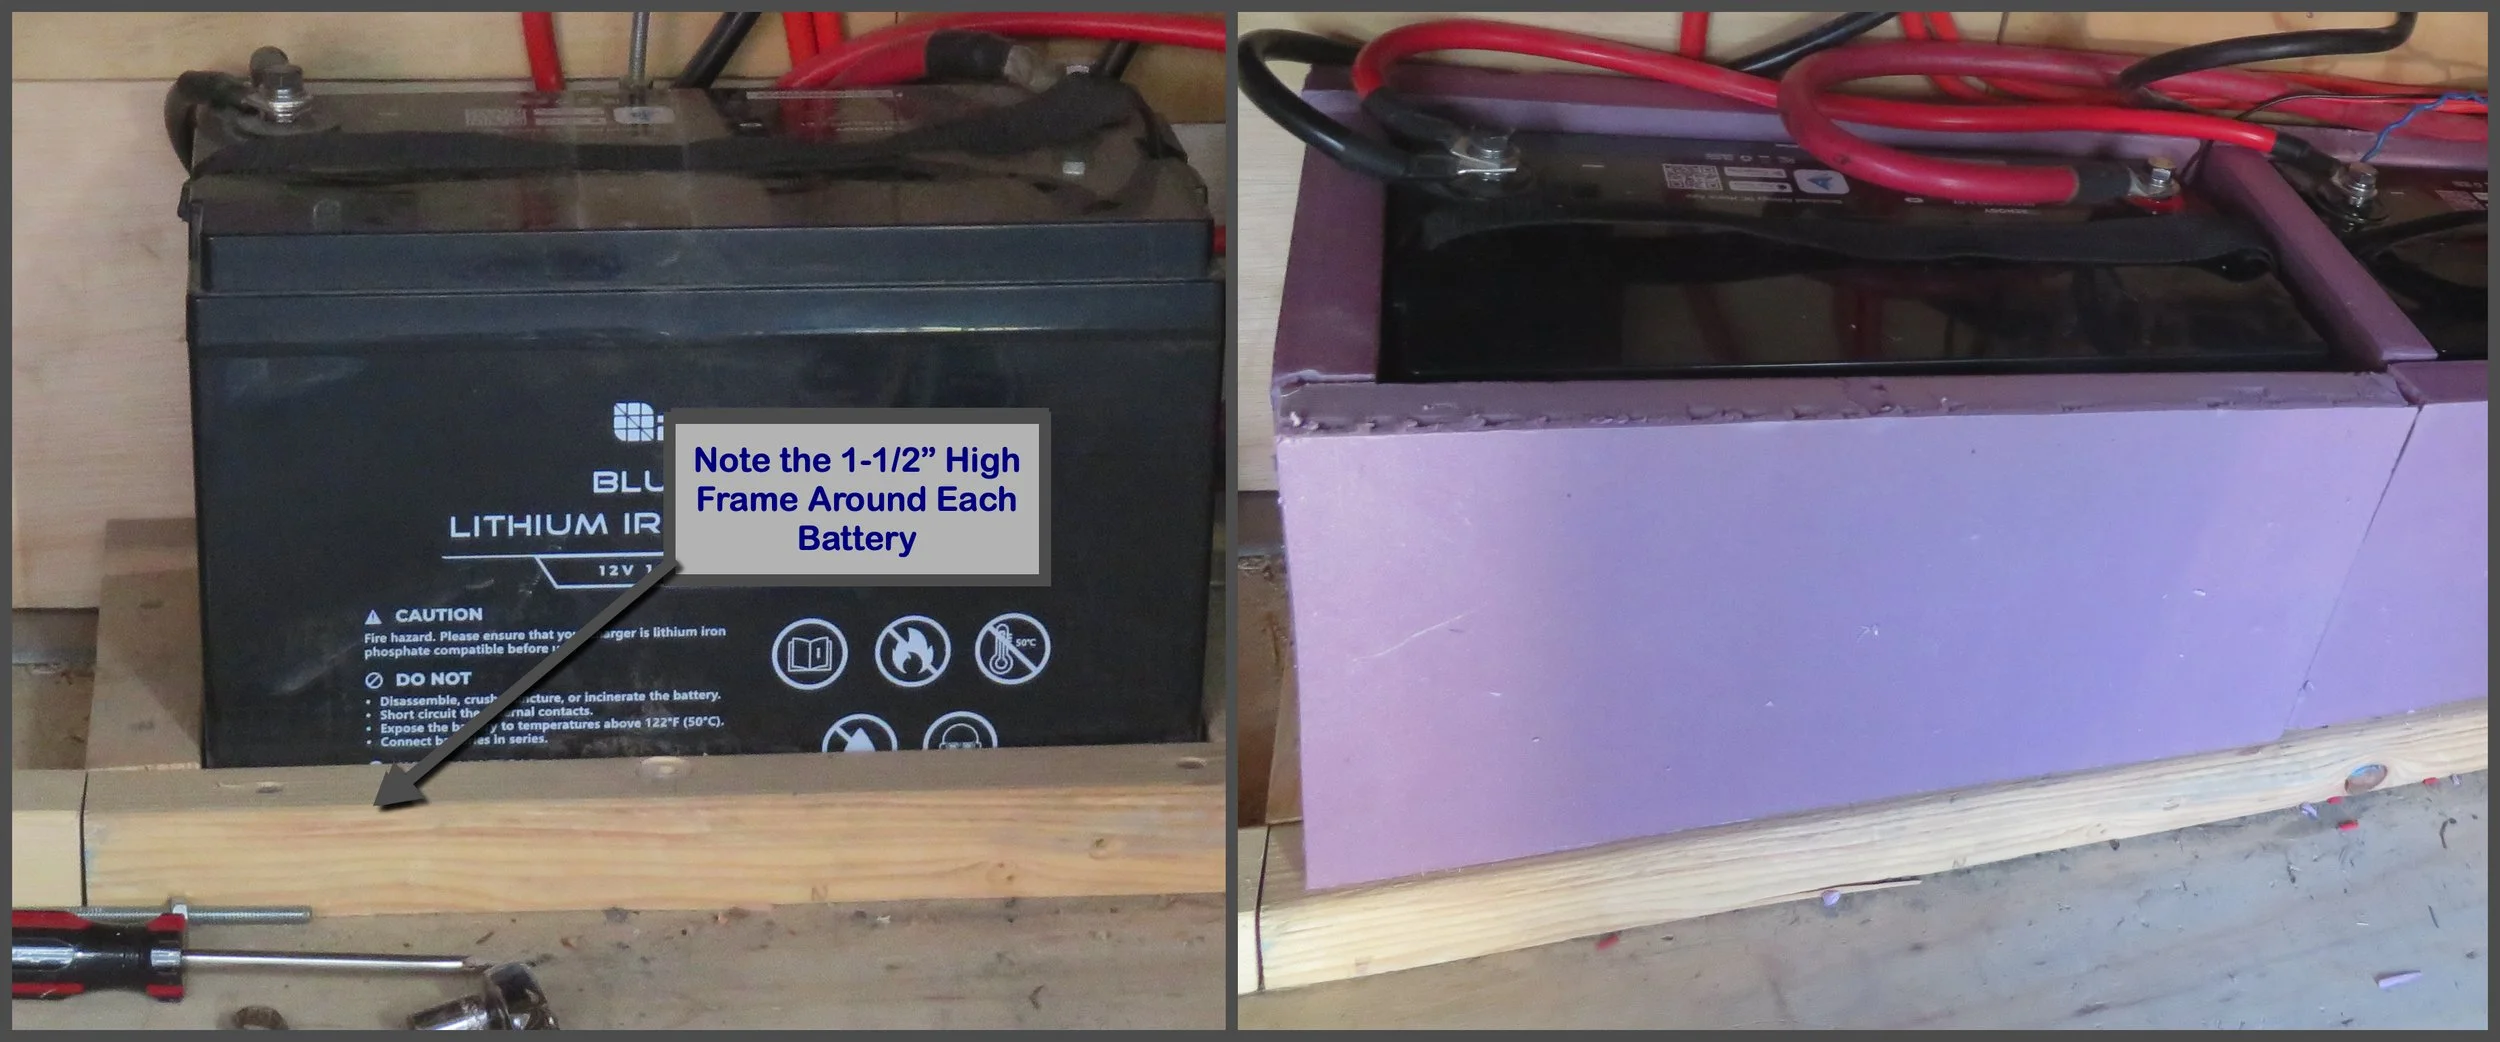
Note that the foam pieces sit atop a 1-1/2” / 38mm high wooden frame around each battery (which keeps them from moving and in place), so the height of the foam pieces is less than the height of the batteries.

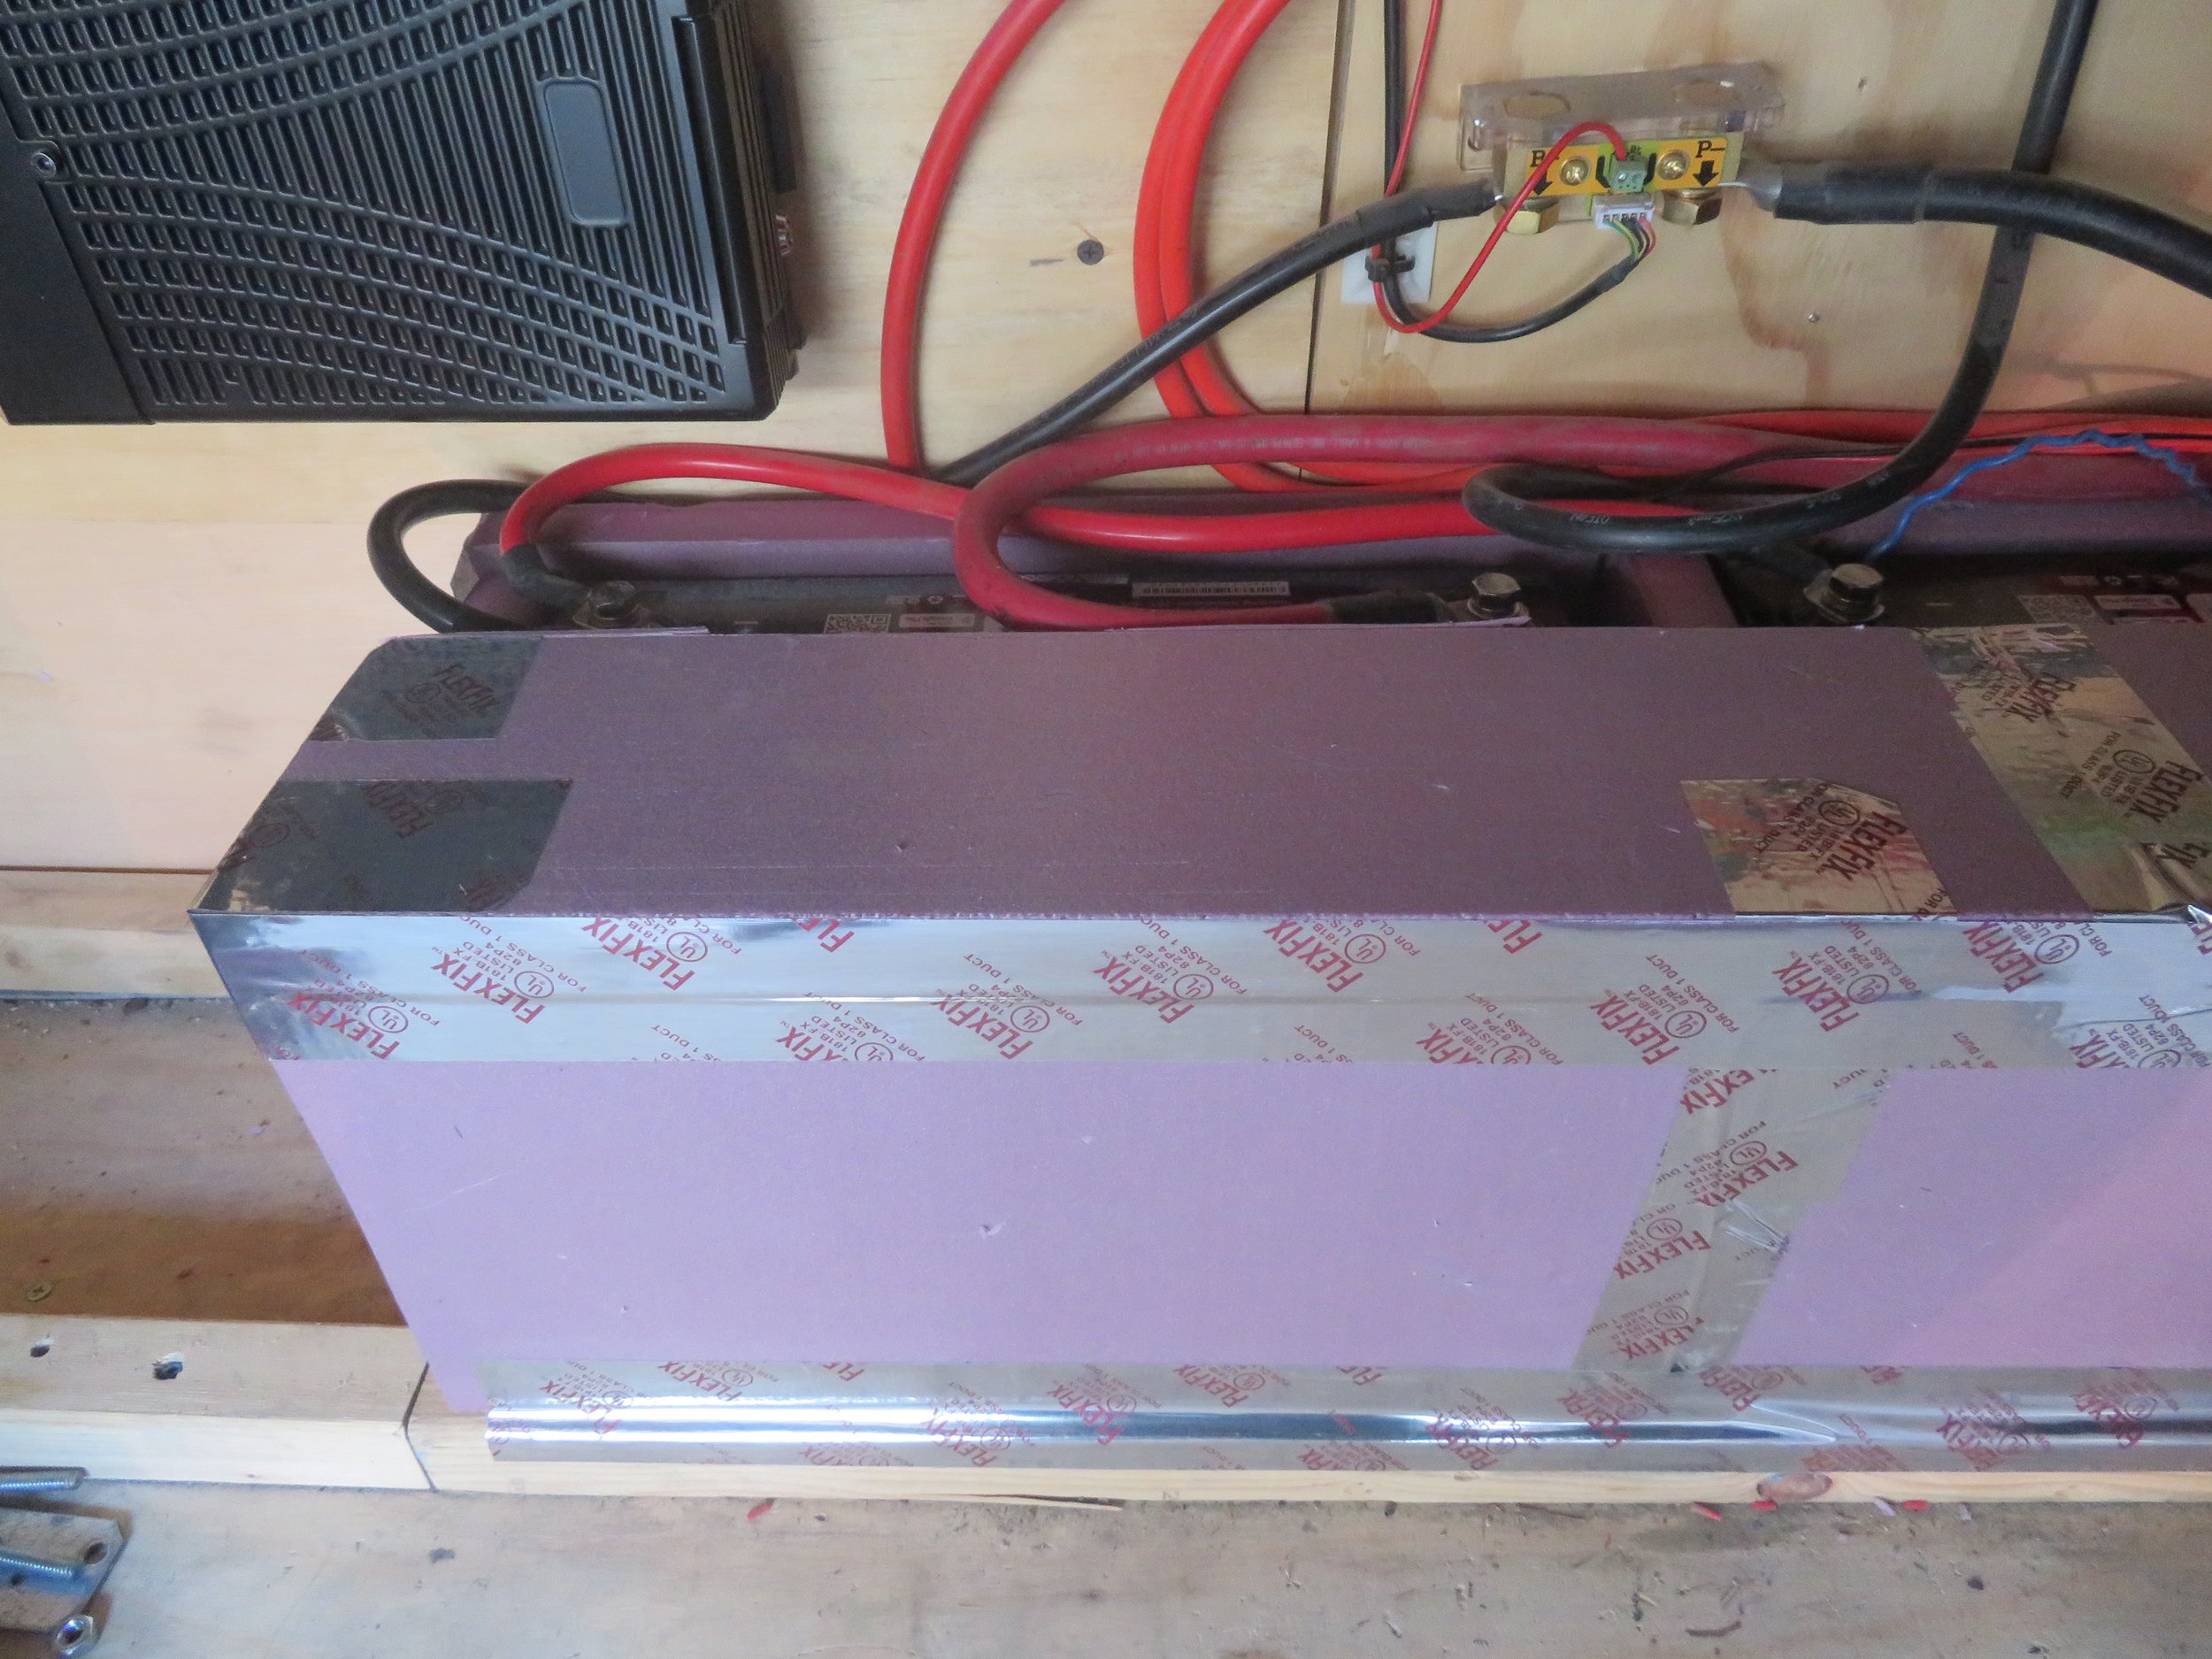
Now, tape the foam in place with more of the water heater tape. The foam covering the tops leaves the terminals and cable areas open. This is the final look.
We did this project while we were in Rhode Island. Let's check to see how the heaters are doing on a cold day. The morning after we finished, the temperature was a brisk 36 degrees F. Our Renogy batteries are Bluetooth-enabled - modern technology is something! Renogy provides an app that talks with the smart batteries and lets me check the state of charge, the current flow, as well as the internal cell temperature.
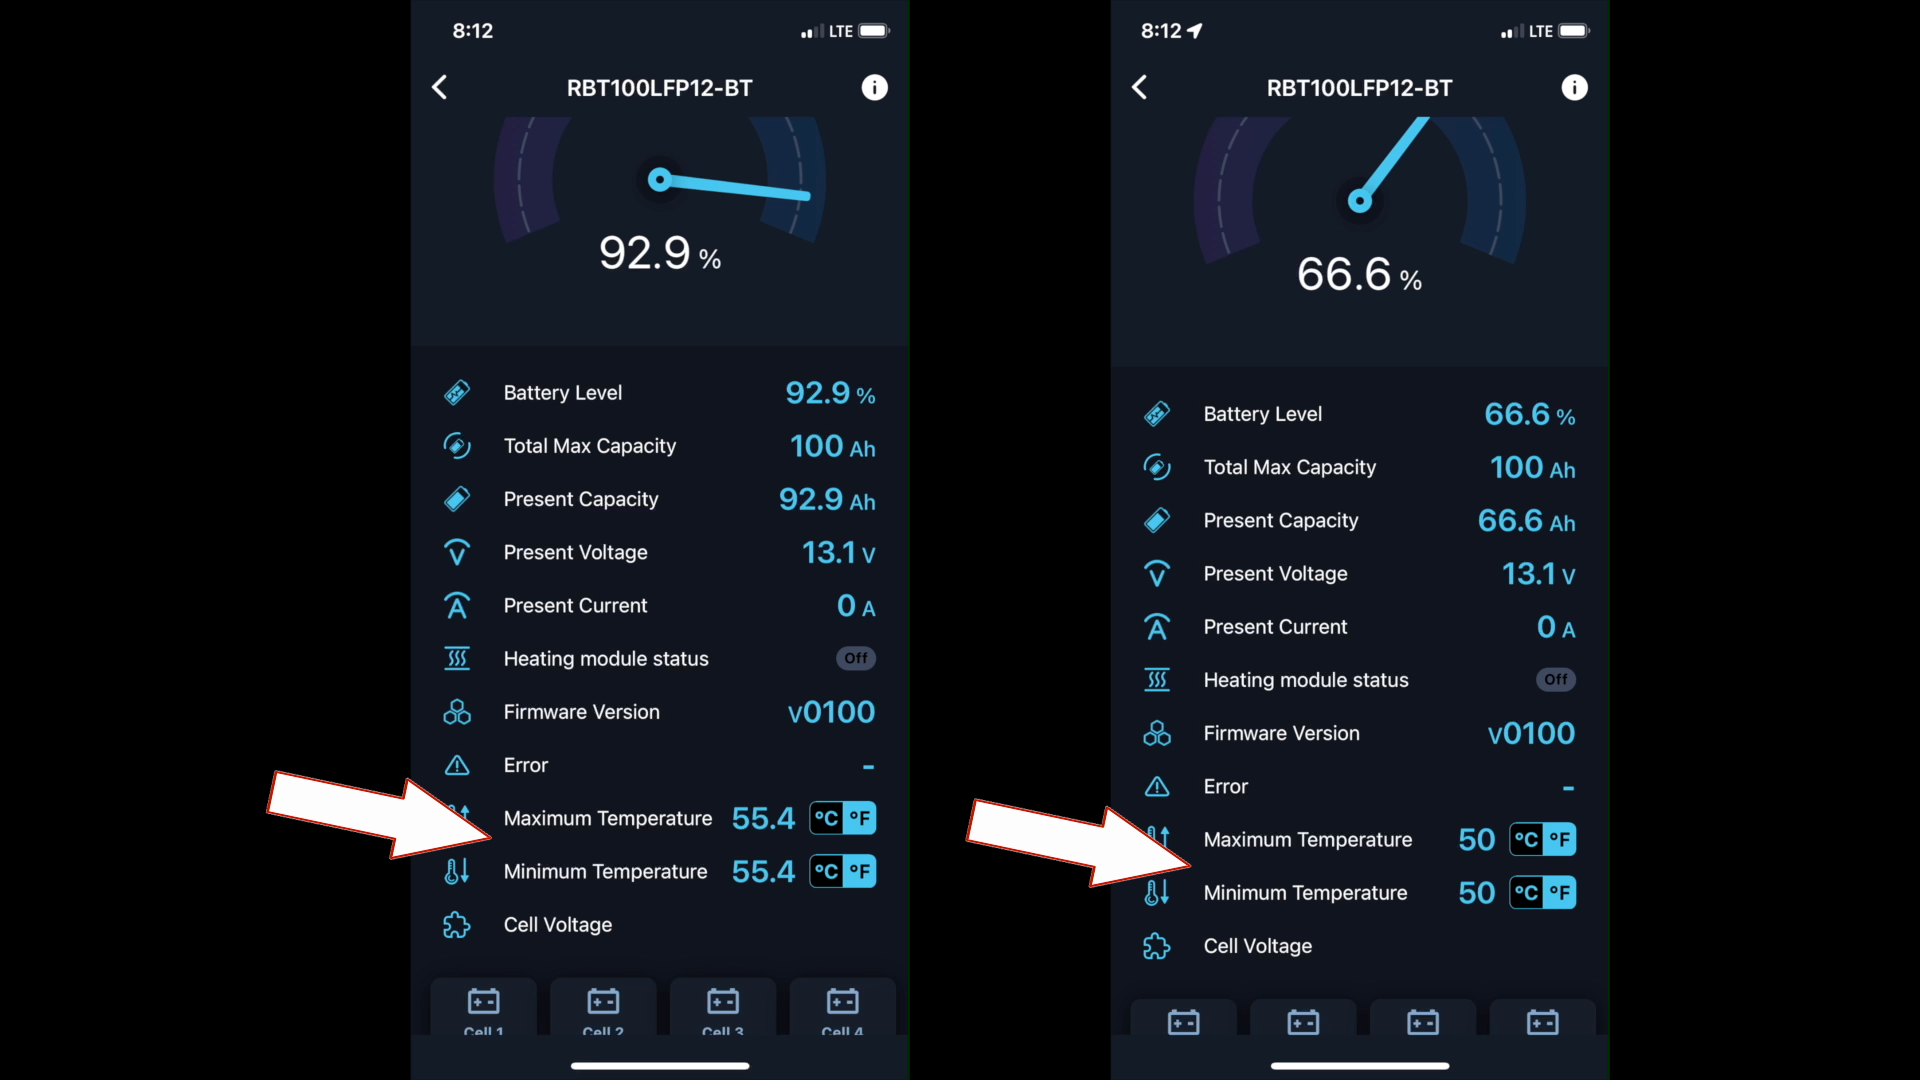
As you can see, the left battery is at about 55 degrees Fahrenheit and the right battery is about 50 degrees Fahrenheit. The battery heater appears to be working just fine!
There is one caveat to be aware of... batteries heat up when charging or working hard, and the foam panels should be removed during the summer months to prevent the batteries from overheating.
BTW - we have a YouTube video showing more on how to build the heater. Check it out here:
See you next week…