The Blue View - Rigging Revisited
/The replacement of the standing rigging was completed just a couple of days before our aborted departure from Cape Town. Then the remaining days were busy with last minute provisioning, to-dos, and checking out, and I didn't do another pre-departure rigging check. After all, the new rigging was just installed by experts, right?
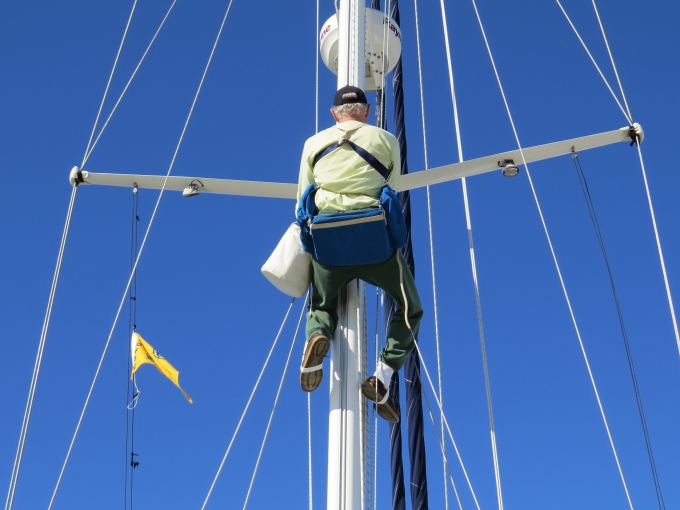
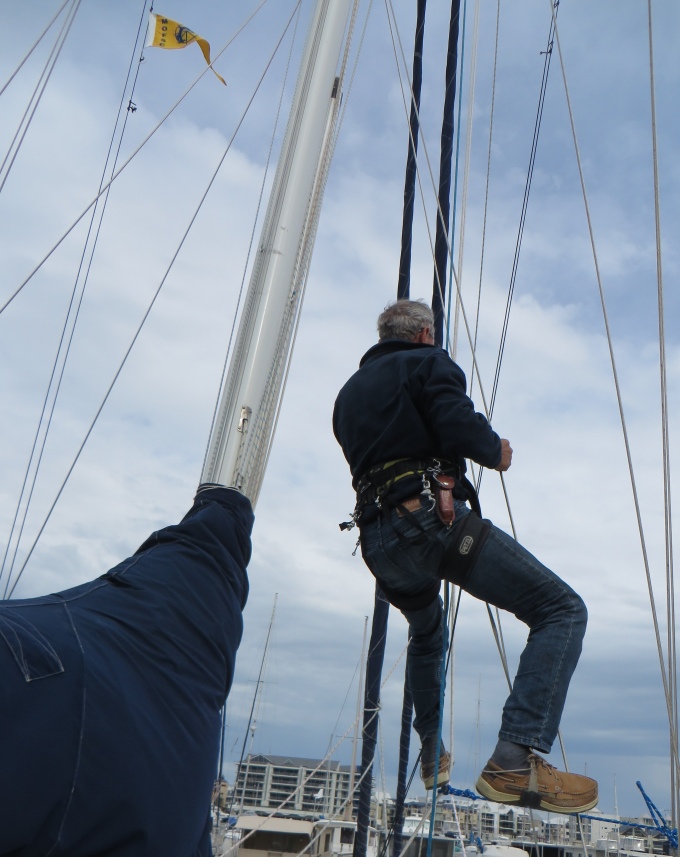
Now that we are staying here in Cape Town for another couple of weeks while the new sail is being made, I've begun a few things on the B-List of to-dos – those things that need doing, but not necessarily mission critical things. One of these B-List items was the replacement of the HF radio antenna. Ours is a single wire that runs from near the top of our dual backstays to just above the “goal post” that supports the wind generator. I last replaced this about ten years ago in Ecuador. All I could find at the time was galvanized wire, and it was now looking a bit weathered. I found some 1/8” stainless wire here, which I cut to size and then spliced a stainless thimble on each end. When I ascended the mast to remove the old antenna and replace it with the new, I checked out the new rigging on my way up.
I was quite dismayed to discover a number of problems with our new, professionally installed rigging. Some of the issues were minor: the spreader boots were secured in place with plastic electrical tape – in a few months when the tape deteriorated from the sun, we may have lost them; the top of the HF antenna was attached to the backstays with small lines tied with clove hitches – not the most secure way of doing it, and the antenna may have worked loose over time; some of the cotter pins were bent far more than necessary – more of a nuisance than anything.
Some of the issues were quite a bit more serious, however, and after noticing them, I did a full rigging check. These are the problems I found:
Improperly installed cotter pin. I have no idea how the rigger didn't notice this.
The nut that locks the furler in place and prevents it from rotating was only finger tight.
Several of the cotter pins in the turnbuckles for the shrouds and stays were undersized. I don't think they were large enough to prevent the turnbuckles from rotating.
Missing pins in the furler foil. The original tear in our headsail was due to a missing pin in the furler foil, which allowed two sections of the foil to separate. The head sail either got pinched or chafed on the foil edge, tearing it. The rigger repaired the foil by installing set screws in the foil. He should have looked at the rest of the furler – there were several other missing pins. This may have been the reason the newly repaired sail tore again so quickly.
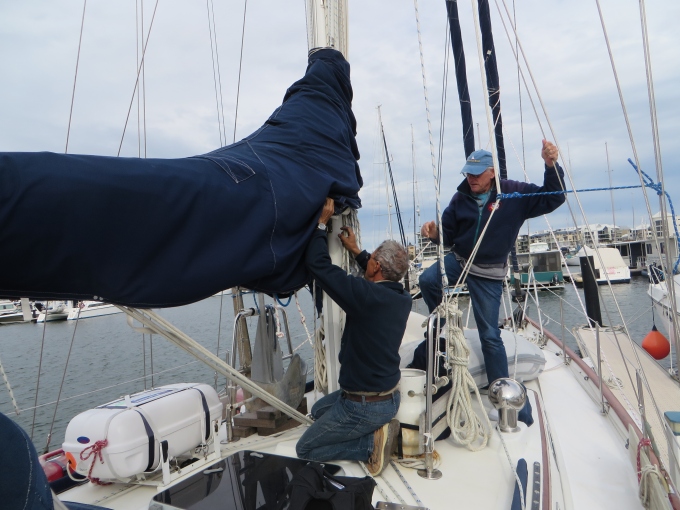
Most of the problems, like those related to the cotter pins, were easy to fix, but the furler foil took more time. Marcie and I removed the forestay and furler, then, while it was lying on the dock, I drilled and tapped holes for and installed nine additional set screws. Lastly, we re-installed it and tensioned the rig. I had to go up the mast four or five times in total, and we spent just about a day getting everything done. Another ibuprofen night for us old farts.
I was definitely remiss in not doing a check after the riggers finished. A lesson I continually seem to need to relearn is that nobody cares as much about Nine of Cups as we do.


