When you can't move the furniture...

When I was a little kid, my mom adhered to the Spring/Fall housecleaning ritual and no one in the family was exempt from the work that it entailed. Windows were washed, floors were scrubbed and waxed, closets cleaned out, winter or summer clothes stored away and the opposite season clothes brought out. When everything was spic and span, my mom would re-arrange all the furniture. It was her way of signifying all was clean and ready for the new season. My Dad always bumped into things on his way to the bathroom during the night for the first week or so. I remember hearing him curse under his breath. fabric and pillow

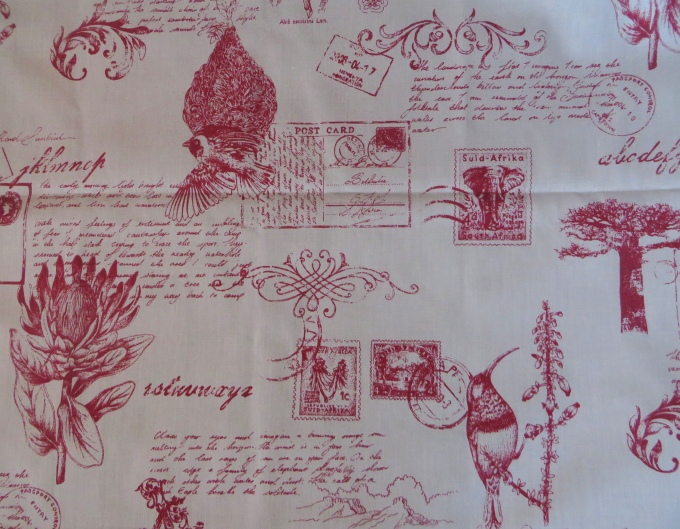
What does this have to do with Nine of Cups? Well, moving furniture isn't an option aboard Cups … the furniture is all fixed in place. So how does one signify that all is clean and ready for a new passage or a new cruising season? Easy … I change the decorations on the wall and make new pillow covers. I tend to buy local print fabric wherever we go and, truth be told, sometimes it piles up though I have the best intentions of using it … for something or other … a world quilt, maybe? I've purchased fabric here in South Africa … the shweshwe, remember? However, it wasn't the right color for the saloon now that we have new upholstery. Believe it or not, finding Africa print fabric in Africa, other than the Big 5 motif, zebra stripes or leopard spots, is difficult. I finally found some that I liked in ecru with a varied pattern in dark red of protea (the national flower) and weavers and sunbirds and postmarks and ostrich feathers and passport stamps … all very South African and quite distinctive. It was time for new pillow covers. I even purchased new fiberfill pillow inserts this time.

pattern

The last time I covered pillows, I used fabric purchased in Fiji, so this project is long overdue. Covering a pillow is a pretty easy process. I measure the fabric against the pillow insert, allowing for a 1/2” seam. If there's a pattern, make sure you place it where you'd like it on the pillow. If the fabric is wide enough, I use the fabric fold at the top side, so it doesn't need stitching. I sew up two sides, stuff the pillow filler inside and hand stitch the last open side. I used to sew in zippers, but now I don't bother. Lazy me … I'd rather re-cover the pillows than wash the old ones. I'm sure Mom wouldn't approve.

finished pillows

This takes much less energy than moving the furniture, don't you think?   AND David doesn't trip over anything during the night … any more than usual.

Easy to Make Ditty Bags...and Groundhogs Day

I mentioned awhile ago that David had asked me to make some new ditty bags the next time I had the sewing machine out. He uses them for holding various parts and tools. I use them for things like clothespins and sewing supplies. I had cut up the old bimini and salvaged some good-sized chunks of useable Sunbrella fabric which provided ample material for the half dozen new bags he'd requested. For those of you who don't know what a ditty bag is, here's Wiktionary's definition. Though the origin of the term ditty bag is not clear, it appears to be a nautical term used in the 1850s as a slang for the cloth bag which sailors used to carry their personal items. It might derive from the British naval phrase commodity bag. Not sure how “housewife” got mixed up in the definition. Anyhow, David uses ditty bags lots and needed more.

wiktionary definition

When there's a dearth of ditty bags, David uses Zip-Loc bags which wear out quickly. The ditty bags eventually wear out, too … but after several years, rather than weeks. In particular, he needed a new ditty bag to hold his vast collection of sockets (you can never have too many!). He also needed one to manage his supply of stainless hose clamps in various sizes. If I make more, he'll always find a use for them. This is about the easiest project you can do using used or leftover fabric and you can make one, from start to finish, in 15 minutes … max.

make a ditty bag

This is not rocket science. I don't even get out my measuring tape. I eyeball the size and cut, providing for a ½ seam allowance and a 1” tube along the top edge for a drawstring. In this case, David wanted a couple of bags about the size of a ZipLoc gallon bag, so I got out a bag to figure the approximate size. I fold the fabric in half to save myself cutting and stitching on one side.

measuring the ditty bag

Fold over and stitch the short ends of the rectangle first to give a finished edge. Then fold over about 1” along the top edge and stitch it so there is a long tube for the drawstring.

finished edge and drawstring tube

Stitch the side and bottom seams starting about 1” down from the top, so that you have access to the drawstring tube.

stitch side about one inch down

Turn the bag right-side out and then draw a piece of small line through the drawstring tube using a large safety pin. We usually tie the ends of the line together in a knot.

use a safety pin for the drawstring

Voila! You've got a ditty bag.

Notes: I had a shortcut because the finished bimini edge provided a built-in drawstring tube for a couple of the bags.

Sometimes the bags are leftover fabric from another project … like pillow covers, etc., in which case they become rather colorful, but easily distinguishable.

For sake of identification, David sometimes labels the bags.

labeled ditty bag

By the way, in case you forgot, it's Groundhog's Day. Not from the USA? It's an fun holiday to determine if we'll get an early Spring or not. Check out Punxatawney Phil's official website. We plan to watch the movie, Groundhog Day, tonight to celebrate. Any opportunity to celebrate!
punxsutawney phil

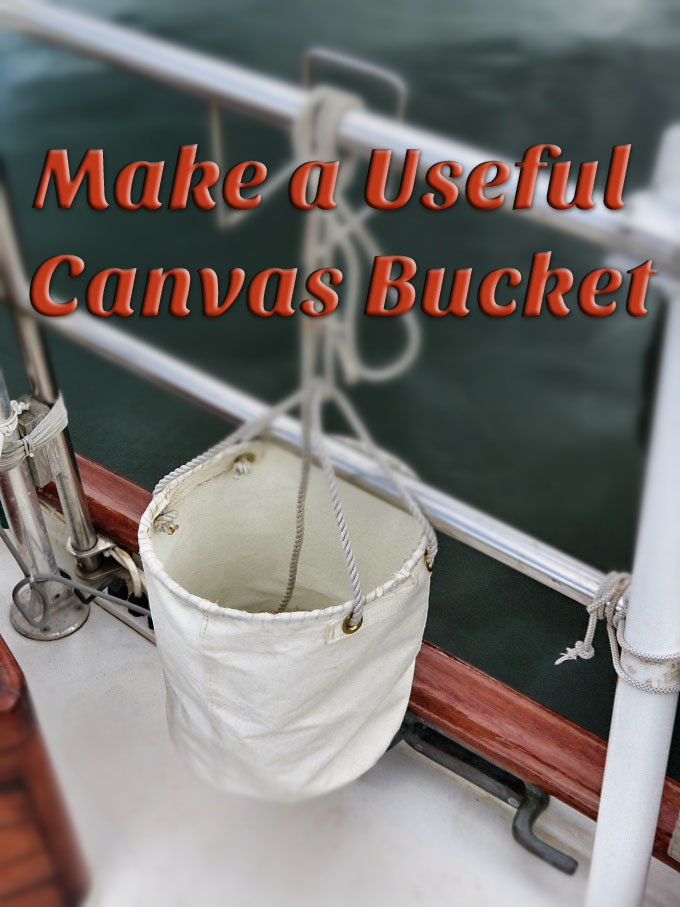
Make a Useful Canvas Bucket


make a useful canvas bucket


Call me a packrat, but I hate throwing anything away that could still have some use aboard. David uses old line to make ocean plait rugs. I use old jacklines to keep jerry jugs firmly in place on deck and also as hoists when making courtesy flags. So when it came time to buy a new mainsail, I couldn't just throw the old one away. Though the sail had seen several thousand miles and many years of use, it had some life left in it. I carefully cut out large useable chunks for future use and tucked them away for a rainy day project. Over the years, I've found lots of uses for used sail material beyond mending and patching working sails in a pinch.

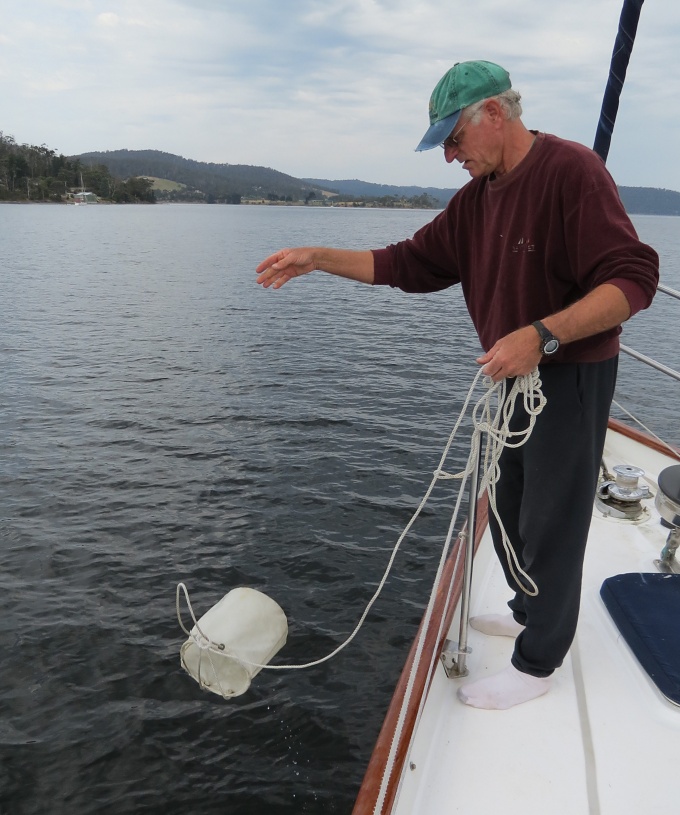
The absolute best project, however, was a versatile canvas bucket. When we bought Nine of Cups, there was a canvas bucket aboard which we used regularly for washing decks and general clean-up. It was easy to toss overboard, fill with sea water and haul back aboard. The original one was getting old and lost more water than it held. David suggested that we could buy a new one or maybe I could sew a new one. It looked simple enough and I had the time, so I thought I'd give it a go. Whenever an existing pattern is available, the process is much easier.

There were a two things we didn't like about the existing bucket, so I decided I'd implement a couple of changes. First, it sometimes collapsed when we tossed it overboard to fill it with sea water and second, it was so lightweight, it sometime just skipped over the water and wouldn't fill at all. I decided if I could make the top rim and the bottom more rigid, it would have enough extra weight to sink below the surface while keeping the top open for easy filling without collapsing.


using the canvas bucket


I cut a rectangular piece of sailcloth 3l.5” x 12”. To make the bottom rigid, I found the flat lid of an old plastic crate and using a pencil with a string attached, measured, marked and cut out an 11” diameter circle. I later thought that cutting out the bottom of an old plastic pail that had a crack in its side would have been just as easy.


canvas bucket bottom


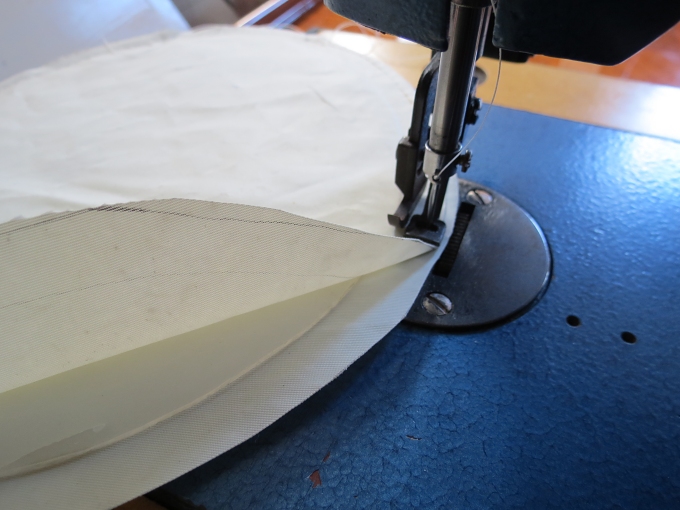
I then traced the plastic circle onto sailcloth and cut out two slightly larger (1/2” all around) circles which would allow for a seam allowance and room to maneuver. I sewed the plastic disc between the two pieces to keep it in place.


stitched seam


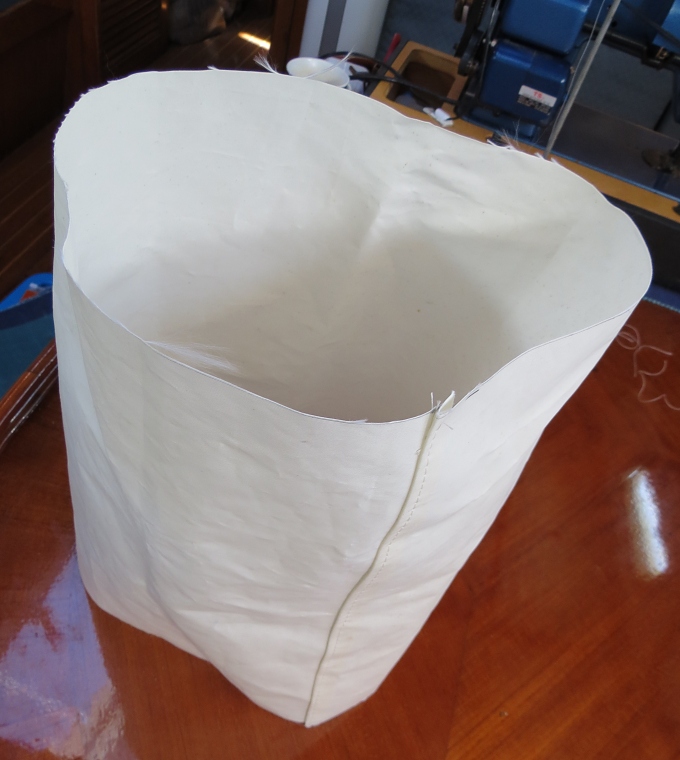
The next step was to form a tube with the 31.5” rectangle and sew along the side. Though I have a heavy duty SailRite sewing machine, this project could be done successfully with a lightweight machine as well. Checking that all seams were facing out, I pinned the encapsulated disc to one end of the canvas tube. This is a tricky process because there seems to be too much material for the disc. I initially used four attachment spots and then spaced the pins so that the material was evenly distributed. I used a zipper foot, rather than a standard presser foot in order to sew as closely to the plastic disc as possible. It started to look like a bucket.


assembling canvas bucket


The top rim needed to be finished and it needed a handle, of course. I used two 6” strips cut from old 1” jackline webbing and sewed them on opposite sides of the buckets spaced about 1” from the top rim. This reinforcement would accommodate full buckets of water without the weight tearing out the sides of the bucket. I installed two brass grommets spaced 3” apart on each strip which would accommodate a rope handle. It was important to do this step before completing the rim to insure that I could get the fabric under the sewing machine needle.


whipstitching top


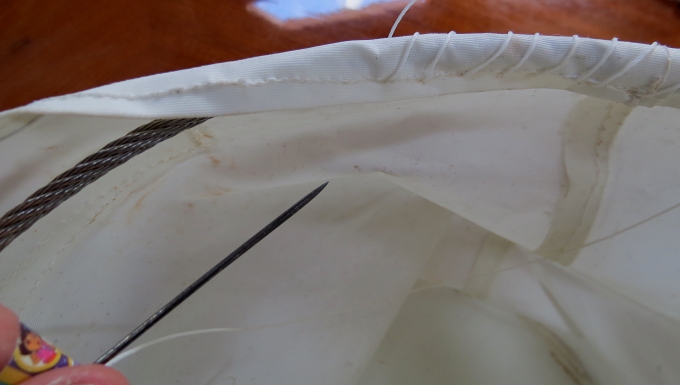
In order to make the rim rigid, I employed a 31” piece of old 1/4” lifeline (any stainless wire, ~1/4” would work just as well) and hand stitched it inside the rim by folding the 1” of canvas I had allowed above the handle reinforcement strips over the wire.


complete canvas bucket


I attached lengths of rope to each side of the bucket to act as handles and knotted them securely through the grommets. I later tied another piece of line connecting the handles so the bucket could easily be tied to the aft lifeline for convenient access and use. Without much effort and an investment of less than two hours, we had a new canvas bucket.

To see the original article in Ocean Navigator, click here.


Days and Ways to Celebrate
A daily list of mostly obscure holidays and fun ways to celebrate them.
Zoo Lover's Day
The first zoo was in Egypt in ~3500BC. Find out what's new at your local zoo.
Vesahka (Buddha's Birthday)
Throughout the Buddhist world, people will celebrate Buddha's birthday today. Learn more about it and how to celebrate.