The Blue View - Reeving a New Halyard
/One of the items on my to-do list was replacing the main halyard. We replaced it last while in New Zealand a few years ago and at the time I thought I would try using a higher quality, lower stretch line than the usual yacht braid.. The cost would be almost the same since I could use a smaller size.
The line was great and I liked it - it ran through the blocks easier and the main came down with less resistance than with the older, larger line. The only problem was that the rope clutch, the clamp that holds the line in place once it is winched to the correct position, chafes the smaller sized line when it is under tension. Once I noticed the four chafe spots corresponding to each of the sail positions, I swapped the line end-for-end a year ago, and now we have 8 chafe spots. It is time to replace it.
We have an internal halyard system. The line starts in the cockpit, goes through the clutch and makes its way to the mast through a couple of blocks. It enters the mast through a small hole, then exits the top of the mast over a block, and is routed back to deck level.
It is easy to reeve a new halyard. Simply attach the cockpit end of the old halyard to the new halyard, then pull the old halyard through the clutch, blocks and mast. As long as the two ends remain attached to each other, it only takes a few minutes to reeve the new halyard. If the lines part, however, the job will take two days instead of a half hour.
The trick is attaching the two ends together without adding any bulk or stiffness. The union must be strong enough to ensure the two lines don't come apart but must not add any bulk or the joint will not pass through the clutch. If it is too stiff, it won't bend around the blocks.
I have a couple of methods for attaching the ends together. The easiest is to simply butt the ends together and use whipping twine to stitch them in place. Then I tape over the union with plastic electrical tape to make the union smooth and add a little strength. This method works well for external halyards and topping lifts that don't pass through a clutch.
For my internal halyards, especially when the line passes through a clutch, I use a different method. I start by cutting off about 2” (50mm) of the cover of the old halyard. Next, I pull a few inches of core out of the new halyard and cut off 2” (50mm) of it, and tape the ends of the core together. The newly taped core is drawn back into the new halyard until the covers butt together and the union is taped with plastic electrical tape. The I stitch everything together with whipping twine.
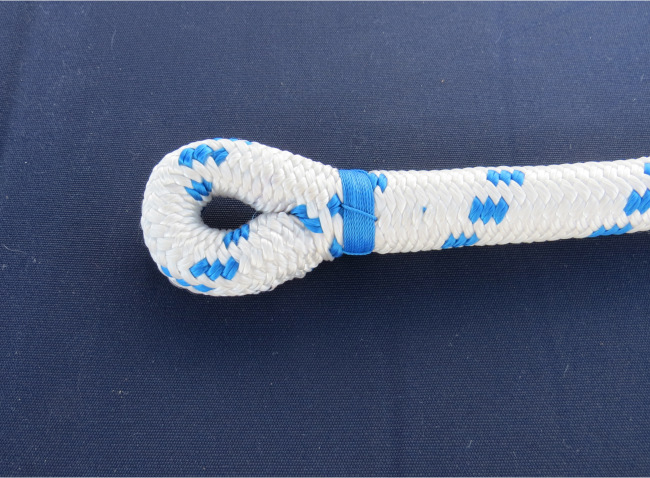
It usually take a little finesse to pull the newly joined ends through the clutch, but once past this obstacle, it is no problem pulling them through the blocks and mast. When the new halyard is in place, I cut the lines apart and either splice an eye in the new halyard or whip the end.


