The Blue View - Replacing a Seacock
/ Nine of Cups has 16 thru-hulls – holes in her bottom. A couple of these are for depth and speed transducers, but 14 are used to allow water into or out of the boat. For example, one is used as an engine cooling water intake, another is connected to the galley sink drain, another serves as the water intake for our desalinator, and so on. Since it could be a real disaster if a hose connected to one of these thru-hulls broke or came loose, each of the 14 thru-hulls is fitted with a shut-off valve - or seacock in sailor's parlance. As part of our annual haul-out chores, we check, lube and exercise each seacock, and examine all the hoses and hose clamps.
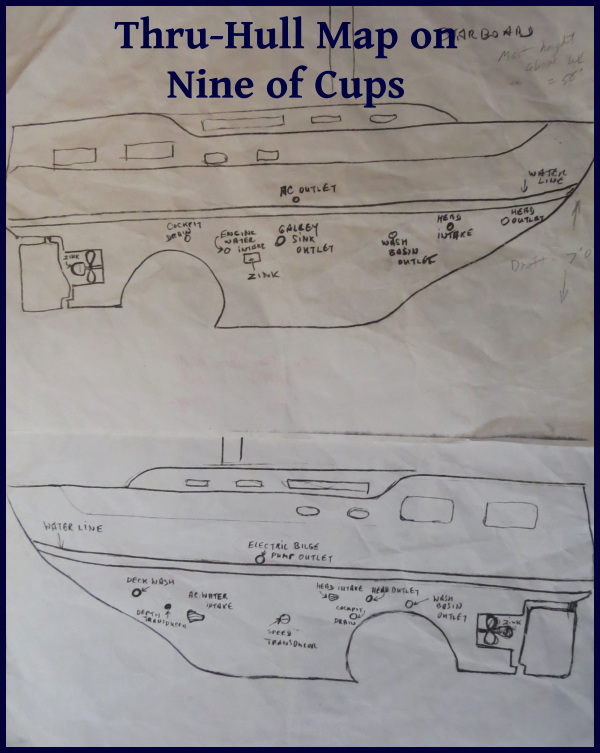
This process is more easily done with two people. In our case, Marcie is outside the boat equipped with a q-tip taped to the end of a screwdriver and a pot of either vaseline jelly or a silicone based lubricant, while I am on the inside of the boat. We start with the most forward thru-hull on the starboard side, and I work the seacock half a dozen times or so to limber it up, then close it and tap the hull a few times. That's Marcie's cue to grease the ball valve with a dab of lubricant, after which she taps on the hull. We repeat this three times for each seacock, then move on to the next seacock. While she is greasing, I examine each seacock and thru-hull for corrosion, make sure the bonding wire is still attached and intact, then check each hose for signs of deterioration and each hose clamp to make sure none have broken or begun rusting.
The whole operation takes about a half an hour or so, and is well worth doing. There are always a few seacocks that are quite stiff, but which are soon operating smoothly again after working and lubing them. Invariably, I discover a few hose clamps or a hose that looks questionable, and it goes on the list for replacement before we splash again. And every few years, I find a seacock that has totally frozen up and which will also need replacement before going back in the water.
This time, the seacock for the port cockpit drain was seized. It has been with Cups since she was built, and after 30 years, it finally seized up. This particular one is located behind and below the engine, right next to the large engine exhaust hose – probably the most difficult-to-access seacock on the boat.
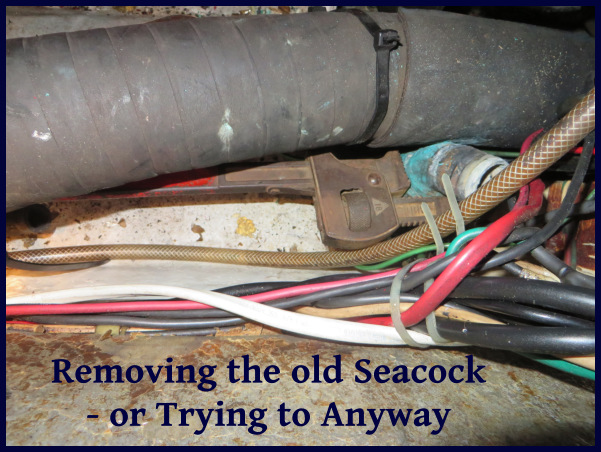
The usual steps involved in removing a seacock are to remove the hose clamps and hose from the tailpiece, then, using the biggest pipe wrench that will fit into the space, unscrew the seacock from the thru-hull. These parts are made of heavy bronze, and were sealed with a copious amount of bedding compound 30 years ago, making them somewhat stubborn. I got my biggest pipe wrench out, wriggled my way down to the seacock, then spent the next hour pushing, pulling, grunting, sweating and cursing trying to get the damn thing to budge. After several new cuts and abrasions, a few bruised knuckles and absolutely no movement of the seacock, I went to find Raymond, the boatyard mechanic.
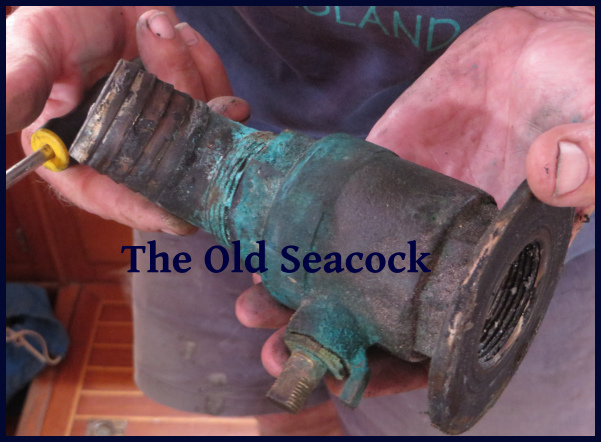
Raymond is a big, strong guy, and his helper is even younger and stronger. I was sure that between the two of them, the seacock would give it up, but after half an hour of concerted effort on their part, it still wouldn't move. We had a brief conference and decided that the only way to get it out would be to grind off the bottom of the thru-hull, and push it up and out of the hull. I was quite apprehensive – it would take some finesse and care to accomplish this without damaging the hull – but Raymond assured me he could do it. Sure enough, after another twenty minutes or so, the thru-hull and attached seacock were free with no collateral damage at all.
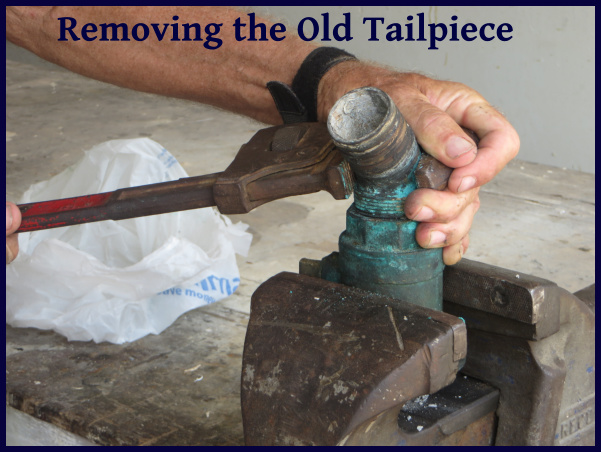
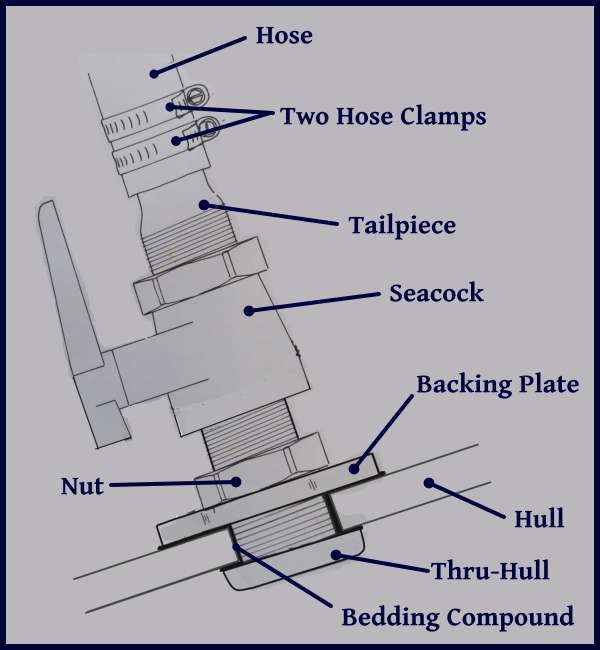
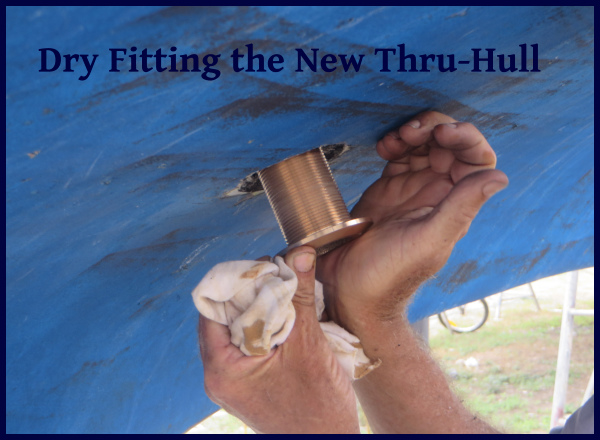
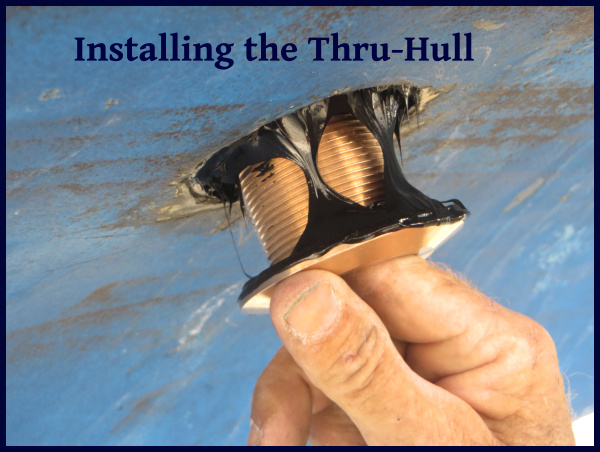
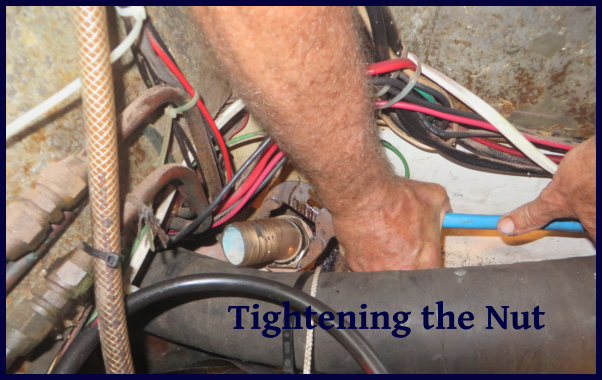
Installing the new parts was much easier. The new thru-hull was pushed into the hole from beneath, and a backing plate was installed and the nut screwed into place on the inside of the hull. I did a dry fit first to make sure everything fit, then took it all apart, applied bedding compound to the hole, under the backing plate and onto the threads, then reassembled everything. I tightened the nut moderately tight, making sure bedding compound was oozing out from under the backing plate and around the end of the thru-hull, then let it sit overnight. The next day, I tightened the nut as much as possible. This ensures that not all the bedding compound gets squished out from the mating surfaces.
Next, I applied bedding compound to the threads on the tailpiece and screwed it into the seacock. Then the sea cock was screwed onto the thru-hull, again, after a light application of bedding compound to the threads. It was tightened down, making sure it was oriented so that the handle could be operated. Finally, a new hose and two new hose clamps were fitted into place.
All done, and just in time for a beer while I admired the finished job. All that's left is to check it when we splash to make sure there are no leaks. With any luck, it will last another 30 years, which is just about how long I want to wait before I have to repeat the job.

