

The Blue View - Replacing Fuel Tanks Pt. 2
/ In last week's Blue View, I talked about removing the tops from the old fuel tanks, making the drawings for the new tanks, then building mock-ups out of plywood. Once I was happy with the fit and the drawings, I hired a “flete”, sort of a combination small truck and taxi driver, and made the trip to the metal fabricator. After a lengthy discussion that required Marcie's reasonable Spanish, my crappy Spanish enhanced with a great deal of hand gestures, the drawings and the mock-ups, the fabricator assured us he understood what was needed. He gave us a quote and promised delivery in about a week.
Sure enough, 8 days later I got a message that the new tanks were ready. We rounded up several hundred dollars (Ecuador uses the U.S. dollar as its currency), stuffed them into our pockets and hired a taxi to take us back to the fabricator. The shiny new tanks were lined up alongside the mock-ups, and looked identical. I asked the manager if they had been pressure-checked, and his response was “Si claro, Señor, claro”, which meant “Yes certainly, sir, of course”. I paid him the remaining amount due and arranged to have the tanks transported to Nine of Cups.
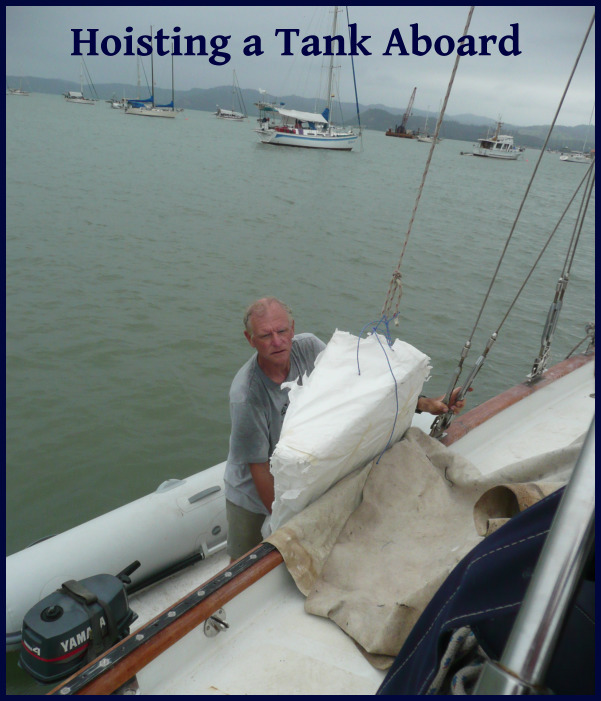
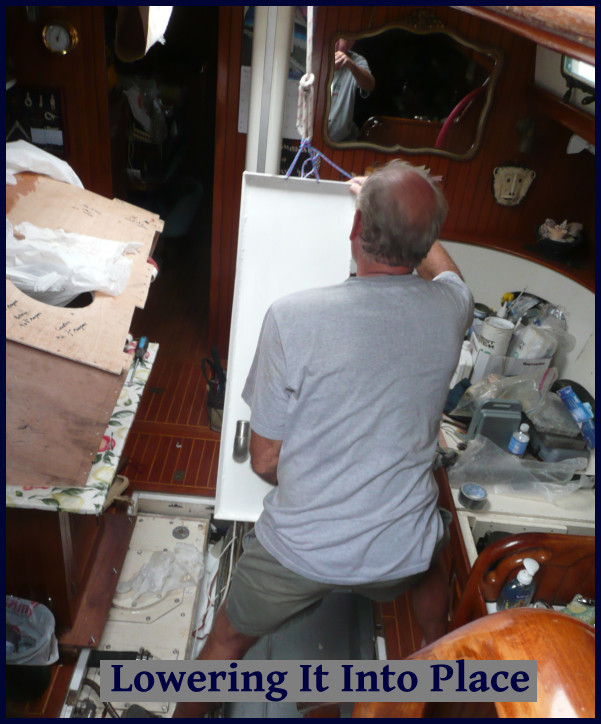
They arrived the next morning, all carefully wrapped to protect them during the trip. We loaded the first one into the dinghy and transported it out to Cups. I made a small harness and attached a spare halyard to the tank, then Marcie cranked away at a cockpit winch while I guided the tank up out of the dinghy, down the hatch and into the saloon, trying very hard not to damage the varnished teak in the process. Once it was below deck, I guided it into the old, cut-away fuel tank, and then slid it into place, securing it temporarily with a couple of bolts.
This process was repeated with the second tank, but when we tried to install the third tank, it wouldn't fit into place. We found that the hose fittings were not to specification...something we hadn't noticed when we looked at them at the fabricators...and thus wouldn't fit. Out they came, and we hauled them back one by one to shore in the dinghy, hired a flete once again and took them back to the fabricators. Oh, man!
By the end of the week, they had fixed the problem and the tanks were re-delivered to us. We got them all in, plumbed and ready for the final pressure testing. They had been tested at the fabricators, of course, but this was the final check before filling them with fuel. Leaks...leaks...leaks! It was hard to identify them all in-situ, but there were a lot of pinhole leaks in the welds! So much for the fabricator's assurance that they had been pressure tested. We were sick about it.
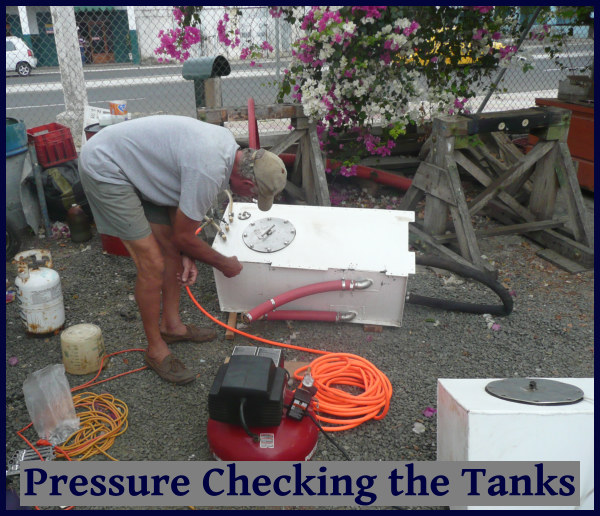
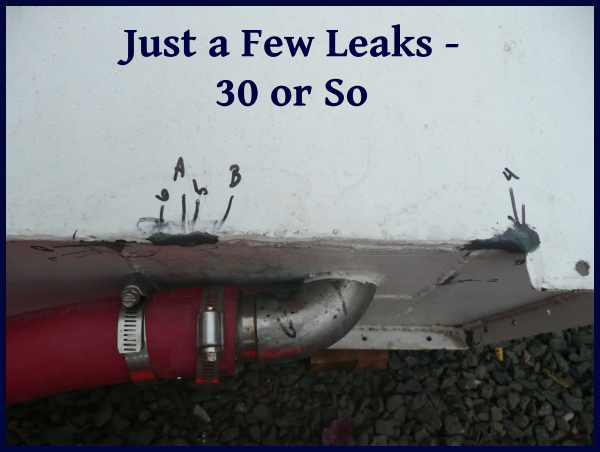
Out they all came, and we transported them ashore once again, one at a time. I also hauled my compressor and extension cords as well as several hoses and fittings ashore. We pressure checked all three tanks and found more than 30 leaks in all! We marked each leak and worked with a local welder to make the repairs. It was cheaper and quicker than hiring a flete and returning the tanks to the fabricator. After a new coat of paint, the tanks were ready to go back aboard – for the third iteration.
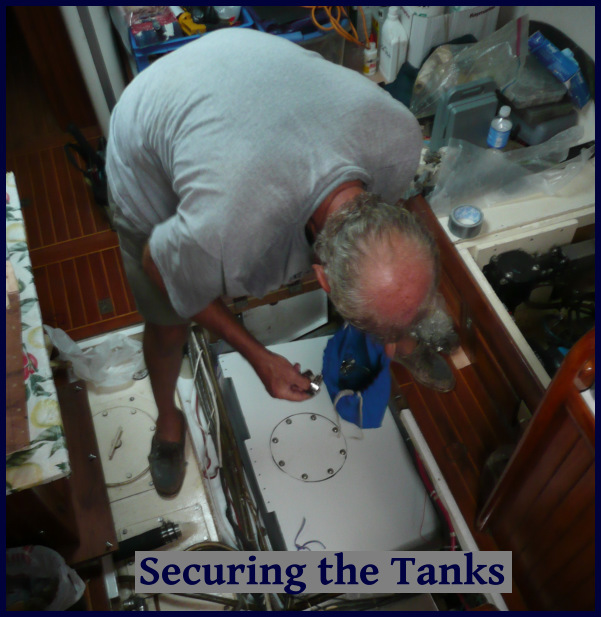
This time, after the tanks were installed and plumbed, they passed the final pressure check. I secured each in place with bolts, then reinstalled the floor stringers, floorboards and table. Hoorah!
All-in-all, the fuel tanks turned out well, and I was quite pleased with the results. Like most of my boat projects, however, building the new tanks took about three times as long as I planned. On the other hand, I was quite pleased with the cost – looking at the bright side, it came in at only about 50% over budget as opposed to the usual double or triple.