

The Blue View - Troubleshooting Engine Gauges
/We interrupt our inland travel to bring you a Blue View or two, for those of you who prefer boat talk to travel talk. Travel resumes tomorrow.
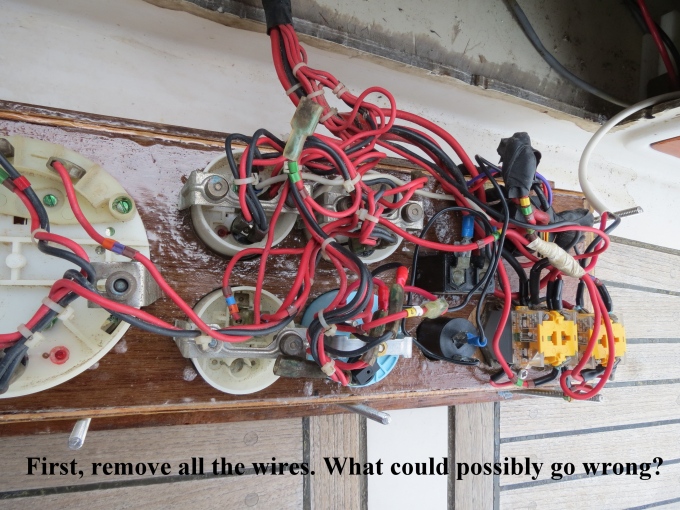
I recently found it necessary to rebuild the box that houses the cockpit engine gauges on Nine of Cups, which is a whole other blog unto itself for another time. In the process, I had to, of course, disconnect and remove all the instruments... always a dangerous endeavor. The wiring harness is now 29 years old, and although it is still working fine, all that tugging and pulling on wires and connectors was bound to introduce some problems. As it turned out, the wiring made it through the project just fine, but I did have a couple of problems with the gauges themselves. I thought it might be a worthy of a blog or two to discuss how to go about troubleshooting engine gauges. In this blog, I'll discuss temperature, pressure and voltage gauges, and a later blog will be devoted to tachometers.
Voltage Gauges
Voltage gauges are the easiest to troubleshoot. Simply connect your voltmeter to the plus and minus terminals of the gauge and turn on the ignition. The voltmeter should read about the same as the voltage gauge. If the voltage gauge reads zero or is significantly off, it is defective and should be replaced. If both are reading low or zero volts, the problem is in the wiring.
Temperature and Pressure Gauges
Engine temperature and oil pressure gauges both use sensors (or senders) that screw into the engine somewhere. These sensors are nothing more than variable resistors - the resistance changes as either the temperature or pressure changes. The gauge provides a small current that flows through the sensor, then measures the voltage across it. As the resistance changes with increasing temperature or pressure, so does the voltage across it.
There are a few different standard sensors used by different manufacturers and in different parts of the world, but all have resistances that vary from zero ohms to a few hundred ohms as the temperature or pressure varies through the normal engine operating range.
These gauges have three inputs: V+, ground, and the sensor input. V+ may be labeled "+" or "I", ground will be labeled "Gnd" or "-", and the sensor or sender input will be marked "S" or "In". There may also be another one or two connections for the lamp.
The process for testing the gauge is as follows:
-
Check power to the gauge by connecting your voltmeter to the V+ and ground terminals of the gauge and switching the ignition on. You should see 12 volts (or 24 volts). If not, check the power and ground connections, wiring and fuses. If the alarm horn and other gauges are working, the problem is probably between the ignition switch and the gauge or in the ground connection.
-
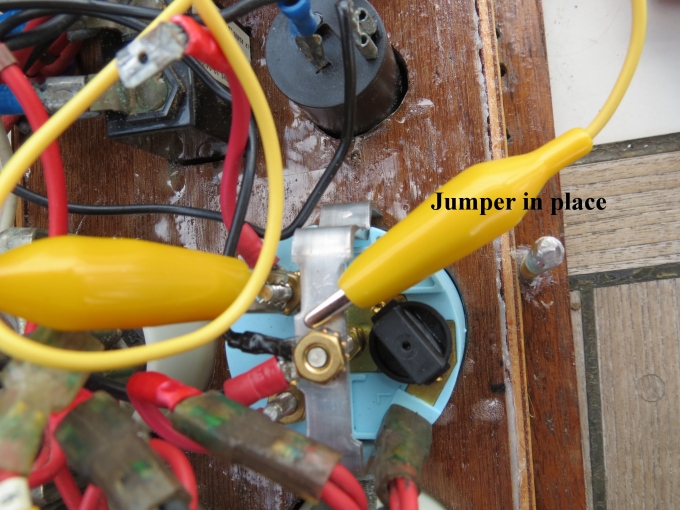
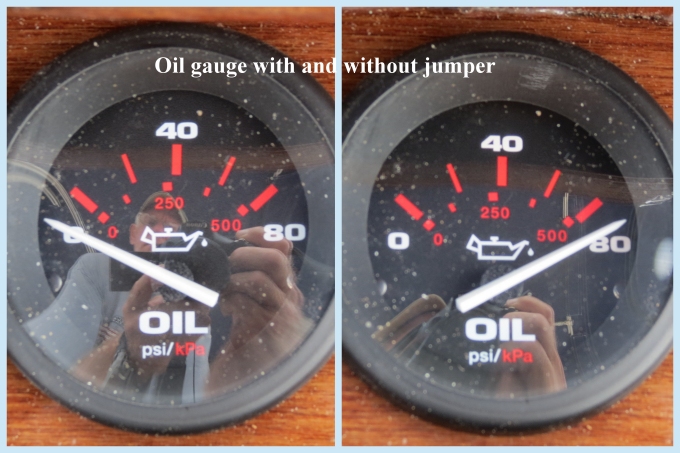
Disconnect the sensor input from the "S" or " In" terminal and switch the ignition on. On most gauges, the needle will stay all the way to the left side of the gauge face. Next, short the input terminal ("S" or "In") to the ground terminal. If you have a jumper, great, but a screwdriver will do the trick (as long as your arms are long enough to hold the screwdriver in place while looking at the front of the gauge without shorting the ground and power terminals). On most gauges, the needle will deflect to full scale. Some gauges, depending on the manufacturer or model, will work the reverse of this. Just be sure the gauge goes to both ends of the scale when the sensor input is switched from open circuit to grounded. If the gauge does not pass this test, it is most likely defective and should be replaced. If it does pass this test, continue on to the next step.
-
With the sensor wire disconnected from the gauge, connect an ohmmeter between it and ground. You should see a resistance of a few hundred ohms. If not, move down to the engine room, remove the wire from the sensor and repeat the resistance check there. If there is a problem, you can now determine whether it is in the wiring or the sensor.
-
If everything checks okay, things start getting mysterious. It could be a mismatched gauge and sensor - did you recently change one or the other? It could be an intermittent connection - try starting the engine and wiggling all the wires leading to the gauge to see whether it starts working again and ,if so, which wire or connector is causing the problem.
If you do replace either the gauge or the sensor, make sure it matches the old one. If you aren't sure and can't figure it out, replace both the gauge and the sensor.
We'll tackle the tachometer gauge soon.