The Blue View - The Dremel Rotary Tool is an Essential Tool

Dremel Tool Ad  

When I was growing up, my dad had a Dremel “Moto-Tool” tool. It came in a nice dove-tailed wooden box with what seemed to be at least 6,000 attachments and accessories. He had purchased it in the early 50's and he used it a lot for his hobbies – miniature trains and building wooden replicas of boats and classic cars – as well as a myriad of little projects around the house. Sometime in the late 1980's, it finally wore out and quit. He dug out his original paperwork which stated there was a lifetime warranty on it, and being true to his Scottish heritage, sent his 35+ year old Dremel tool back for repair. The Dremel Manufacaturing Company sent a letter stating this particular model was no longer supported, as it had gone out of production about 25 years earlier. They would happily provide him with one of the new models at no charge, however, if this was acceptable – which was and which they did. Now that's customer service!
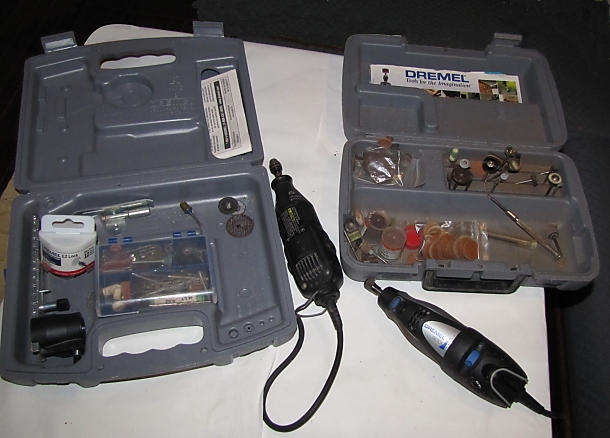
 

Dremel tool


When my parents downsized from a house to a condo, I inherited a lot of his tools, including the Dremel tool and attachments. Then, when we downsized from our house to the boat, I seriously doubted I would get much use out of a Dremel tool on-board Nine of Cups and debated whether to keep it. But it was small, especially if I kept only the essential attachments and accessories - probably no more than 500 or so. I was sure I could find room for it, and it made the final cut. I rationalized that if I didn't use it, I could always part with it later.


dremel accessories


It turns out that my dad's old Dremel tool is a pretty essential part of my tool kit. There's probably not a week goes by that I don't find a use for it. Here are some of the more common uses for my Dremel:

Bolt Cutting: I use it regularly to shorten small bolts (less than 1/2” or 12mm diameter). It is easier to handle and more precise than an angle grinder. I use the cut-off wheel attachment for this. It also works well to dress stripped threads on bolts of any size.

Rigging: I used it when we were replacing the stainless stays and shrouds. The cut-off wheel makes a very neat, square cut on stainless steel wire.

Lifelines: When we last used stainless wire for our lifelines, it was simple and easy to cut the stainless wire with the Dremel.

Cleaning small orifices: I have some tiny drill bits (5 of the 500 or so attachments) that I use for cleaning small orifices. For example, the tiny jets on our propane stove sometimes get clogged with carbon, and the Dremel works great for clearing them.

Routing: I have a routing attachment, and the Dremel is quite handy as a small, precision router. For example, I occasionally need to rout a small cutout in thin aluminum, which is simple with a small metal milling bit. Or by using a lettering template, I can engrave letters in aluminum or plastic.

Drill Press: I have an attachment that allows me to use it as a precision drill press. As an example, we bought a number of black pearls in the South Pacific. None of them had holes drilled in them. I used modelling clay to hold the pearl in place, and I drilled a hole through the center of each pearl using a small drill bit.

Shaping: There are innumerable times when I need to shape a small piece of plastic or soft metal, and the Dremel grinding stones and sanding drum work quite well. For example, a couple of years ago, an odd shaped plastic part in one of our cockpit winches broke. The winch is 27 years old, and Lewmar no longer stocked the part. Unlike Dremel, they didn't offer to replace it with the latest model. Using my trusty Dremel tool, I was able to fabricate a new one from a piece of aluminum.
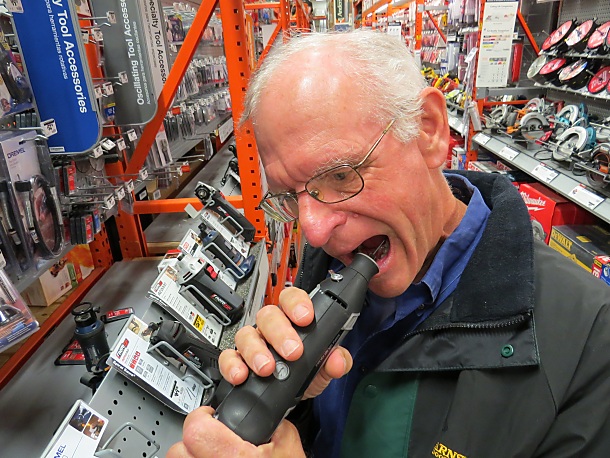
 

dental work with the dremel


Dental Work: While I haven't actually used it for repairing either of our teeth, I have some small grinding accessories and a few tiny drill bits that I am sure it will work well for this application. Marcie has been particularly reluctant to let me give it a try, but I remain optimistic that we will eventually meet some sailor in dire need of some reconstructive dental work.

As I wrote this blog, I went to the Dremel website and discovered they have several new models and I'm thinking a tool this important should have a backup. There are also a whole host of cool new attachments and accessories, and I'm not sure how I ever managed to keep Cups afloat without some of them. I should have plenty of room for them if I give up a few of my extra hats and some of my older t-shirts. One has to have one's priorities right. And I'm sure I can convince Marcie that bringing back a Dremel will be a much more beneficial use of space than some extra galley gadgets.

I highly recommend the Dremel 4200, and if you're interested, it can be found on Amazon.


The Blue View - Reefing

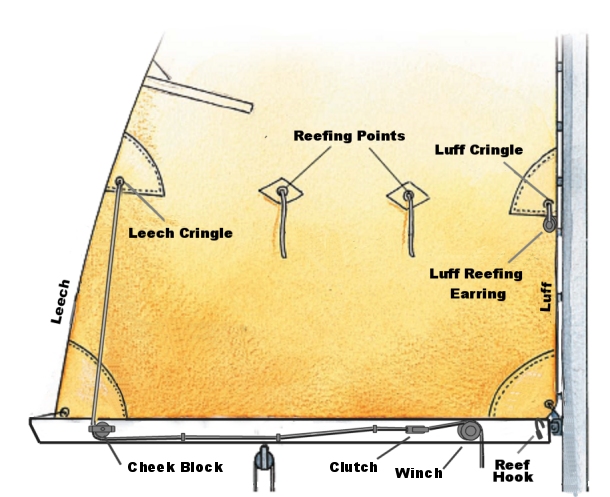
reef drawing  

Neptune has has been very good to us over the years. When we do something stupid or ill advised, he usually provides us a with a lesson to show us the error of our ways. These lessons almost always result in some embarrassment, frequently involve a short term adrenaline rush, and, on occasion, has resulted in some damage to the boat. Fortunately, he has helped us avoid any major catastrophes, and the damage to our egos was usually much greater then the damage to Nine of Cups.

One of his first lessons was on reefing the sails. This is a maneuver used to reduce the sail area when the wind increases (as opposed to the other kind of reef – the hard kind we bump into every once in awhile – that's another of Neptune's lessons for a future blog). We had only been on Cups for a couple of months and were heading up the east coast of Florida. Marcie had just brought dinner up to the cockpit when we saw a big squall heading our way. We had all our sails up, but surely we had enough time to eat our dinner and then reef down before it got to us. Ten minutes later, as our dinner plates scattered to the winds (literally) and we were hunkered down on the floor of the cockpit fearing for our lives, we learned Neptune's lesson about reefing and reefing early.

Since then, we always reef at the first sign of bad weather. On a long passage, we reef down just before dark each day as a precaution. We have streamlined our reefing technique and it now only takes a couple of minutes to add or let out a reef.


Reef Dwg1


On Nine of Cups, we use a simple slab reefing system. Our main sail has three sets of reefs. The sketch only shows one reef, but our sail has two more sets of cringles and reefing points located higher up on the sail, as well as two more cheek blocks and rope clutches. We also have duplicates of the reefing lines, blocks, clutches and winch on the other side of the boom, so we can always reef on the windward side of the boat. Our procedure for reefing is slightly different depending on whether we are sailing into the wind or downwind. I will describe the process for the former first.

If the wind is coming from forward of the beam, reefing is quite simple. First, we remove the downward tension on the boom by slacking off on the vang and mainsheets. The aft end of the boom is raised a small amount by bringing the topping lift in a turn or two. Then the mainsail is lowered by letting out some of the main halyard. We have marks on the main halyard for each of the reefs, so we know just how much to let out.

One of us goes forward to the windward side of the mast and pulls the luff reefing earring down and hooks it over the reef hook. Next, the leech cringle is winched down until the cringle is close to the boom. Then the main halyard is tensioned, the boom tension is adjusted using the vang, and the mainsheet is trimmed. The whole maneuver usually takes less than five minutes (perhaps less for more agile sailors!).

If we are sailing downwind, the process is similar, but slower and more controlled. The mainsheet is cranked in, if necessary, until the boom is well away from the shrouds, and then the tension is removed from the vang. One of us, usually me, goes forward to the mast and pulls down on the luff while the sail is slowly lowered a foot or so. The leech cringle is then cranked in. The mainsail is lowered another foot or so while I continue to pull down on the luff and keep tension on the leech cringle. These steps are repeated, a foot at a time, until the luff reefing earring can be hooked over the reef hook. Once the earring is secured, the process is the same for downwind or upwind. With two of us, it usually takes about ten minutes to reef downwind. It can be done by one person, but the time would probably be doubled.

There are a lot of different methods and variations of these methods for reefing, all with pros and cons, but this is what works for us. Though I wouldn't ever consider us fast learners, Neptune has a way of making lessons stick vividly in our minds. We reef fast and early.

The Blue View - Buttoning Up Nine of Cups

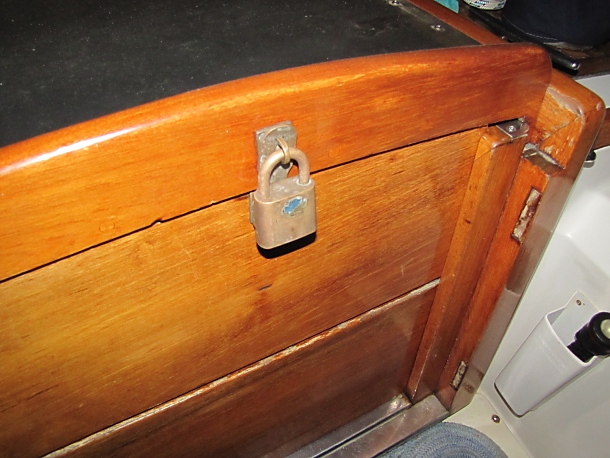
button up cups  

Heading back to the States to join Marcie, I knew I'd be leaving Nine of Cups on her own for a few months, and just like leaving a house for vacation, there were a lot of things that had to be done to button her up before leaving.


long checklist


I had a long checklist, and I spent the day and a half before departure taking care of what could be done ahead of time. The list included things like flushing the outboard engine and draining the fuel, decanting the diesel fuel from the on-deck jerry cans into the main tanks, doubling the dock lines, securing everything on deck, disconnecting the shore power, and a whole host of other chores.


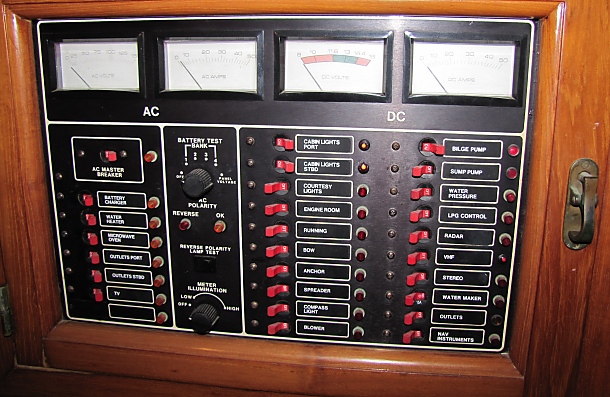
panel


The solar panels will keep the batteries topped up, and the solar power regulator will keep the batteries from being overcharged. The wind generator was shut down and tied off. Friends in the marina were given our contact information and will be keeping an eye on Cups while we're gone.

There were a number of items that had to wait until just before leaving. Since I was departing for the airport at 4:30 in the morning, I got up at 3AM to take care of last minute things like turning off the propane tanks, closing the remaining thru hulls, and turning off circuit breakers.


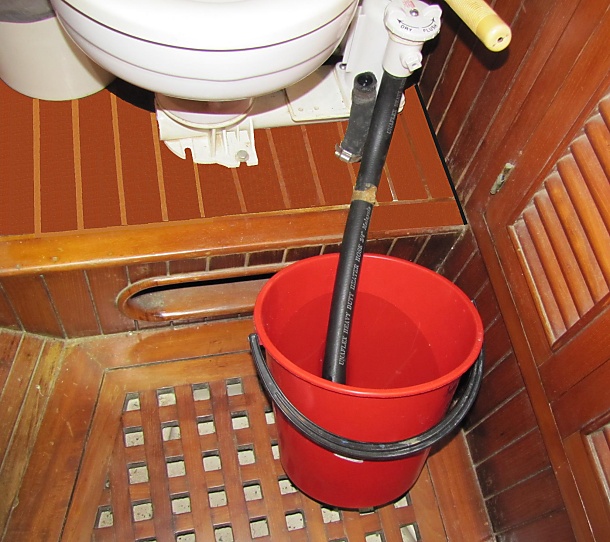
pickling the head


One task that had to wait until the last minute was pickling the sink drains and head. The sinks drain directly overboard and once the thru hull valves are closed, stagnant seawater sits in the hose between the sink and the thru hull. Likewise, the head is flushed with seawater. If the seawater is allowed to sit for a few days in these hoses and the toilet and its pump, they will all begin to smell like low tide on a mud flat. After a few months, all kinds of interesting sea life will be growing in them. To prevent this, I flush the head with a freshwater/bleach mixture, and put a little bleach into each sink drain.

After all the hammering, sawing and epoxying I've been doing to her innards over the last few weeks, perhaps Nine of Cups was looking forward to a little alone time, but I think she looked a little forlorn as I walked away in the early morning on my way to the airport to head to the U.S.

If you are interested in getting a copy of our decommissioning list, send an email and we will happily send it along.