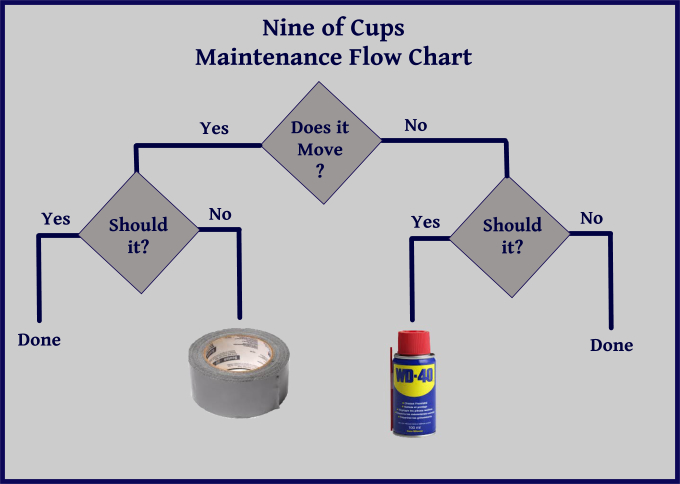
Our good friend and former cruiser, Jack Cooley, sent us a fun blog on the history of WD-40 and about 43 different uses for it. WD-40 is, of course, one of the fundamental and key components of any yachtie's tool kit, and I thought I'd devote a Blue View in tribute to it. To quote the Duct Tape Guys , “You only need two things in life: Duct Tape and WD-40®. If it moves and shouldn’t, use Duct Tape; if it doesn’t move and should, use WD-40®.”
A little history...
In 1953, the newly formed Rocket Chemical Company, with its staff of three, set out to create a line of rust-prevention solvents and degreasers for the aerospace industry. The first product was to be a water displacement product, and it took 40 attempts to get the formulation right... thus it had the internal name WD-40. Their first big customer was Convair, an aerospace contractor, who used the product to protect the outer skin of the Atlas Missile from rust and corrosion.

The name stuck, and a few years later, the company's founder, Norm Larsen, experimented with putting WD-40® into aerosol cans, reasoning that there might be a consumer market for the product in the home. It made its first appearance on store shelves in 1958. The company more than doubled in size, to seven people, who sold an average of 45 cases per day from the trunks of their cars to hardware and sporting goods stores in the San Diego area. In 1969, the company was changed from the Rocket Chemical Company to the WD-40 Company, Inc., which was its only product. Since then, the company has continued to grow, going public in 1973. It is now found in 4 of every 5 households, on every boat I know of, and in 176 of the 196 nations around the globe. We have personally seen it in some of the smallest, most remote hardware stores you can imagine – from remote jungle villages on the Amazon to tiny islands in Vanuatu.
A common myth...
The main ingredient is fish oil. The actual formula is a tightly held trade secret, but reviewing the MSDS sheet shows WD-40® contains about 65% aliphatic hydrocarbons and 25% petroleum based oil. It has a slight odor of petroleum when used, and the can even has warnings about petroleum distillates and the perils of ingesting it. One of its many uses is most certainly NOT as a source of omega-3 fatty acids.
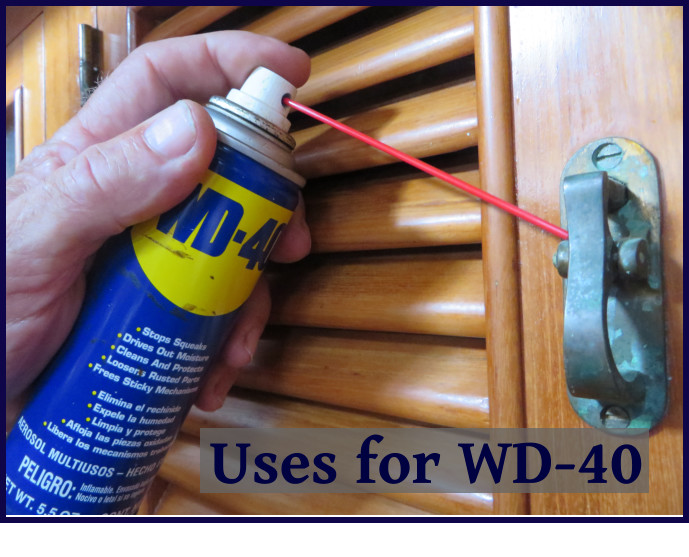
Common uses aboard...
On Nine of Cups, my can of WD-40 sees a lot of activity. My own top 10 uses are:
Freeing seized bolts. This is always the first round in any attempt to free a seized bolt.
Removing masking tape residue.
Removing shoe marks. The officials in many countries insist on boarding your vessel wearing their black polished boots, not noticing or caring that they are leaving big black marks all over our decks and topsides. WD-40® works well to remove them.
Lubricating drill bits when drilling stainless.
Preventing rust on tools
Lubricating blocks and pulleys
As a belt dressing on engine/alternator belts
Displacing moisture from electrical connections and wires
Freeing stuck zippers
Lubricating and protecting fishing reels
Other lesser known uses...
The WD-40® website lists more than 2000 uses for it. Here are some of my favorites:
Spraying it on bird feeder posts causes the squirrels to slide right off.
Removes adhesive from the tails of show calves
Use the bottom of the can to draw a perfect circle
Use to shine seashells from the seashore, Susie
Keeps snake and reptile skins pliable during taxidermy
Removes duct tape – in case what previously didn't need to move, now does need to move
Cleans gum from turtle shells and chicken feathers
Cleans raccoon traps
Cleans melted vacuum cleaner belts from carpeting
Creates pretty rainbow formations when applied to empty aquariums
Keeps kitty poo from sticking to electric cat-box rakes
I noted it is also good for removing lipstick stains and for freeing stuck zippers. So I guess it would also be good for removing lipstick stains from stuck zippers??


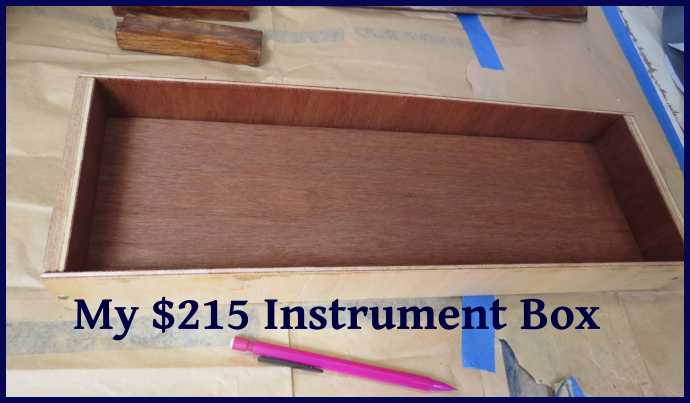
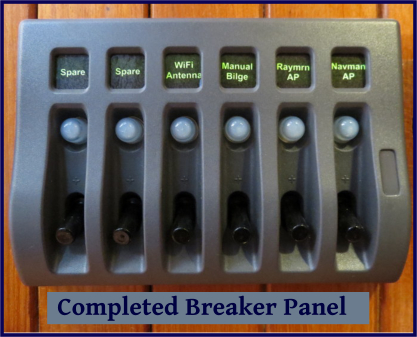 When Nine of Cups was built in 1986, the designer provided several spare breakers in the DC distribution panel to make the job of adding new equipment and electrical circuits easier. All these spare breakers on our main breaker panel were used a long time ago as we added gear, and over the years, we have added even more circuits, resulting in several fuses and breakers located in various locations around the boat. One of the things I wanted to accomplish here in Durban was to add a small sub-breaker panel to the electrical system on Nine of Cups, and re-organize at least a few of the added circuits.