

Upfitting Blue - Project 2: Mounting Solar Panels
/
Finished Panels
The second project of our van conversion on Blue, our Ford Transit 250, is now complete. He now has two 180 watt solar panels mounted on his roof.
Unlike the first project, installing the roof fan and ventilator, this installation didn't involve cutting a huge hole in the roof - just a few small ones. The hardest part was getting the panels up on the roof without damaging them or the van – or falling off the makeshift scaffolding in the process.

I selected Grape Solar 180W monocrystalline solar panels, which were the highest density panels I could find that would fit the available space. These come in a 2 pack from Amazon. The electrical connections are made using cables that are terminated with MC4 type connectors.

Solar Parallel Adapters
I connected the panels in parallel, using some nifty parallel adapters I found online that were designed just for this type application.
I bought 30' of 10 AWG exterior, UV resistant wire that was terminated in MC4 connectors. I cut it in half, then fed them through two watertight bulkhead cable glands. We don't have any batteries to charge yet, so the cables will be left open circuited for the time being. It was a real chore feeding the cable through the glands, which I did before making the holes and mounting the glands in the roof. For each cable, I worked enough of it through the gland so that I could clamp the cut end of the cable in a vise, then sweated and cursed as I pulled the cable the rest of the way through. It took about 45 minutes to pull the 12' or so of cable through each of the glands.
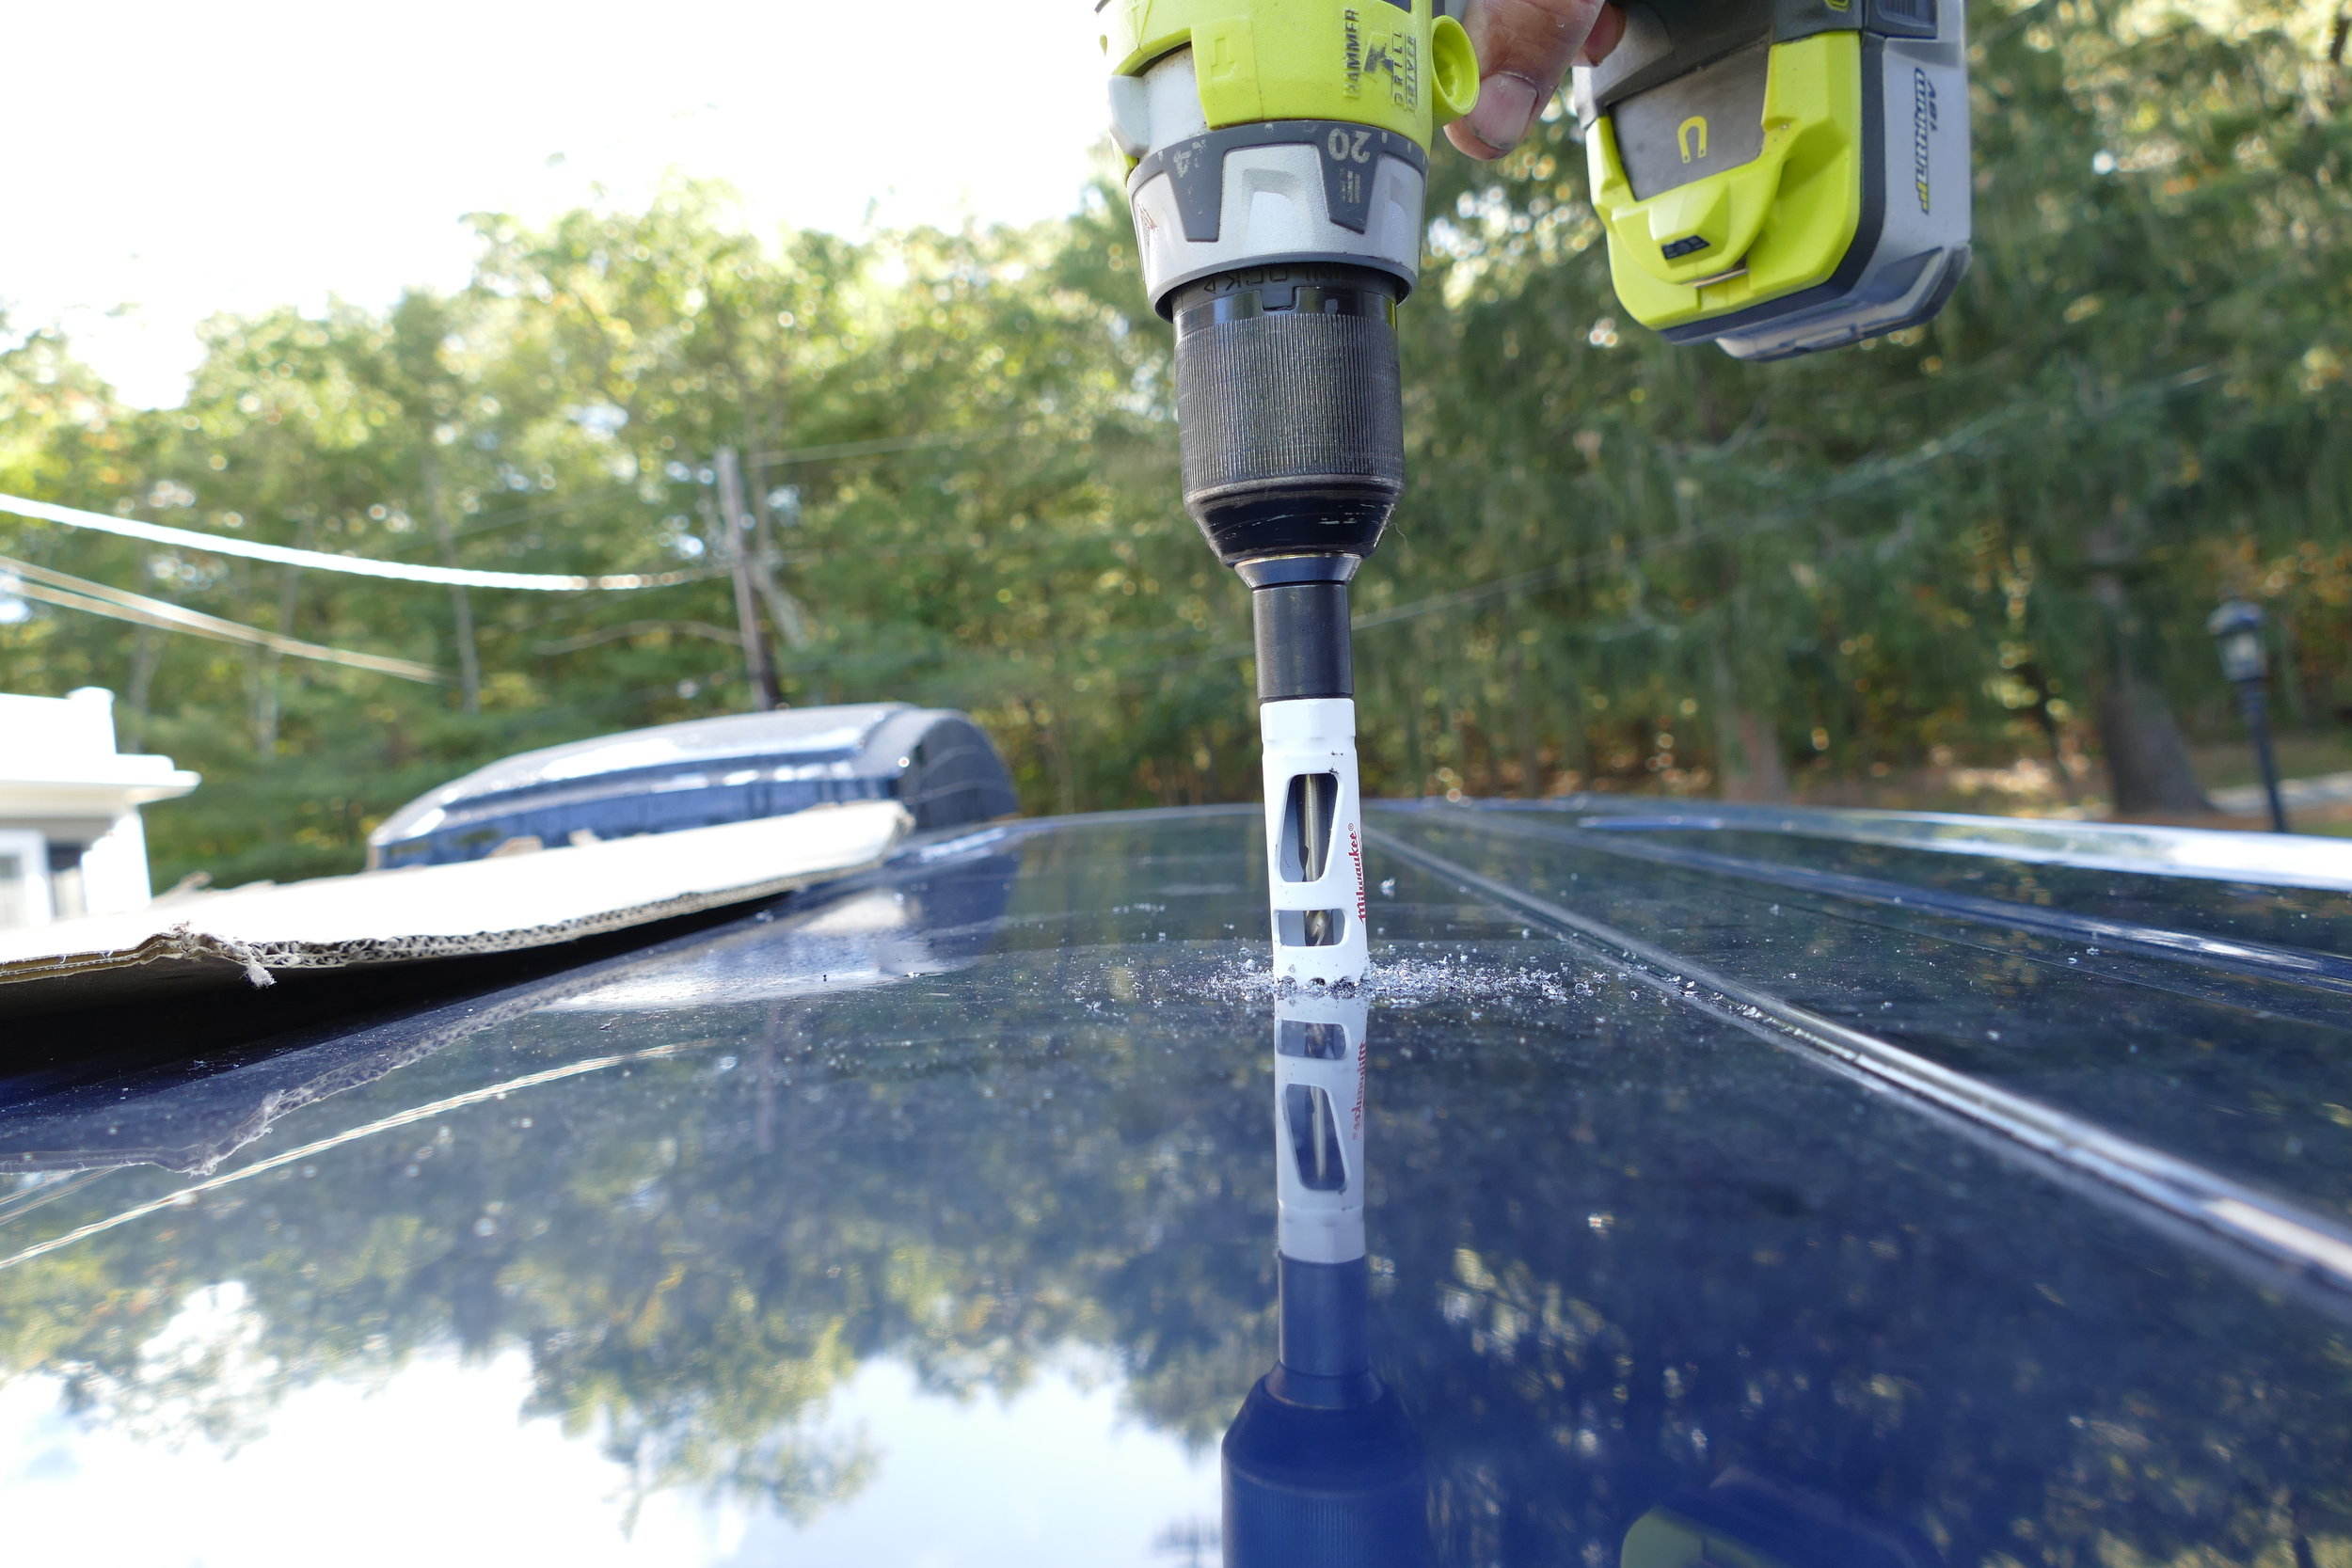
The next step was to drill 0.66” holes in the roof for the glands. The ideal hole saw size would be 11/16”, but I wasn't able to find one that size, so I bought a 3/4” (0.75”) metal hole saw. This was slightly oversized, but I cut a hole in a piece of scrap wood to check the fit and it seemed to seal just fine. (It has since weathered several intense rainstorms and hasn't leaked at all). The height of the solar panels above the roof was enough to clear the mounted glands, so they could be located under the solar panels to provide a little more protection from the elements and hide them from view. My interior connections will be on the port side of the van, so I positioned the glands under the port side solar panel.

Each solar panel comes with a positive and a negative cable, each about 2' long and terminated in an MC4 connector. I drilled a small hole in the underside of the panel destined to be on the starboard side and secured the cables to it using a cable tie so they would be routed to the port side panel. I added a 1/8”aluminum strip to the underside of the port side panel to be used to secure all the cables and keep them from chafing on the van roof.

Once the two holes were drilled and primed, I fed the cut ends of the cables down into the van, then positioned the glands near the holes. I put a layer of butyl sealant tape on the underside of the gland, then pushed it into the hole. From underneath, Marcie threaded the plastic nut onto the protruding threads of the gland and tightened it down while I held it in place from above. I removed the excess sealant, then applied a thick coating of lap sealant all around the glands to make extra sure there would be no leaks.
The goal for mounting the panels was to firmly attach them to the roof, while making them removable. Nothing lasts forever, and if I learned anything from 18 years aboard Nine of Cups, it's that someday they will need repairing or replacing. On the other hand, I wanted to minimize the number of holes in the roof.

I've seen other blogs in which double-sided VHB tape is used for this application. VHB tape is a 3M product that is used for bonding things together. It has been used to replace spot welds and mechanical fasteners, and, in fact, one RV maker has been using it for years to bond solar panels to RV roofs. It brought back memories of a medical product that was developed by a company I once worked for. The design used a high tech double-sided tape to bond a keyboard in place. The manufacturer claimed it was used for bonding car parts together and was as strong as a mechanical fastener. We built a couple of prototypes and did all sorts of testing on them. The tape seemed to live up to the claims.
Our first production run was for a private label account in New Hampshire, and we sent them the first 50 units off the line. Much to our embarrassment, the keyboards fell off almost every one of the units on their incoming inspection. It was the dead of winter, and what we discovered was that the tape became brittle and lost its adhesion at about -25° F. This was outside our specified operating and storage temperature ranges, so we never tested the tape in such extreme cold. We obviously overlooked the fact that the units might be exposed to temperatures this low while being shipped. Fortunately, they didn't fire the young design engineer that was in charge of the project – and responsible for this embarrassing gaff. He certainly learned from his mistakes, and will make sure the same thing doesn't happen on Blue.
It's quite likely that Blue will see temps as cold as -40° F, so one of the first things I checked was the VHB tape performance in very cold as well as very hot temperatures. 3M has documents that address both high and low temperature extremes. For the high end, the tape is able to withstand 250° F for hours at a time and 200° F for weeks at a time, so no problem there. On the low end, it starts to become brittle between -40° F and -65° F, so if we spend time in Kremmling, CO or Fairbanks, AK in winter, we may be pushing the limits of the tape.
I decided to use the 4991 VHB tape, but just to be on the safe side, I augmented it with a few screws through the roof.
The details of how I attached the panels are somewhat involved, and since this blog is getting quite long, I'll continue it in Part 2 of Installing Solar Panels. I know it has been absolutely riveting so far, and I hate to leave you with a cliff-hanger leading into the next episode... but you'll have to stay tuned.
Here are the Amazon links for the parts and supplies I used. If you use the links below to buy something, it costs you no more but we get a few shekels commission which helps support this website.