

Blue View – The True Cost of Biking
/
Under all that gear are our $89 bikes
When we first contemplated long distance biking, we had a host of concerns. Could we still ride bikes or are we (me especially) too clumsy, old and uncoordinated? Would we enjoy riding? Could we go any distance? What would I break when I fell off? There were too many uncertainties to know for sure, and until we knew whether this was for us, we wanted to keep our expenses down. Well, we’ve had our bikes for about four months now, and we are not only enjoying them, but haven’t sustained any significant bodily damage... we’re beginning to think this may actually work out. We’ve done a few sections of the Great American Rail to Trail (GART) route, and we’re contemplating taking on a few longer sections this fall.
Before committing to a large cash outlay investing in a hobby we may not like, we thought we’d spend only the minimum we could to get started. The big purchase was the bikes, and we were amazed to learn just how much money one could spend on one. The bike shops we checked had “low-end entry level bikes” starting at $500-$600, and if we wanted quality bikes, we should expect to pay $3000 or more. Huh? Even their low-end bikes were more than we wanted to spend for a hobby that might not work out after a month or two. We next looked for used bikes, but with the higher demand because of the pandemic, there were no bargains to be found there. We checked online and all the local big box stores, but there were no inexpensive, in-stock bikes to be had. We really lucked out one day, however, as we were walking through a local Walmart and discovered two Roadmaster mountain bikes still in their boxes, sitting in a corner near the empty bike racks. These are, by no means, great bikes, but would serve our purposes for awhile. We snapped them up. Cost: $89*2 = $178

Marcie with her Roadmaster and a few accessories
So, it cost us a little under $200 to get started in our new adventure. But, there were a few other items we needed to purchase before we got very far… then a few more. I thought this might be a good time to tally up what we’ve spent on this new hobby of ours and see what it really cost us to get started.. Here’s where we stand:
Accessories.
At first, we only bought a couple accessories, a phone holder to mount our smartphone (to log our miles and display the local maps), and a bike rack. As our forays grew longer and we did a few multi-day treks, we added panniers to carry food, gear and clothes, and then we bought hydration packs – small backpacks that include a water bladder and a small hose so we can drink while riding. Our latest purchase was a small bike computer for logging our miles. Cost of all: $247
Safety Gear:
First on the list was good helmets. There’s rarely been a time when I didn’t sport a scab, bump or cut on my head from walking into a low ceiling or tree limb, or from whacking my head on a cabinet. My family nickname when I was small was ‘bear cub’, and I haven’t gotten any less clumsy since then. Marcie is far less clumsy than me, but has been known to trip and fall on more than a few of our hikes. If we both have difficulties with our feet planted on the ground, biking would surely be even more hazardous, and it really seemed prudent to invest in a couple of good bike helmets. Also included in this category were tail lights, headlights and a couple of locks. Cost of all: $257
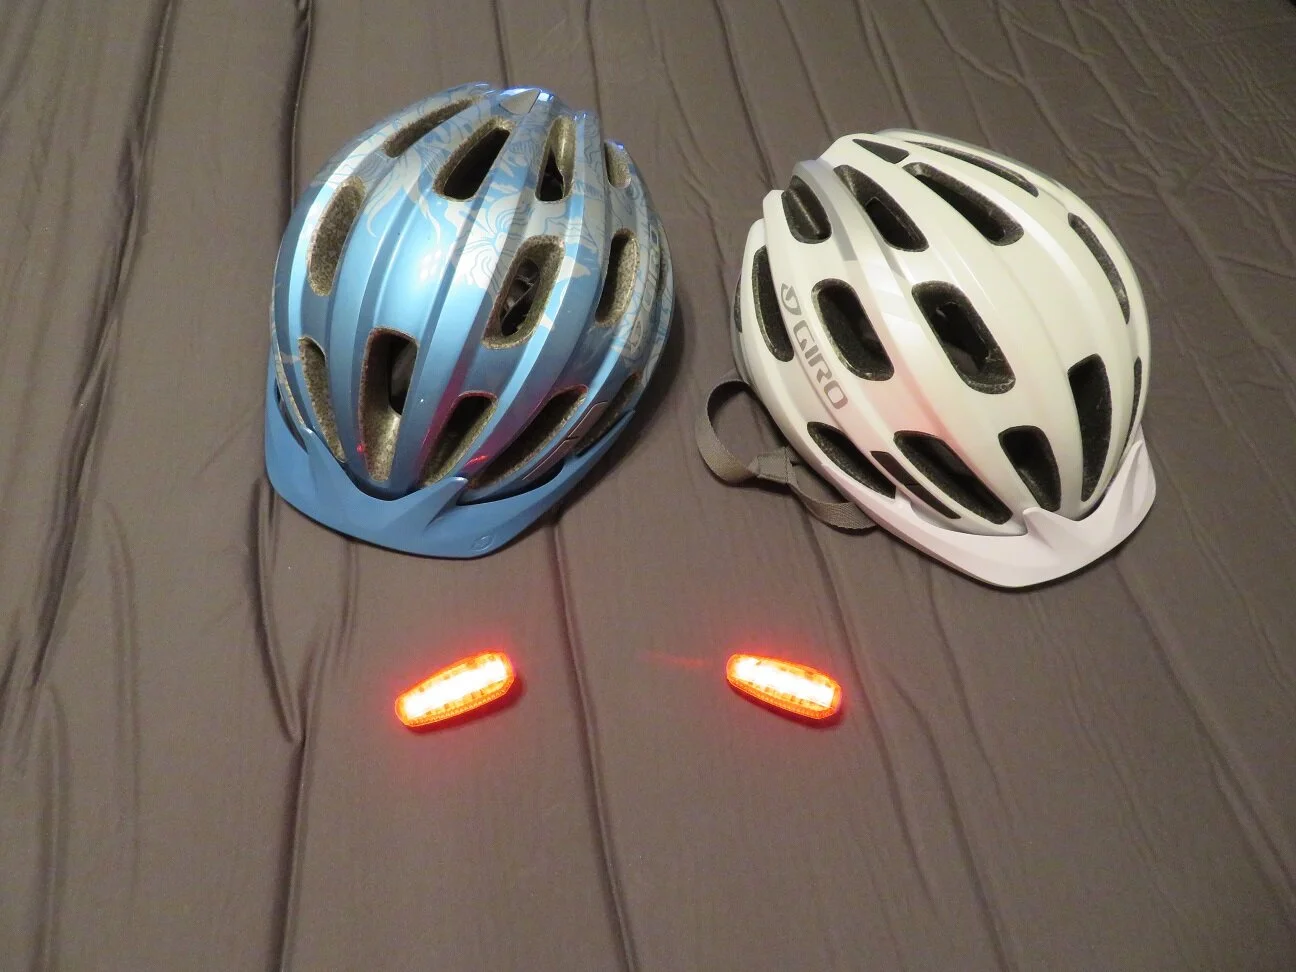
Some of our safety upgrades
Tools:
One issue with our $89 Walmart bikes is that I am constantly adjusting the derailleur and brakes. We’ve also had a couple of flat tires. I invested in the tools necessary to fix most of the little things that might go wrong while we’re on a ride plus a portable bike stand to make the adjustment process easier. Cost: $86
Parts:
The original seats on our Roadmaster bikes were good for about two miles before our nether regions started complaining. We invested in new, more comfortable seats, which will move to our next bikes, if we ever decide to upgrade. There were a few other parts that were purchased as well… tube repair patches, self-sealing tubes, and cleaning tabs for our hydration packs. Cost: $133

Marcie’s upgraded Cloud 9 saddle
Clothing:
Like most sports and hobbies, whether it’s skiing, golfing, tennis or biking, a lot of money can be spent on looking the part. Sometimes there’s a reason for the expensive attire, while sometimes it’s just to look good. When we hiked the Thames Path, we wore cotton jeans, sweatshirts and undies. These were heavy, took up a lot of room in our packs, didn’t handle wet weather well and took forever to dry. When we next did the Via Francigena, we upgraded to lightweight, quick drying layers that we could rinse out each night and which would be dry the next morning… well worth the extra coast. For our biking attire, we saved where we could, but tried to get good gear where it mattered. Most of our outerwear was found at thrift shops along the way. Some items, like rain gear and thermal layers were borrowed from our trekking gear. The remaining clothing, especially the personal stuff like padded shorts and gloves were bought online or at REI. Cost: $225

A few of our thrift shop finds
Guides, Maps and Memberships:
We like to support the organizations that build, upgrade and maintain the trails and paths we enjoy. These include the Arizona Trail Association, the Via Francigena European Association and the American Pilgrims on the Camino. For our biking adventure, we became members of the Rail-to-Trails Conservancy (RTC), and purchased their online, interactive mapping app. We also bought a local trail guide for the Trail of the Coeur d’Alenes. Cost: $35
Storage:
We had to modify Blue to securely hold our new bikes and all that gear in place while traveling. Cost: $45
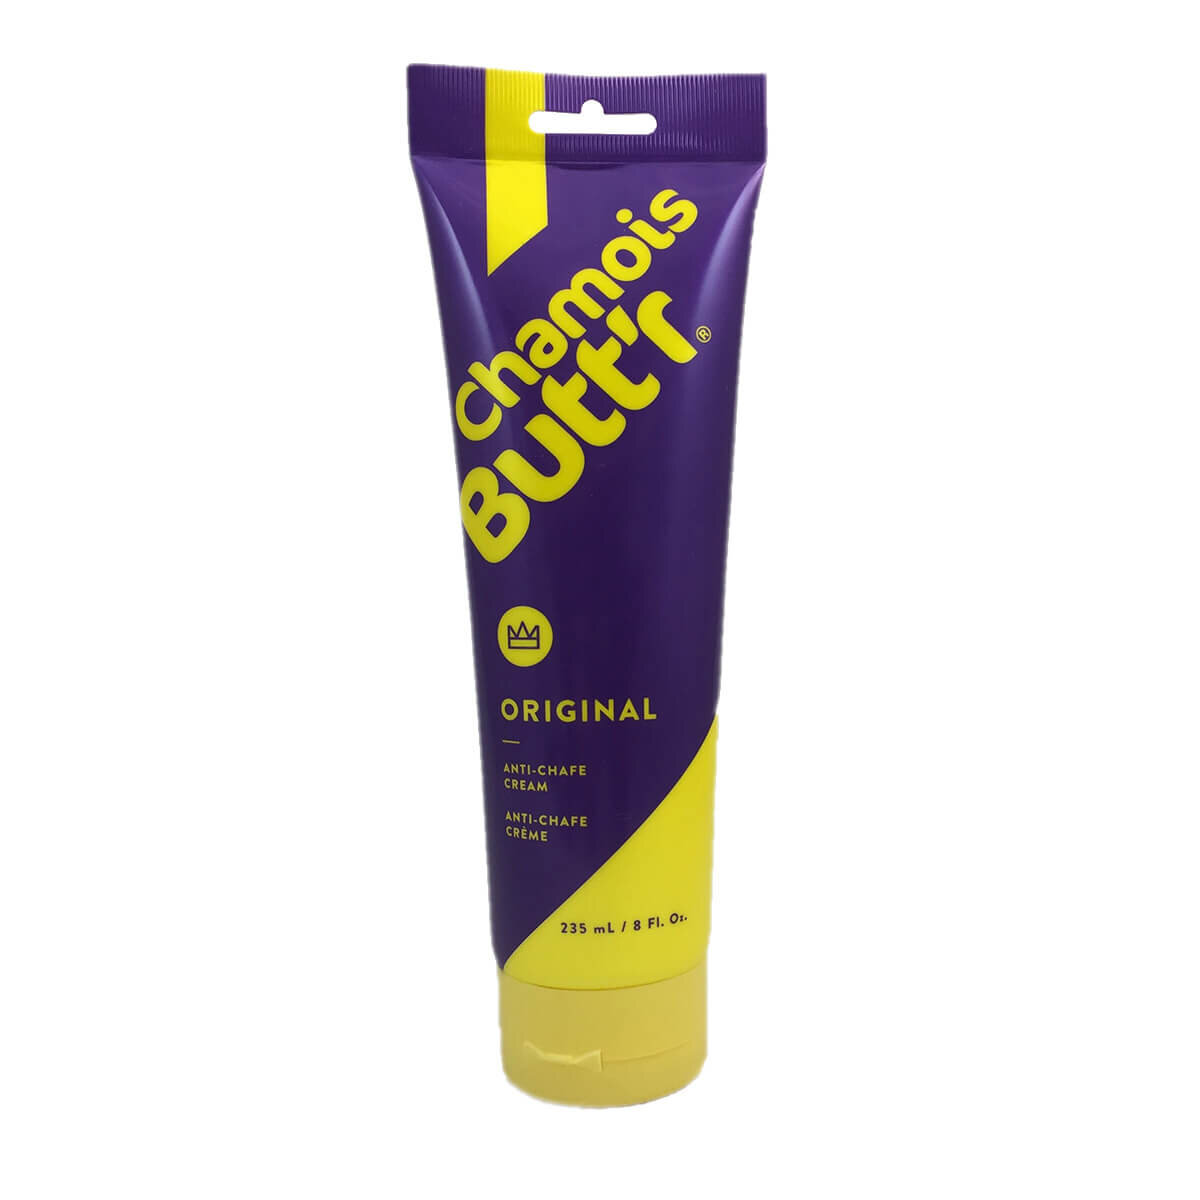
The original Chamois butt cream
Chamois Butt’R:
This deserves to have a category all by itself. This is an anti-chafe cream that is applied liberally to those areas that come in contact with the bike seat. It, along with the upgraded seats and padded pants help a great deal in preventing saddle sores on our longer rides. Perhaps, like riding a horse, those tender body areas will toughen up as we spend more time in the saddle, but for now, we don’t skimp on our Chamois Butt’r. Cost: $28
So, let’s tally everything up.
Bikes: $178
Everything Else: $1056
Total: $1234
Wow... quite a lot more than I expected!
Now, some may argue that buying cheap bikes was a false economy – that had we bought more expensive bikes, we wouldn’t have had to buy so many accessories and parts. In actuality, the $400-$1000 bikes we saw were pretty barebones; no racks, lights, or much of anything but the basic bike and a couple of reflectors. The more expensive bikes in the $1500 and up range sometimes included a few extras, like thorn-proof tires and luggage racks, but they often came without seats and pedals, since most serious bikers have their own personal preferences on both. I think we would have spent the same amount of extra money if we had bought more expensive bikes. If there is a positive to this, at least almost everything we bought can be transferred to better bikes if ever we decide to upgrade.
So, the true cost of our biking adventure was much more than the cost of the bikes... our bikes ended up only accounting for about 14% of our total outlay. It was certainly much more than I expected, and a whole lot more than I realized before I tallied it all up.
Then there is one more thought - maybe it is better to buy expensive bikes. If we had spent $5,000 - $10,000 on our two bikes, spending another $1000 on accessories, clothes, parts, etc. wouldn’t have been so surprising. All the extras would have only accounted for a much smaller percentage of the total outlay.
See you next week.