

Finishing a Carved Sign
/
We’ve spent the last couple of blogs carving wooden signs, and now it’s time to apply a finish to them. You may recall that a couple of decades ago, I made carved wooden nameboards for our sailboat, Nine of Cups. They were mounted on the bow of the boat and looked beautiful, but we also wanted them to remain beautiful while being subjected to the worst Mother Nature could throw at them – fearsome sun in the tropics, frost and snow in the high latitudes, tons of sea spray, and more than a few total immersions on some of our rougher passages.
To protect them from all that, the finish consisted of two coats of epoxy to seal the wood, followed by 12 coats of varnish to build up the depth and protect the epoxy from UV damage. The letters and logos were then gilded with 24-carat gold, and as a final touch, outlined in blue paint. To keep them looking good, another two coats of varnish were applied every 3-4 months.
Yeah - we won’t be doing that on these carved signs.
These carved signs will be spending their lives attached to the wall above our desks in our home office. The worst they will see of the elements will be a slight whiff of steam from our morning coffees. Thus, instead of taking weeks meticulously brushing on layer after layer of epoxy and varnish, we’ll be able to finish these signs in two days. Here’s how…
Seal the wood
For our signs, I want the carved letters to be black. The easiest, quickest, and arguably best way to paint the letters is to spray the entire sign with black paint, then sand the paint off all but the carved letters. By sealing the wood beforehand, the paint won’t penetrate into the grain as much, making the sanding job easier. To do this, I brush on a coat of sanding sealer. The type I use is water-based and dries in 1-2 hours.


Masking

I mask the large areas around the letters to reduce the amount of sanding required.
Spray the letters
For these signs, I want either a matte or satin look to the letters. I spray several very light coats of paint onto the sign a few minutes apart. Dry time is an hour or two.


Sand
After removing the masking tape, I use 120 grit sandpaper to sand the excess paint off. I use a vacuum to remove all the dust from the letters.


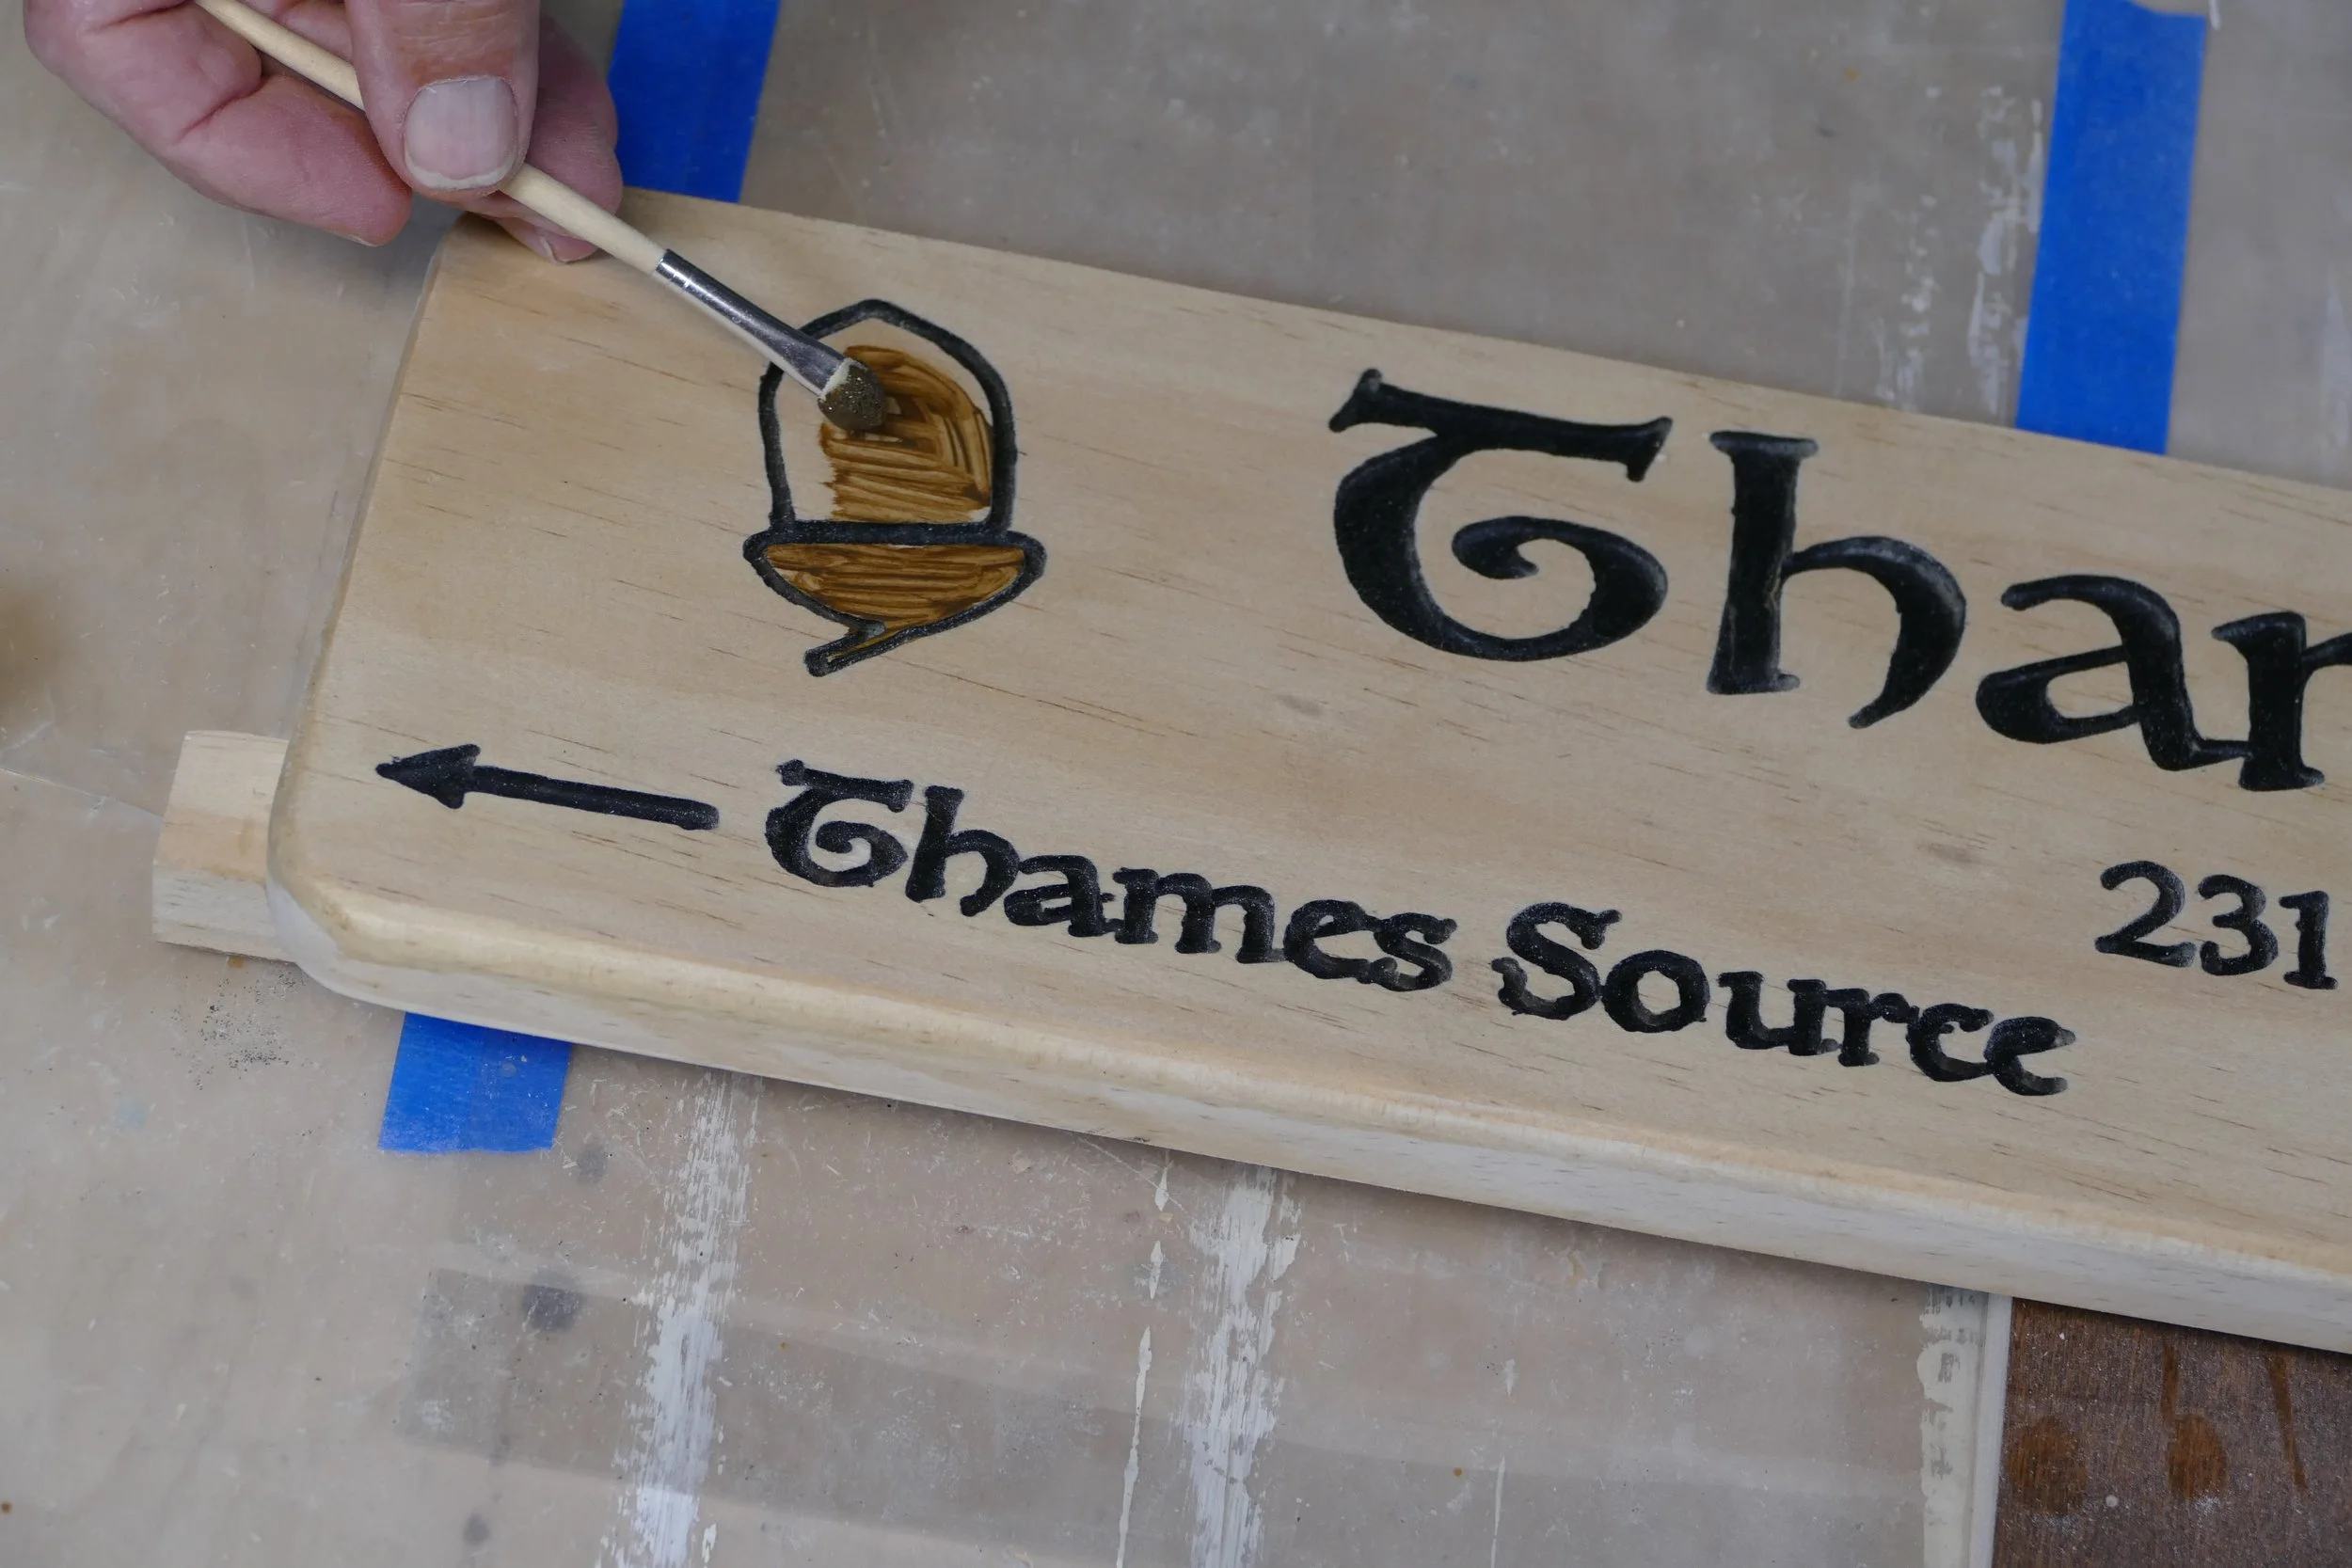
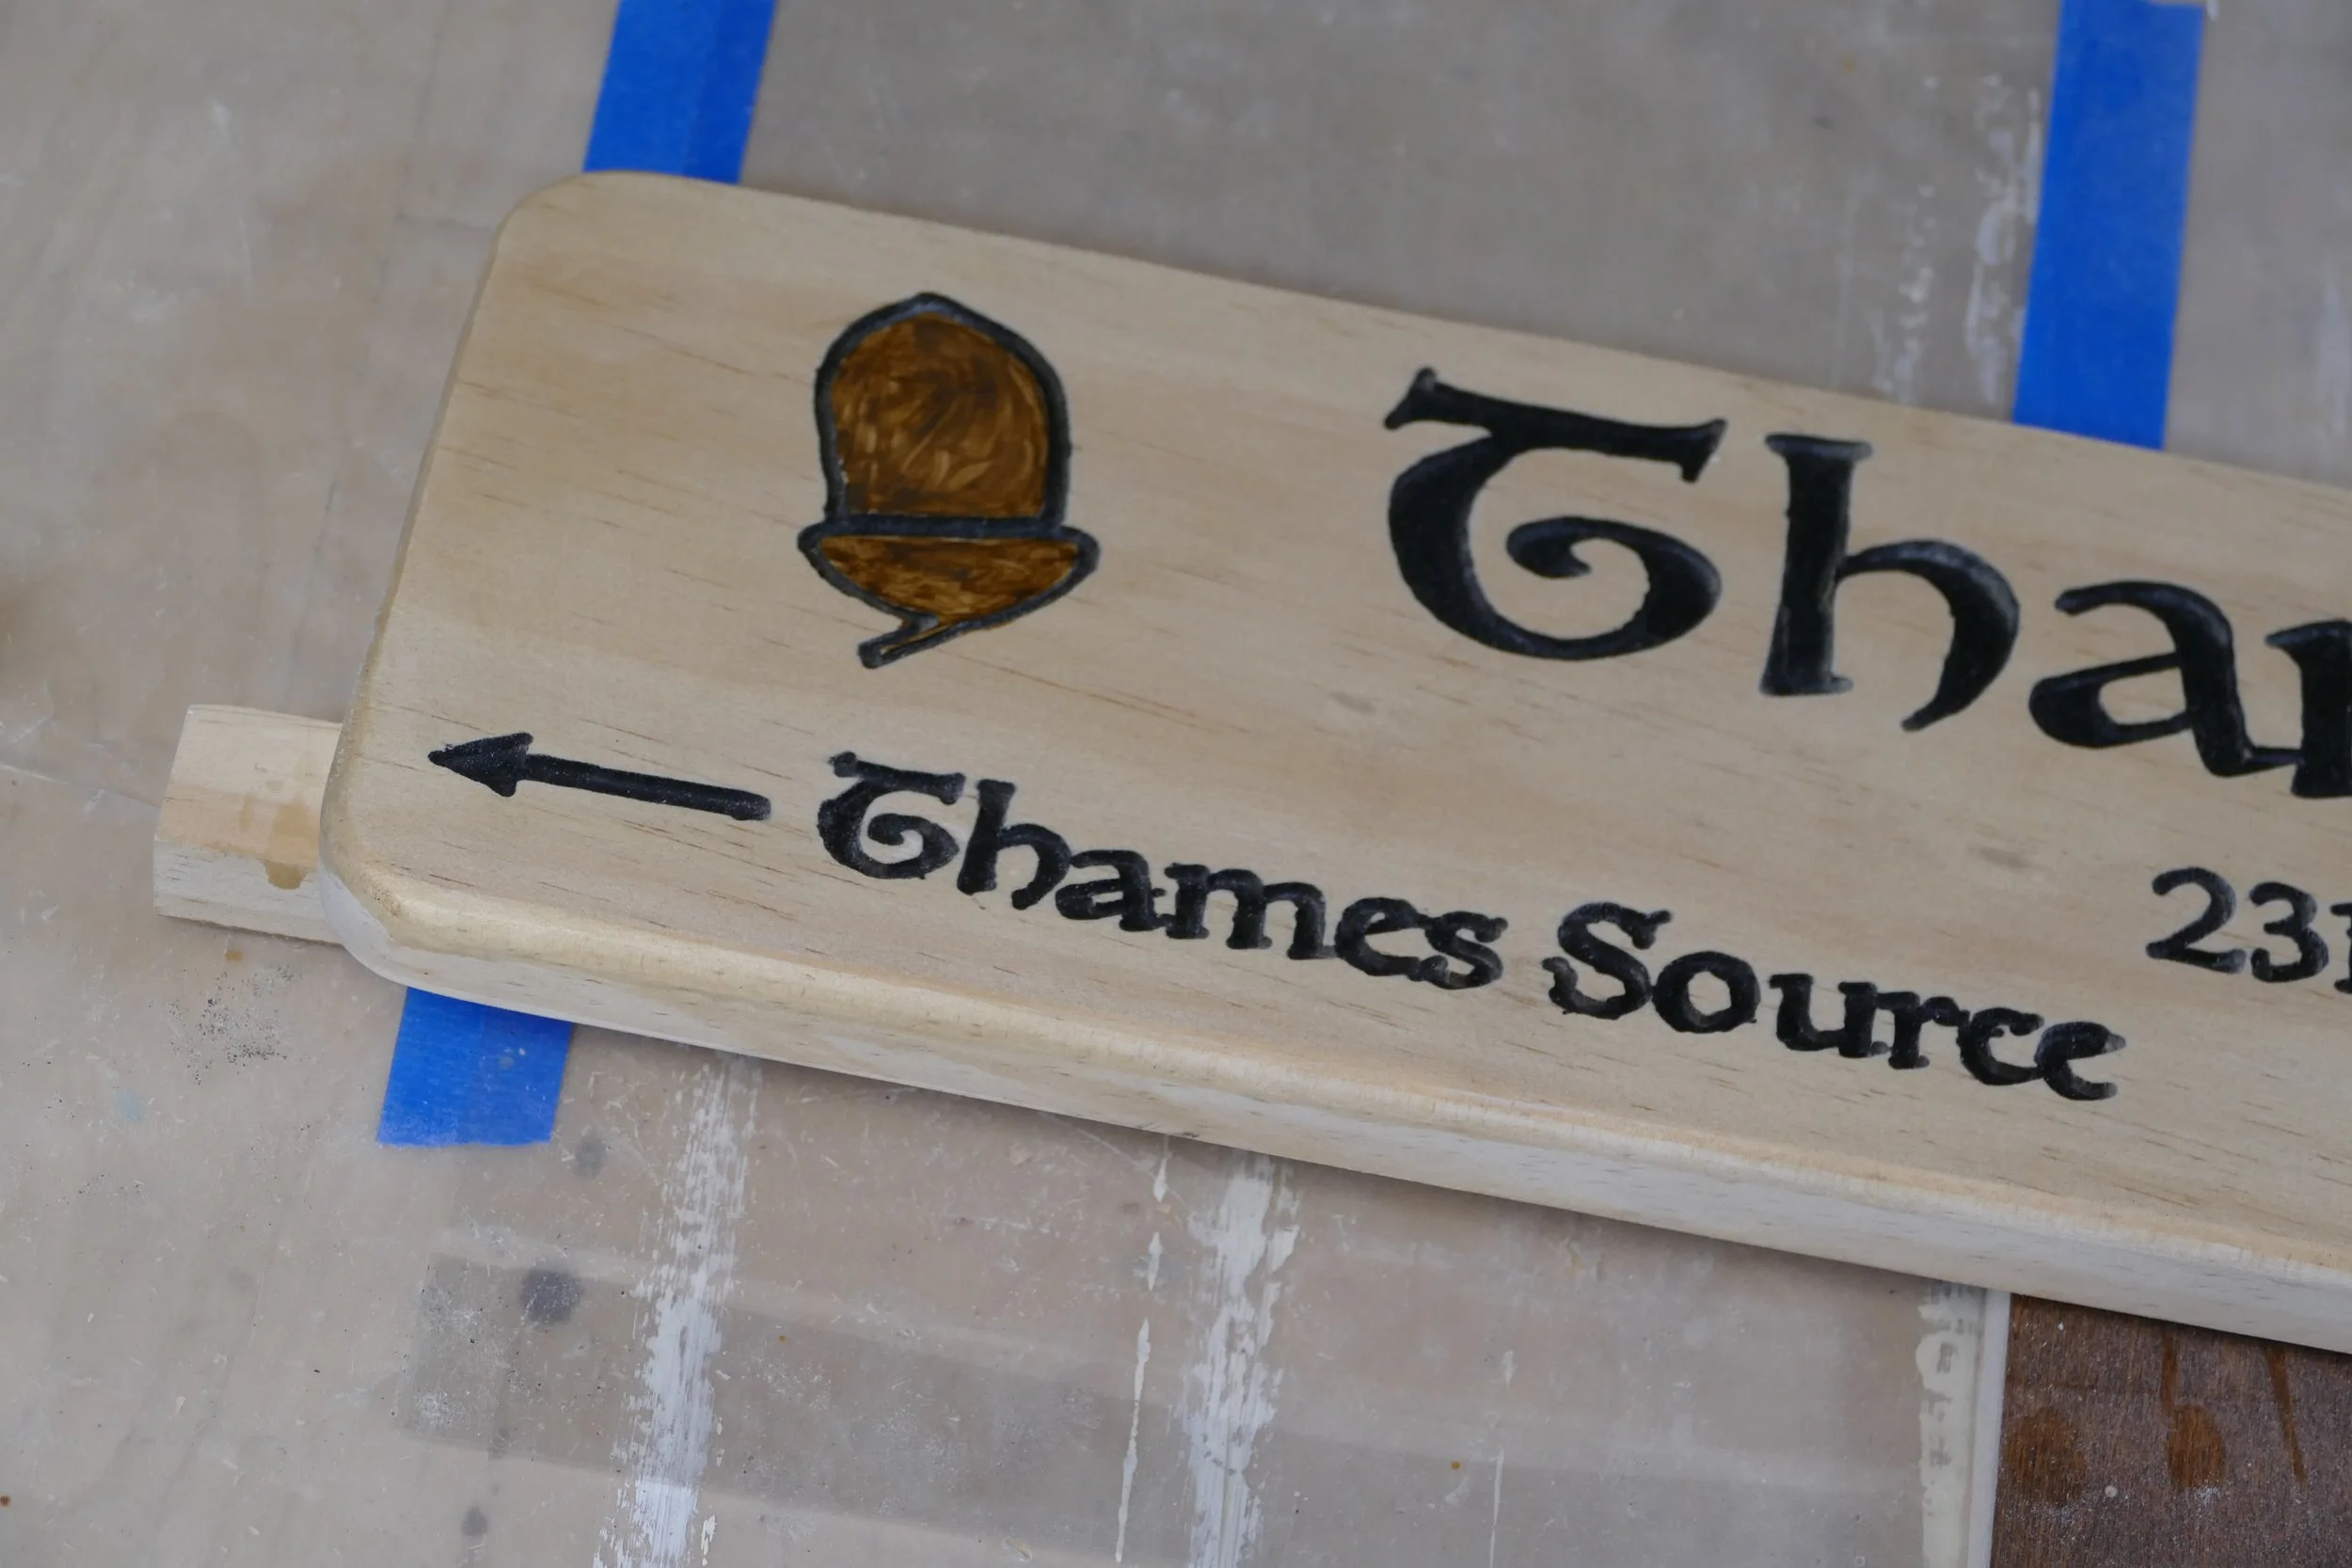
Paint any accents
Most of my signs have a logo. trail sign or other image that is painted a different, contrasting color. In this case, the image on the trail sign is an acorn, the symbol used to mark many of the traditional trails in England. I’m painting it brown using poster paints.
Seal the wood
We’ll be staining the wood in the next step, and if the wood, especially a soft wood like the pine I’m using, isn’t sealed, the stain will soak into the grain unevenly, leaving it blotchy looking. Sanding sealer not only seals the wood, it also adds depth and a warmth to the wood. Since most of the previous coat was sanded off when removing the paint, I’ll brush on another coat of sanding sealer and let it dry.
Staining
Many people apply stain with a bristle or foam brush, but I prefer using a rag. I dip the rag into the stain, then wipe it onto the wood, going back over it until the color is consistent. Before it starts to dry, I go back over it all again with a clean section of the rag to remove any excess stain. Make sure to wear gloves or you will be admiring the new color of your fingers for the next week.


Sand
Give the entire surface a light sand with 220 grit sandpaper. Be gentle – the goal is to remove any tiny bubbles or light imperfections without sanding away the stain.

Just a very light sanding to remove any bubbles
Top coat
The last step is to apply the top coat. I prefer a satin or semi-gloss finish. Just like spraying the paint earlier, it’s best to apply 3-4 light coats a few minutes apart.

Spray 3-4 light coats of polyurethane a few minutes apart
Pretty painless!

The finished signs