

Puttin’ on the Brakes
/
At Blanche’s last oil change at the Ram dealership, their 20-point inspection discovered that the rear brake pads were down to a 4mm thickness, right at the recommended replacement thickness. Blanche now has about 112,000 miles on her odometer, and this is the first time they’ve been replaced, so I’m thinking we got our money’s worth from the original set. Since we were getting ready for a long, several thousand mile, wintertime road trip, we wanted to get this taken care of before we left, and we got three estimates. These ranged from $1200-$1400. You’ve got to be kidding!? That’s crazy!
When I was in high school, I worked at my uncle’s garage, and once he taught me how to do a proper brake job, that was my responsibility. I must have done 50 or more during the summers I worked there. Later, when I was in the Navy, I was stationed at Adak, Alaska, far out in the Aleutians. There was a small garage there, and having a lot of free time when off-duty, I got a part-time job repairing flats and doing brake jobs. In addition, over the years before we set off sailing, I probably did another half dozen brake jobs on my own and friends’ cars. All this to say, even though I haven’t done a brake job in over 30 years, I think I still kinda know how to do one.
I checked online and found all the parts and supplies I’d need for under $200. I’d also need a couple of tools to make the job easier – an impact wrench and a torque wrench, both of which I could get for around $125. All told, the job would cost me just over $300, saving around $1000 - and I’d get a couple of new tools out of the deal. Plus, I was actually looking forward to doing it – it’s quite satisfying understanding how something works, swapping out all those old, rusty, worn parts with shiny new ones, then putting it all together again and having it all work as it’s supposed to. Sort of a “Zen and the Art of Motorcycle Maintenance” feeling – if you’re old enough to remember that 1974 book by Robert M. Pirsig.
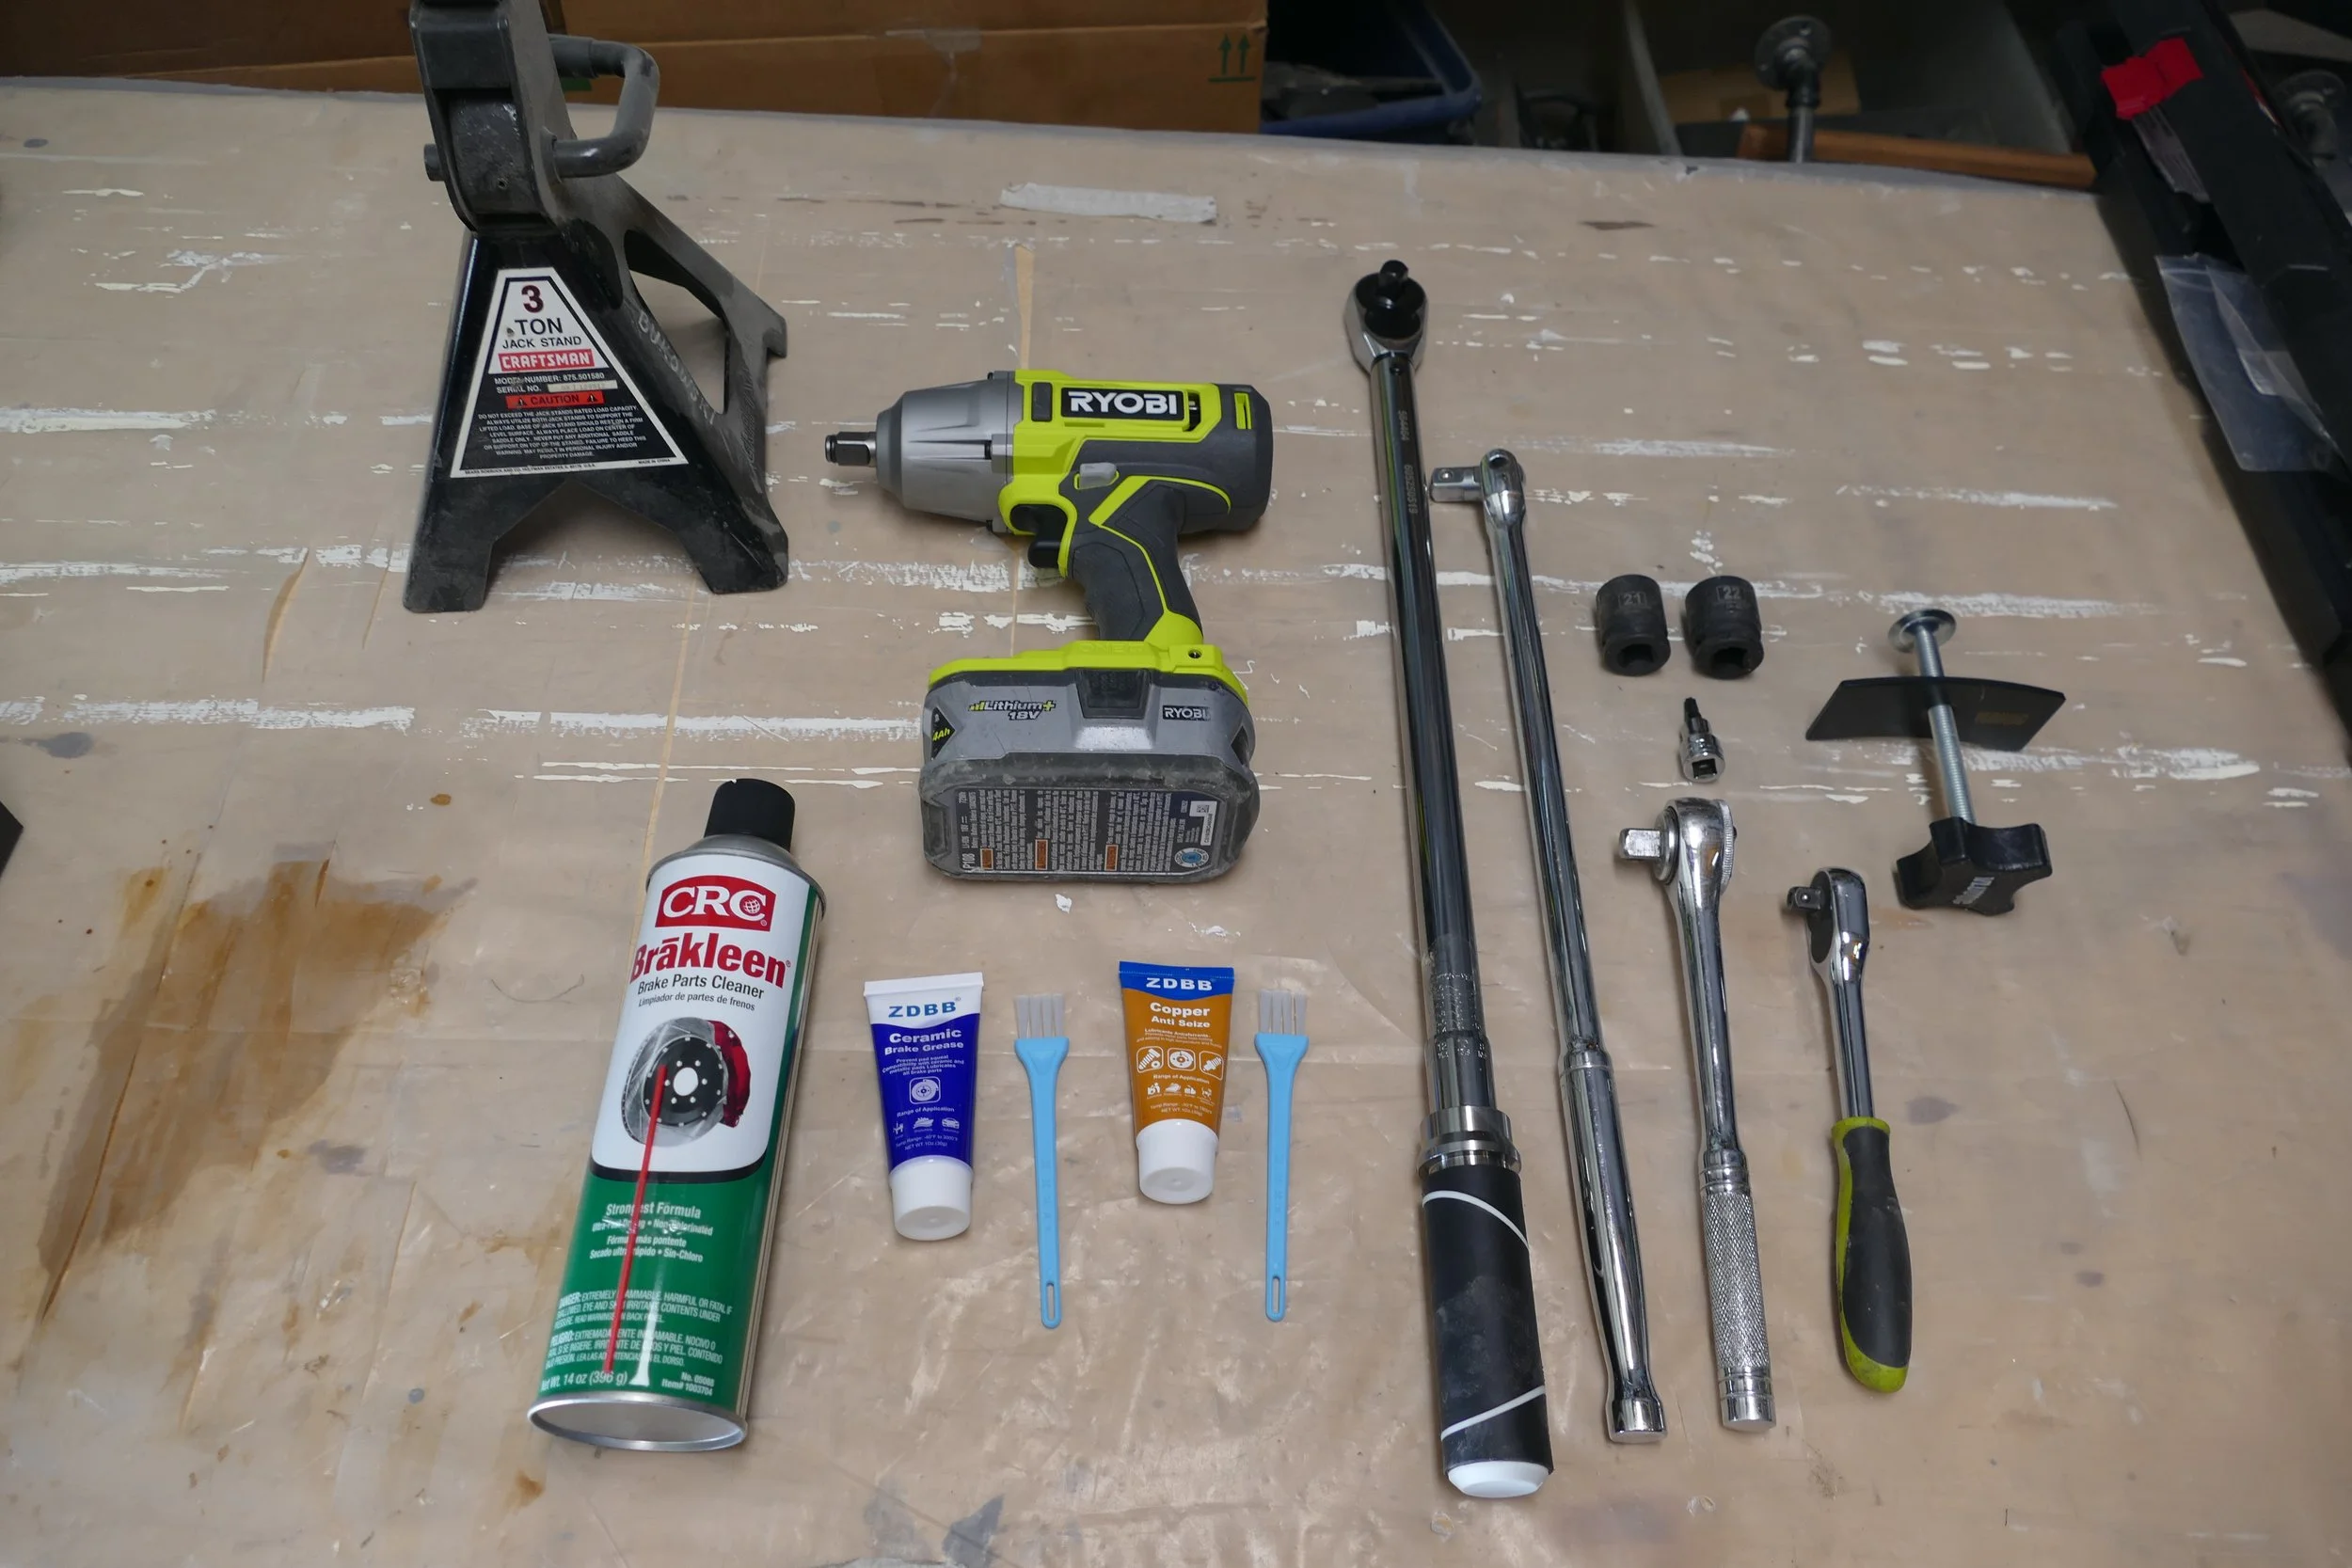
Most of the tools needed
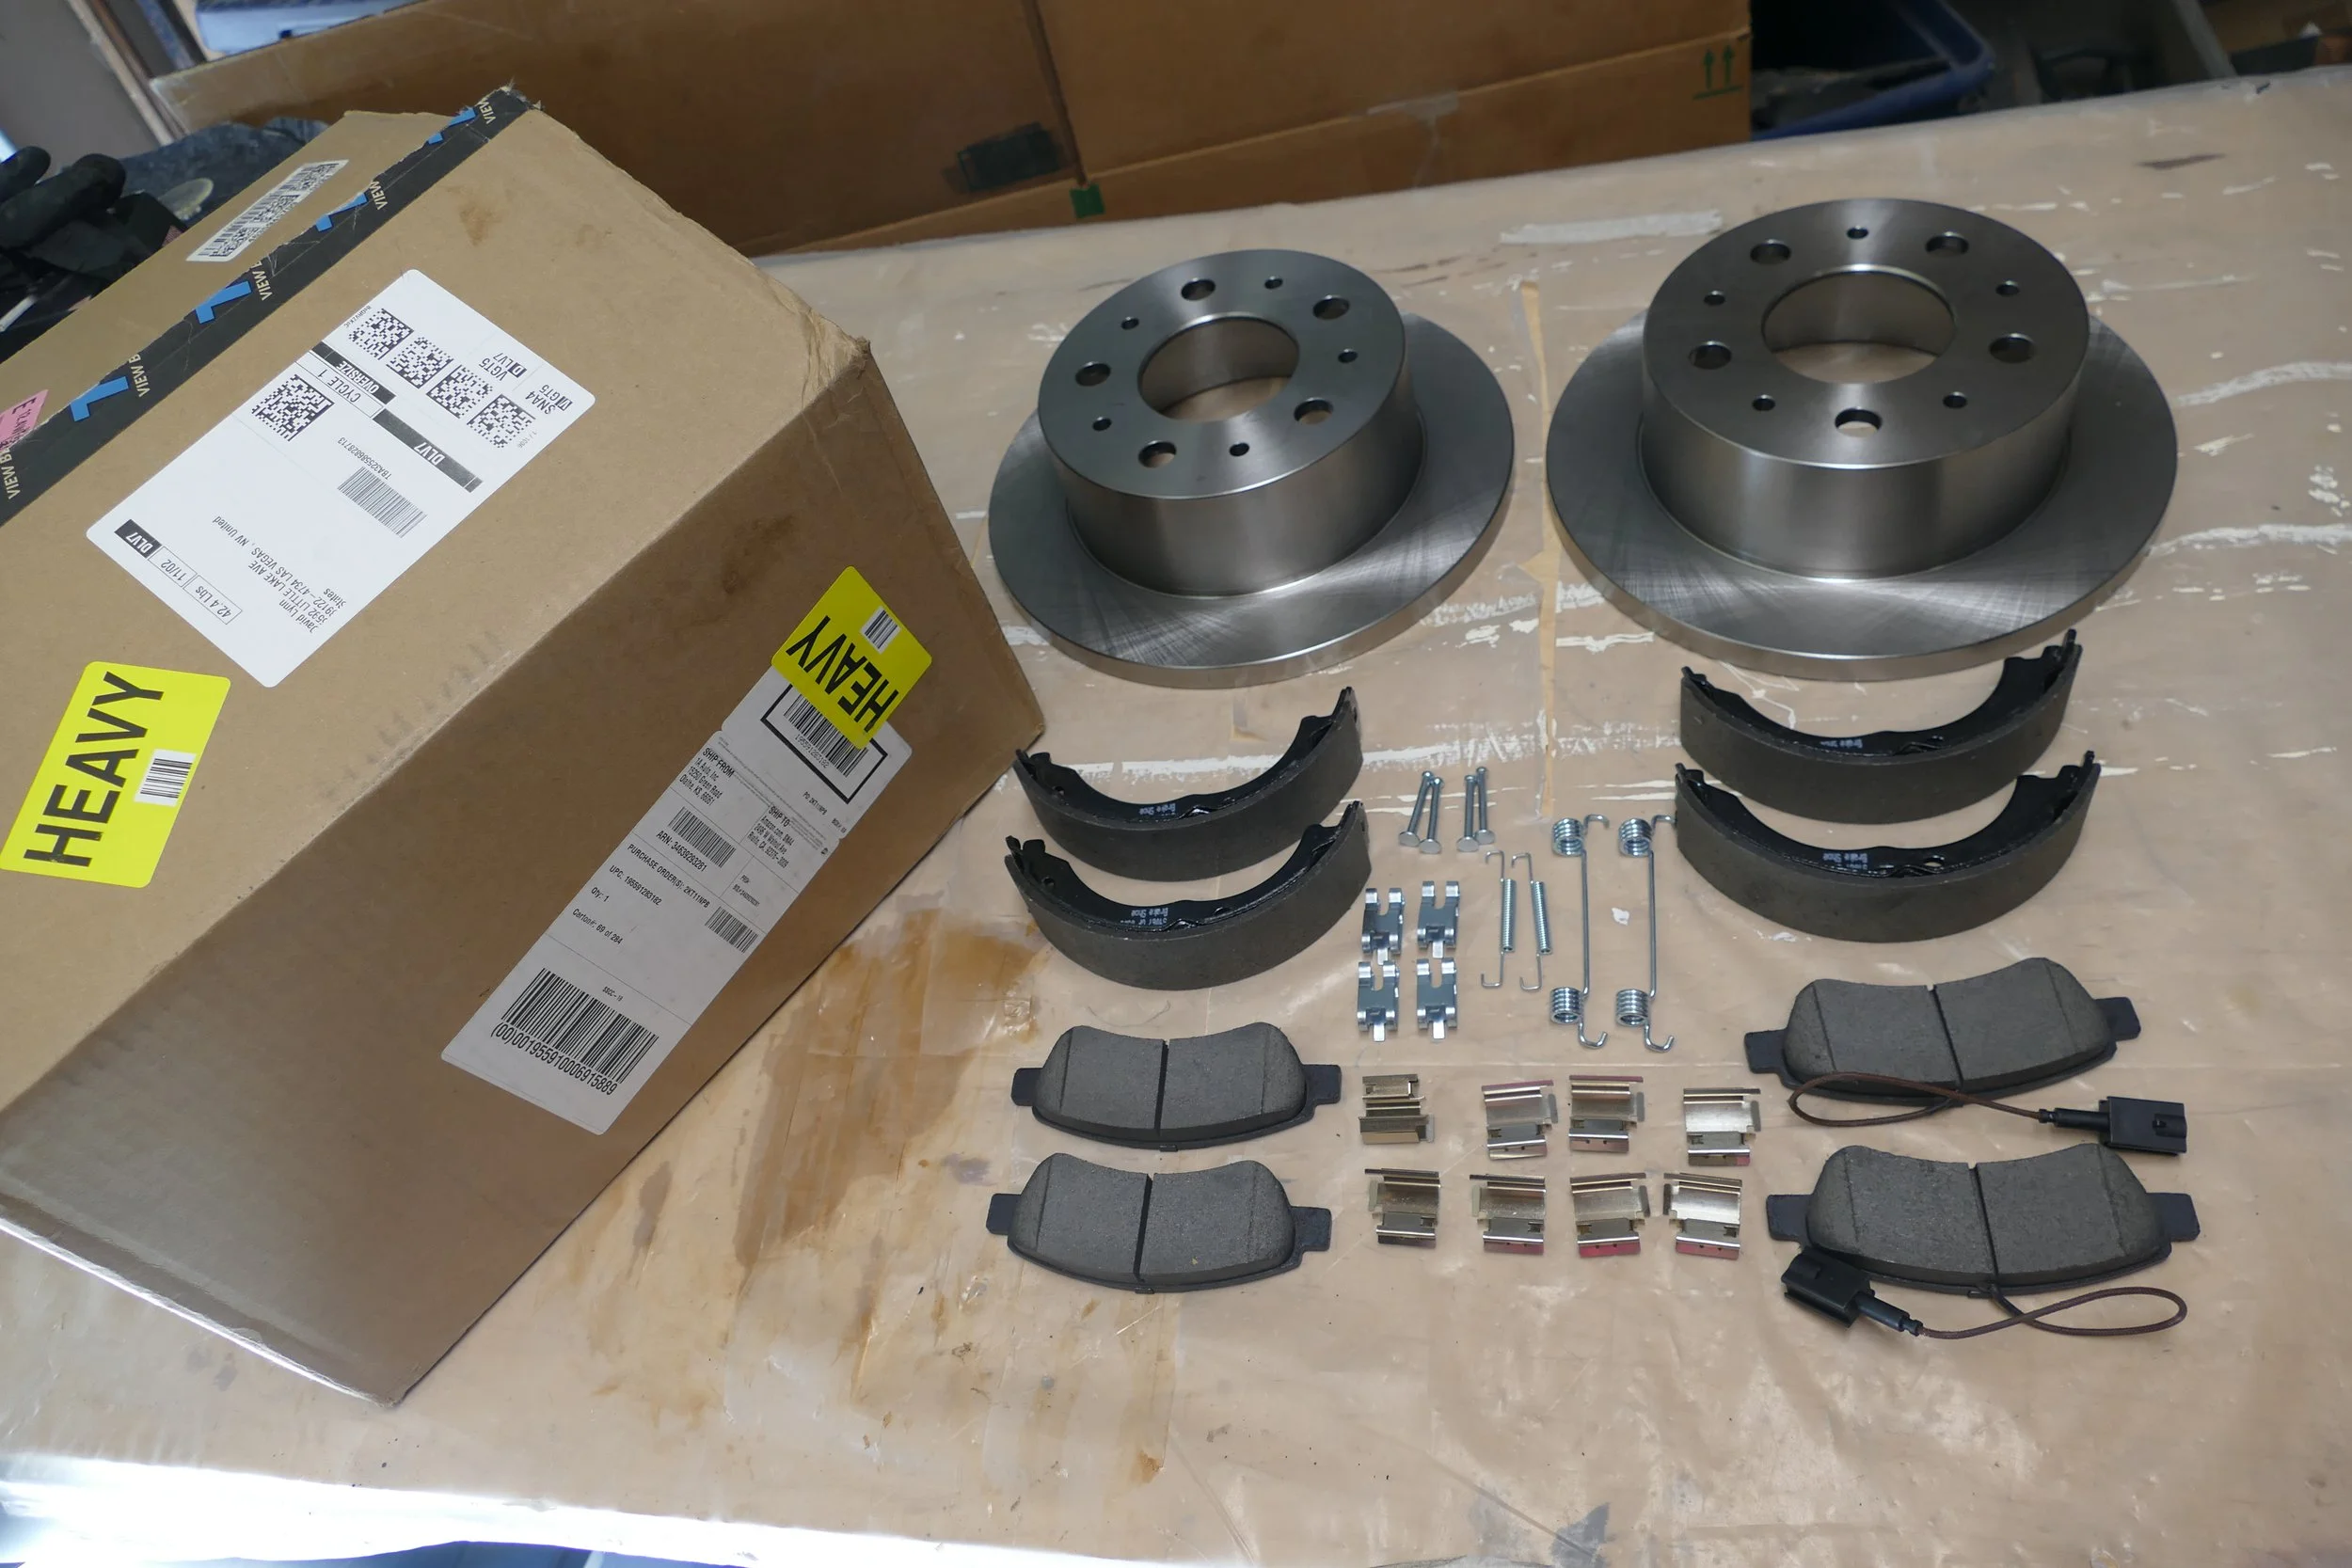
The new parts

I should be able to do it all in half a day, and even if things did’t all go as hoped, a full day should be plenty… or so I thought.
Revelations
The job took me a full day and a half, during which I pretty much used my entire repertoire of expletives. There were more than a few revelations encountered along the way:
Ducato Parts
The Ram Promaster is the U.S. version of the Fiat Ducato van which Fiat introduced after gaining full ownership of Chrysler in 2014. If you search for parts or how-to videos for a Ram Promaster, you will more often than not get links to Dodge Ram truck parts and videos, and most of these parts won’t fit and the videos usually don’t apply. I didn’t realize this beforehand. To make sure I wouldn’t run into any surprises, I watched a couple YouTube videos on replacing the rear brakes on a Promaster. What came up were videos on replacing brakes on Ram trucks, which I assumed would be the similar. As it turns out, they are quite different.
In addition, for several model years including 2019, some Promasters were equipped with solid rotors while others came with vented rotors, and they aren’t interchangeable. The only sure way to know is to pull off the wheel and check.
Fortunately, I was able to check the rotor type while getting the tires rotated at Costco, and found that they were solid rotors. Watching the wrong how-to videos, however, complicated things somewhat, as the Ducato design was considerably different than the Ram design.
New Technology
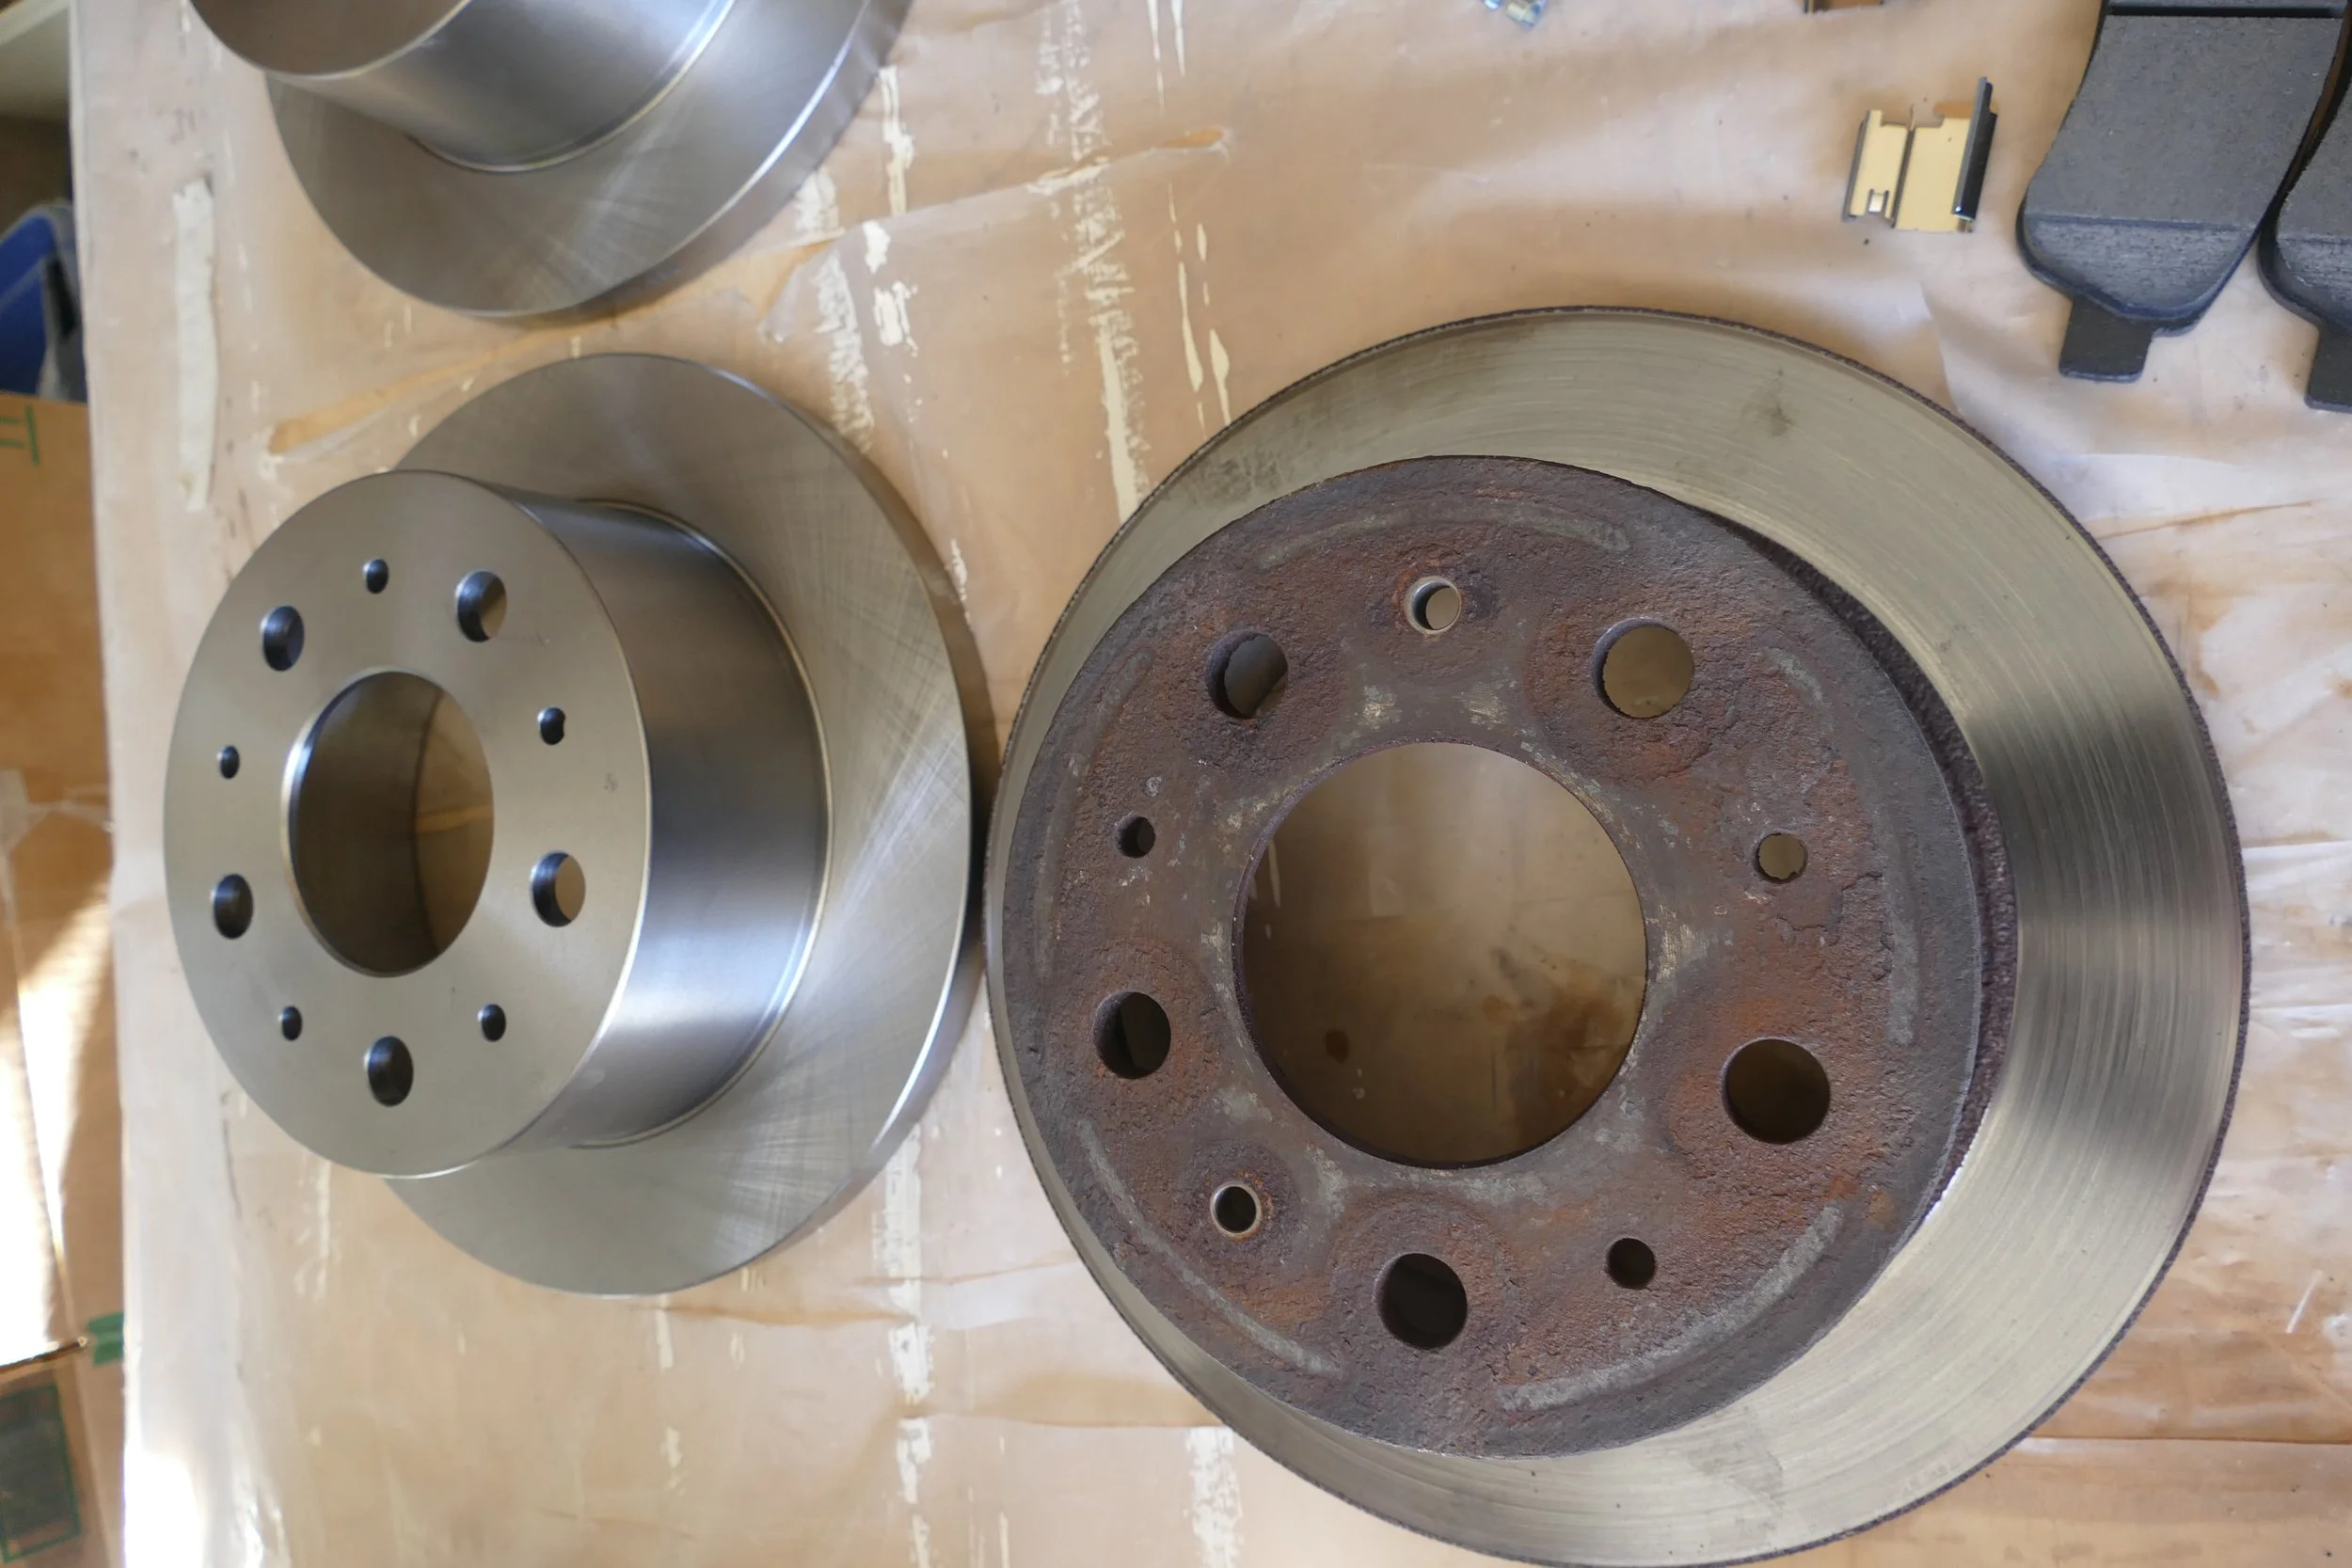
The technology has changed since I was a young man. Back then, brakes consisted of brake drums and brake shoes. Later, cars switched to disc brakes (brake rotors and pads) on the front, but still used drums and brake shoes on the rear. Now, even heavy vehicles like our Promaster use disc brakes all around. This makes the job easier. Replacing the old brake shoes involved several more parts including at least two springs and some sort of pin and clip arrangement to hold the shoes in place. In addition, since the brake drums were large, heavy and expensive, they were usually taken to a machine shop to get the braking surface turned and polished. With disc brakes, replacing the brake pads is done by popping out the old brake pads, replacing four anti-squeal clips, and popping the new pads into place. The rotors are inexpensive enough that they are usually replaced with new. It should have been simple, but for one minor complication – while the Promaster rear brakes are disc brakes, the parking brake still uses brake shoes inside the rotor. So, doing a complete rear brake job involves replacing not only the pads and rotors, but the brake shoes inside the rotors.

Disc Brake vs the old drum brake
Heavy and Hard
Everything is so much heavier than what I remember as a younger man. Those rear tires weigh a ton! By the end of the first day it was all I could do to lift them back into place. In addition, the bolts are on much tighter than they used to be. On the passenger side, to break the bolts loose that hold the calipers, I had to use an 18” breaker bar with a 3’ pipe extension, and even then it was a struggle. On the driver’s side, I had to use a jack under the breaker bar to break the bolts loose. Whew!
There might be another explanation, though…
Age
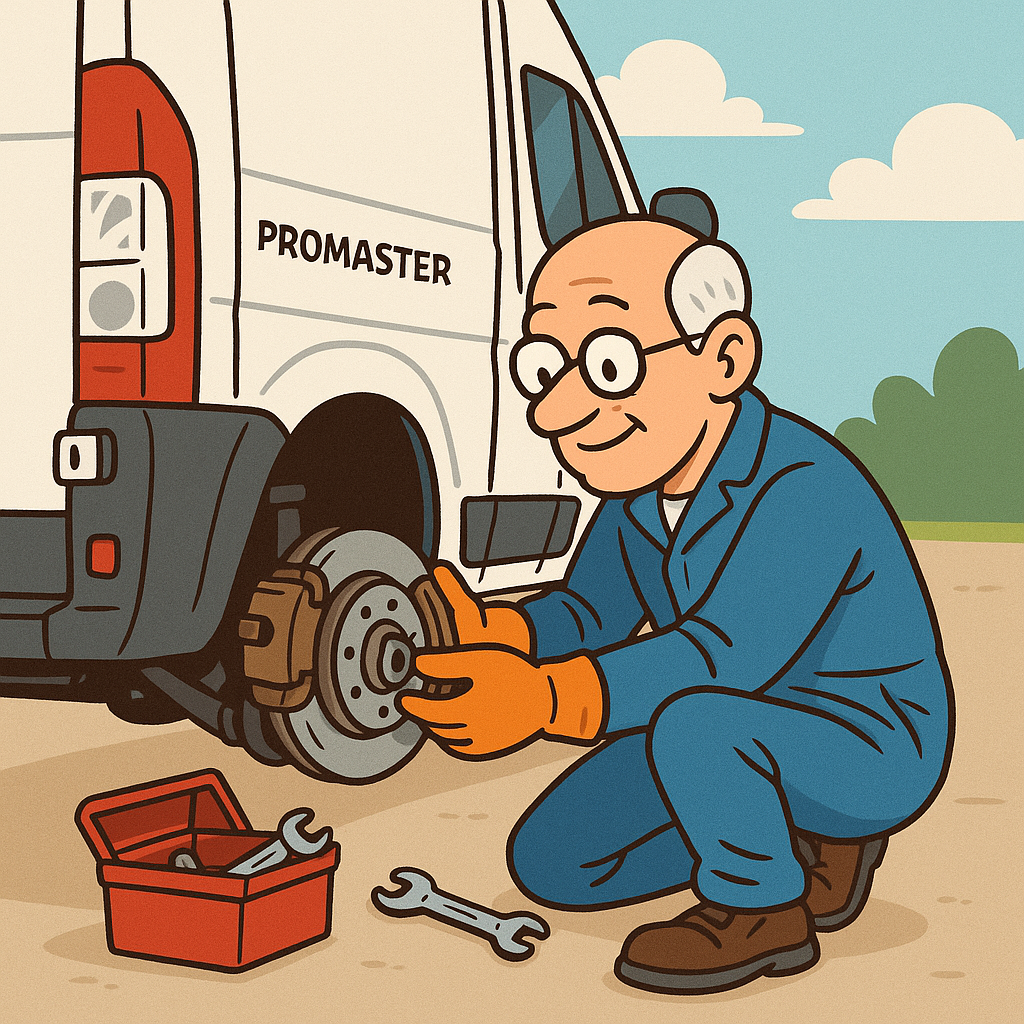
In my mind’s eye, I’m still that strapping, young 23-year-old sailor who shouldn’t have a problem doing a simple brake job. But when I looked at the pictures Marcie took of me, I thought “what’s that feeble old guy thinking, attempting a brake job at his age? I’m surprised he can lift the torque wrench, let alone the tire”. Then I realized that old fart was me.
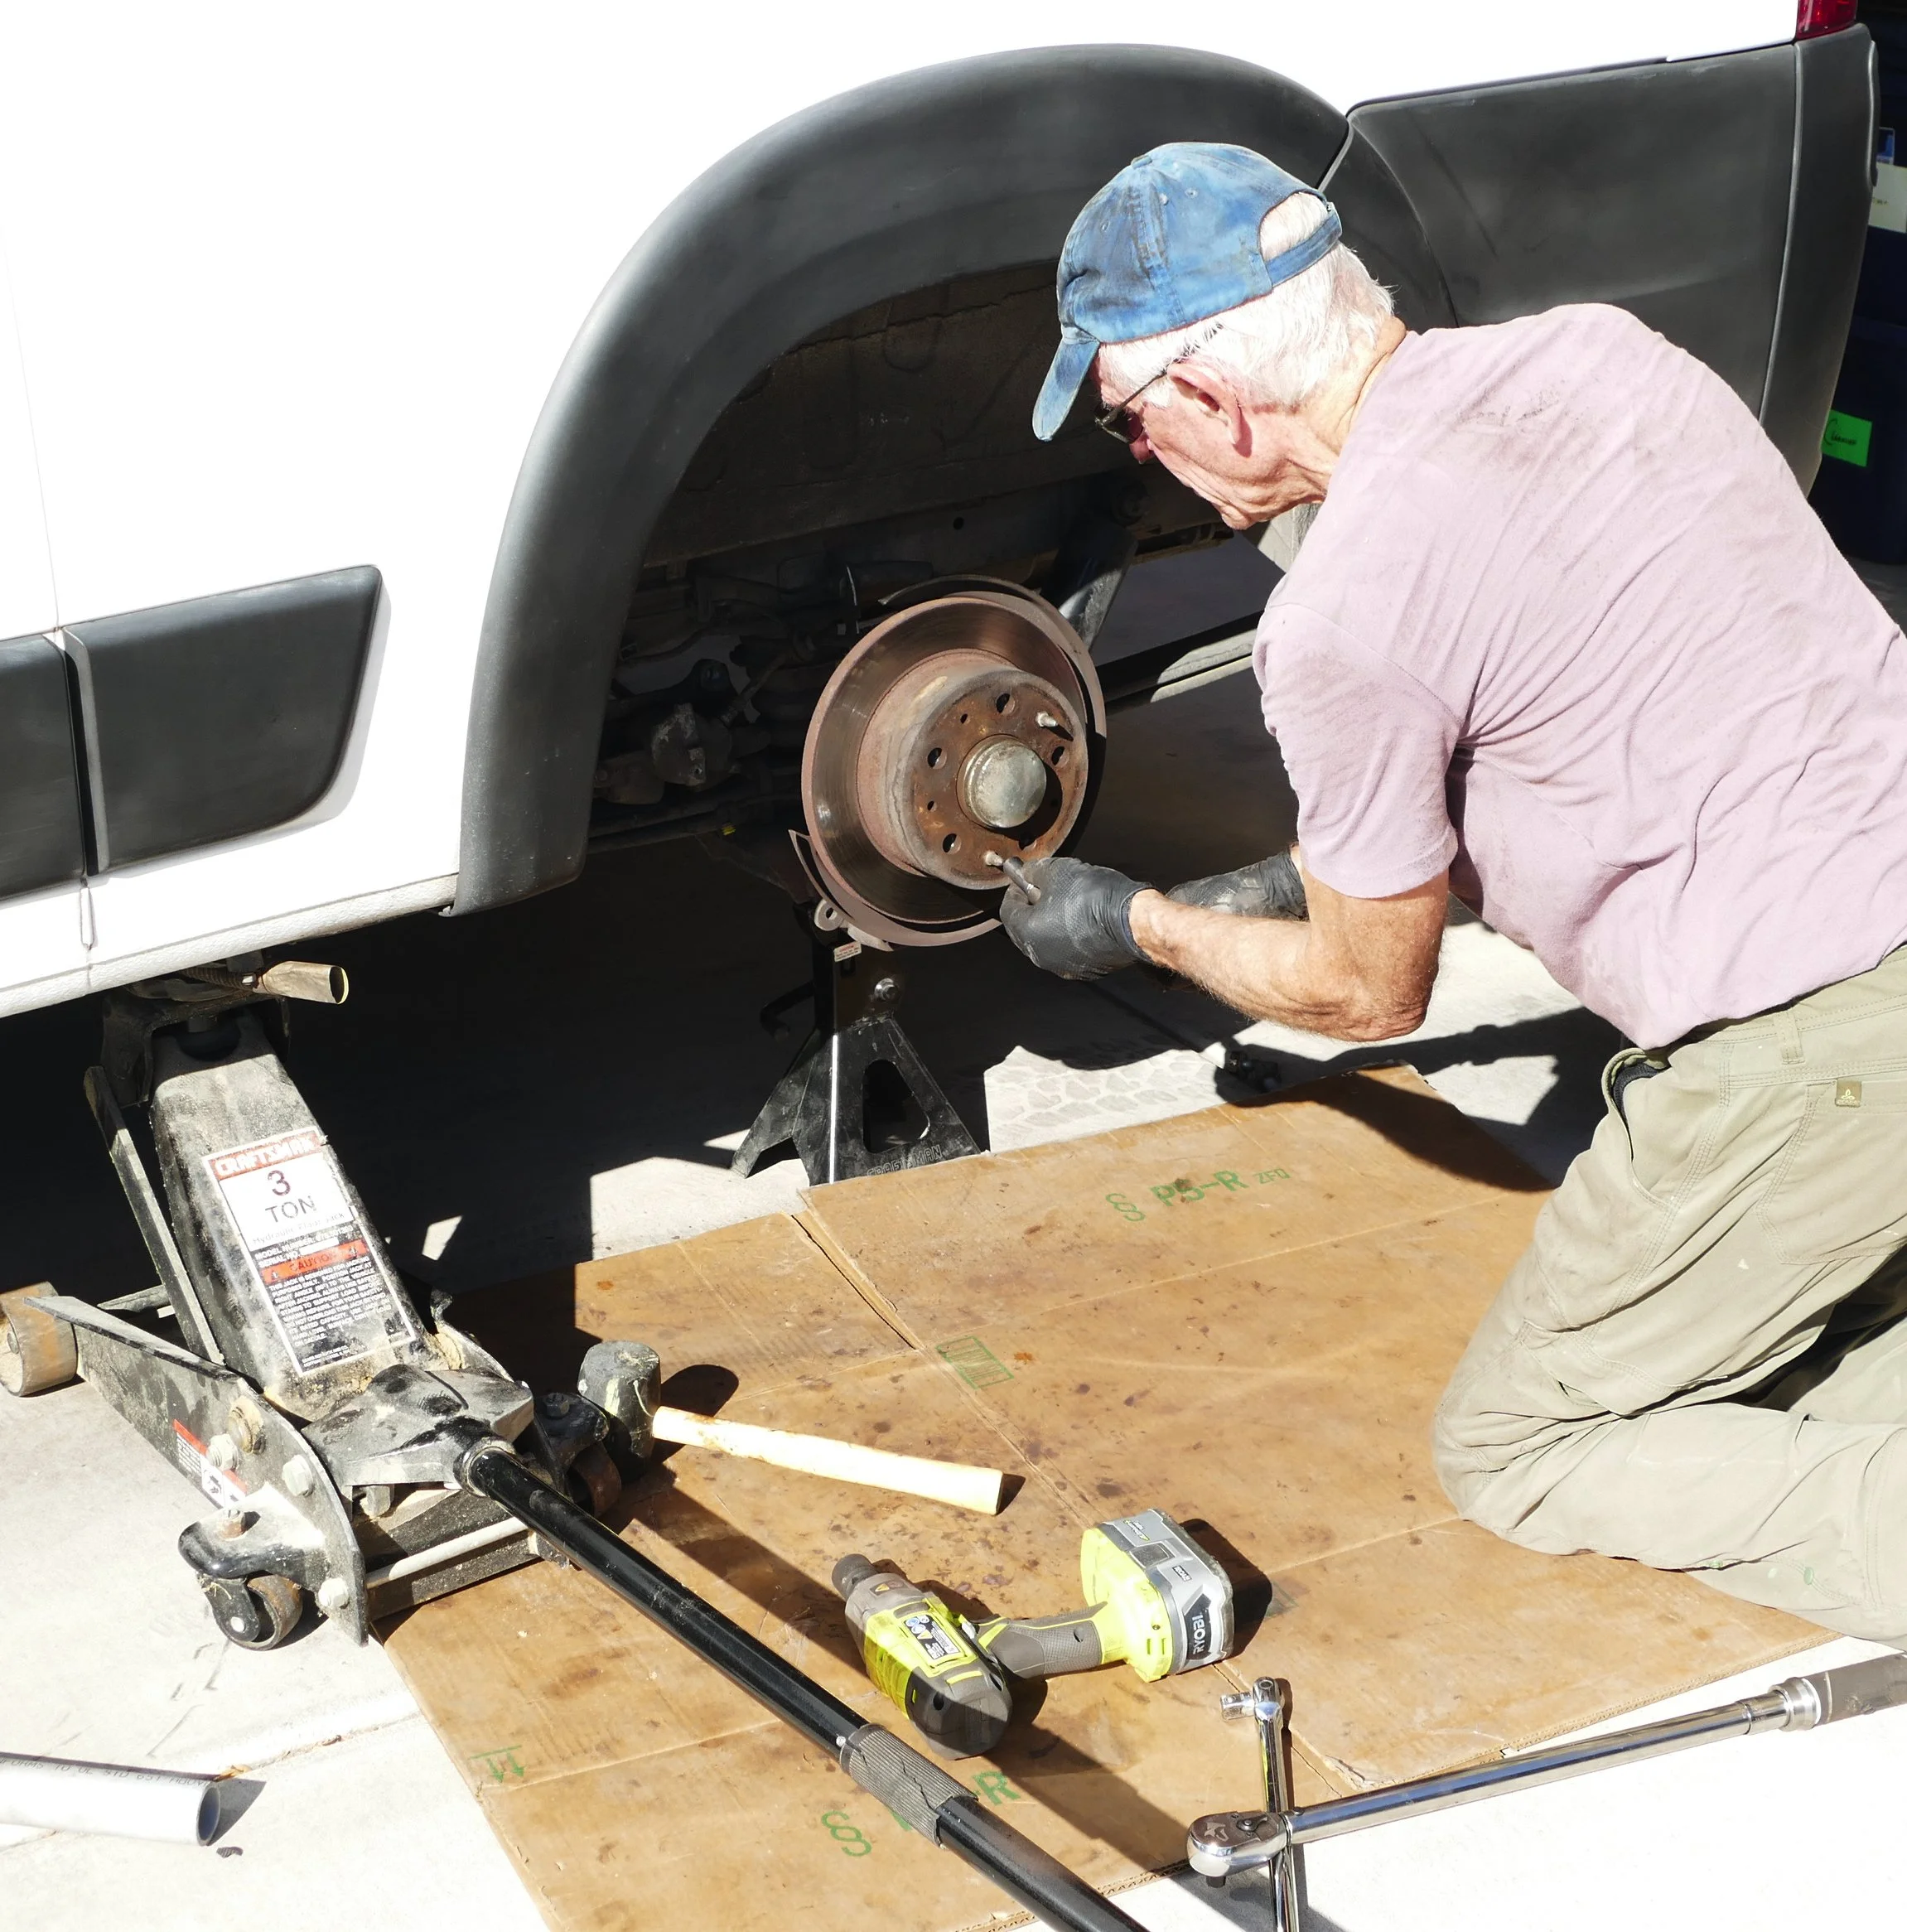
This guy is way too old to be doing a brake job!
Time to hang up my breaker bar and torque wrenches? Bite the bullet and just pay $1400 for a rear brake job? If these pads last another 100,000+ miles like the original equipment did, I may very well be too old to attempt doing this again next time. But if I do try it - I’ll certainly ask Marcie not to take any more photos.
See you next time…