

Carving Trekking Signs
/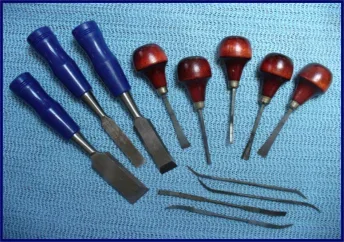
My carving tools
A couple of decades ago, I wanted to make some elegant nameboards for our boat Nine of Cups. Living aboard a sailboat meant we didn’t have enough surplus battery power available to operate a router, nor the extra space to stow it, so I bought a set of wood-carving tools and a book that explained how to hand carve a sign. (This was before you could find a how-to tutorial on YouTube for everything from changing a tire to removing a kidney in a transplant operation.)
I read the book and practiced on a lot of scrap wood, then I bought some fine mahogany and spent the next six months or so carving those signs. To finish them, I applied two base coats of epoxy to seal the wood, then twelve coats of varnish. When all that varnish had cured, I completed the job by gilding the letters with 24 carat gold leaf. Whew – I’m exhausted just thinking about all that work, but they did turn out pretty nice and now reside in our house. I did a series of blogs on the actual process which you can see here if you’re interested.

Carving the Sign By Hand took Awhile

The Finished Nameboard
We don’t sail anymore, of course – now our interests include, among other things, doing long treks. Our two longest were the 1,300+ mile Via Francigena, an ancient pilgrimage route from Rome to Canterbury, and the 232-mile Thames Path, which follows the entire length of the Thames River in England. One of the interesting things about these historic paths is that the hundreds of signboards that mark the routes usually incorporate an icon that is unique to that trek, and Marcie and I thought it would be fun to make replica sign boards commemorating them.


Rather than hand-carving them, however, now that we live in a house with ample power and also have the room for many more tools (including not one, but three routers!), I thought I’d make the new signboards using power tools.
I first designed the layout of each sign using the MS Paint app, then printed them both and transferred the images to some scrap wood using graphite paper. I experimented and practiced with two different routers, and found that my skill level wasn’t going to result in anything I’d want to hang on a wall.


Carving with a Small Router Didn’t Work Out Well


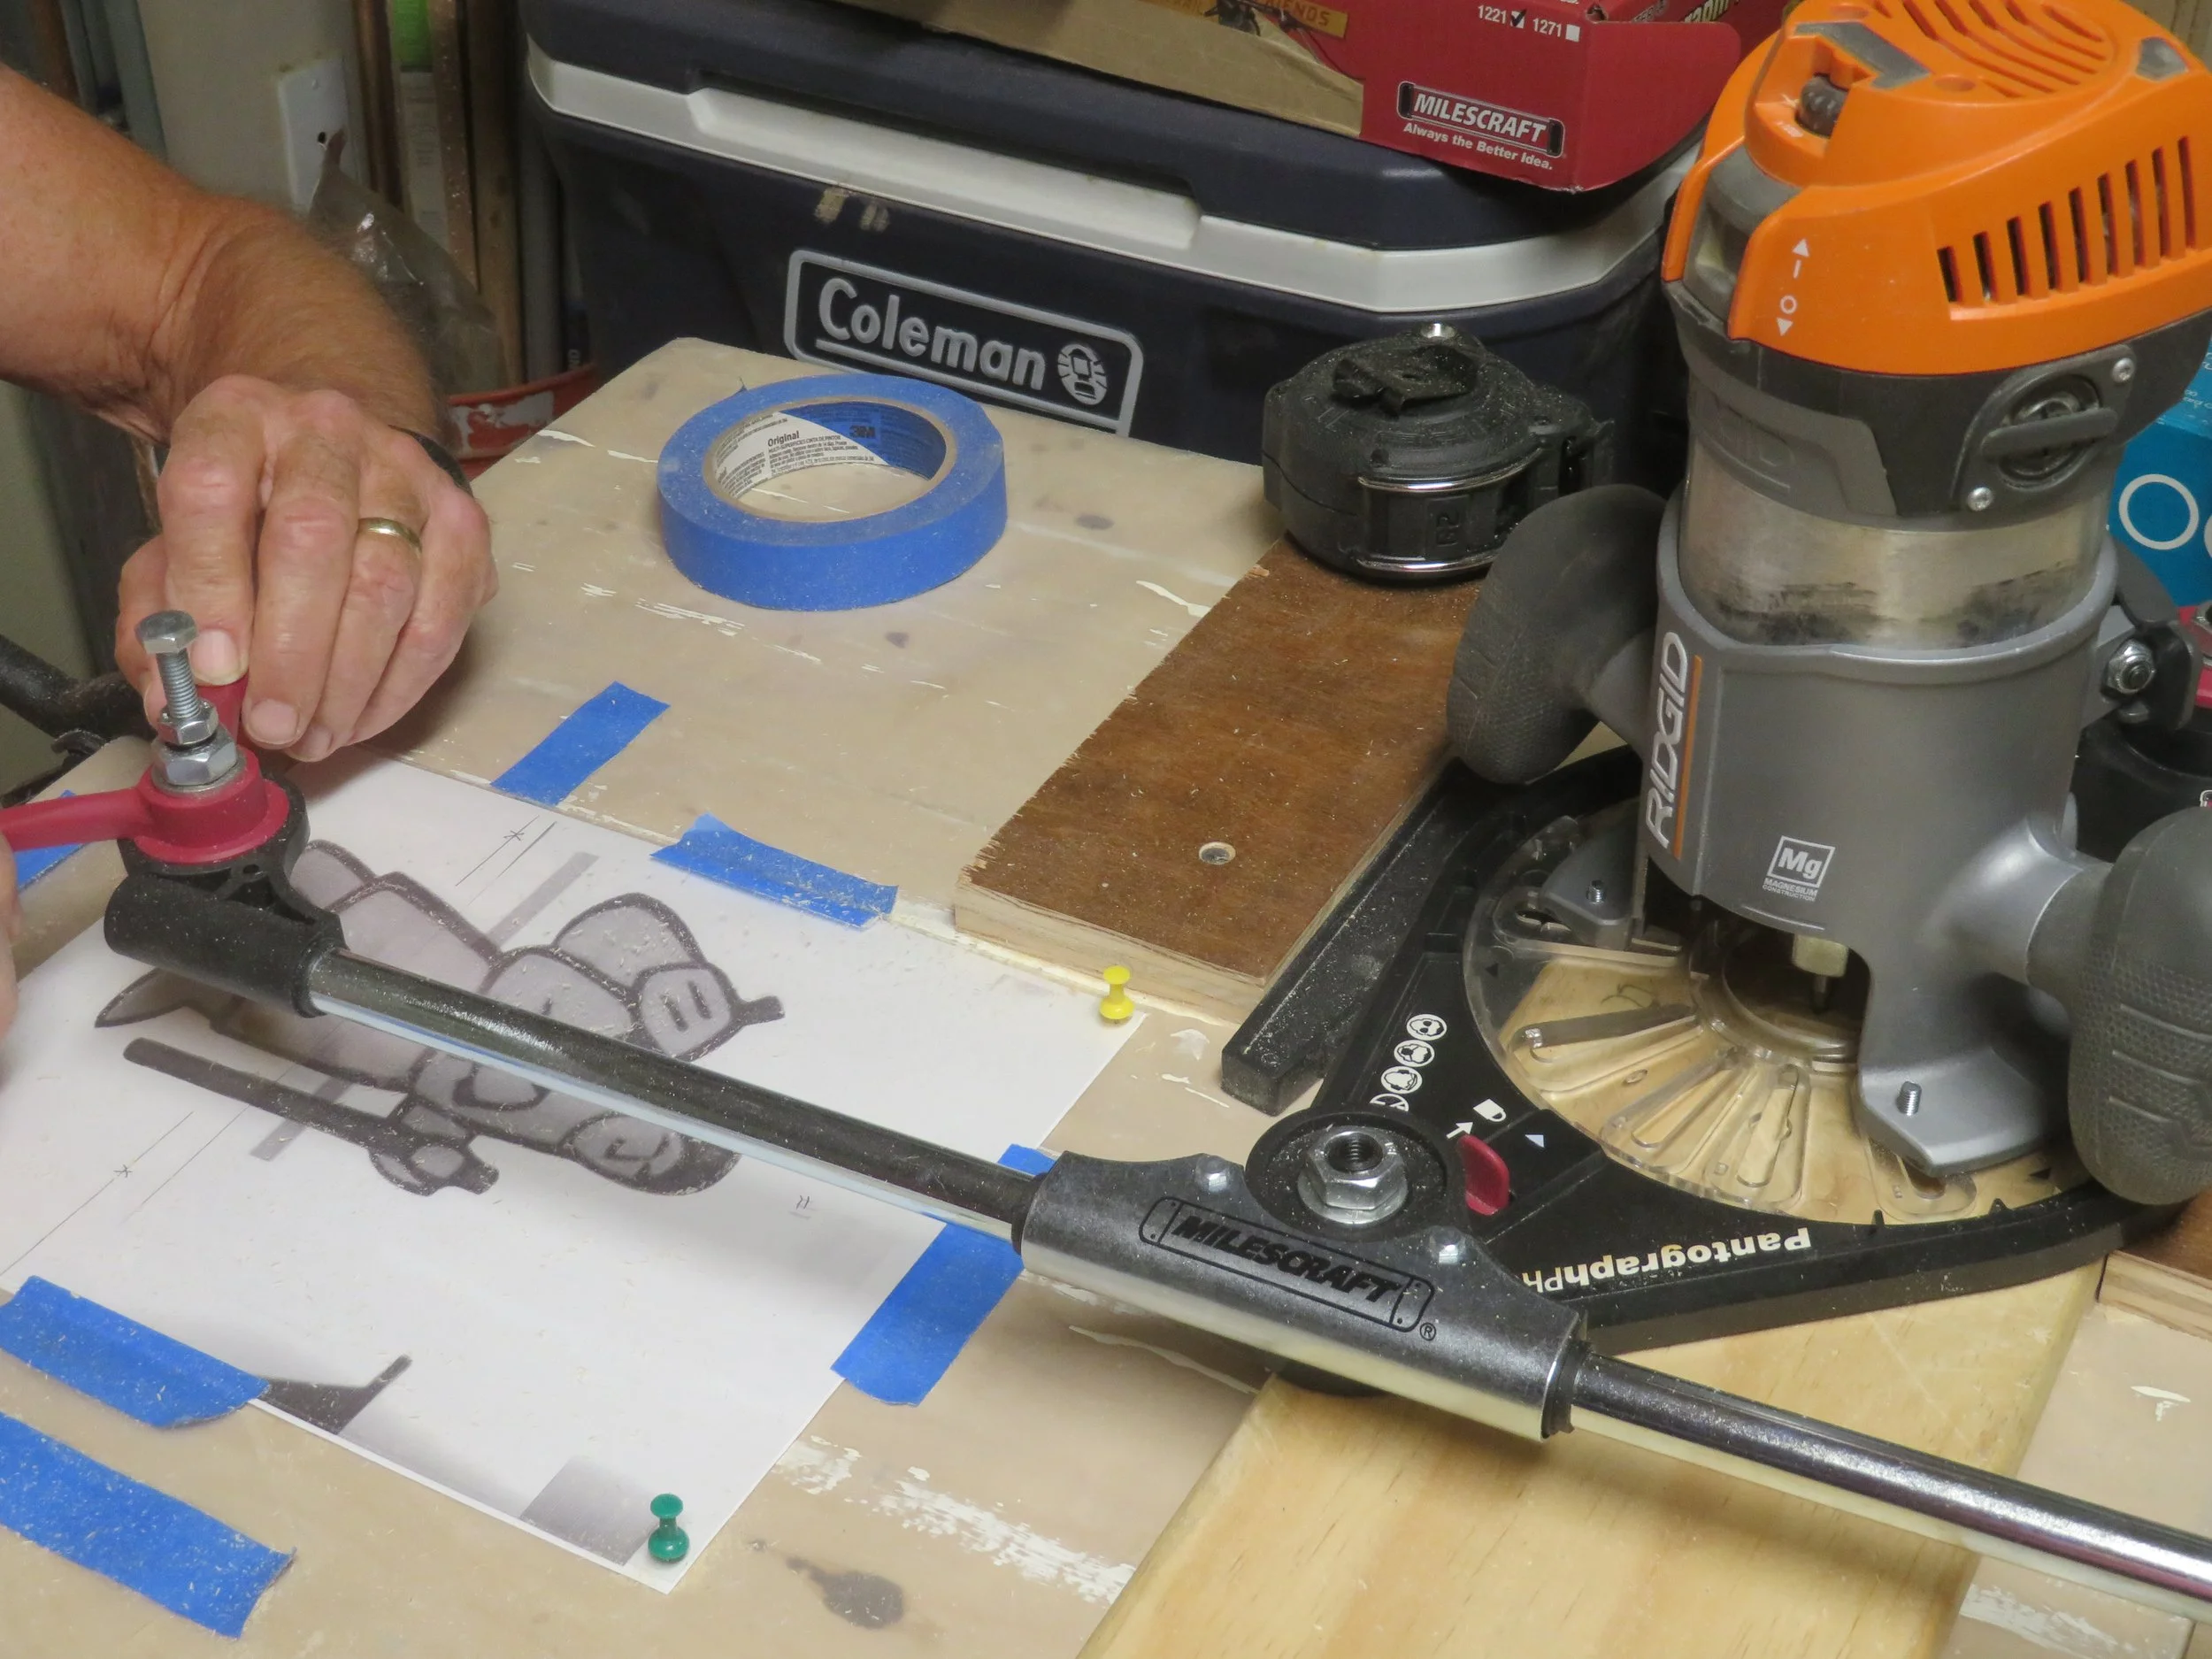
I was about to resurrect my old wood-carving tools when I discovered a neat tool made by Milescraft – a pantograph router jig. I’m old enough to remember that before personal computers and inexpensive printers were invented, if you wanted to duplicate a drawing, you could use a pantograph, which is a device that has a stylus on one end of a series of interconnected arms, and a pen or pencil on the other. You’d trace the outline of the drawing to be copied with the stylus, and the pen or pencil would draw an identical, enlarged or miniaturized image on another sheet of paper. You could scale the drawing up or down by adjusting pivot points on the arm.

A Pantograph Duplicating a heart - Courtesy of AlphaZeta and Wikipedia
Milescraft redesigned the venerable pantograph to move a router around instead of a pencil, so rather than drawing a duplicate of an image, the router carves into a piece of wood, a duplicate of the image being traced. The arms are preset to carve an image half the size of the original drawing. This is great, because when I slip and trace outside the line, the error is also reduced by half.
I set up my new pantograph, and after practicing on lots more scrap wood, I started to get the hang of it – which routing bits worked best, what depth to set the bits at, how best to trace the original drawing, how to align the wood and drawing, etc.
The new signboards turned out pretty good – certainly not museum quality, but good enough to hang on our wall. If the Nine of Cups nameboards were elegant, I think these are more, hmm, maybe rustic?

See you next time...