

Taking Care of Your Feet on the Camino
/Walking the Camino de Santiago is an incredible experience—but it’s also a serious physical undertaking. Day after day of long distances puts your feet under constant stress, and if something goes wrong, it can quickly derail your journey. The good news: most common foot problems are preventable with a bit of attention and the right habits.
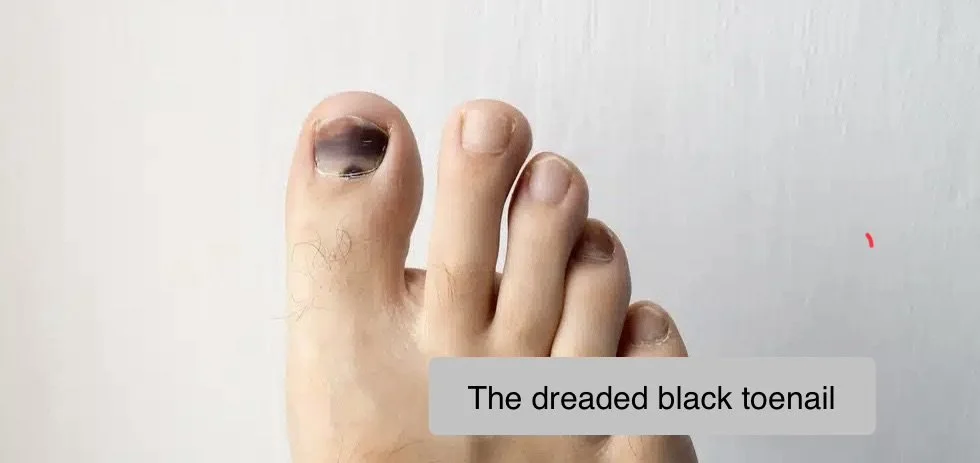
The biggest culprits? Blisters, minor injuries, bruised toes, and those dreaded blackened nails. None of these are inevitable. Here’s how to stay ahead of them.
Start with the Right Shoes
Your shoes are your foundation—literally.
Look for:
Solid tread for grip on varied terrain
Proper arch support
An adequate toe box so your toes aren’t cramped on descents
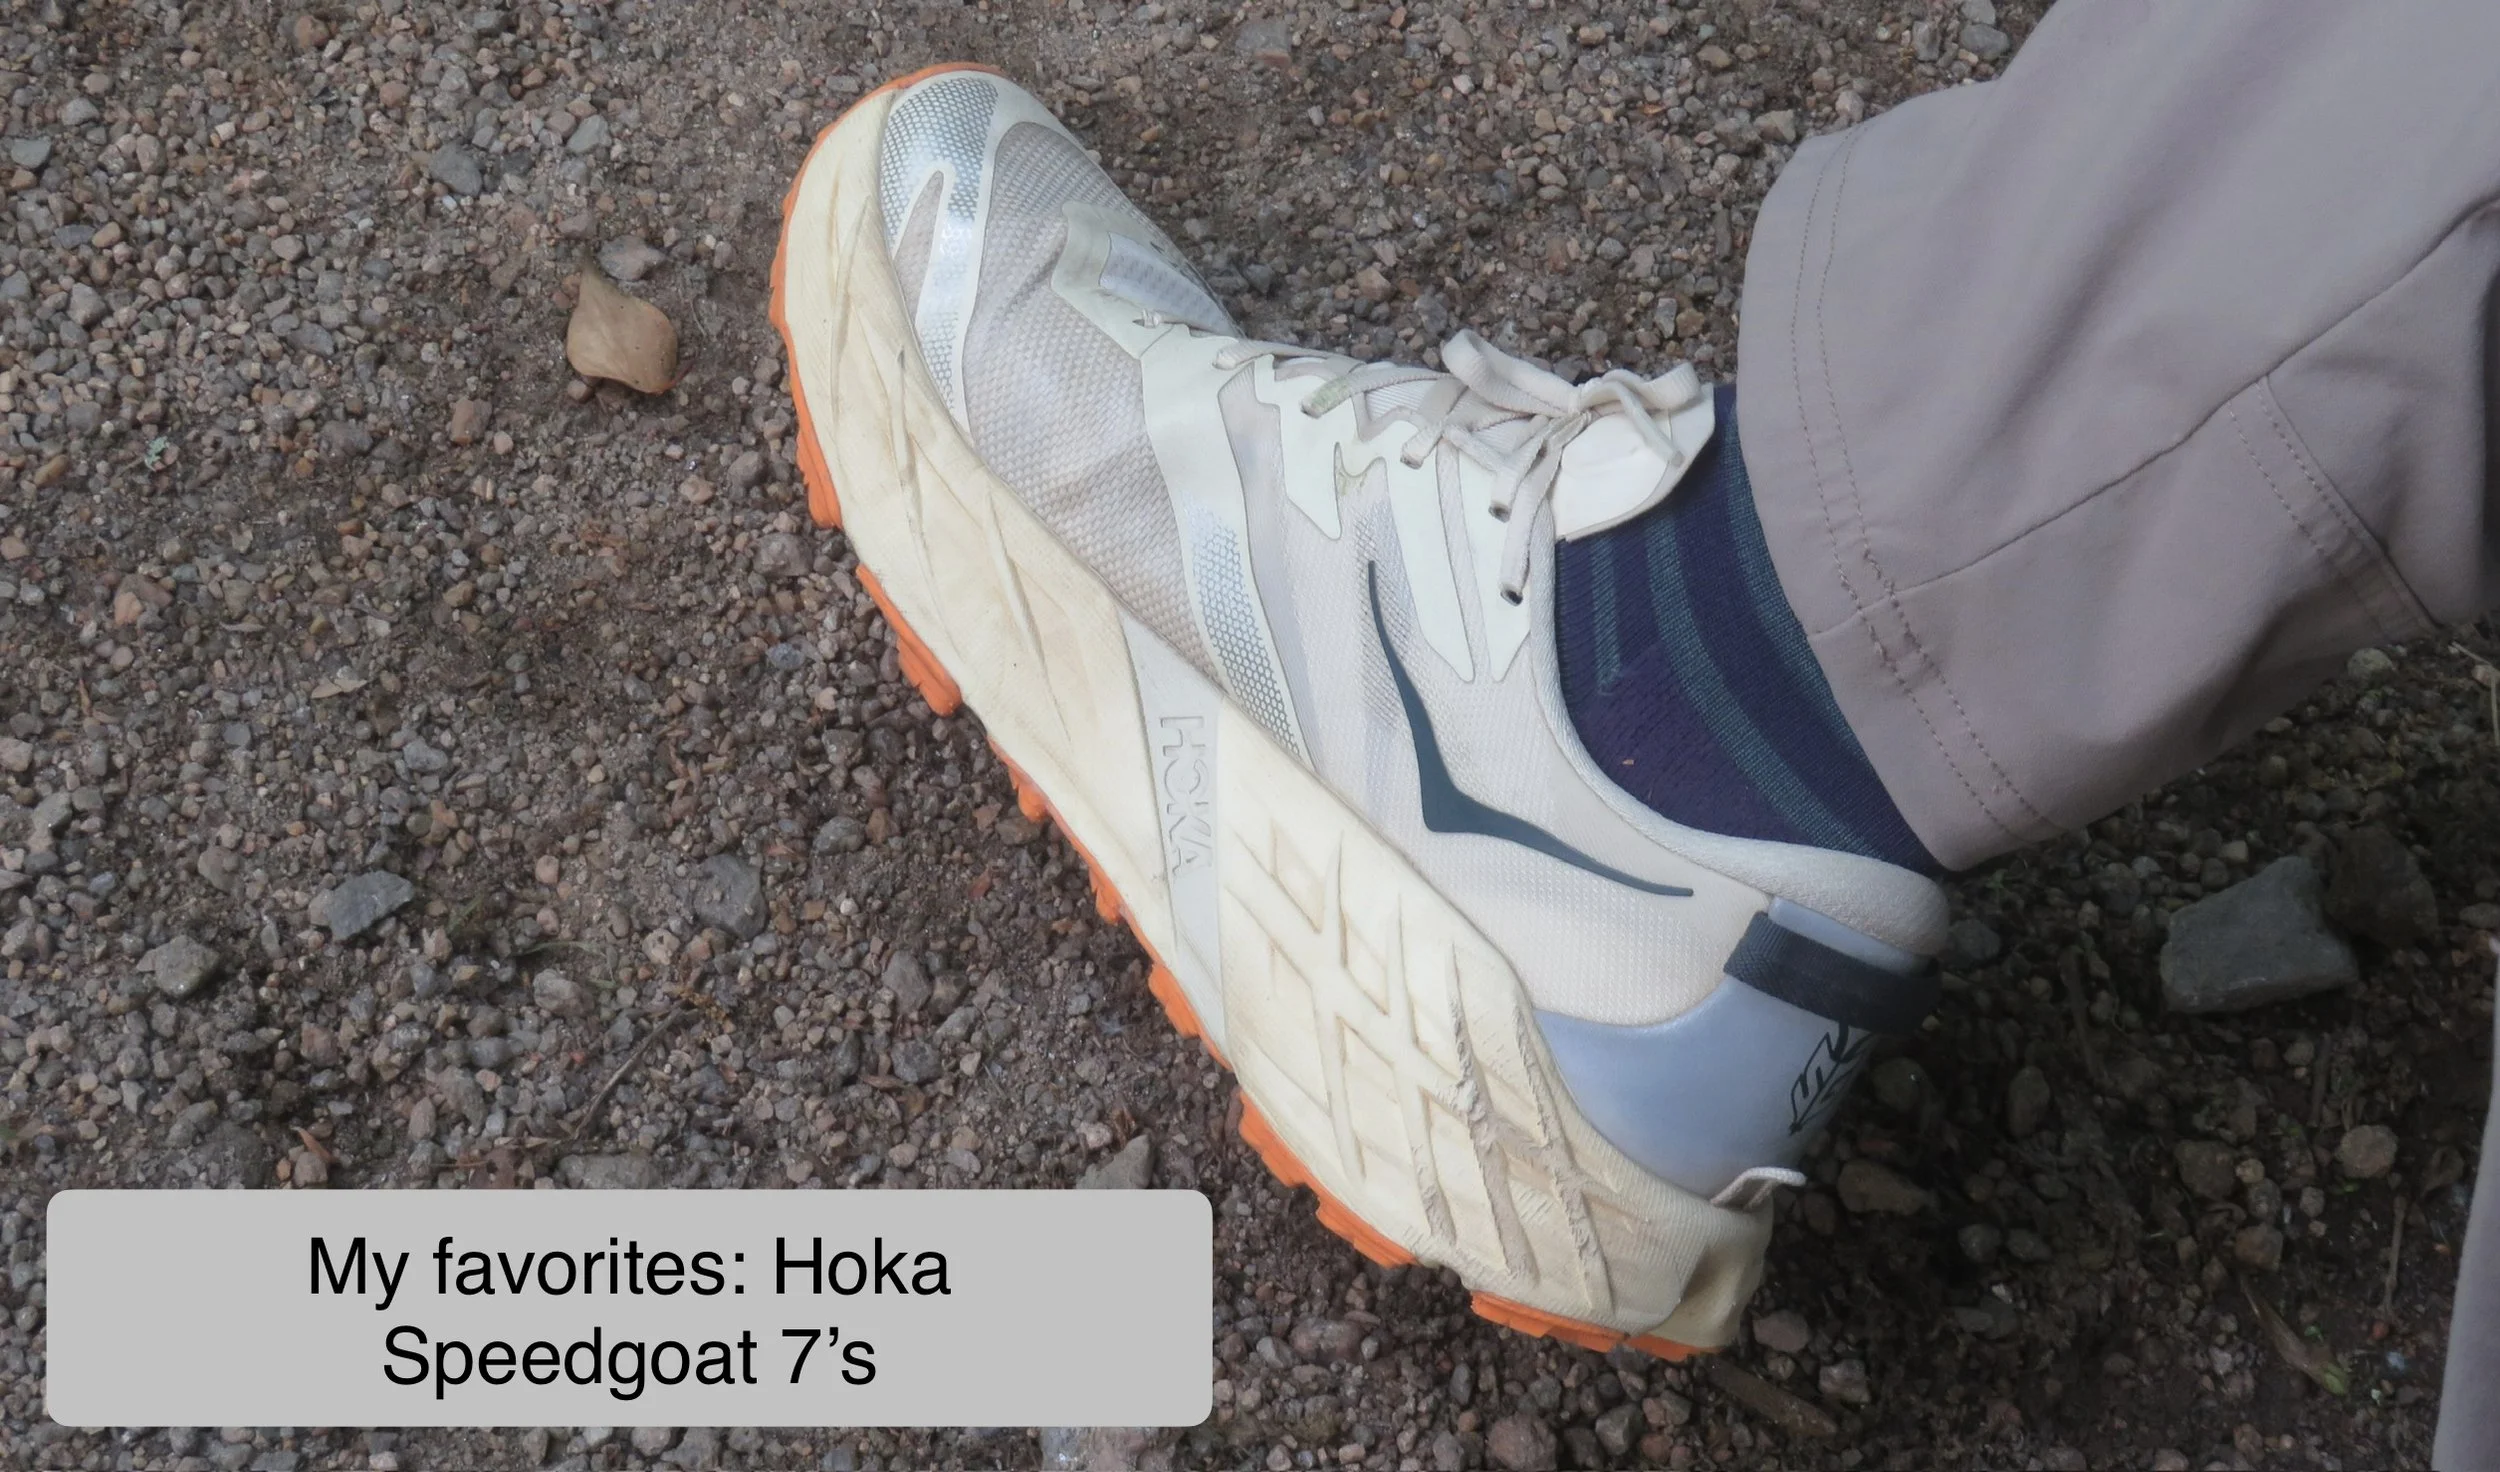
There’s always a debate between hiking boots and lightweight trail runners. Boots offer more ankle support and protection, while trail runners are lighter and dry faster. Neither is universally “better”—what matters is what fits your feet and walking style. In my younger days, I had a pair of good old Vasque hiking boots that must’ve had more than 2500 miles on them and were resoled three times. Now we swear by Hoka One Ones - Speed Goat 7s for me and Stinson 7s for Marcie. They’re lightweight and have lots of cushioning - almost giving you a little spring in your step, and, in our experience, last about 750 miles.
Prioritize comfort above all else. Although lightweight trail runners usually feel comfortable immediately, hiking boots may take some time to break in - maybe 15-20 miles. In either case, make sure you do enough walking in them ahead of your walk on the Camino to make sure they feel right. If they’re not comfortable after a reasonable break in period, they probably won’t improve on the trail - exchange them for another pair.
Socks Matter More Than You Think
A good pair of socks can make or break your day. Go for:
Cushioned soles to reduce impact
Moisture-wicking fabric to keep feet dry - wet skin is far more prone to blisters, so keeping your feet dry is half the battle.
Fast-drying material so you can wash them at the end of each day… they will usually be dry by morning.
We love Darn Tough socks. They have a real lifetime warranty - if they ever wear out or develop a hole, send the pair back and they’ll replace them for free.
Consider Toe Socks
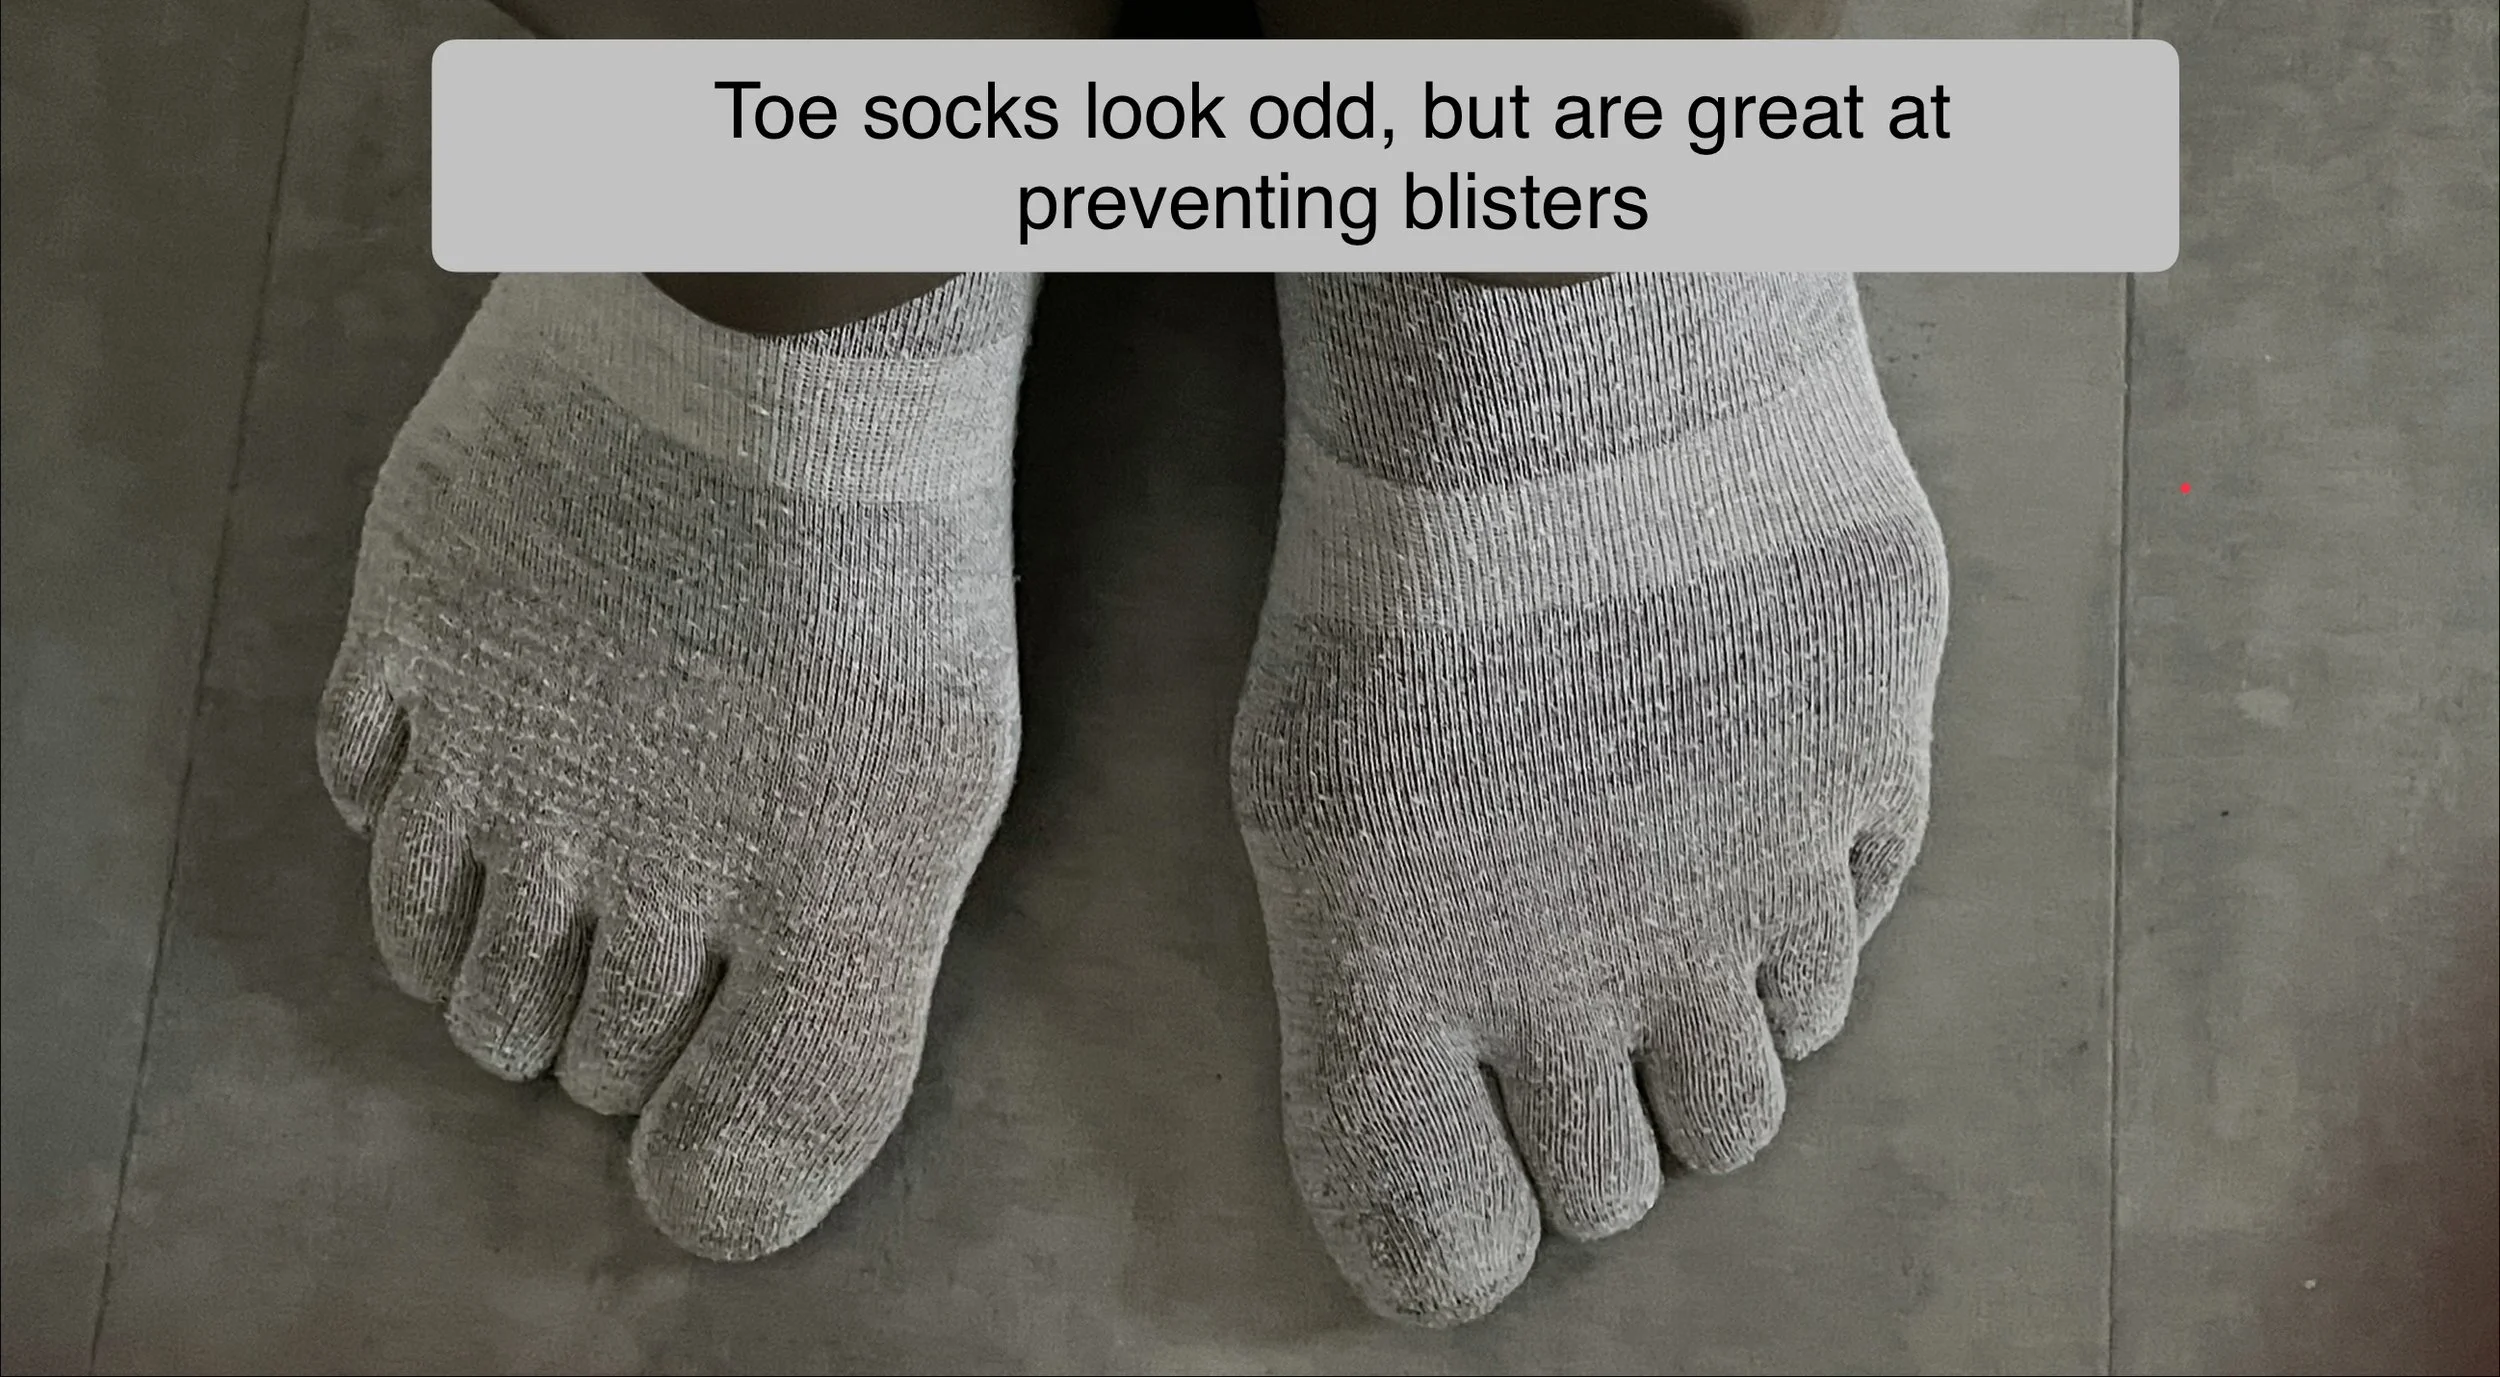
They may look a bit unusual, but toe socks have a real advantage: they separate your toes, preventing skin-on-skin friction. That simple change can significantly reduce blister formation between toes—a common trouble spot for many pilgrims. We use them as a base layer under our hiking socks for extra padding.
Keep Your Toenails in Check
Long toenails are a hidden hazard. They chafe the toes next to it or become ingrown. Or on downhill stretches, your toes slide forward and repeatedly hit the front of your shoes, resulting in blackened nails.
Trim your nails regularly and keep them short (but not too short). It’s a small habit that prevents a lot of discomfort.
Learn the Heel Lock Technique
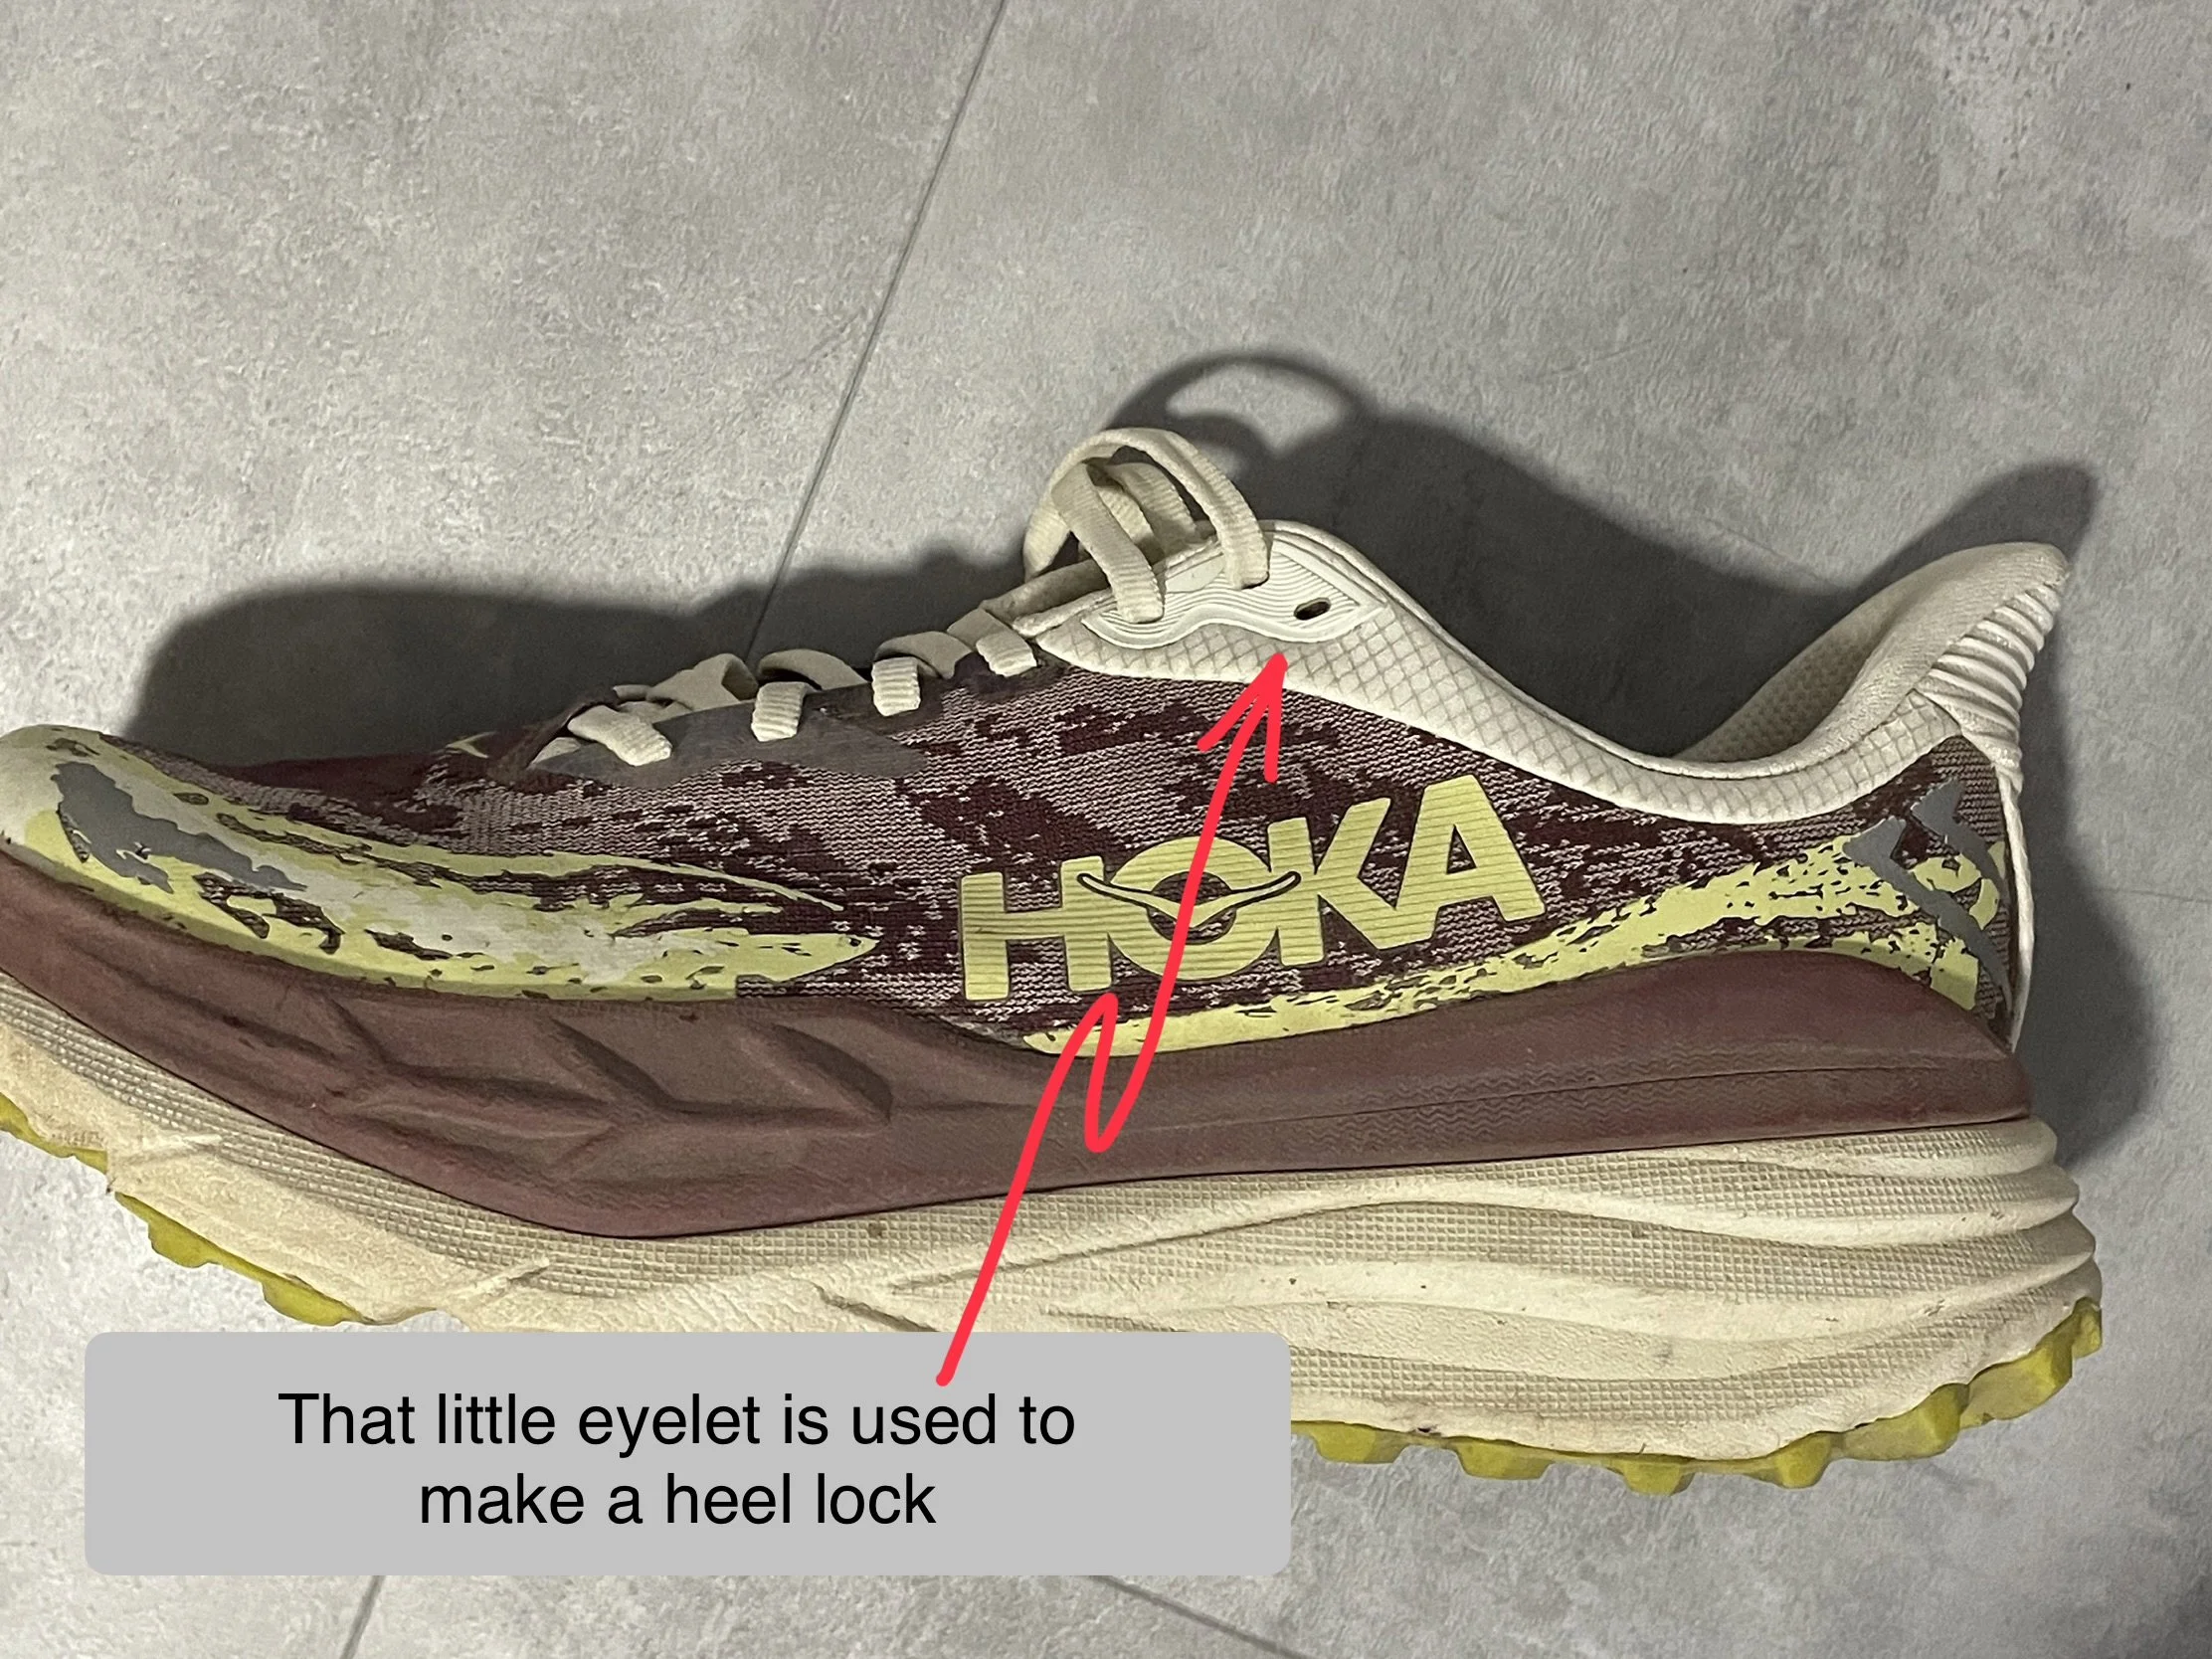
Did you ever wonder what that extra hole in you hiking boots was for - the one above all the holes you usually use for lacing up your shoes? It’s used for a simple lacing method known as the “heel lock”. This technique secures your heel in place, preventing the toes from sliding forward and hitting the front of the shoe, especially on descents. It makes a world of difference on those long steep downhill stretches. Do an online search for “Heel Lock Technique” and you’ll find several tutorials on the topic.
Act Fast at the First Sign of Trouble
Hot spots—the early warning signs of blisters—should never be ignored. As soon as you feel one:
Stop walking
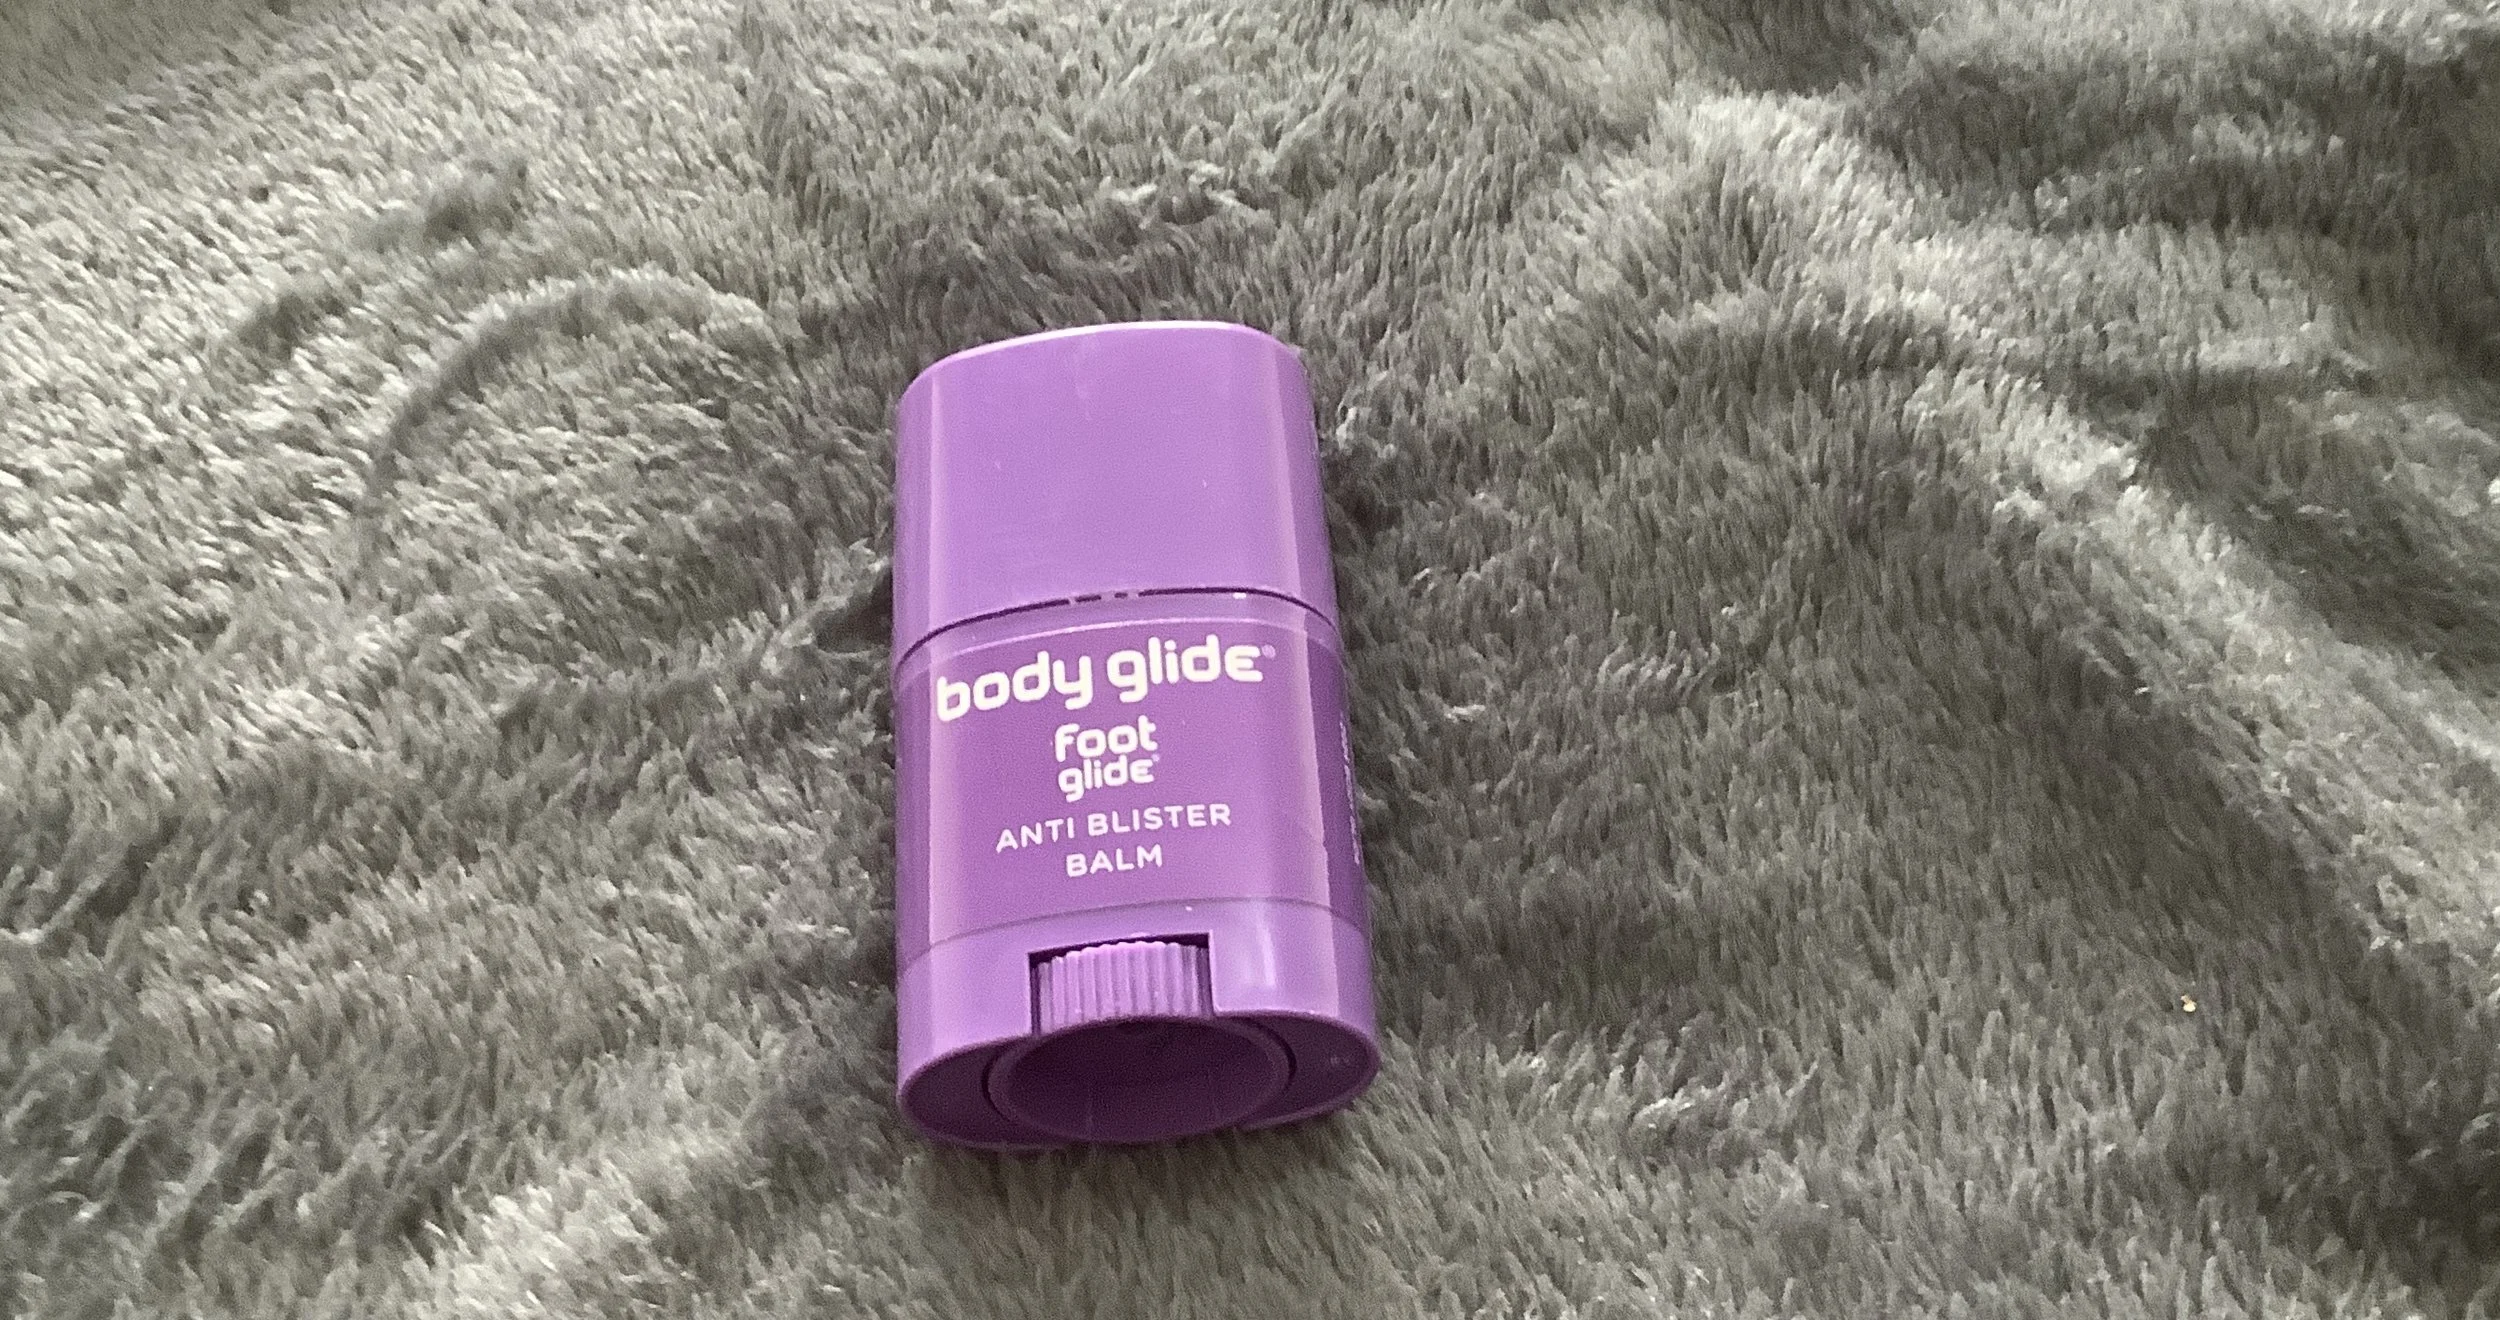
Apply an anti-friction balm like Body Glide
Cover the area with a bandage
Five minutes of attention now can prevent a small irritation from becoming a painful blister lasting several days.
If You Do Get a Blister…
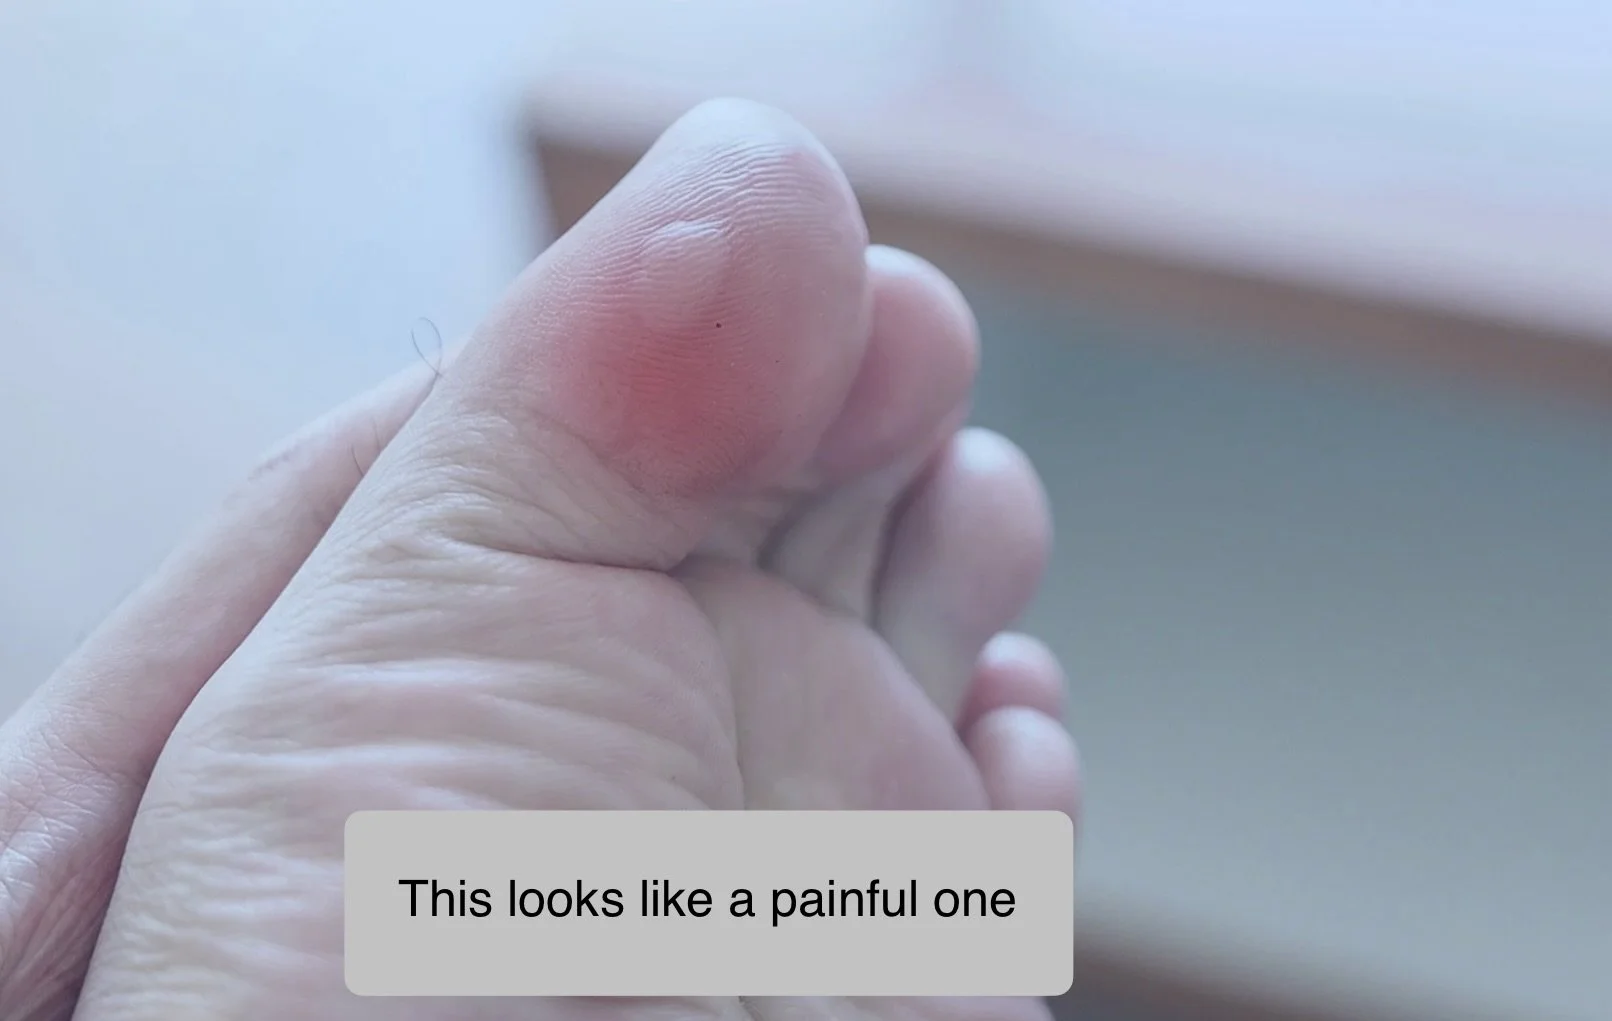
It happens, even to experienced walkers. The general consensus is: don’t pop it if you can avoid it. Keeping the blister intact reduces the risk of infection. You can use moleskin or special blister pads to protect it while it heals. If using moleskin:
Cut a small hole in the moleskin, just big enough to fit around the blister.
Place the moleskin with the hole around the blister.
Once you’ve got your protective padding in place, cover the whole area with a bandage or gauze.
This method takes the pressure off the sore spot while protecting the surrounding area.
Over time, the fluid will be reabsorbed, and the skin will heal naturally. It’s not the fastest process, but it’s usually the safest. If it does burst on its own, keep it clean, covered, and protected.
Final Thought
On the Camino, your feet are your most important piece of gear. Treat them well, check them often, and respond quickly to any issues. A little care each day can mean the difference between having a grand adventure and discovering just how far you can limp in a single day.