One of the items on my list to get done while in Adelaide was rebuilding the chain pipe. This is the pipe that guides the anchor chain from the windlass to the chain locker below deck in the bow.
Originally, when we bought Nine of Cups, the chain would drop directly from the windlass into the chain locker. When we raised anchor and the windlass fed the chain down into the chain locker, as it dropped, the chain had a tendency to pile up rather than disburse evenly. When the pile got high enough, the windlass would jam up and it took a few minutes to clear it. We found that if whoever was raising the anchor (Marcie) climbed down into the forepeak locker and knocked the pile of chain down after every 40 feet or so of chain, the windlass wouldn't jam up. This wasn't too bad on a calm day when we only had 75 feet of chain out, but on the days when we had 250 feet out, the wind was blowing, and we were trying to get out of the anchorage in a hurry, the system was less than ideal.

Early on in our cruising life, I added a chain pipe that would guide the chain further aft before dropping it into the chain locker. This had several advantages. First, the weight of the chain was a littler further aft rather than right on the bow. Second, as you go further aft, the chain locker becomes wider and deeper, so while the chain still piles up, it takes quite a bit more chain before it piles high enough to jam the windlass. And third, when it becomes necessary to knock the pile down, Marcie can do it with the deck brush handle from the deck without having to climb down into the forepeak locker.
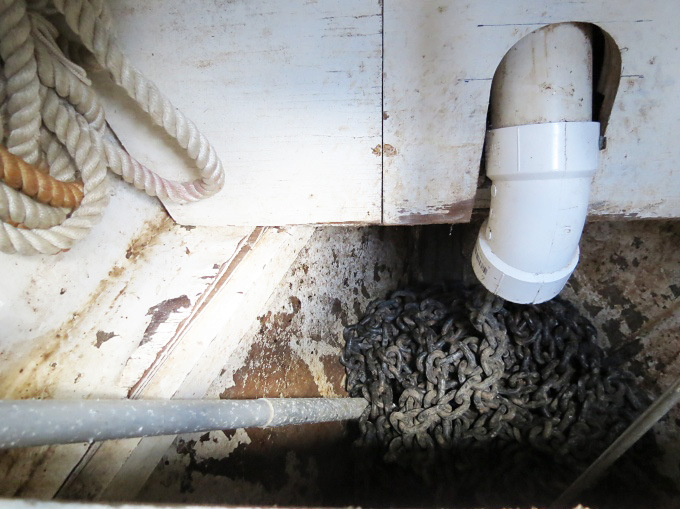
The design is quite straightforward. A flange attaches the chain pipe to to the underside of the deck. A 3” (76mm) ID pipe is attached to the flange to clear the windlass motor, then a 45 degree elbow is attached to the pipe, followed by another straight section and another 45 degree elbow.
Since the chain is galvanized steel, the ideal material for the pipe would also be galvanized steel. Any other marine metal, like stainless steel or bronze would lead to deterioration of the chain due to electrolysis. I couldn't find galvanized steel pipe and flanges when I built the first one, so I used Schedule 40 PVC pipe instead. This is the very thick-walled pipe used in the U.S. for pressurized plumbing systems. There is no chance of electrolysis occurring, and the material is quite strong, but with time, the chain eventually wears through the 45 degree elbows. This, on average, seems to happen about every five years or so, and so it was that I noticed a spot wearing through on the upper elbow when I last checked out the chain locker.
Finding Schedule 40 PVC in Australia was difficult – it isn't used much here. I finally found it online at an irrigation supply company in Perth, and had the new fittings shipped here.
In theory, the job shouldn't be difficult. All I needed to do was remove the old chain pipe, replace the elbows with the new ones and re-install it. The hard part is crawling far enough into the chain locker to access the nuts holding the flange – an easy job for someone the size of a Hobbit, but quite uncomfortable for me. Once I got it out, changing the elbows was straightforward. I don't use adhesive to secure the elbows as would normally be done for pressurized plumbing. I grease the fittings, slide them together, and hold them in place using a screw, so removing the old elbows in not difficult. The only real glitch was after scrunching myself back into the chain locker and trying to fit the chain pipe back in place, I realized the slightly bigger OD of the new Australian Sched 40 elbows wouldn't quite clear the windlass. I think this was due to my foolishly thinking to myself that the project was going more quickly than I expected. Back out it came, and after a few modifications and a couple of trial fittings, it all went back together.
When I finally finished, I thought it might make a good blog post. Too bad I didn't think to take photos while it was out. If I was more ambitious, I'd slither back down there and take it out again – but I'm not and the photos will have to wait until the next time I replace the elbows in five years or so.

