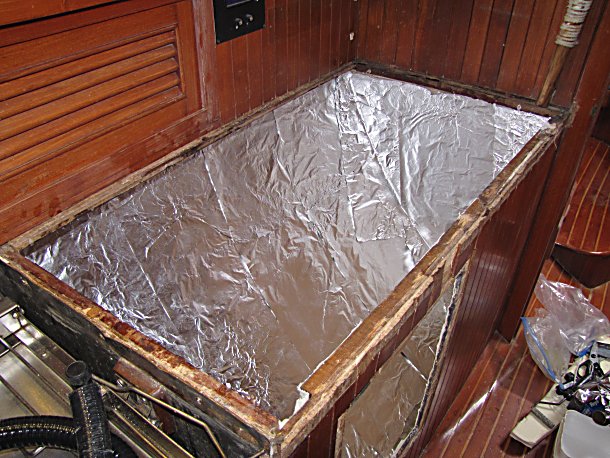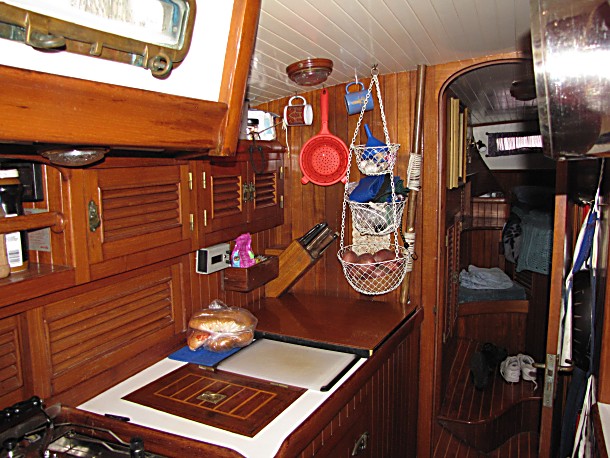
Well, I've now removed the old refrigerator innards, leaving a big cavern and I've been prepping the inside of the cavern before installing the insulation. It involves lining the inside with two layers of epoxy impregnated glass cloth, then a layer of foil, followed by a layer of plastic to act as a vapor barrier.

This process requires copious amounts of epoxy. I'm not talking about those little tubes of epoxy you buy at the hardware store and mix with a toothpick. I'm talking about the better part of a gallon of the stuff. You start the process by carefully measuring and mixing the correct ratio of resin and hardener. If you mix too small an amount, you lose efficiency. If you mix too much, it will start to “kick” before you have a chance to use it all, at which point, within a few seconds, it turns into a very hot, solid blob. Once mixed, it has the consistency of corn syrup, and is about the same stickiness.
I know it will be messy, so I wear latex gloves and an old long sleeved shirt. I put waxed paper on the floor around the area I'm working in. Alcohol is a benign solvent for epoxy, so I pour some into a container and set it nearby in case of a spill. After placing a couple of rags in strategic locations and cutting the glass cloth, I begin.

I paint a coat of the epoxy onto the walls of the cavern and apply the glass cloth, followed by another coat of epoxy. This is repeated for the second layer of glass cloth. The aluminum foil is epoxied onto the cloth, and finally the plastic is epoxied to the foil. Sounds easy, and it actually isn't all that difficult. If this were a segment on This Old House, that's exactly how it would go, and the camera would now pan out, and the workers would be cracking open a cold brew.
In my world, it doesn't go exactly like this. To begin with, it's been hot, and I'm in a long sleeved t-shirt sweating like a pig. I'm applying the epoxy to vertical surfaces and the underside of a cabinet, so the epoxy has a tendency to run down the brush and onto my gloves. The wet glass cloth needs adjusting to get the wrinkles out and I use my hands to do that. Before long my gloves are coated with sticky epoxy. As I reach down into the cavern to apply epoxy, my sleeves brush against the epoxy-coated walls, and begin to get a bit sticky. Then I inadvertently rest my hand for a second on the teak shelf above, then my arm touches the adjoining wall. My glasses keep slipping down my sweaty nose and I push them back up. I smack my head on the bottom of the cabinet above, and as I'm dancing around swearing, I realize my hair is sticking to my glove as I rub the sore spot.
By now, I've dripped a bit of epoxy on the waxed paper, and the paper is sticking quite well to the bottoms of my shoes. As I'm trying to lift my foot without taking all the paper with it, I manage to knock over the container of alcohol. Not a big deal - I can wipe it up with one of those rags I had ready. I set the container of epoxy on the top of the cavern and kneel down to wipe up the epoxy just as a big powerboat is inconsiderate enough to pick that moment to depart the marina. Before I can grab it, about a cup of epoxy spills on the floor. Fortunately, the spilled alcohol and rags are right there, so I'm able to get most of the epoxy off the floor.
Did I mention this is a project best done while Marcie is away?

After five or six hours of this, I have quite an even distribution of epoxy on the galley cabinets ,and walls not to mention the floor. Parts of my sleeves are bonded to the hair on my arms, and most of the few remaining hairs on my head are semi-permanently epoxied to my scalp. But the cavern looks great, and hey – I was thinking that as long as Marcie's away, it might be a good time to refinish the galley cabinets and floor...
There's more, but give me a day or two to recover.
| Days and Ways to Celebrate |
| A daily list of mostly obscure holidays and fun ways to celebrate them. |
| Lips Appreciation Day |
| Where would we be without them? Put on some lip gloss and pucker up! |


 for guidance. What could possibly go wrong?