The Blue View - Pre-Passage Rigging Check pt. 2
/Deck Level
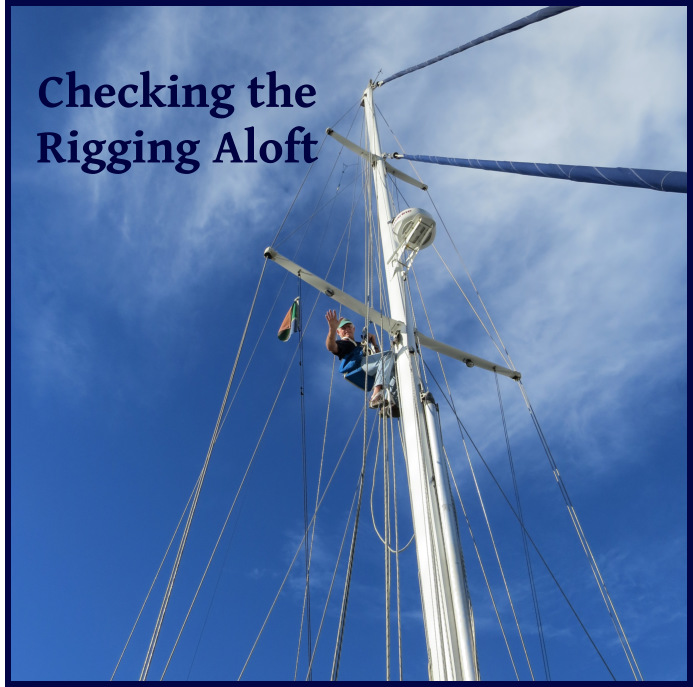
Note: this is Part 2 of our pre-passage rigging checks – the deck level checks. Part 1, in the last Blue View, detailed the checks I do aloft.
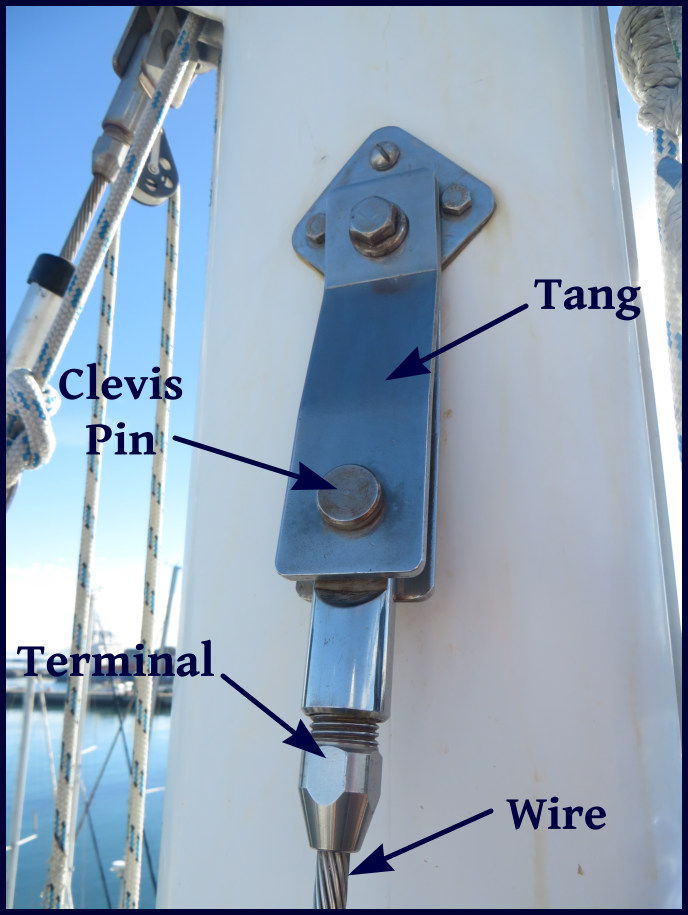
General Checks These are much the same as the general checks when going aloft. I do a close eyeball check on all the fittings and wire before cleaning the rust – sometimes the rust can point to a problem. Then I clean the fitting with a good metal wax and inspect the part again, looking for any cracks, distortions, worn or stressed parts, elongated holes, missing split pins, loose or missing bolts, etc. - in general, anything that doesn't look right. I also look closely at the wire for any strands that look cracked or broken. We have Stalock fittings throughout, but if we had swaged fittings, I would also check for cracked or swollen fittings. I renew any worn or loose whipping on line ends.
Mast, Shrouds and Stays I first check the mast alignment. It should be straight side to side, but may have a slight curve aft towards the top. I check the tension in the stays and shrouds – they should all be tight and there should be minimal or no sag in the forestay and staysail stay. I closely check all the turnbuckles to make sure none are cracked or galled, and that the legs of all the split pins are inboard. I remove the cover over the mast boot and check for cracks or deterioration in it, as well as the mast collar. I check all the blocks at the mast base.
Chain Plates The chain plates attach the standing rigging to the hull. Ours pass through the caprail and are glassed into the hull. Except for the very tops, which are exposed, they are virtually impossible to inspect. I check them closely, looking for any hairline cracks, elongated holes, or signs of moisture that might be making its way downward.
Boom Like the mast, the boom is aluminum and has a number of stainless screws attached to it, all of which are subject to galvanic corrosion, and I check each of these. A sure sign is bubbling or swollen paint around the screw head. I check the ends, connections, sheaves and welds for corrosion and cracks. I check the outhaul and reefing lines for smooth operation and any signs of chafe. I spend a few minutes examining the gooseneck for cracks and tightness.
Halyards, Topping Lift, Sheets My checklist for halyards, topping lift and sheets includes: Check all for chafing Check all fairleads, blocks and sheaves Check the mainsheet traveler for cracks and general operation.
Furlers Furler checks are a bit time-consuming, but I'd rather fix a problem here in port than at sea. Remove the sails and check both furlers for smooth operation. Flush the bearings with fresh water. Inspect the lower swivel, furler drum, etc. for any signs of corrosion, especially around the stainless screws. On our Harken furlers, I loosen and re-tighten each screw, adding Tef-Gel to any that show signs of seizing or corrosion. Check that all shackles are in good shape and properly seized. Check the furling lines for chafe, and inspect the fairleads and blocks.
Rope Stoppers, Clutches and Cleats I check all for burrs and tightness and check the operation of stoppers and clutches.
Tracks and Cars I check all tracks for corrosion, burrs, etc. Then, I check that all cars are secure and move freely.
Whisker and Spinnaker Poles Since I just reworked the whisker pole, I gave this check a pass. Usually, I would check both ends for cracks, deterioration, missing or loose rivets. Check the outhaul, topping lift and guys for chafe and insure smooth operation. I'd extract and retract the pole to check operation.
Lifelines We have Dyneema (actually Amsteel) lifelines, and really like them. (Here is a link to an article in Good Old Boat magazine on the subject – although I doubt this particular author knows what he is talking about.) They have two issues, however. First, Dyneema exhibits creep, which means the lifelines continue to slowly stretch over time and need to be re-tensioned every few months. Second, the Dyneema should be replaced every 3-5 years, due to UV degradation. The degradation is not readily apparent, so it is important to keep track of how long they have been in place and when they should be replaced. I also check for any wear at the stanchions, and check all turnbuckles, pelican hooks and shackles for cracks. All split rings should be in good shape and facing inboard. Inspect the stanchions for cracks or looseness.
So, what did I discover from our rigging check? Several small issues were corrected: Lifelines re-tensioned; several split rings needed replacing; first reef line, port side was chafed - I was able to remove a few feet from the end and re-use it; a few screws were missing or loose on the stanchion bases; several lines needed re-whipping.
Unfortunately (or perhaps fortunately), a potential show stopper was discovered. The chainplates on the starboard side are showing some evidence of water ingress and possible corrosion. The chainplates are stainless steel, which is generally very corrosion-resistant and performs quite satisfactorily in marine environments. It is very susceptible, however, to something called crevice corrosion. Crevice corrosion is a localized form of attack which is initiated when the metal comes in contact with moisture when there is a low availability of oxygen – such as in a crevice. If moisture, especially saltwater, makes its way past the caulking around a chainplate and lies against the stainless, a perfect environment for crevice corrosion develops. Since the internal chainplates on Nine of Cups cannot be inspected without literally dismantling the cabinetry in the saloon, there is no easy way to determine how much corrosion has developed.
Losing a chainplate will almost certainly lead to losing the mast – not a pleasant prospect anywhere, least of all in the middle of a major ocean crossing. Many sailboats of the same vintage as Nine of Cups that have glassed in chainplates have replaced them with external versions, heavy duty stainless steel straps that are bolted through the hull. We need to call in an expert or two to confirm our suspicions, but we are now thinking our departure from Cape Town, will likely be delayed.
Stay tuned...


