The Blue View - Pre-Passage Rigging Check pt. 1
/Upper Rigging
Before heading out on a major passage, I spend a day or two checking most of the systems aboard Nine of Cups. The engine, prop shaft seal, steering, bilge pumps, nav lights, thru-hulls, windlass, and a host of other items are all scrutinized and/or tested. Near the top of the list are the rigging checks.
The rigging consists of all the lines, wires and metal parts that hold the mast upright (the standing rigging) and which hoist, move and control things (the running rigging). A single failure in the standing rigging will quite likely cause the mast to break. A failure in the running rigging will, at the very least, cause damage to the boat – a torn sail due to a chafed reefing line, for example. In the worst case, a running rigging problem can cause serious damage to the boat, or serious injuries to the crew – the combination of a jibe and a chafed boom preventer, for example, could cause the boom to swing with such force that it bends or breaks on hitting a shroud, and/or knocks a crew member overboard.
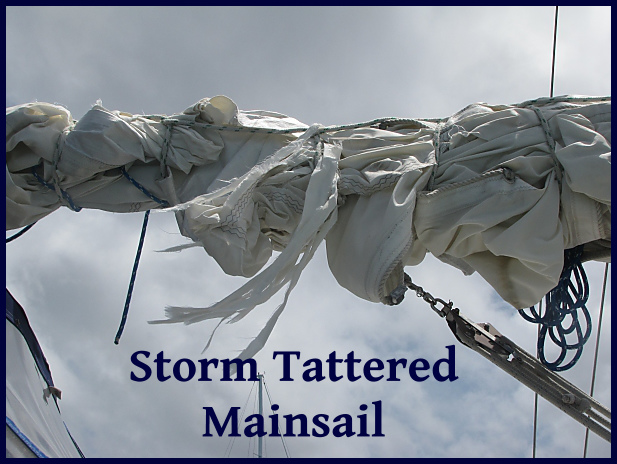
Even worse is that a problem with the rigging is most likely to occur when it is being stressed, like during a storm, causing even small problems to quickly become big ones. That small tear in the mainsail due to a chafed reefing line will, within seconds, cause the main to become totally shredded if it happens in the middle of a storm.
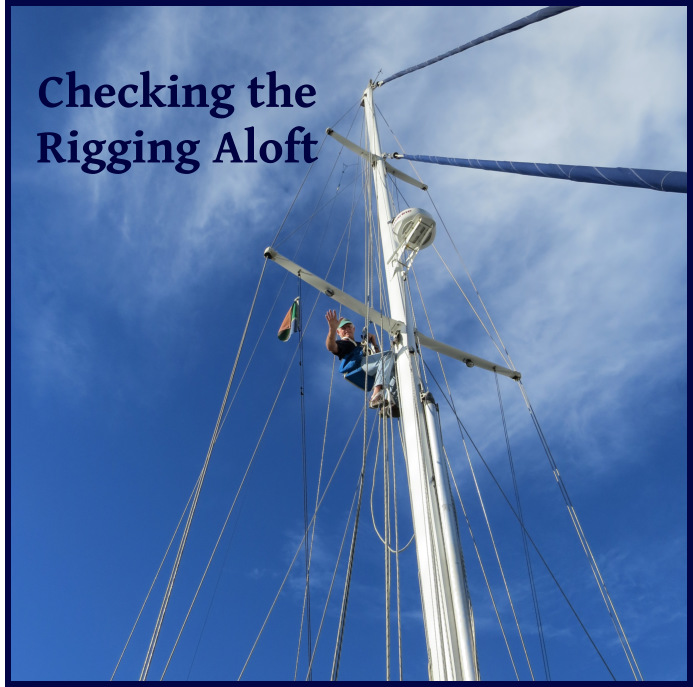
Thus, I think it is important to find and correct any problems before we leave. In this blog, I'll discuss the checks I do aloft, and in the next blog, I'll talk about the deck level checks.
Tools It is always a dilemma as to which tools to take up the mast with me. Take too many and it's hard to find the right one when it is needed. On the other hand, it's a hassle when I am up the mast and realize I need another tool. My compromise is to take the minimum I'm likely to need, and a small line, 60 feet (18m) or so, with a weight attached. If I need another tool, I lower the line, then tap on the mast to get Marcie's attention, and she attaches the tool to the line. Here are the basic tools and supplies I take with me: A large and medium sized screwdriver, both flat and Phillips; large needle nosed pliers, large pliers, adjustable wrench, metal polish or wax; rags, spray bottle of water; and a pencil and paper for taking notes. Sometimes I take a small digital camera to document potential problems and take pictures for Marcie.
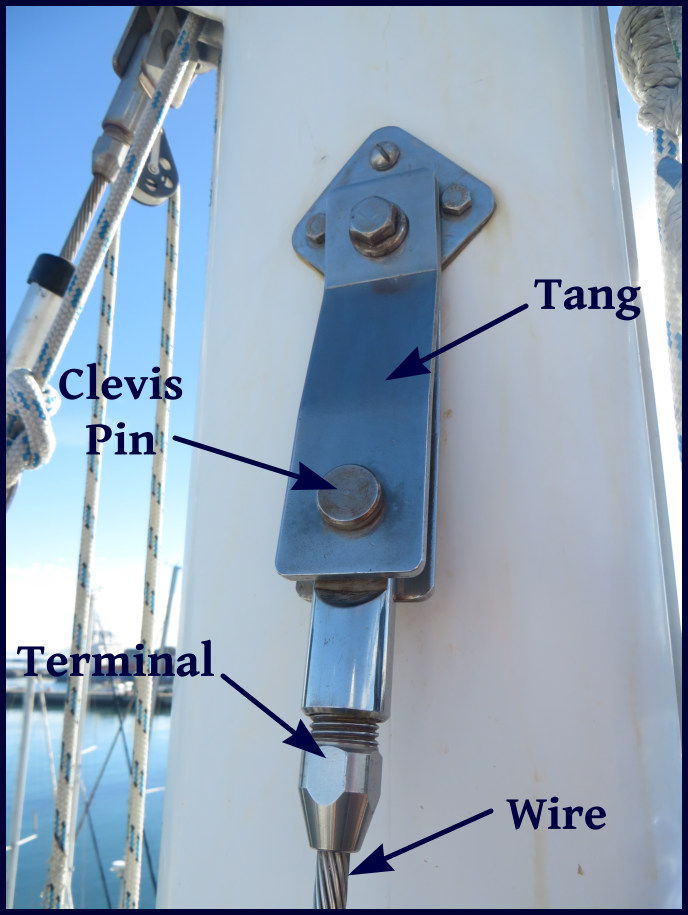
General Checks I usually go straight to the top of the mast and slowly work my way down. I do a close eyeball check on all the fittings and wire before cleaning the rust – sometimes the rust can point to a problem. Then I clean the fitting with a good metal wax (I like Collinite metal wax) and inspect the part again, looking for any cracks, distortions, worn or stressed parts, elongated holes, missing split pins, loose or missing bolts, etc. - in general, anything that doesn't look right. I also look closely at the wire for any strands that look cracked or broken. We have Stalock fittings throughout, but if we had swaged fittings, I would also check for cracked or swollen fittings. The aluminum (aluminium for you non-North Americans) mast probably has a hundred stainless screws attached to it, all of which are subject to galvanic corrosion, so I check each of these. A sure sign is bubbling or swollen paint around the screw head.
Sailtrack Our sailtrack fits into a channel on the mast and is riveted in place. I check the track for loose rivets, especially where two sections join. I also clean the track as I work my way down. We often collect a lot of dirt and grime while in a marina, and Cape Town seems especially prone to it. I use a spray bottle of fresh water and a rag – nothing else. I used to use waxes and lubricants like SailKote, but I found that, while they make the track really slick for a short while, they seem to collect more dirt and gum the track up after a few weeks.
Lights I check all the lights for corrosion, questionable electrical connections and that they actually work. All our mast lights are now sealed LED lights, but when we had non-sealed lights, I opened them all up and checked for corrosion inside. Our tri-color and anchor lights at the top of the mast have an ambient light detector inside, and it is sometimes hard to fool it during the day. It is also difficult to see the LEDs in bright sunlight, so to check that these are working, I wait until dark, then turn them on, and either check them from the jetty or the dinghy.
Spreaders I check the welds and the connection to the mast. I look carefully at the ends where the shrouds contact the spreaders – a good place for galvanic corrosion to occur.
Furlers In addition to the general checks, I check the sheaves for cracks and the halyards for any chafing. If the upper furler bearings bind, the halyard will wrap around the furler, so I check that the upper swivels move freely. I check that all shackles are properly seized and that any knots look good.
Masthead All the general checks completed, I then check the VHF antenna for corrosion and looseness, and inspect the wiring and coax connector. I check the wind instrument to make sure it turns freely and is not damaged, and disconnect the electrical connection to check for corrosion on the pins. I check all the masthead sheaves for burrs, and when possible, check that they turn freely.
The time required for all the checks aloft, including the time it takes to clean all the fittings and the sailtrack, is usually 2-3 hours for our double spreader rig. That's a long time to sit in a bosun's chair. I'm usually a little “stove-up” when I finally extract myself from the climbing gear and try walking again. Make sure you wear a hat and have applied lots of sunscreen – and don't forget to pee before going up.
Stay tuned for part 2 for the deck level rigging checks.


