

Blue View - The Great Bathroom Project
/
Way back, a long, long time ago in a galaxy far away (or so it seems, anyway) towards the end of last year, we decided to update our main bath. I could have argued that the old one was then 23 years old and beginning to show its age, or that the average age of the members of the household was now well above 70 and that it was time to convert the tub/shower combination to a more accessible walk-in shower. Both were true enough, but the real reason was that my brother, Paul, and I really needed a new project.
The plan was to do it piecemeal, one part at a time, so as to limit the time that the bath would be unusable. We’d start with the bath/shower, demoing the old one and replacing it with the new shower stall before moving on to the cabinets, the new countertop and sink, and finally repainting the walls. We figured it would take 10-12 days.
The piecemeal approach worked reasonably well, except that most of the ‘pieces’ of the ‘meal’ took longer than planned. Some of the delays were due to design creep, like deciding to add built-in shelves in the shower. These turned out great, but took as much time to get them just right as it did to do all the rest of the tiling. Another cause of delays was a few unexpected complications. An example: we knew the tub drain wasn’t in exactly the same place as the new shower drain, but what we didn’t expect was that the old drain was firmly ensconced in six inches of concrete - part of the original slab. Chipping out the concrete and moving the drain a couple of inches took a lot longer than the original time we had planned on.
We started with the demolition (demo) of the old tub and shower. This was the most fun part of the entire project - we masked up, shut the water off, and then went after the old tub and surround with hammers, pry bars, pipe cutters and a reciprocating saw. It took just over an hour to cut the original plastic into manageable sized pieces, pry those pieces off the walls and cart them out, then cap the hot and cold water lines. It required another hour to remove all the drywall down to the studs up to the height we wanted and clean up the area. So much for the fun part… the. rest of that day and all of the the next was spent hammering away at the concrete and relocating the drain. Once that was done, we poured a thin layer of leveling cement, and when that had set, the area was ready to start rebuilding.
The next step was to rough-in the plumbing. Marcie had found and ordered a great looking shower set in a flat black that we all liked. Paul is better at plumbing than me, so he took care of installing the mixer and fittings for the handset and shower head. We like Sharkbite fittings - they eliminate the need to solder and sweat copper fittings and pipe, which is something neither of us likes. In total, it took just a few hours to get all the plumbing done and leak-tested.
Next, we put the shower floor in. Once it was aligned and the drain connected, we protected it with a an old sheet, covered and masked with a heavy drop cloth. The studs on two walls had to be shimmed to make them perfectly square and vertical, then we were ready for the backer board.
Backer board is screwed to the studs and provides a solid, waterproof surface to which we bonded the tile. It used to be made of cement, and was very heavy, messy and hard to cut. Now there are lightweight alternatives that are much easier to cut and work with. The cement type of backer board is a lot cheaper, but the lightweight version is well worth the extra $30-$40 in my estimation. It required about a day to frame the recessed shelves, then cut and attach the backer board.
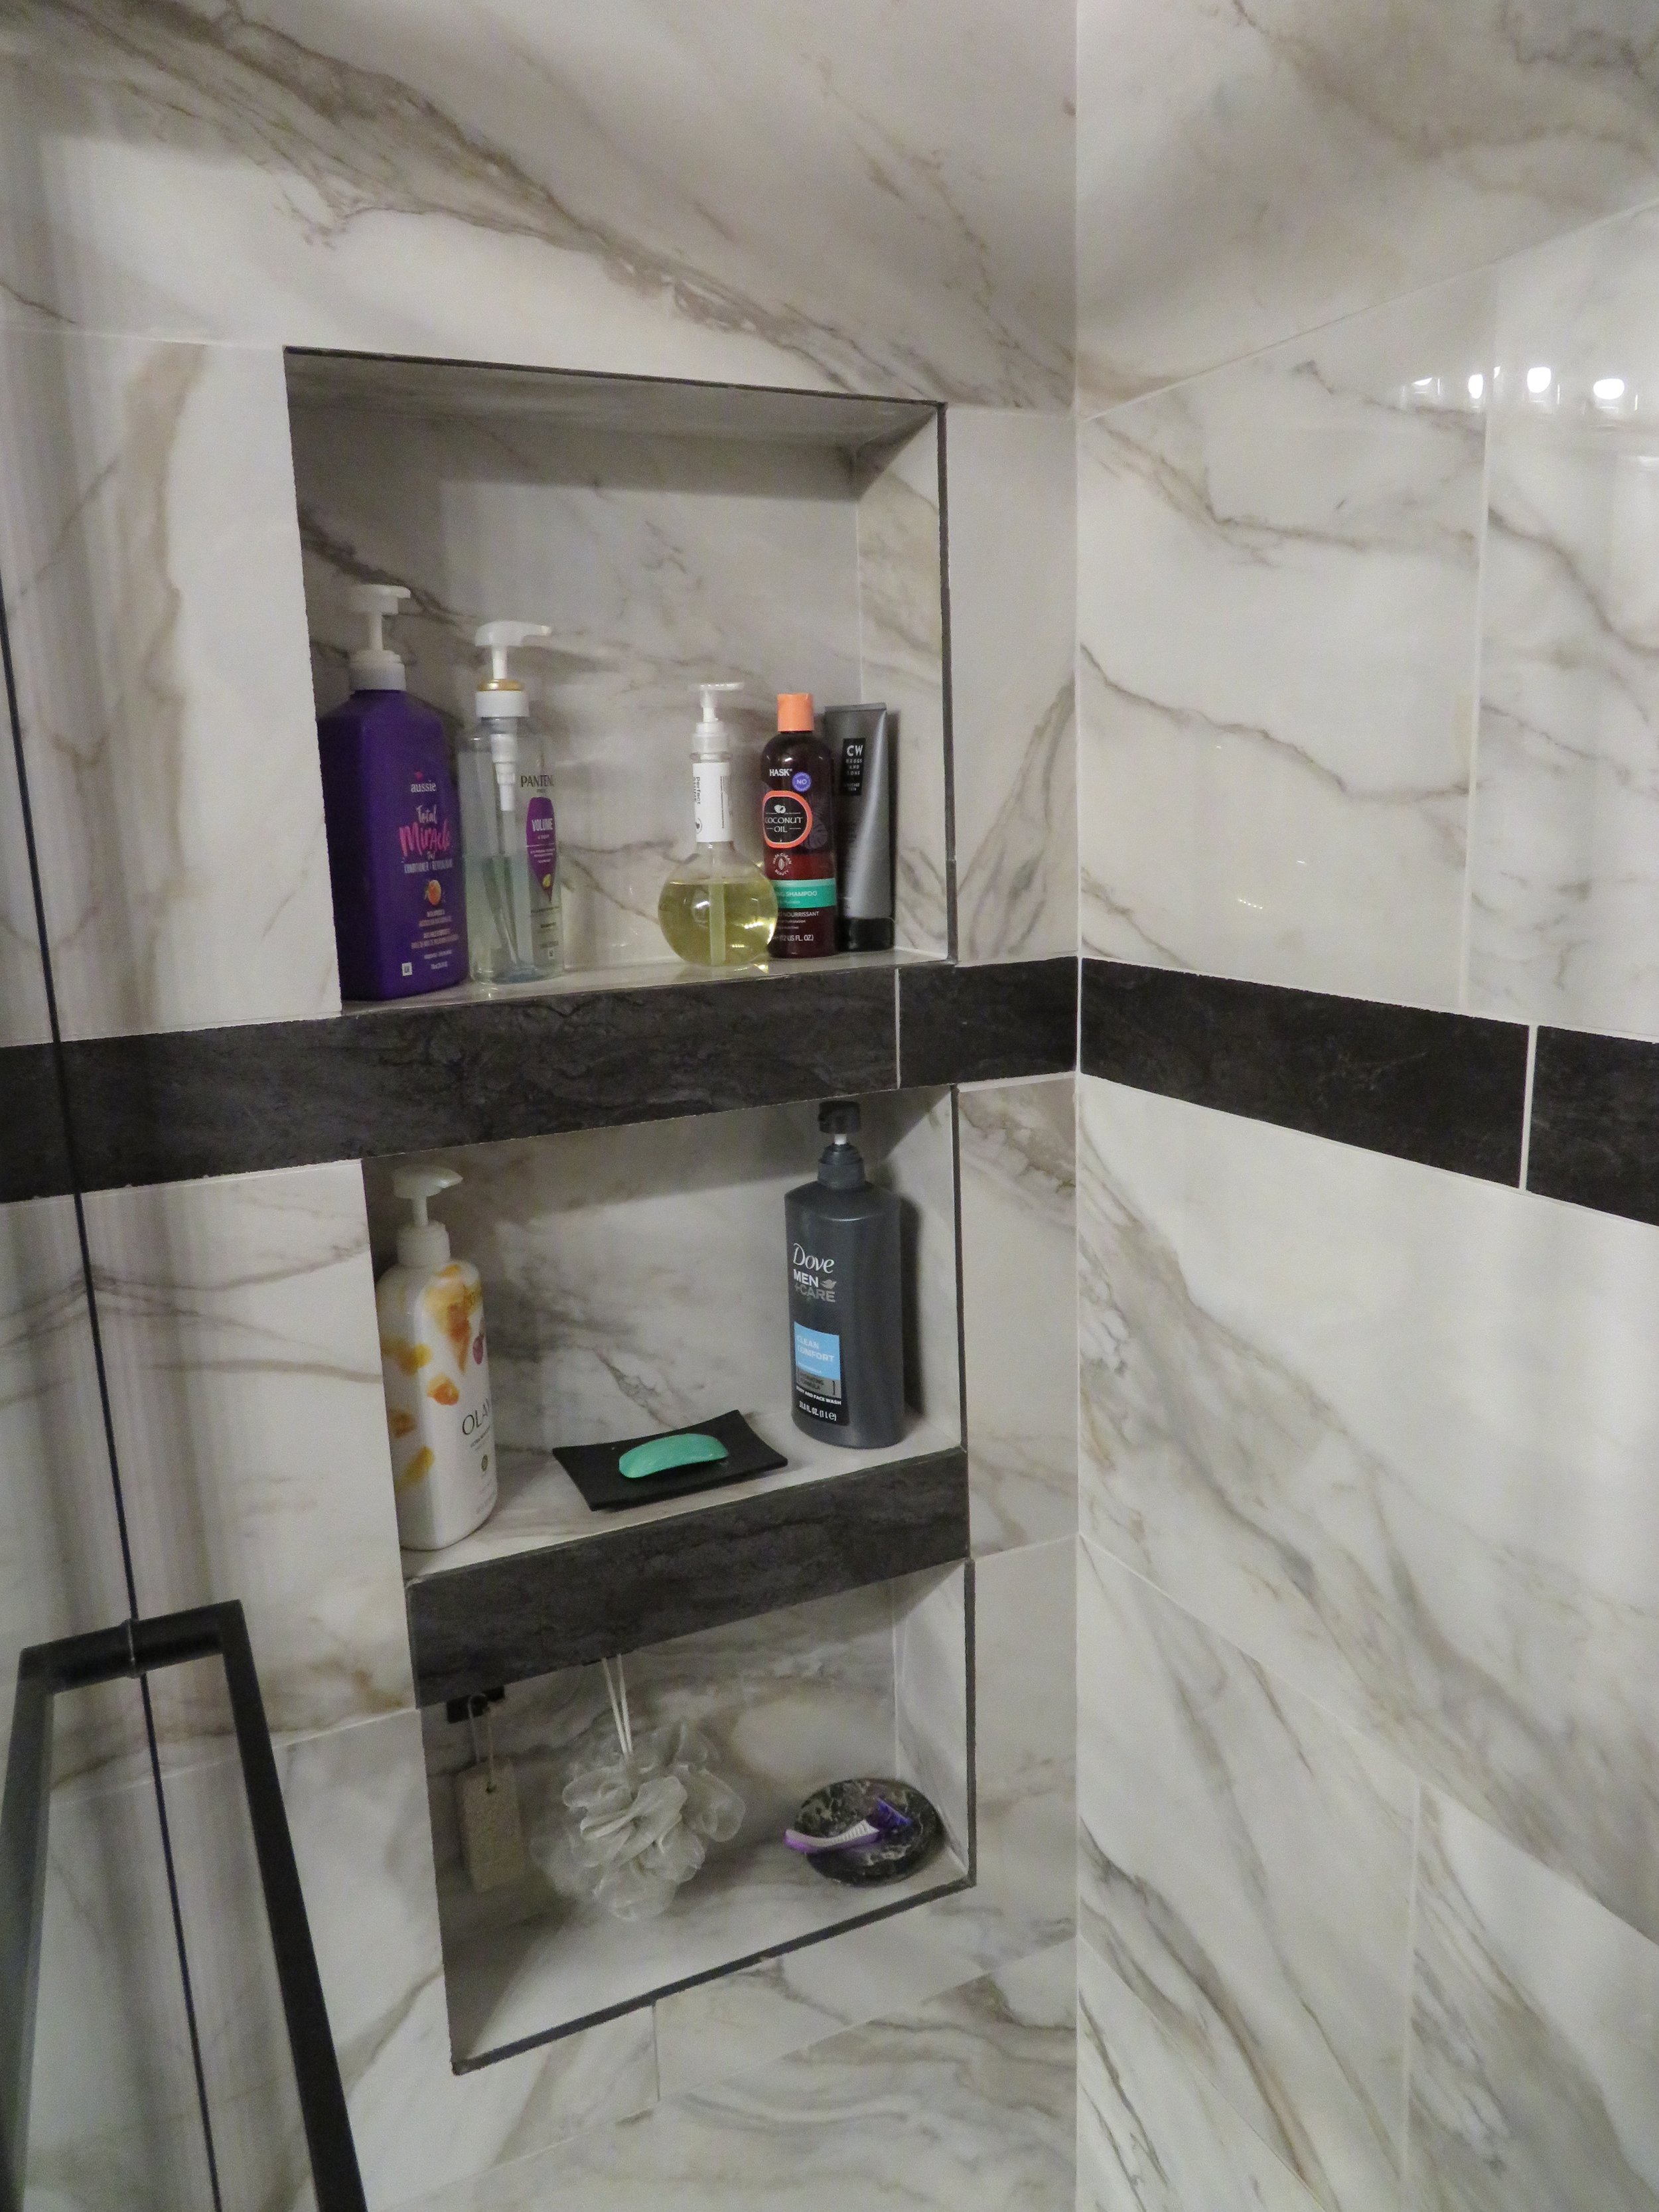
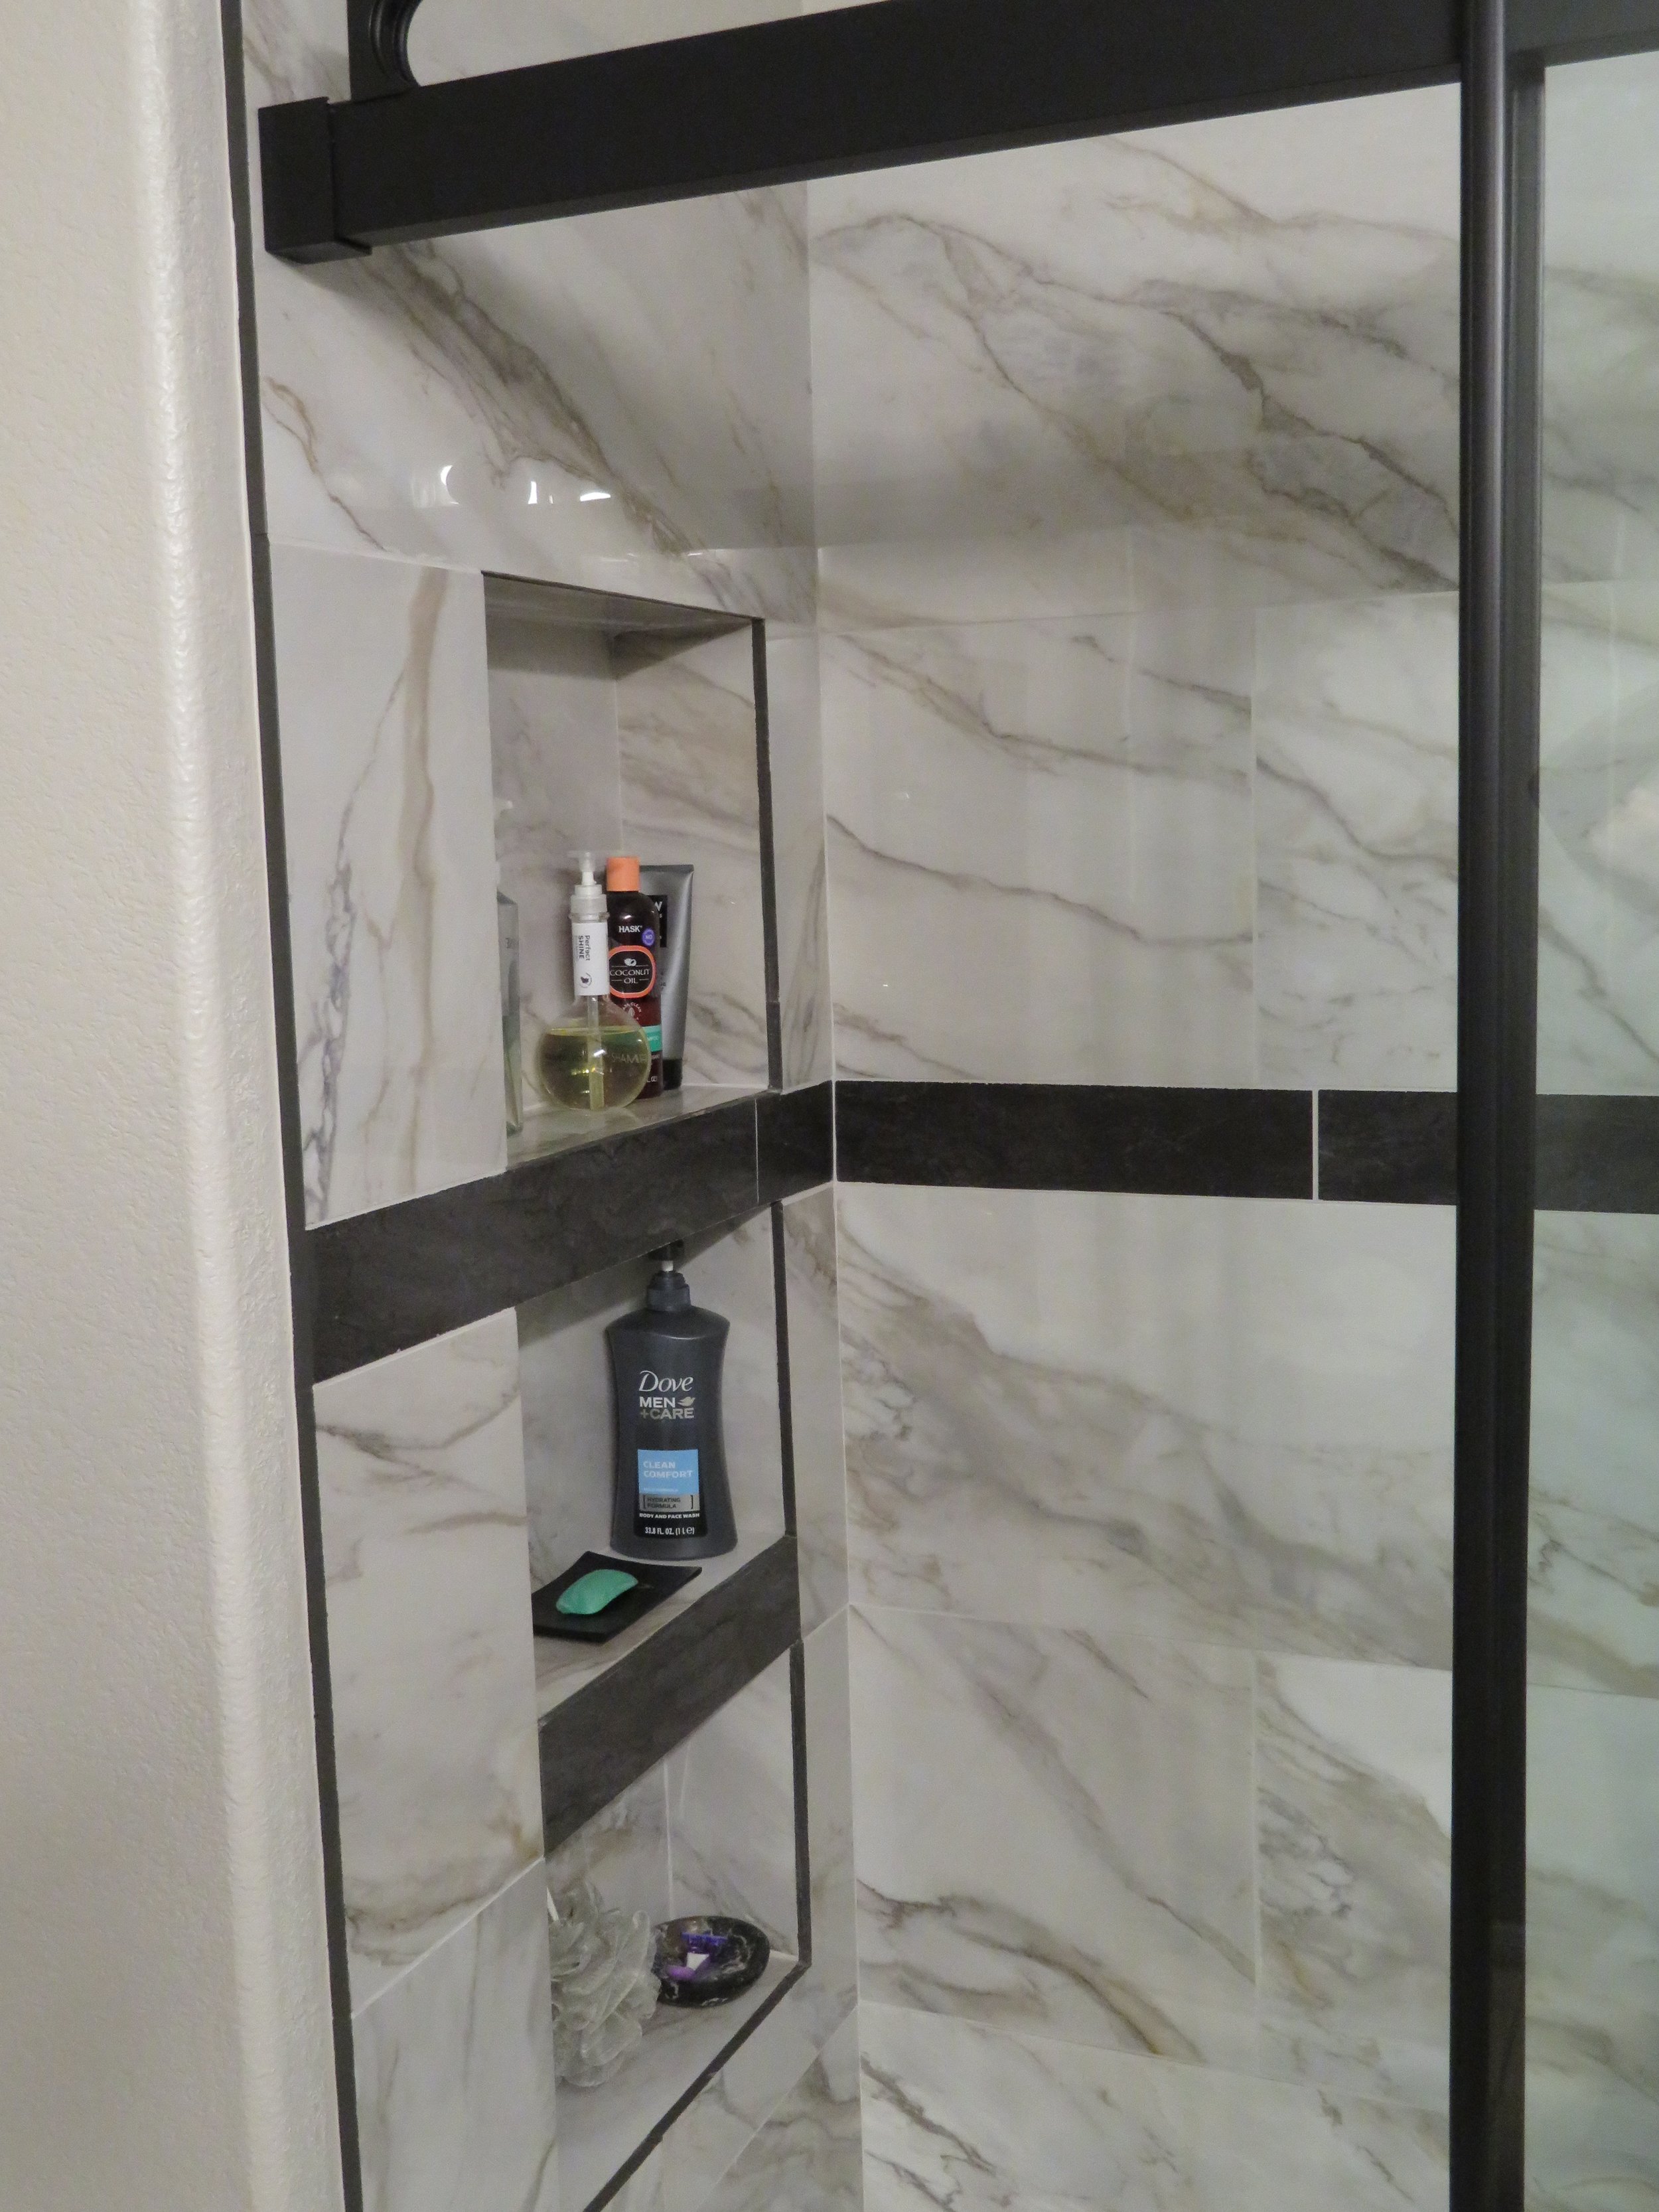
We chose a beautiful porcelain tile with a charcoal accent strip. After the necessary tile, adhesive and grout were purchased, we rented a big, expensive, tile saw, and got to work. It took us the better part of a day to do the tiling, including two hours to clean and return that $140/day saw, then another day to piece in the tiles for the built-in shelves. Once the tile had set, we grouted it, then caulked the entire perimeter of the tile. Finally, Marcie, painted the walls above and adjoining the tile. One more day was spent installing the new shower door, and the new shower was ready to use. Total time: 9 days.

Next we attacked the vanity and cabinets. We originally planned to buy a new vanity base and marble top, but our vanity was an odd width and would have to be custom ordered. Instead, we opted to paint it as well as the wall cabinets. We removed all the doors and hardware, cleaned all the surfaces that were to be painted, then masked the entire room. I have a low velocity, high volume type of spray painting gun that I’ve used to paint the cabinets and walls in both our van upfits, and it works great for repainting cabinets. I applied two coats of cabinet paint followed by two coats of a clear polyurethane top coat. Once the paint cured enough to handle, everything was reassembled.
Like the vanity cabinet, the vanity top was also an odd size. Rather than ordering a custom top, we bought a wider marble vanity top, with a plan to cut it to size. For this job, we purchased a small, handheld, wet tile saw for $80. This part of the project made me the most nervous. I needed to cut three inches off both sides of the new marble in order to center the sink in the middle of the vanity. I’d never tried to cut 1-1/2” marble before, and if I chipped, gouged, scratched or otherwise screwed-up either cut, we’d either see my mistake for the next couple of decades or I’d have to shell out several hundred dollars more for a new top. I made a couple of practice cuts on what would be the scrap ends, and all went well. Using a straight edge to guide the saw, I carefully made the first cut and, whew, it turned out just fine… as did the second cut. I smoothed and polished the edges, and rounded the corners, using flapper sanding pads attached to my angle grinder.
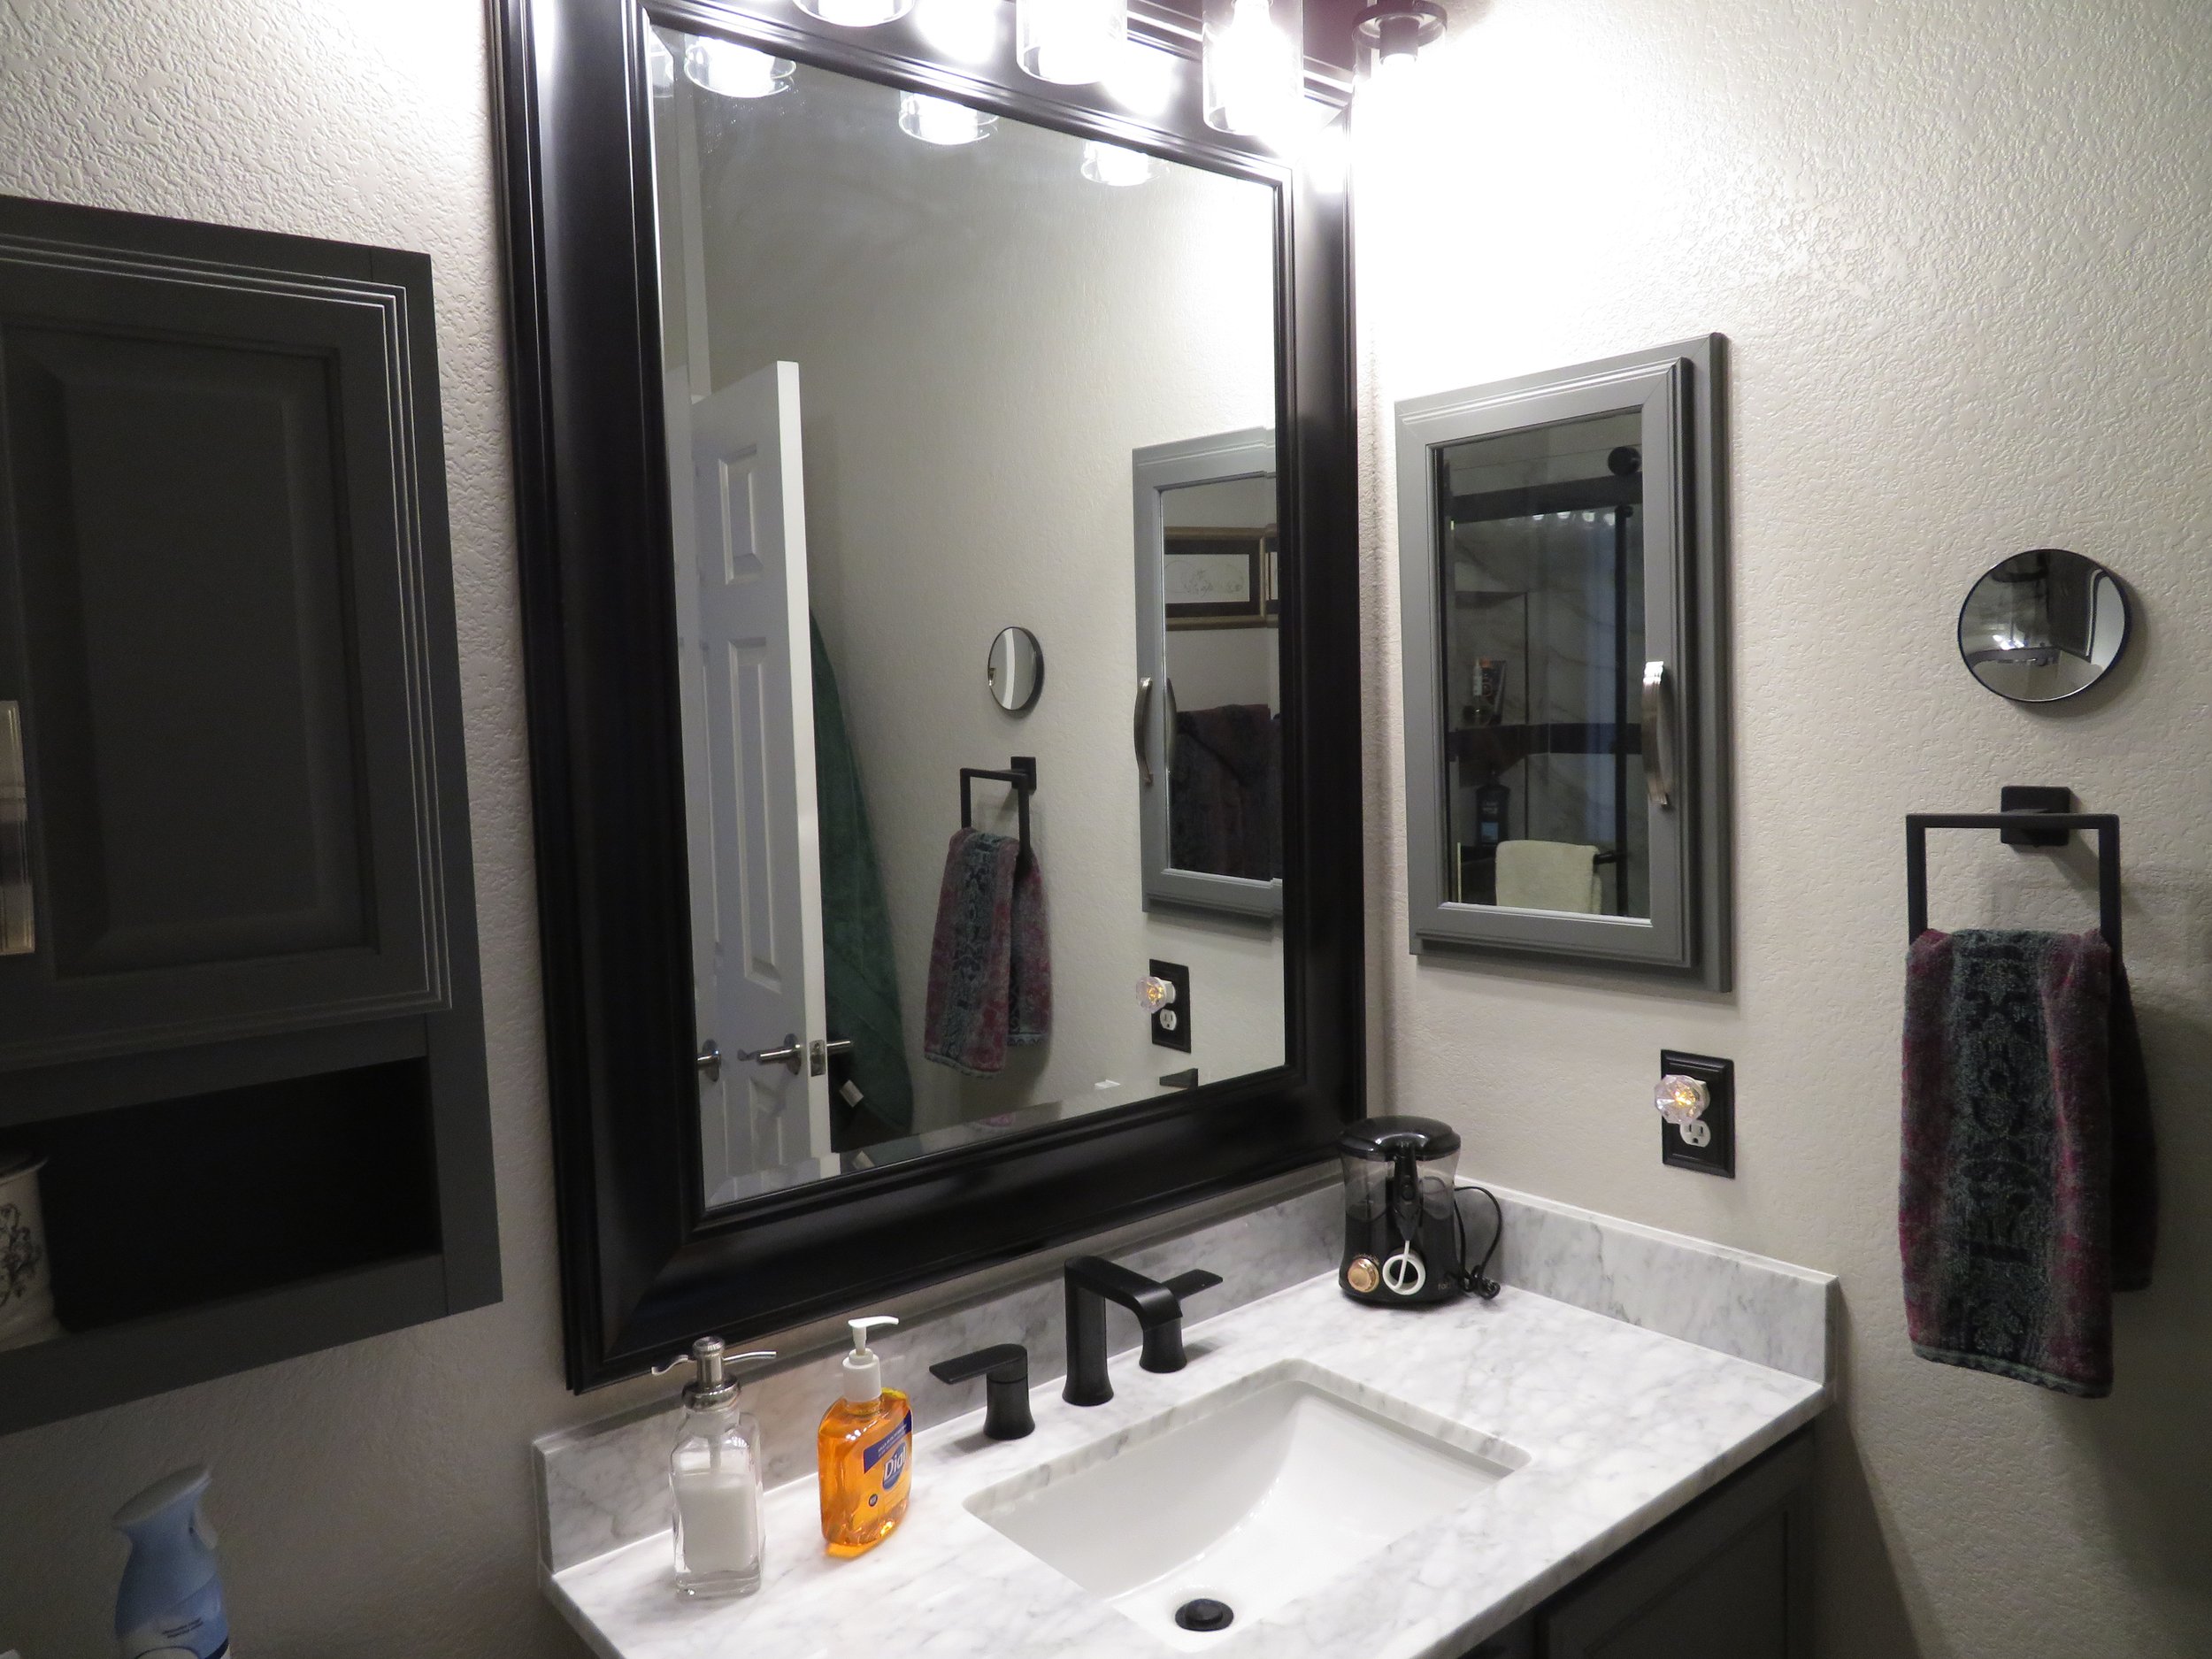
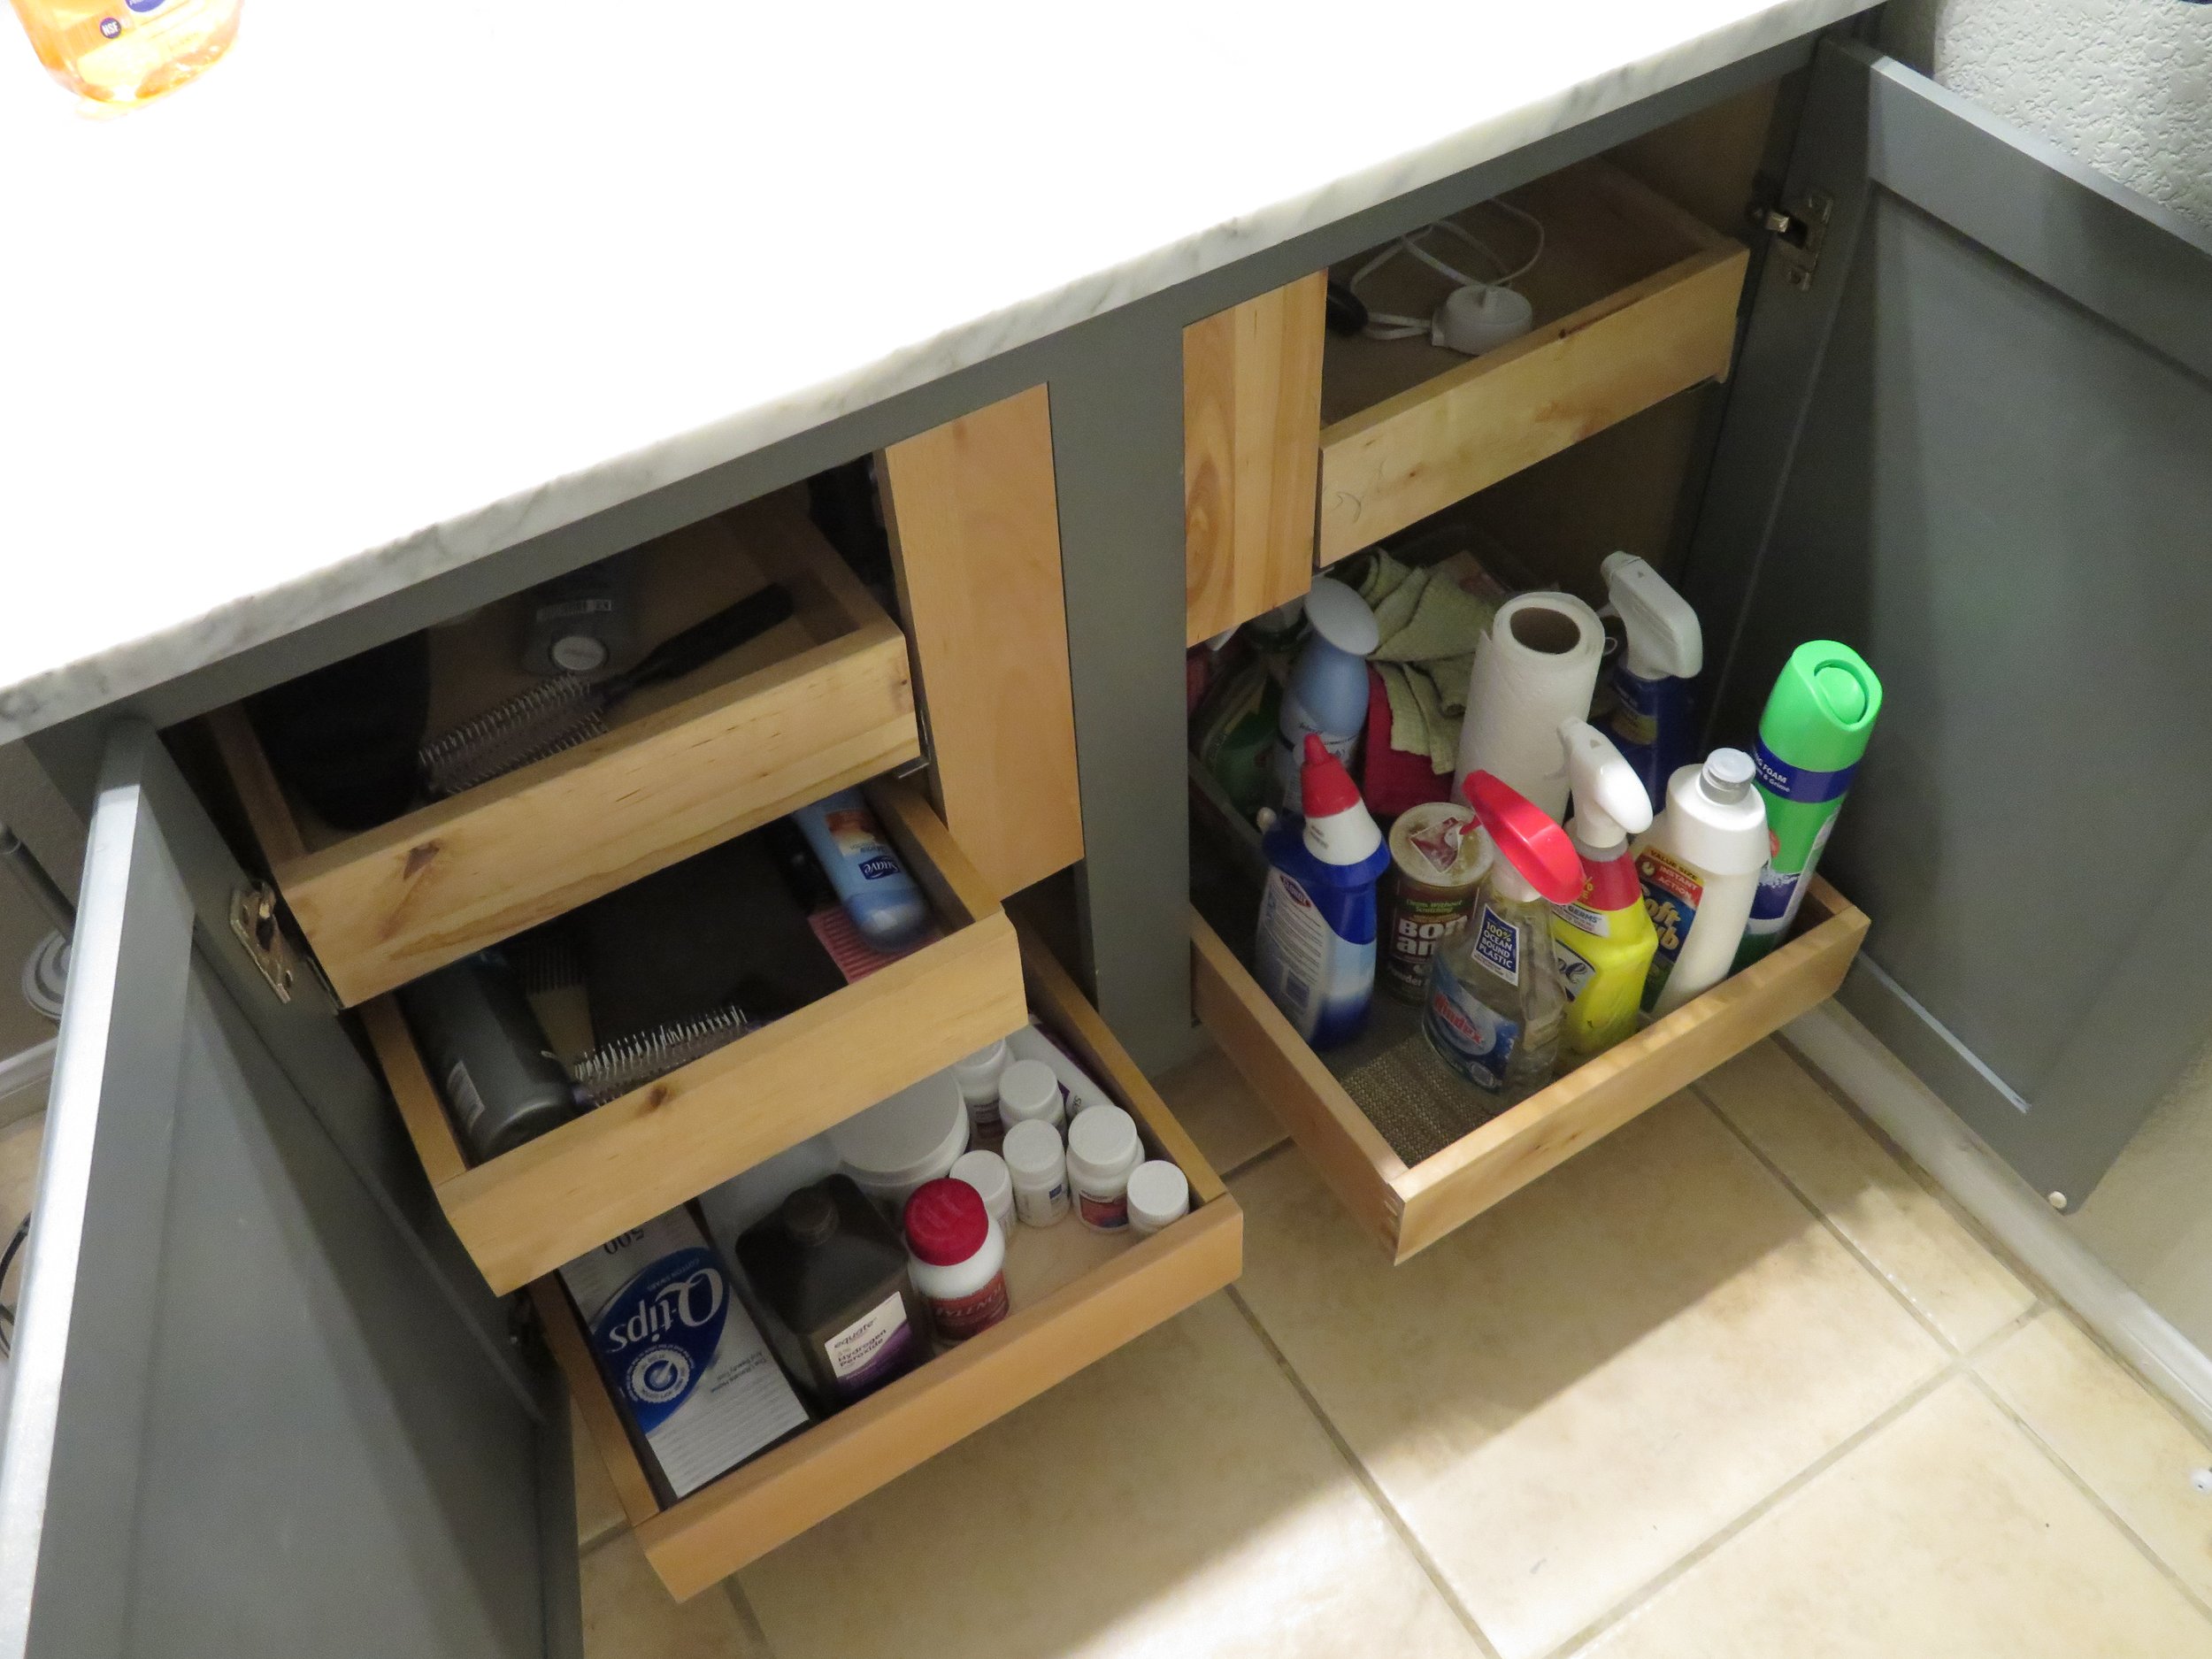
The vanity top, with new back and side splashes were all bonded into place and caulked. Then I installed the faucet, drain and hoses. The old mirror was replaced with a nice black-framed, beveled mirror, and the light fixture was updated. Lastly, we built drawers inside the vanity to make it more organized. A new coat of paint on the walls and doors and all done! Total time: 10 days for the vanity half of the project.

Total time for the entire project: 19 days, quite a bit more than my original estimate of 10-12 days. Marcie usually takes my project estimates and doubles them, and she’s usually closer to the actual time than I am, and this project was no exception. In the old working days, I’d make up the time overruns by working longer hours; I can’t do that now… it would cut too much into my nap time.
Next week I’ll talk about Blanche’s latest updates. Stay tuned…