Another Project - Reupholstering Our Kitchen Chairs
/One of the many side projects I’ve been working on when we haven’t been demolishing tile floors or laying new wood laminate planks, is reupholstering the kitchen chairs. I bought these chairs used when we first moved into our house seven years ago. The upholstered seats were in pretty good condition then, but after so many years of use (and abuse), they were definitely pretty beat.
I briefly looked into having them professionally reupholstered. I say briefly because when I checked the price for reupholstering a single-cushioned slip seat chair locally, the cost was $150+ on average. We have six kitchen chairs and I had entertained the idea of reupholstering the dining room chairs, too. A dozen chairs at $150… maybe I’d try it myself. I checked out several YouTube DIYs and found one in particular that I liked.
There are hundreds of YouTubes on reupholstering, so I won’t bore you with too many details. This was my favorite YouTube… concise, accurate, detailed, and easy enough for a novice to follow.
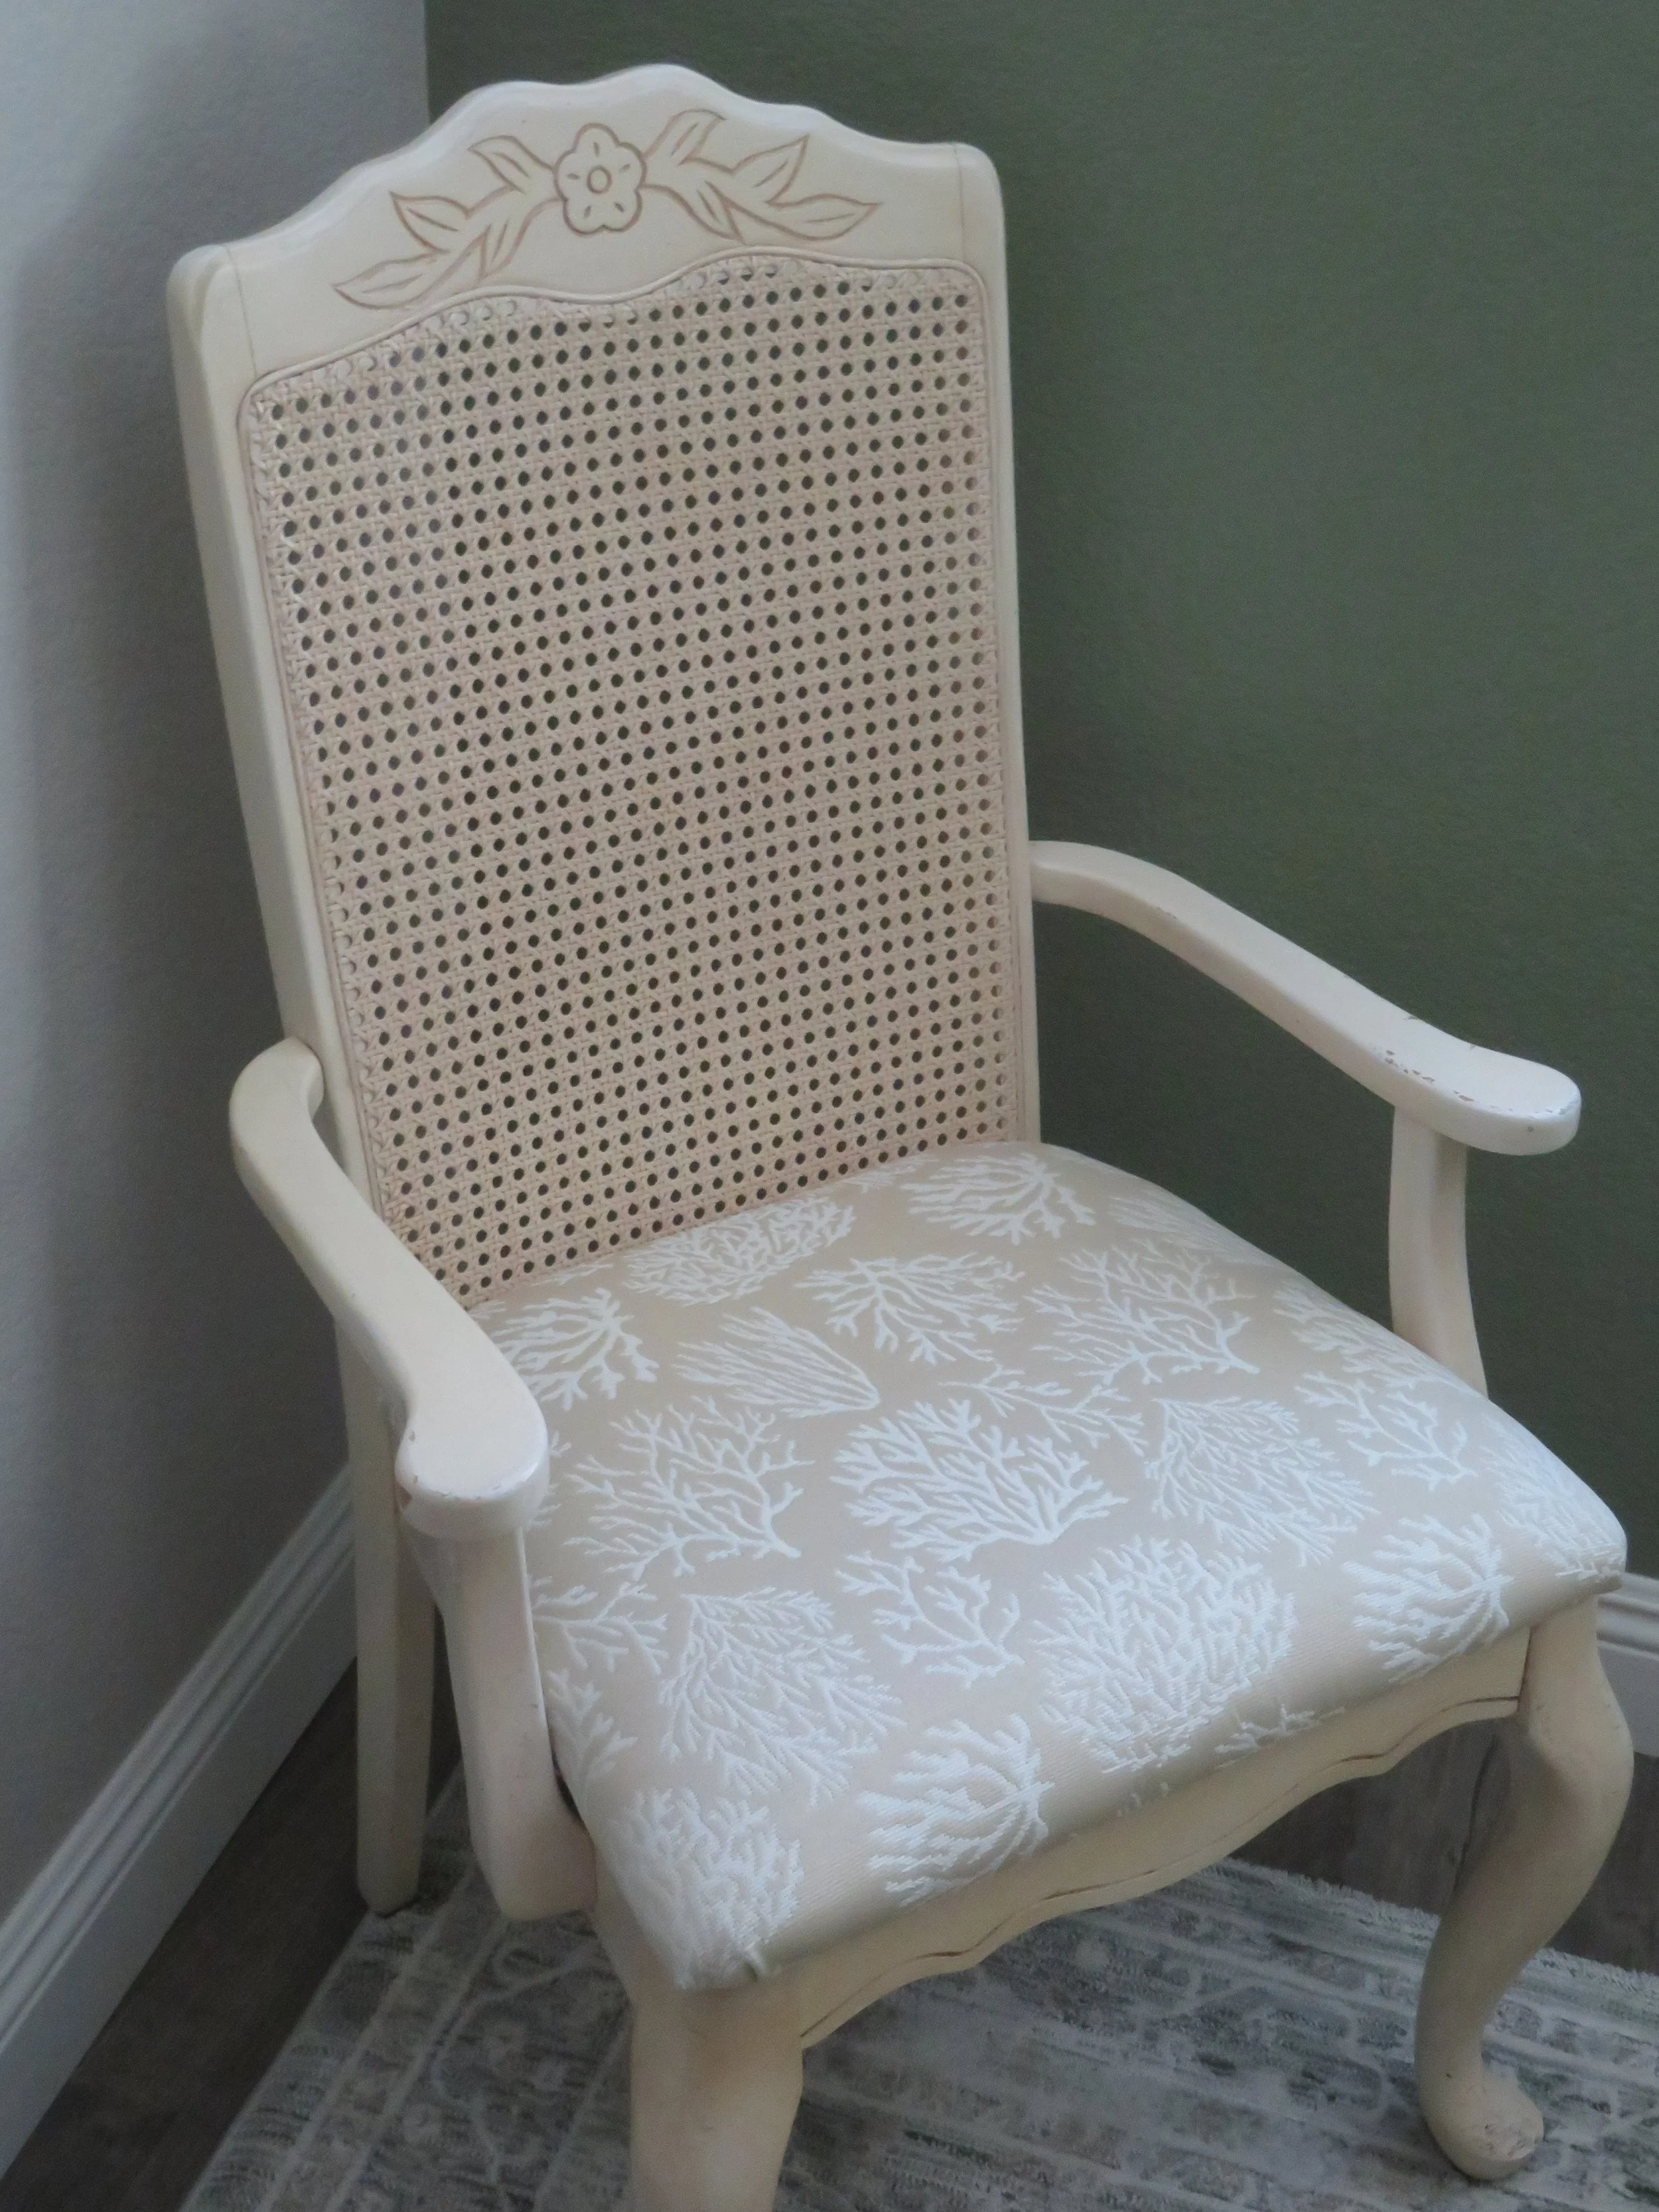
As disappointed as I was when Jo-Ann fabric stores closed, I was able to snag eight yards of a beautiful ivory-colored, $45/yd upholstery fabric for under $100 just before our local store closed. Though I had to buy the rest of the bolt, more than I needed, it was still quite the bargain. I liked the fabric pattern, a branching coral design reminiscent of our time at sea. There would be plenty for future reupholstering of the dining room chairs as well as future upholstery jobs when these chair seats began to show wear. A trip to Savers netted me a pair of similarly colored lightweight tightly-woven curtains that I planned to use as a cambric dust cover.
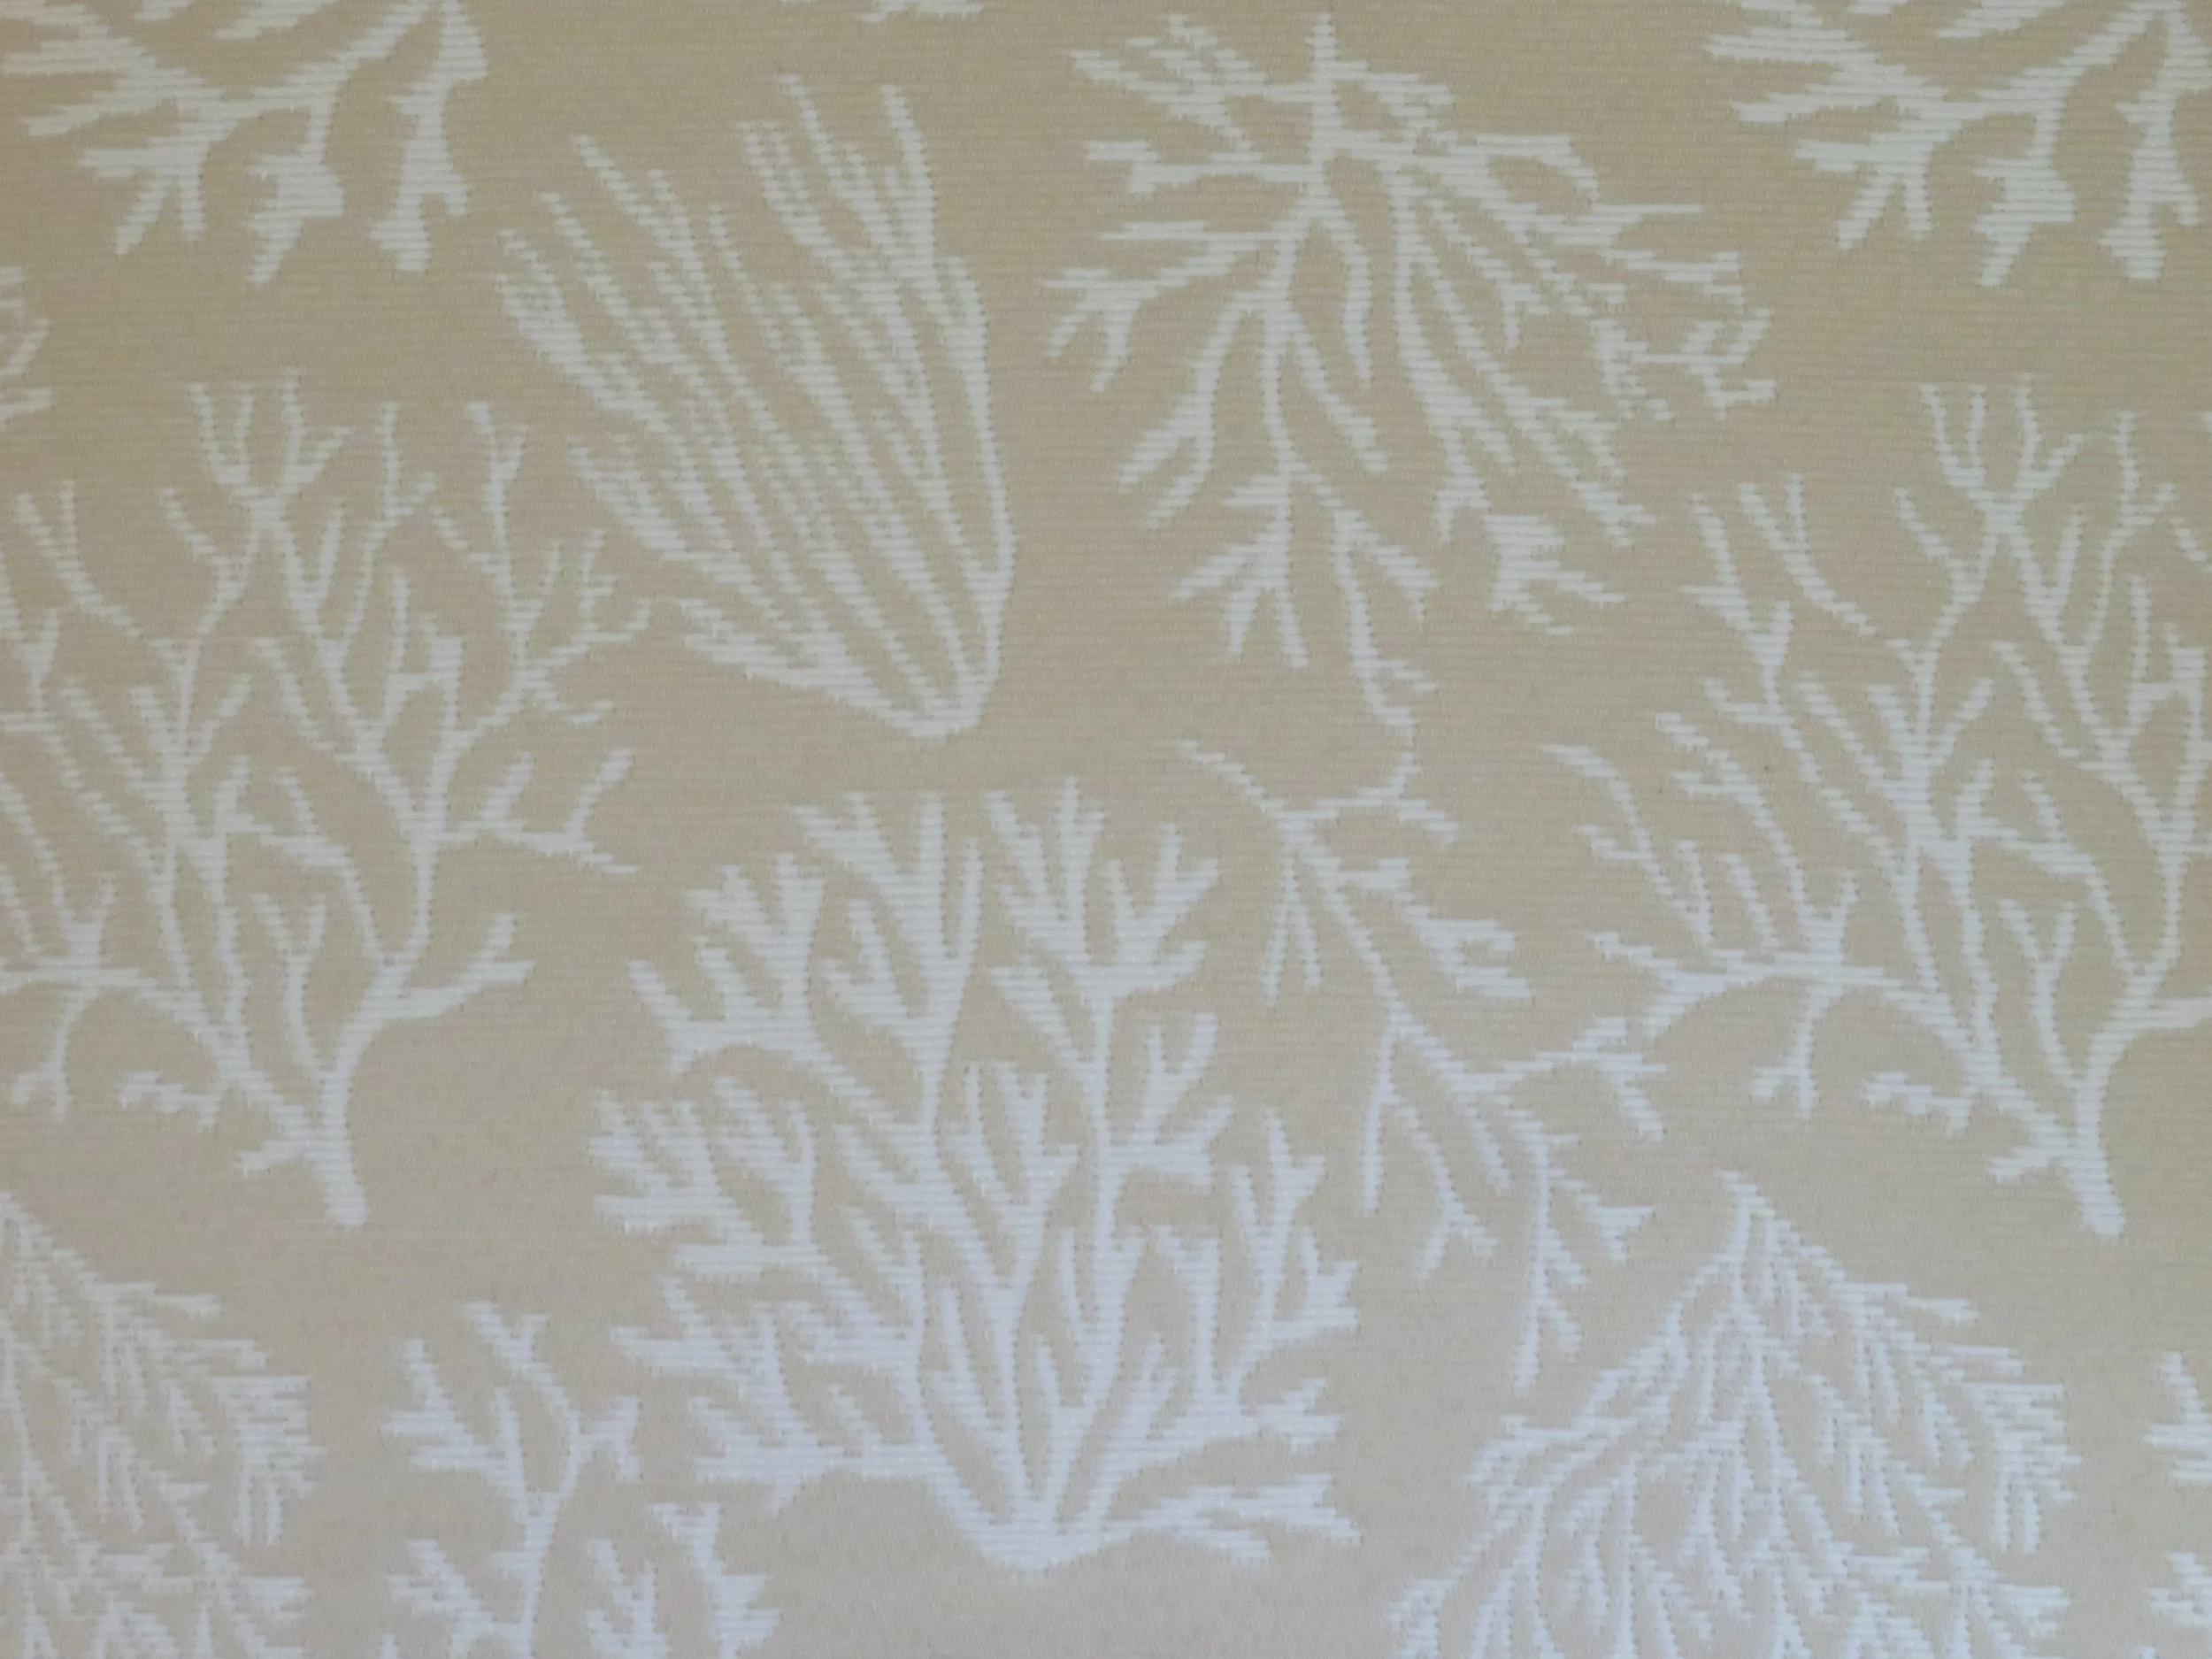
A branching coral pattern was reminiscent of our time at sea.
Cambric? Yup, it’s a new term for me, too. It’s a lightweight fabric used to conceal the chair's inner workings (which are usually untidy) and prevent dust and debris from accumulating beneath. With a command of such terminology I felt secure in proceeding. How could I go wrong?
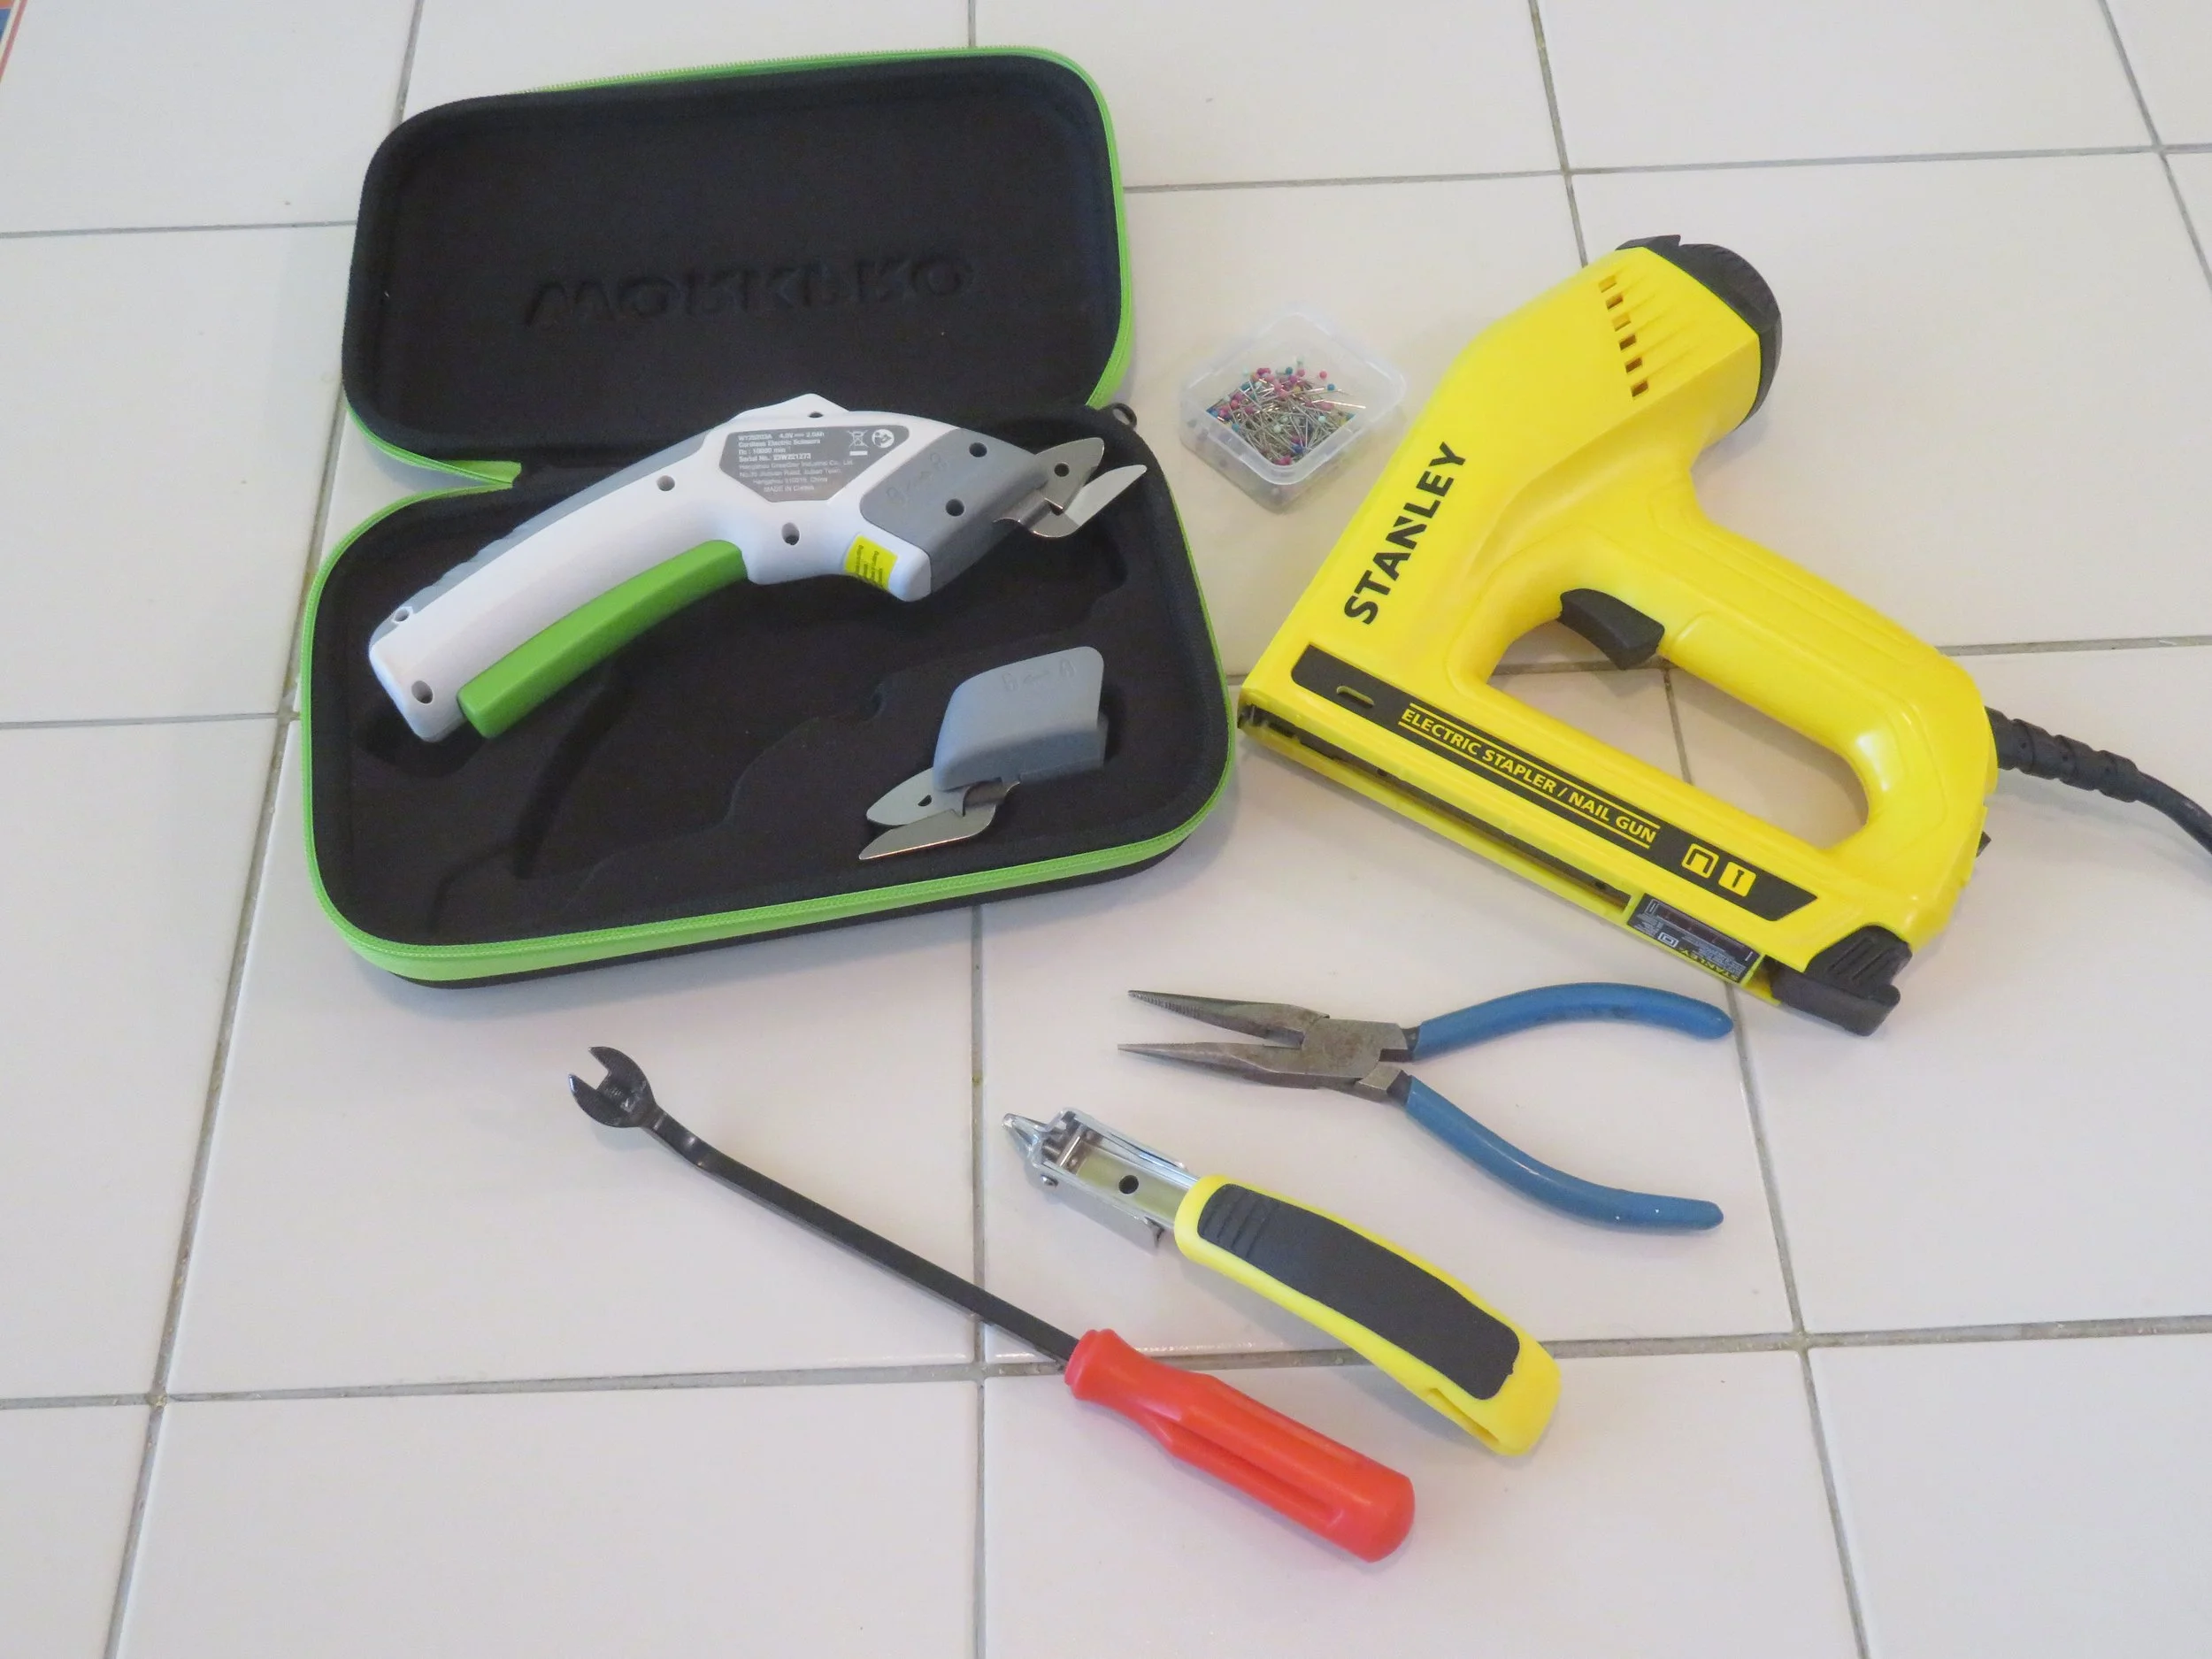
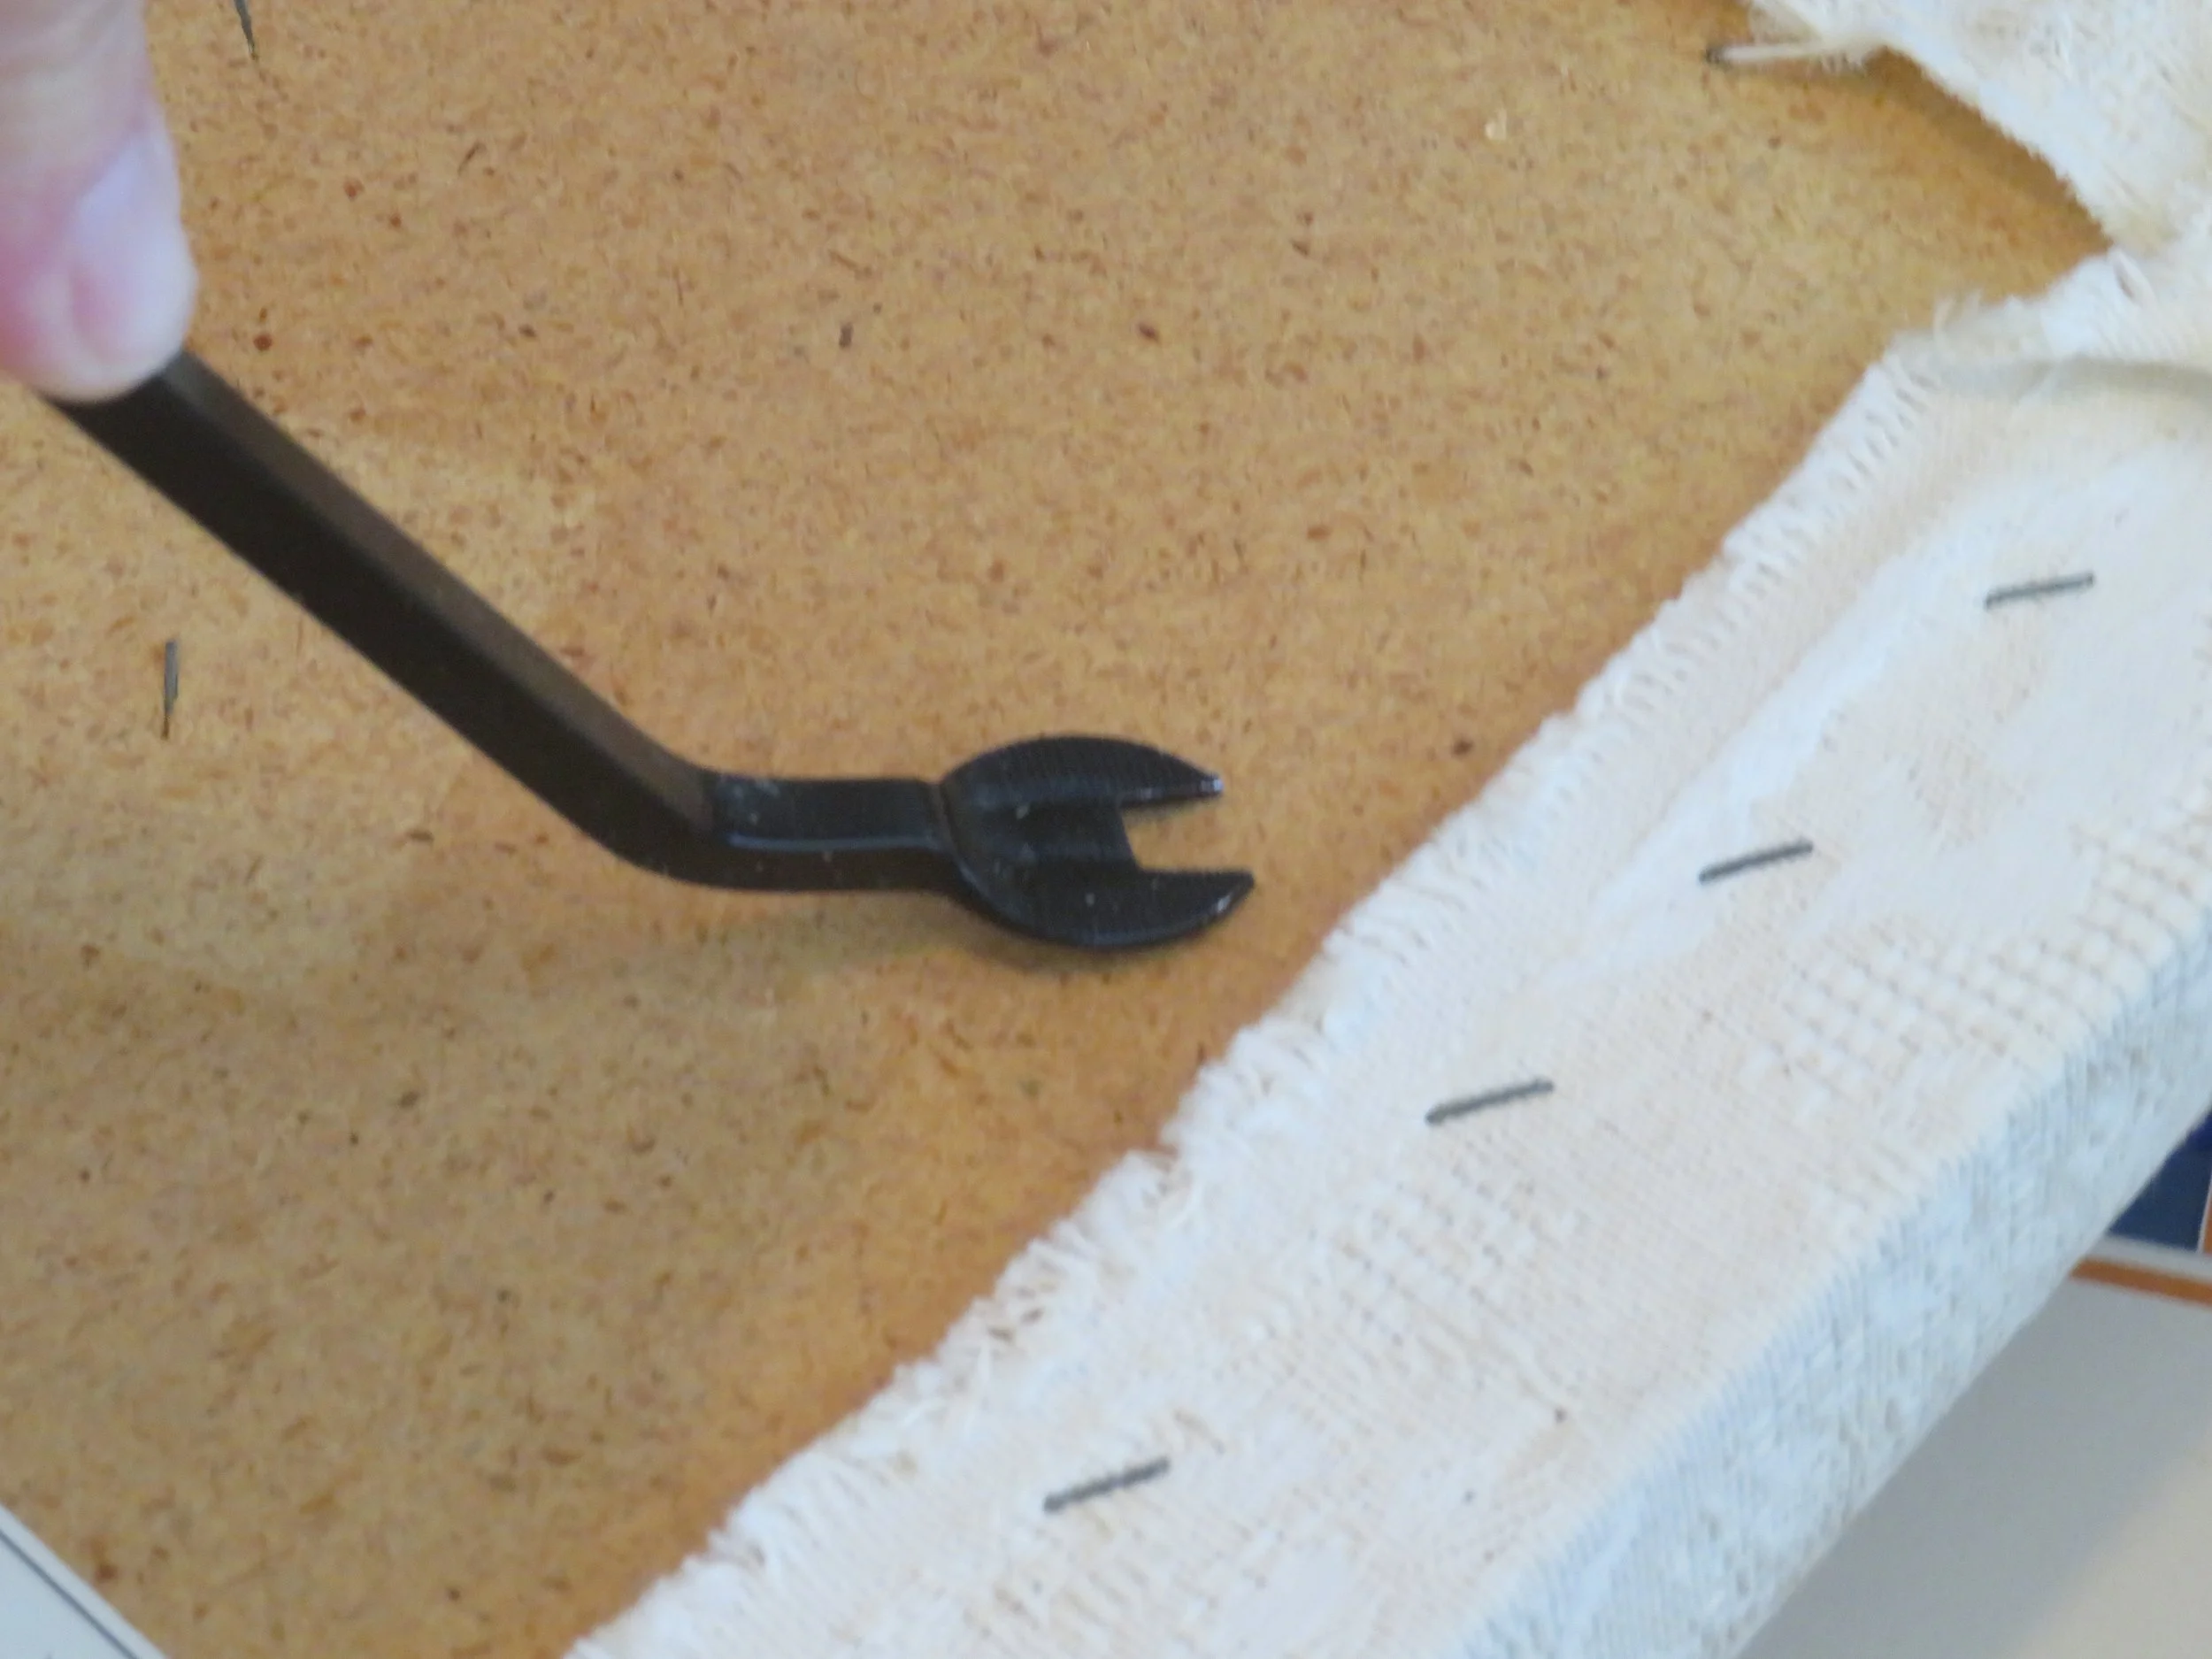
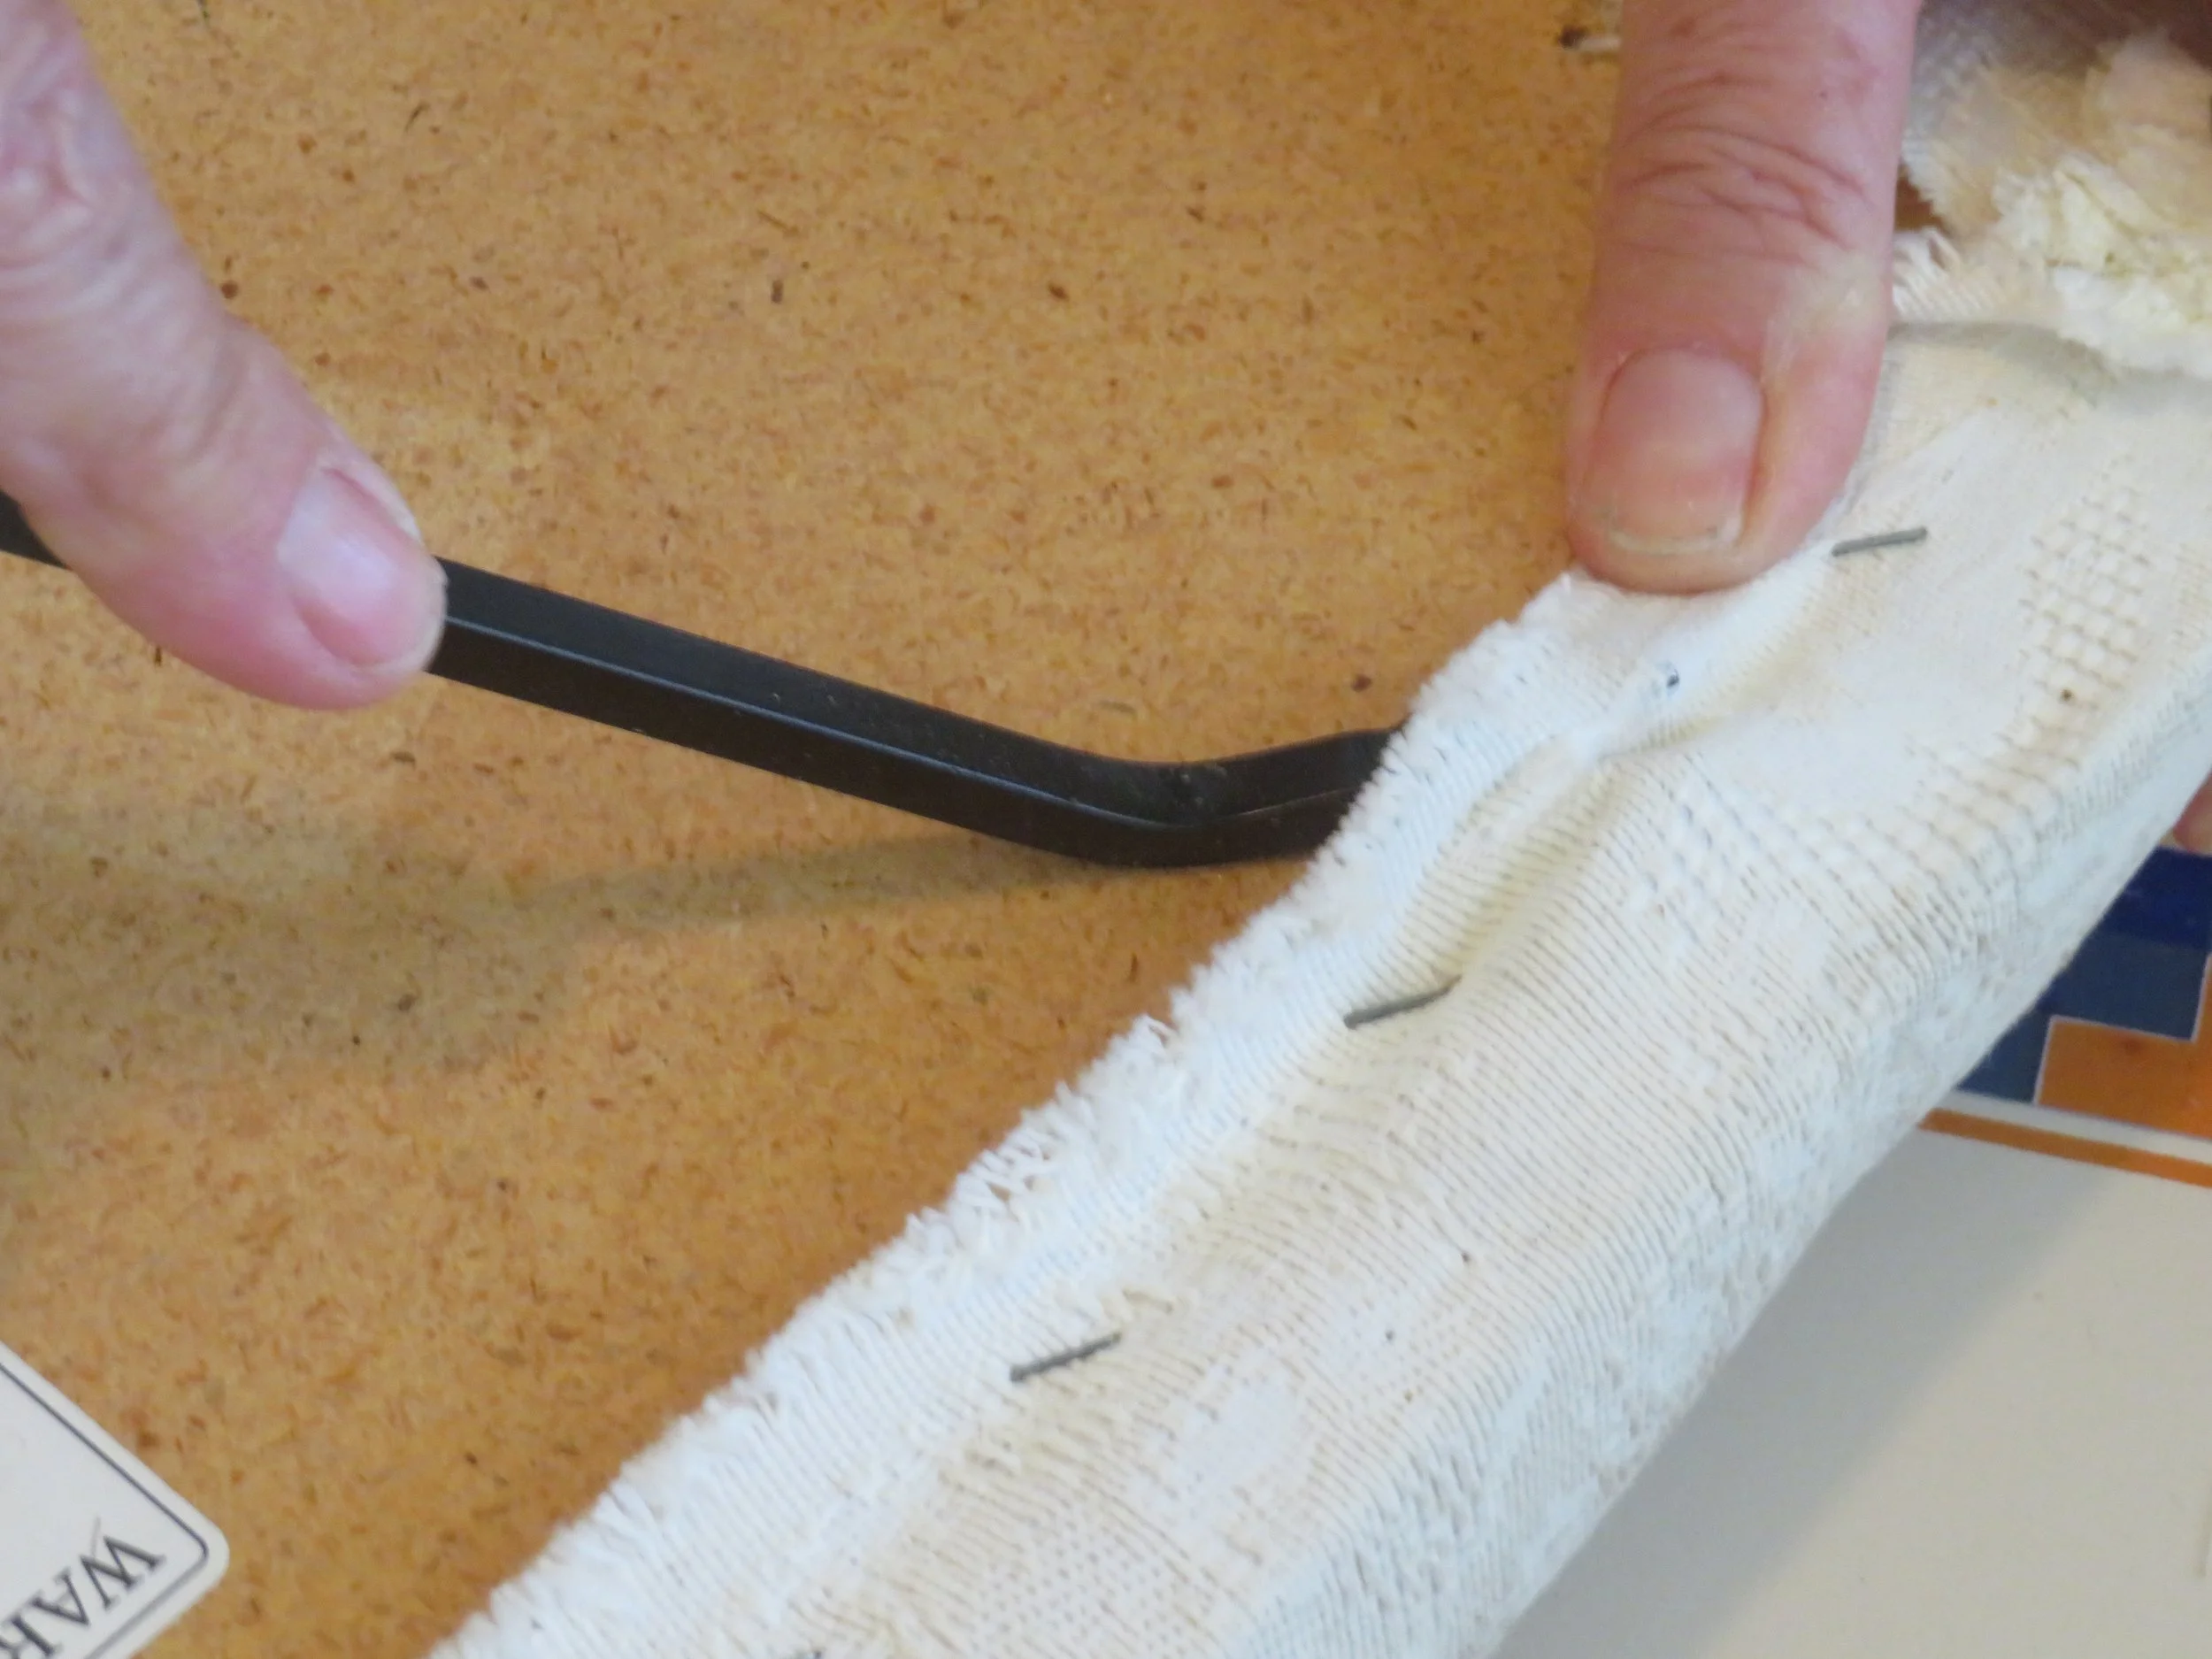
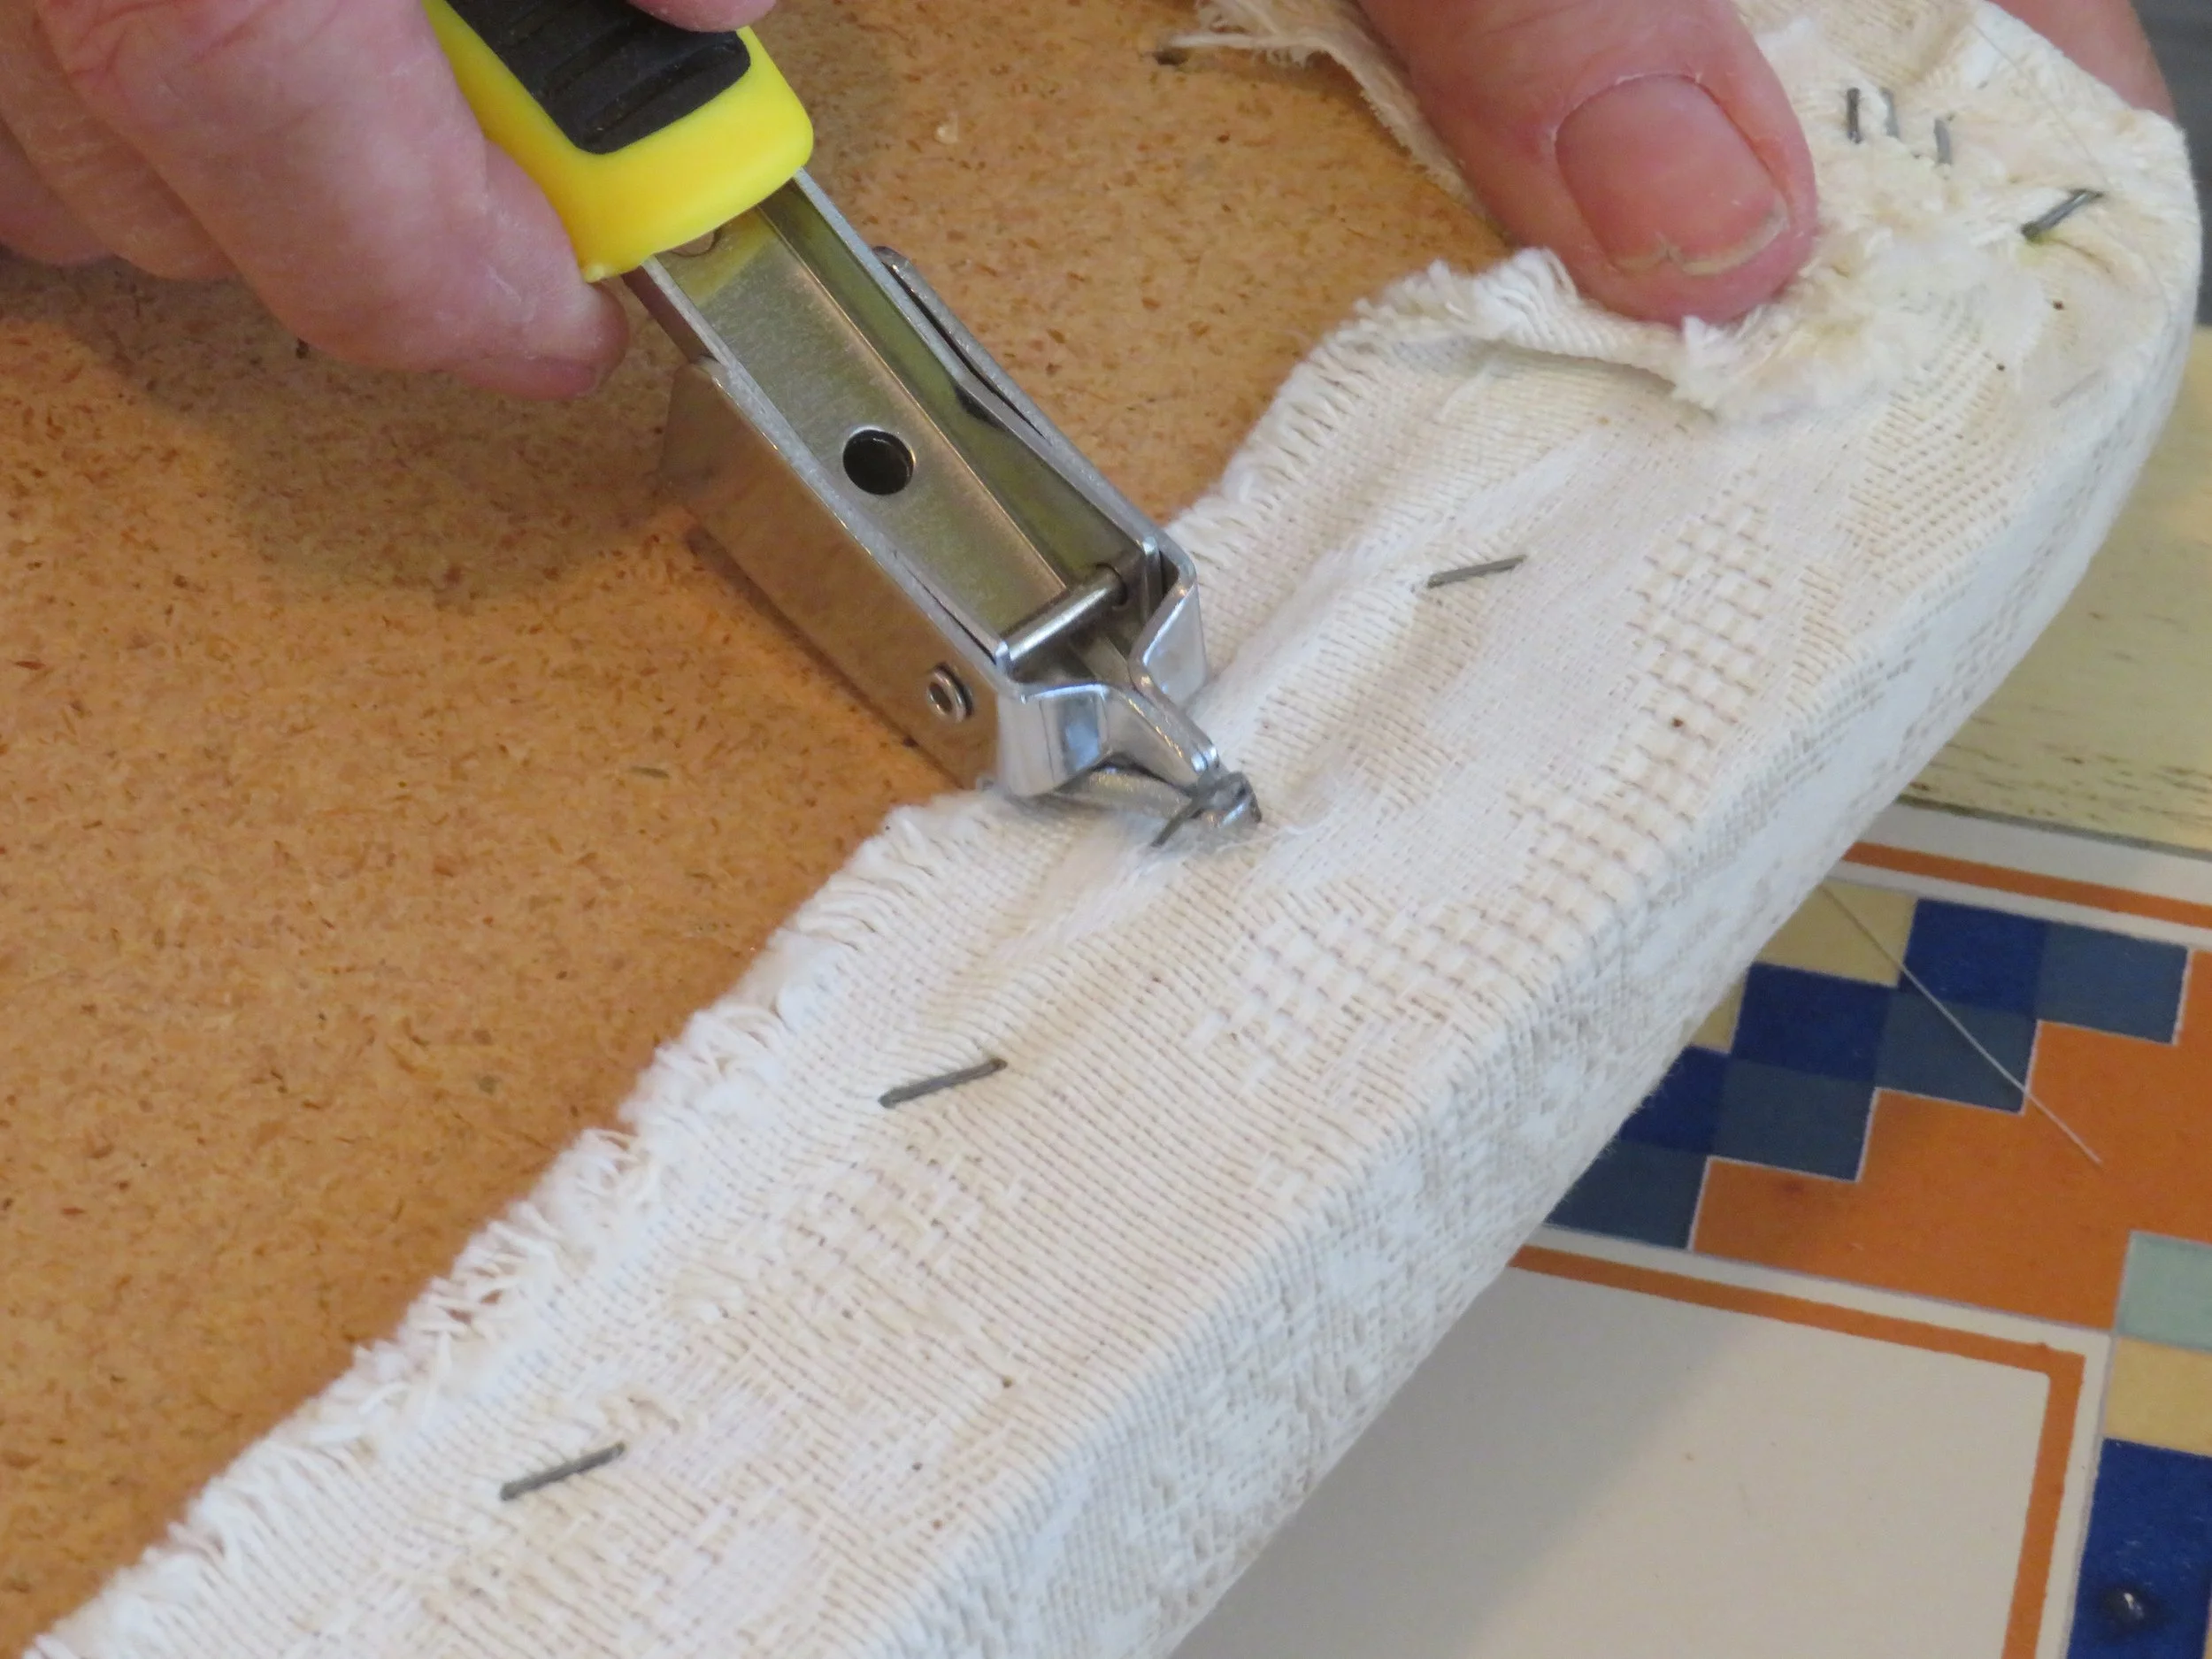
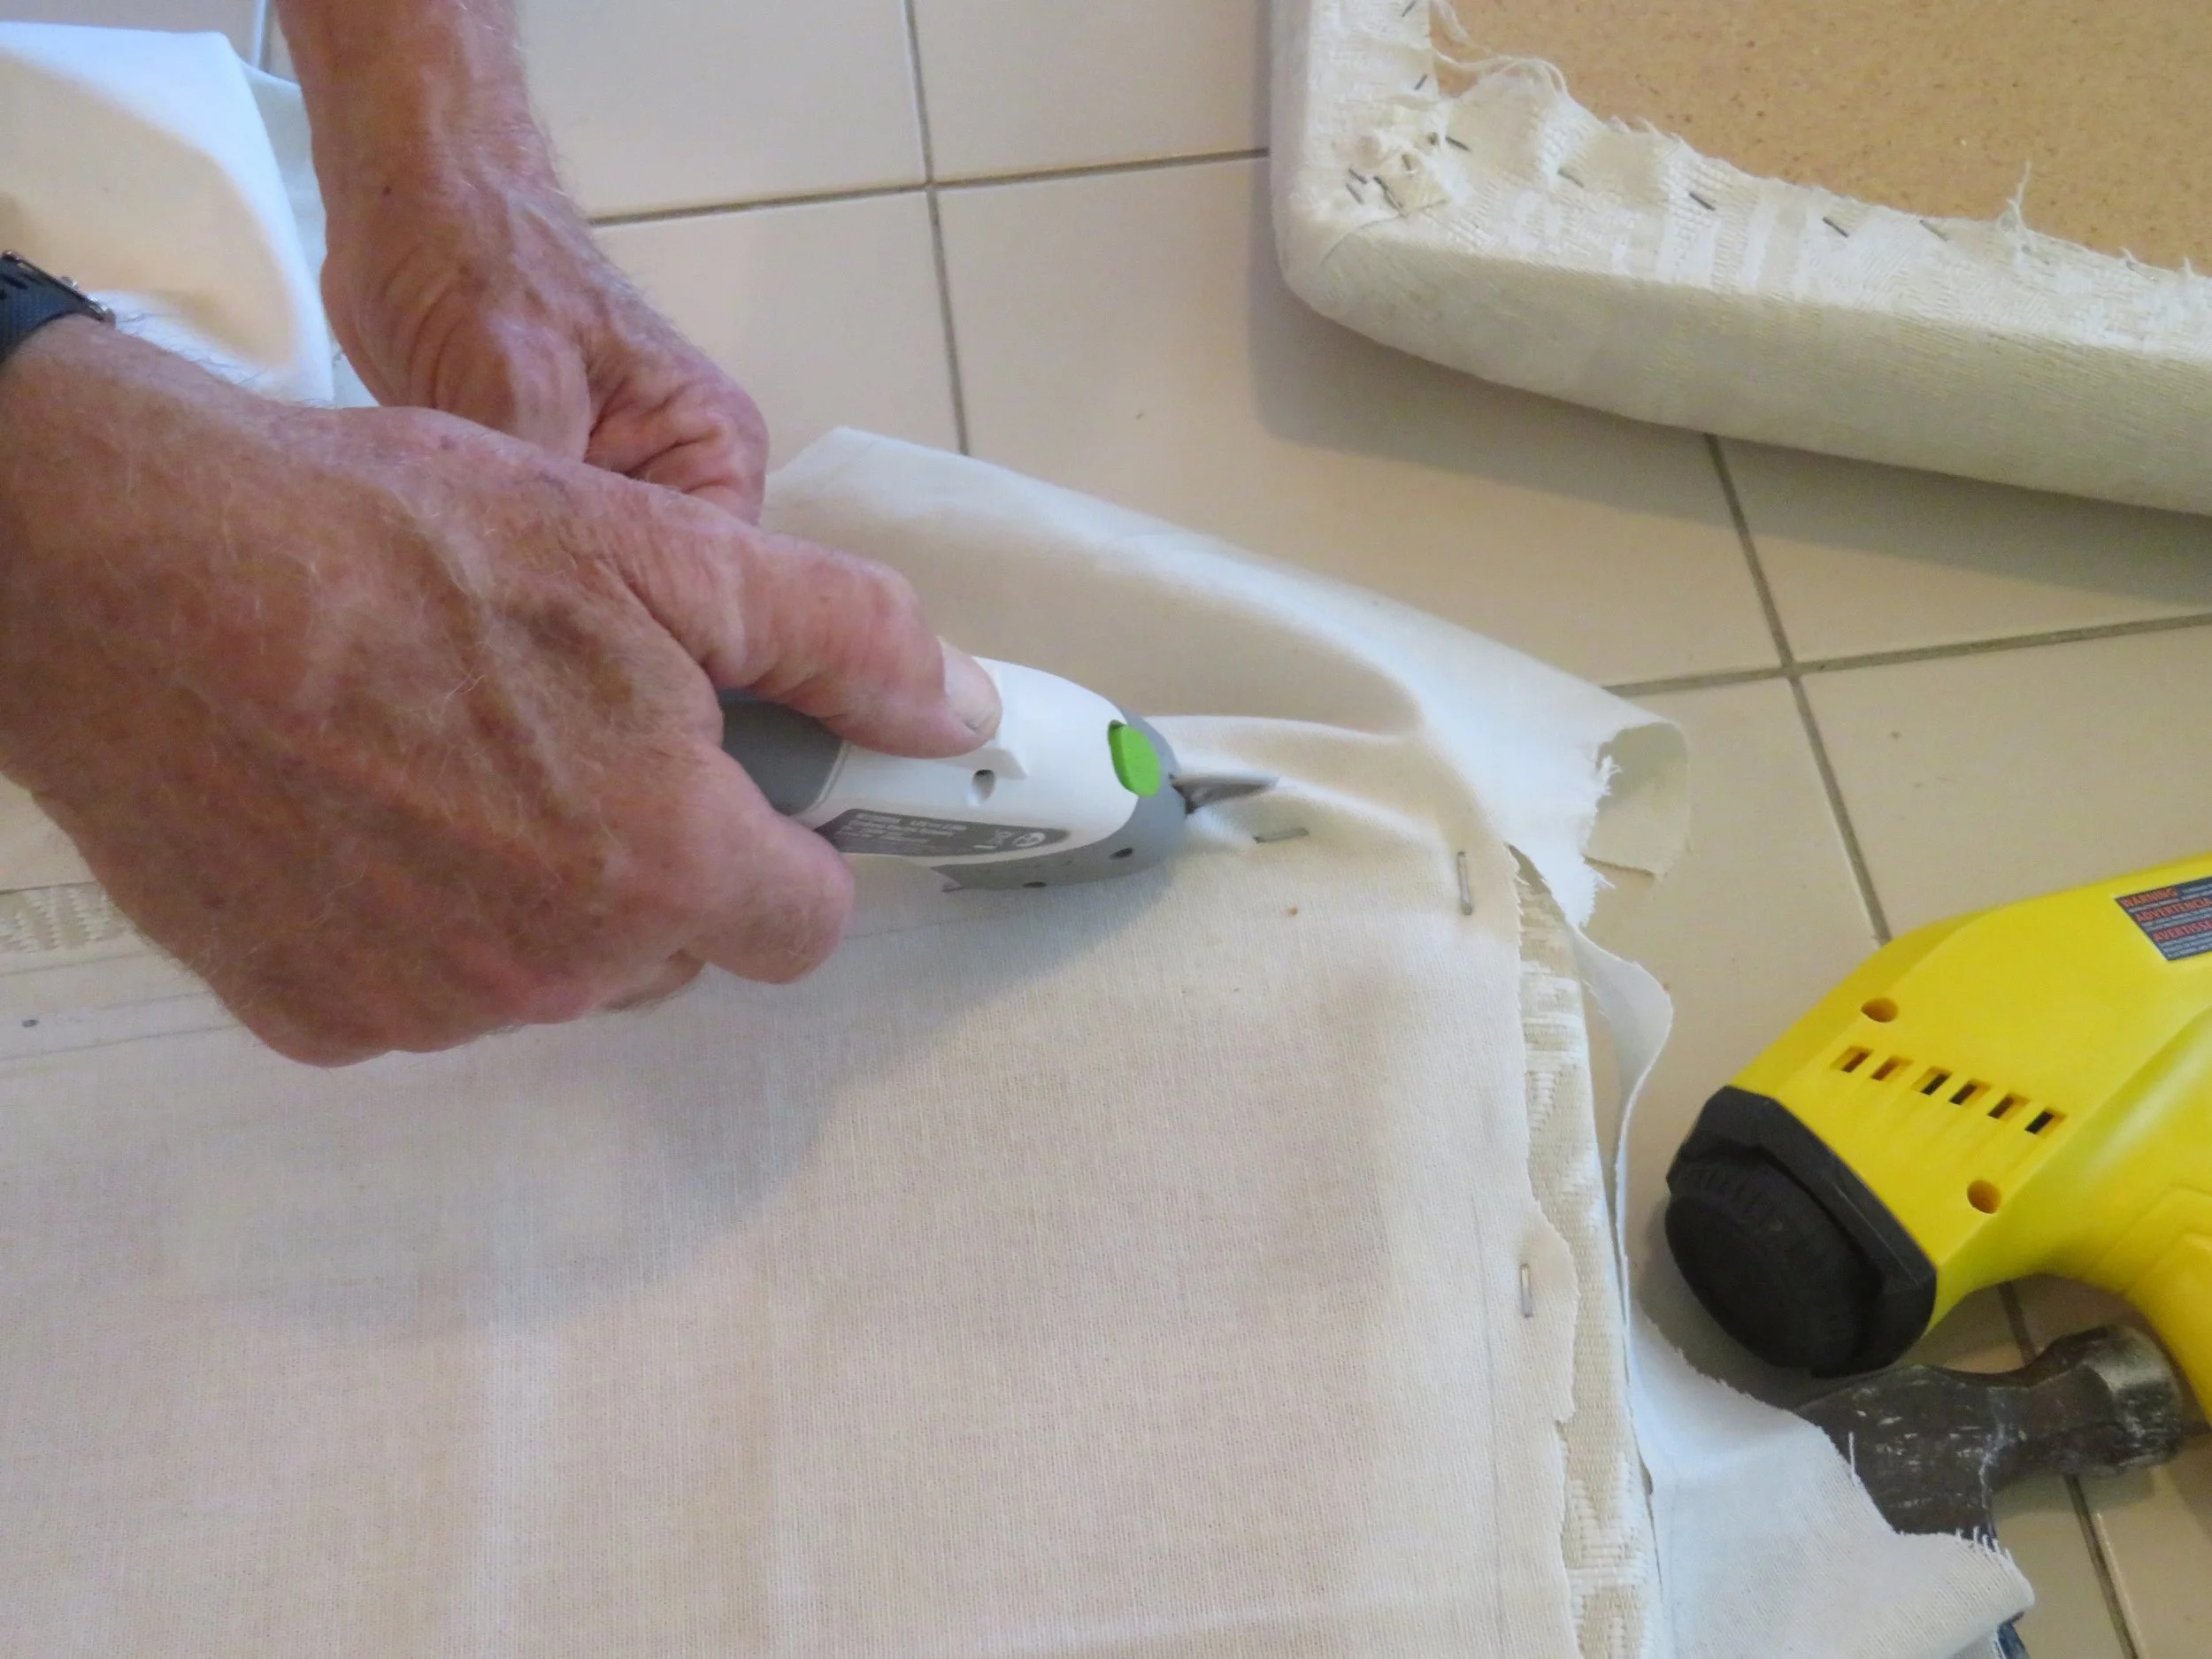
Now that I had the fabric, the inclination, and a good YouTube DIY, I gathered together all the tools I needed… heavy duty upholstery staple removers, needle-nosed pliers, electric stapler and staples, electric scissors plus basic tools like a screwdrivers to remove the seat screws from the chairs and as a prying tool. All tools are inexpensive and easy to find at Walmart and Amazon among other places.
I figured out how to remove the seats pretty easily… unscrew four screws from the bottom of the chair and the slip seat came loose. Beyond all the crumbs and other detritus accumulated through the years between the seat and the chair back, I found a dime and a penny… an 11¢ bonus.

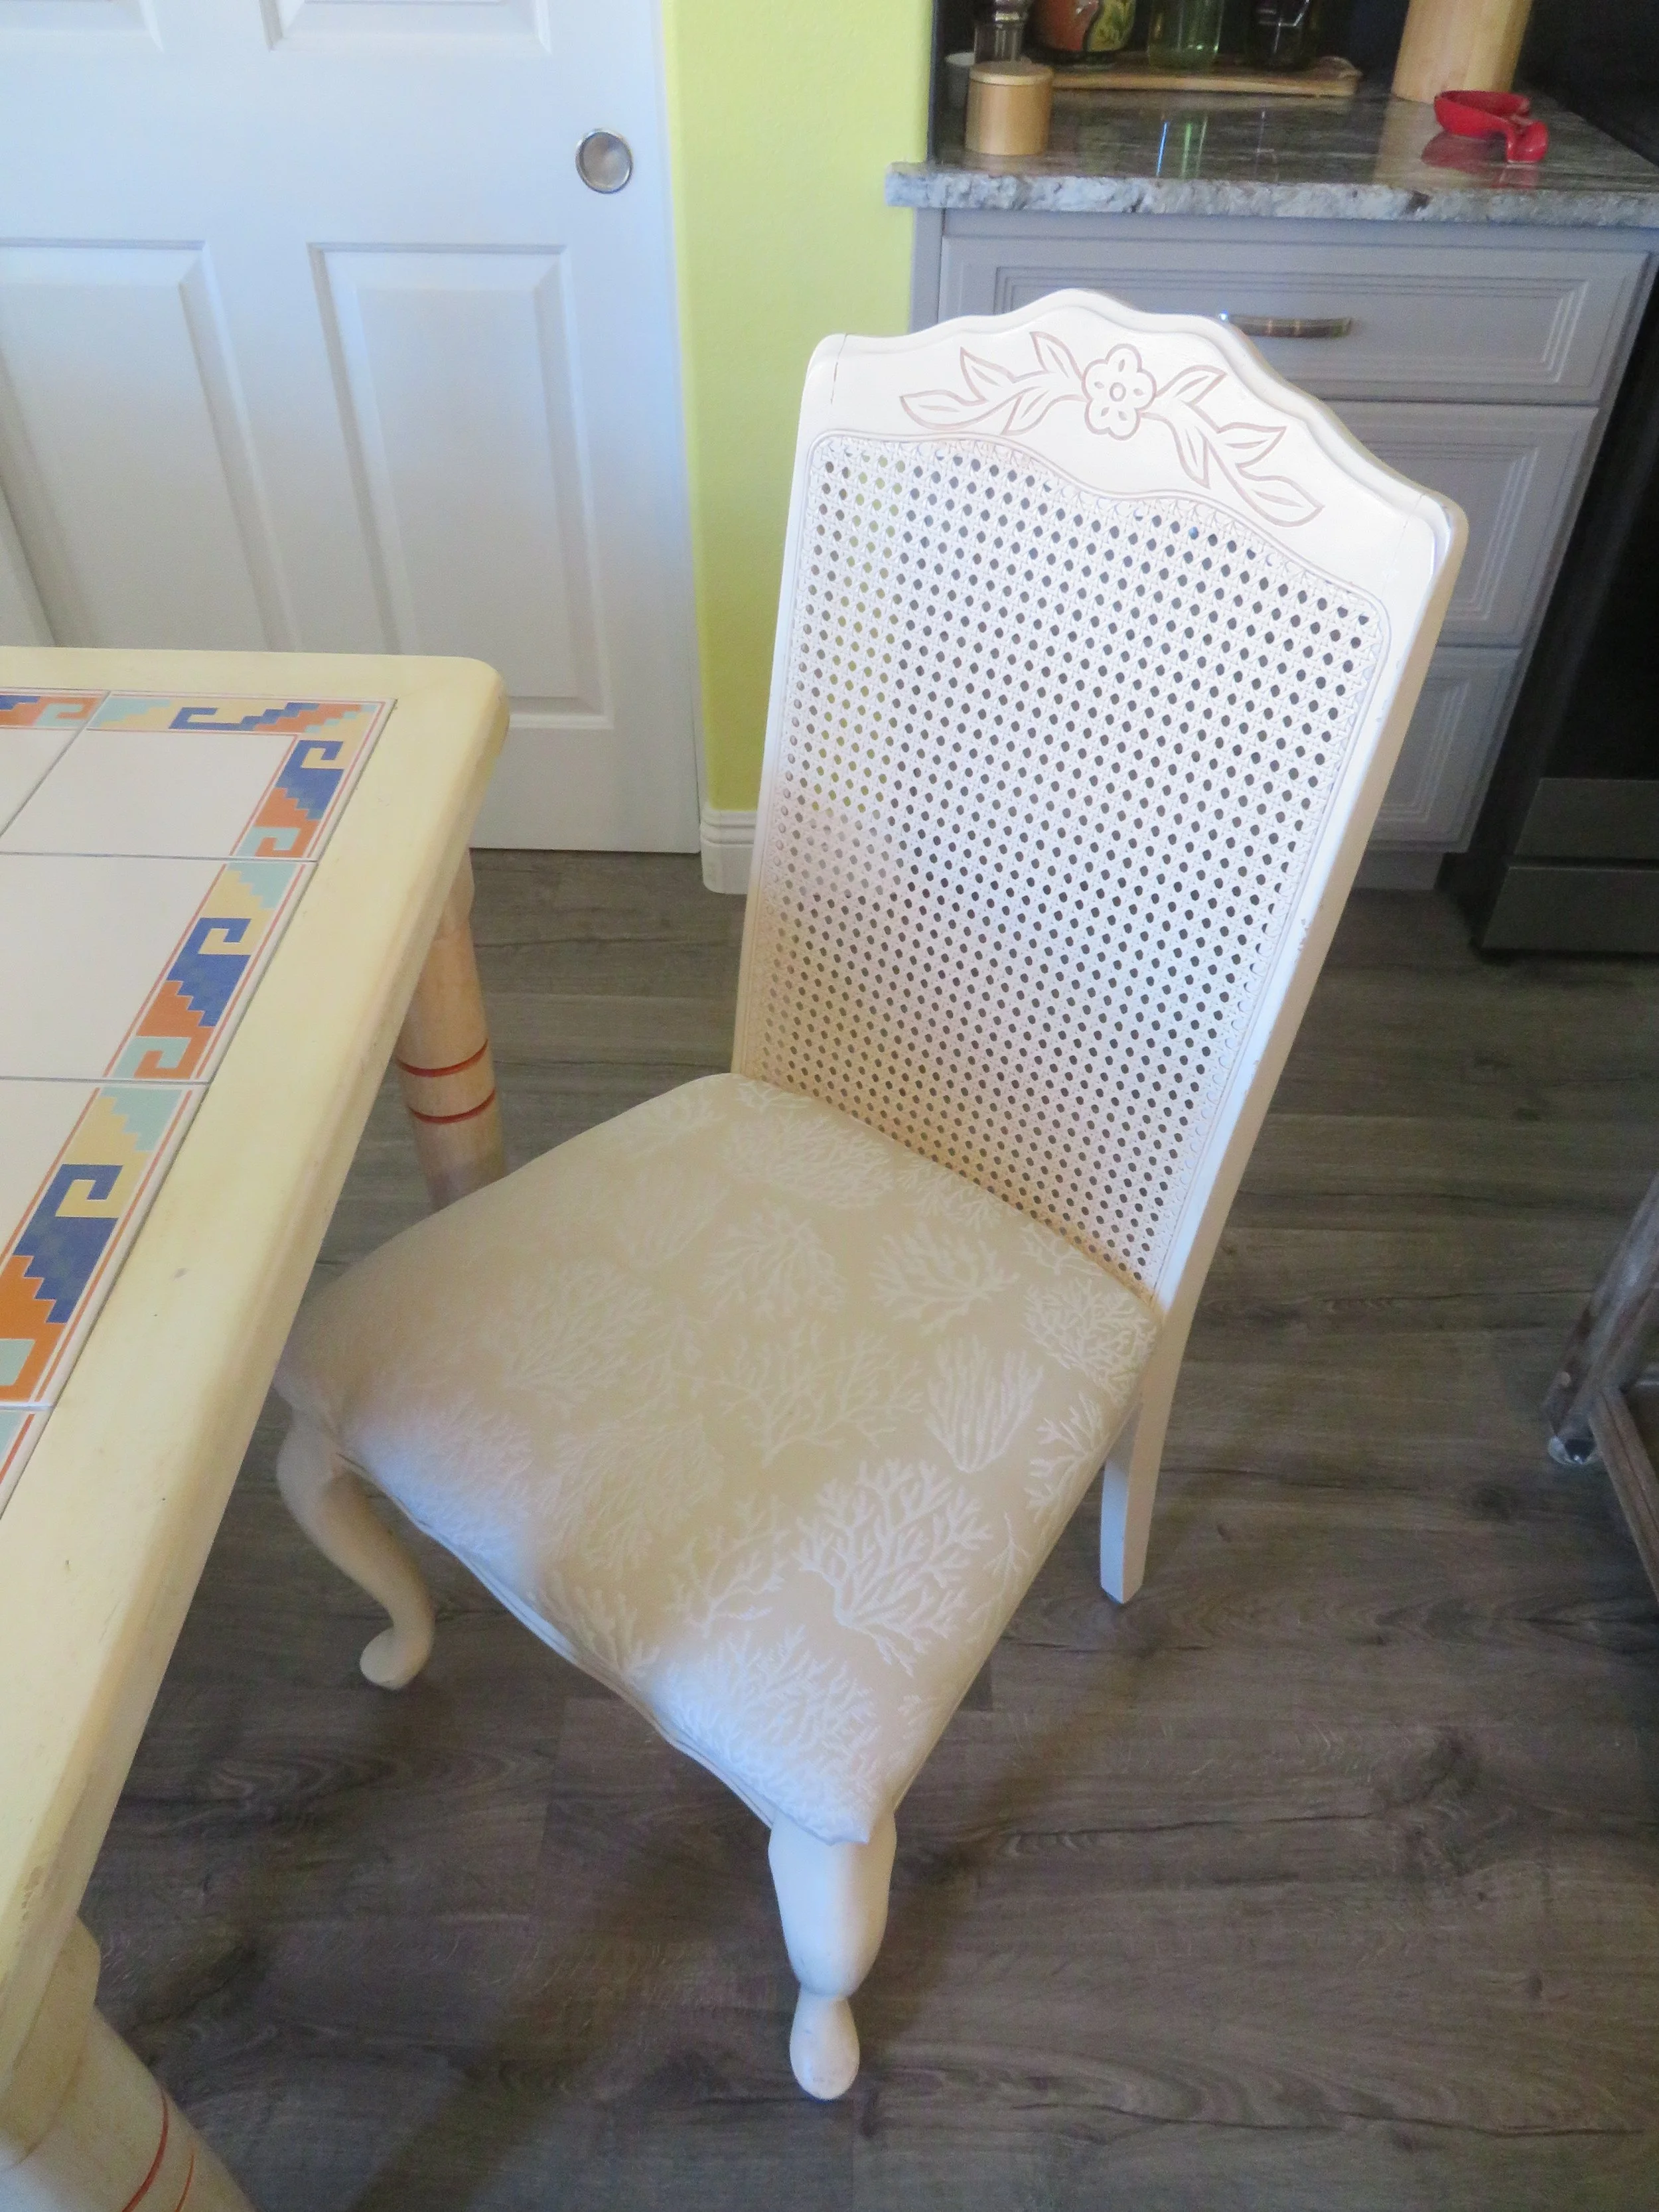
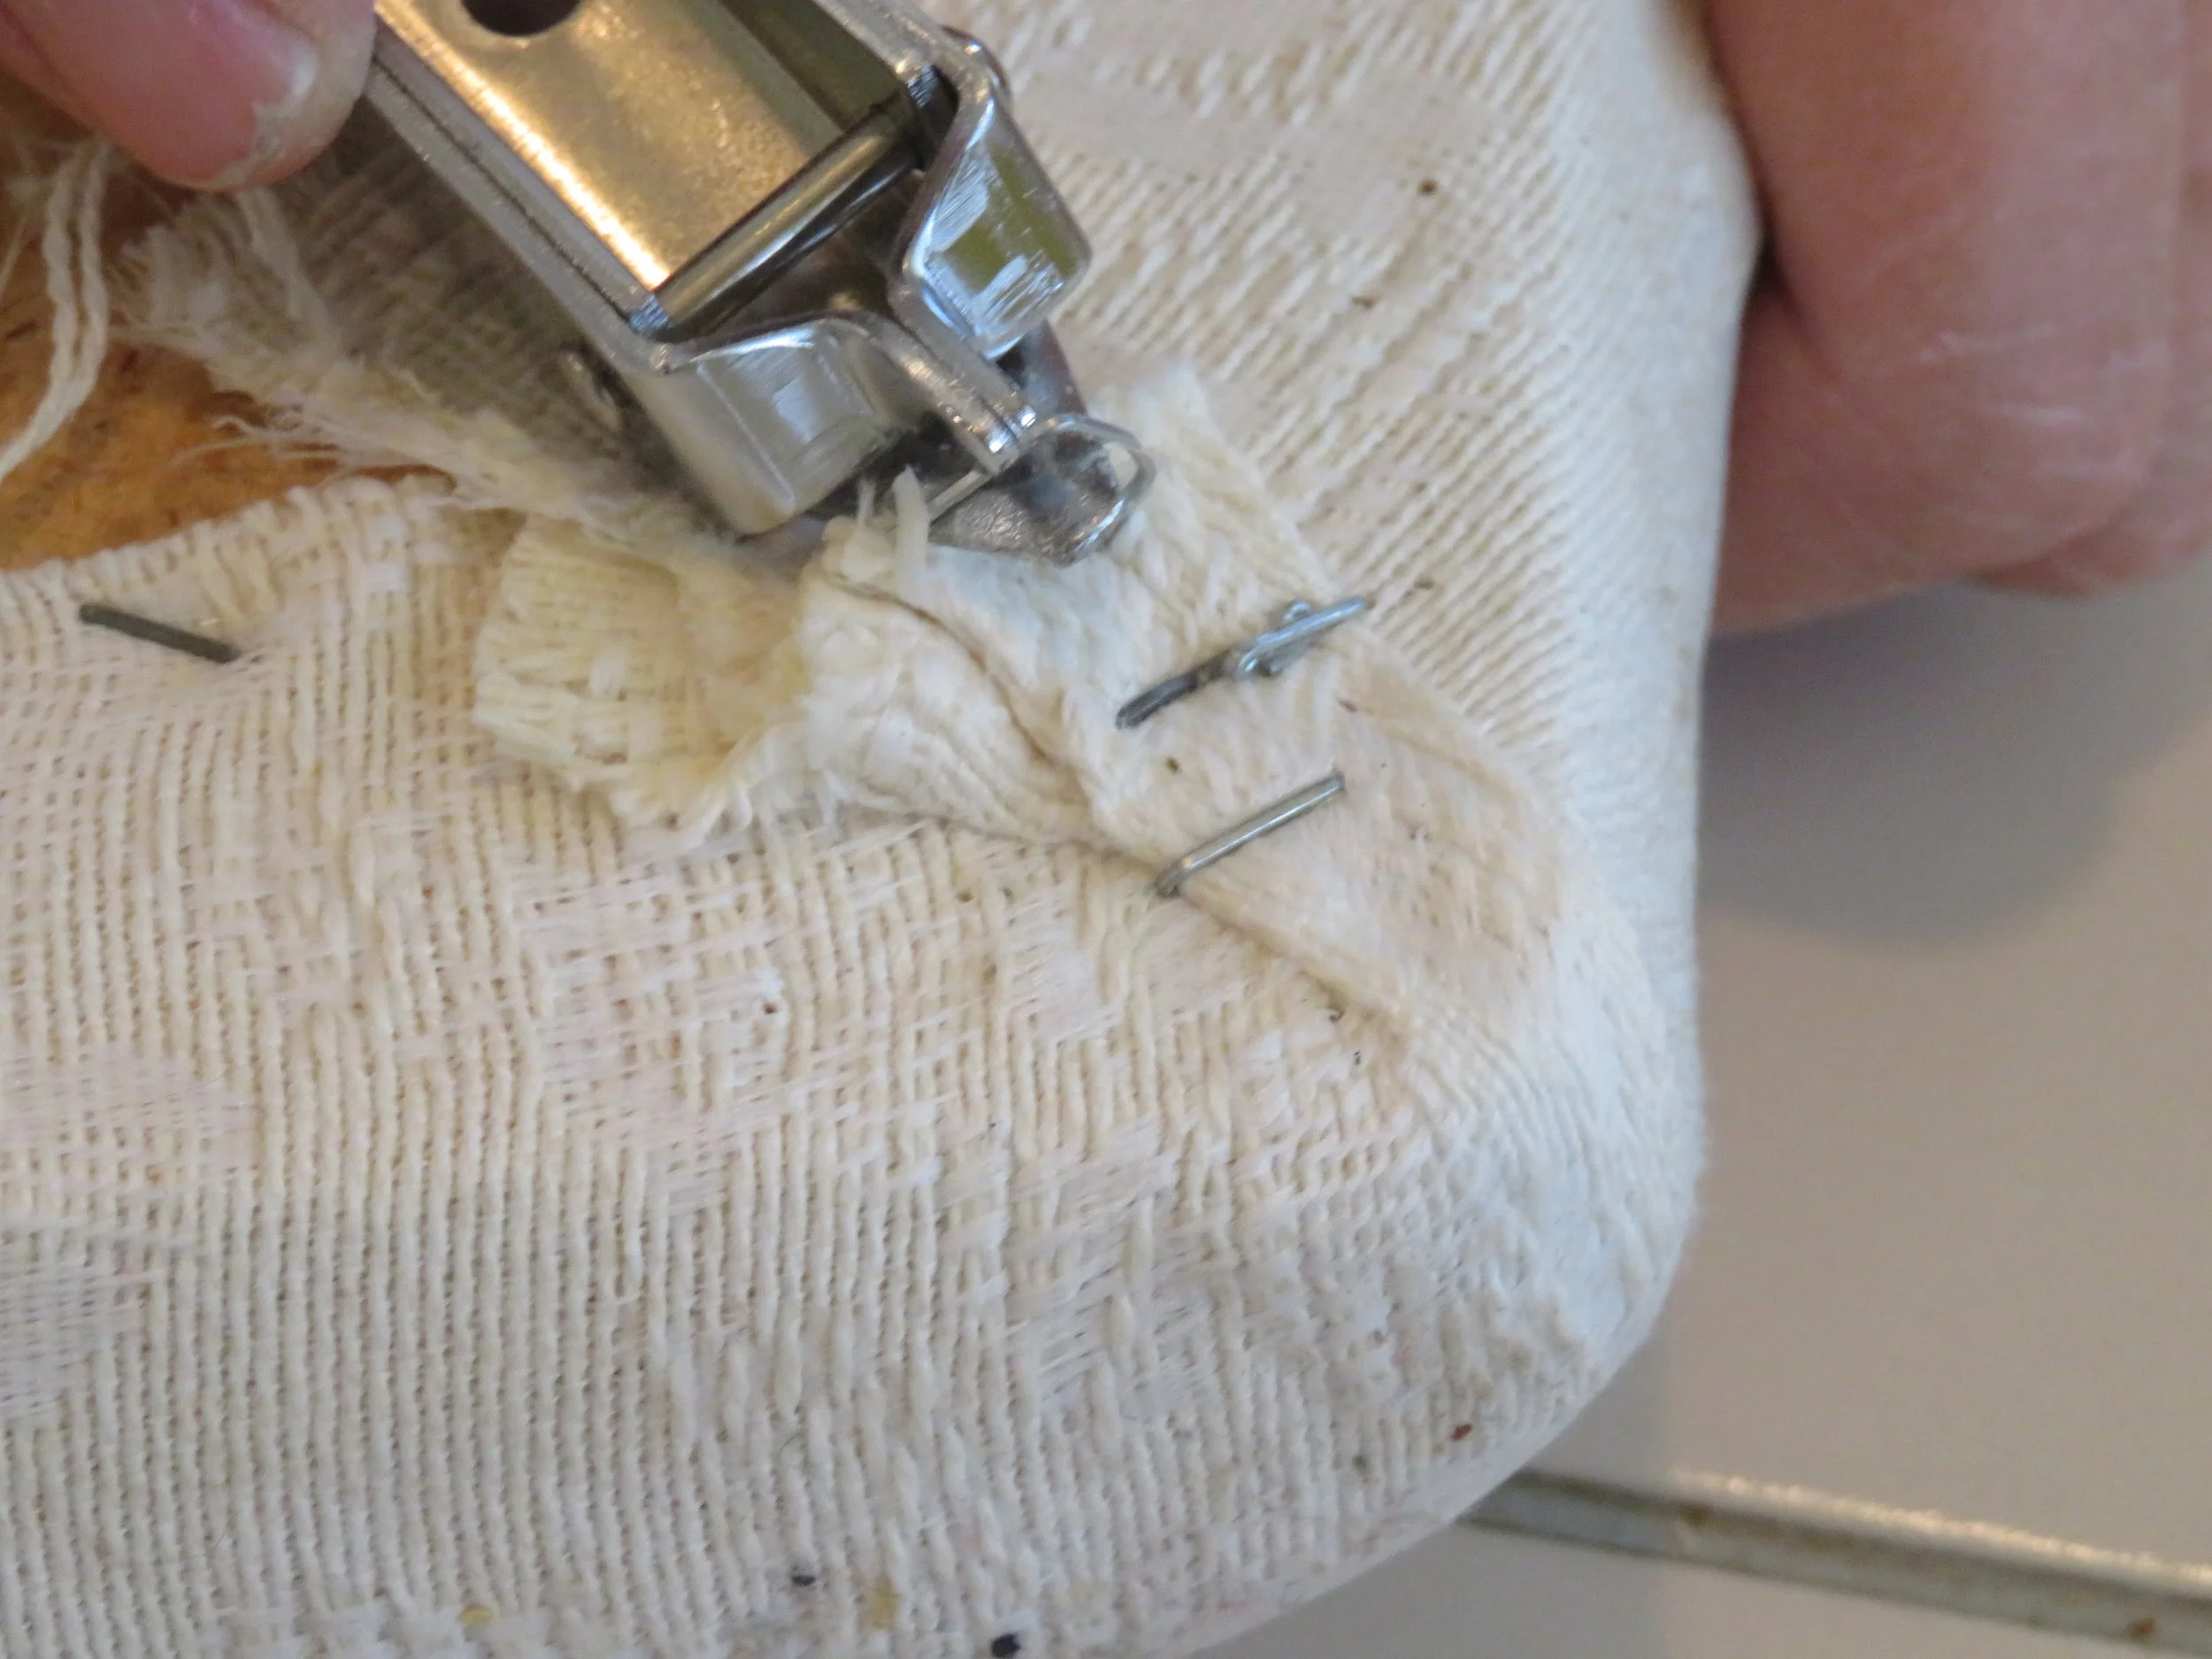
Our chairs had piping or welting along the edge attached to the chair bottom with staples. I removed it first. Since I didn’t plan to replace it, out it went. There would be no sewing involved in this project.
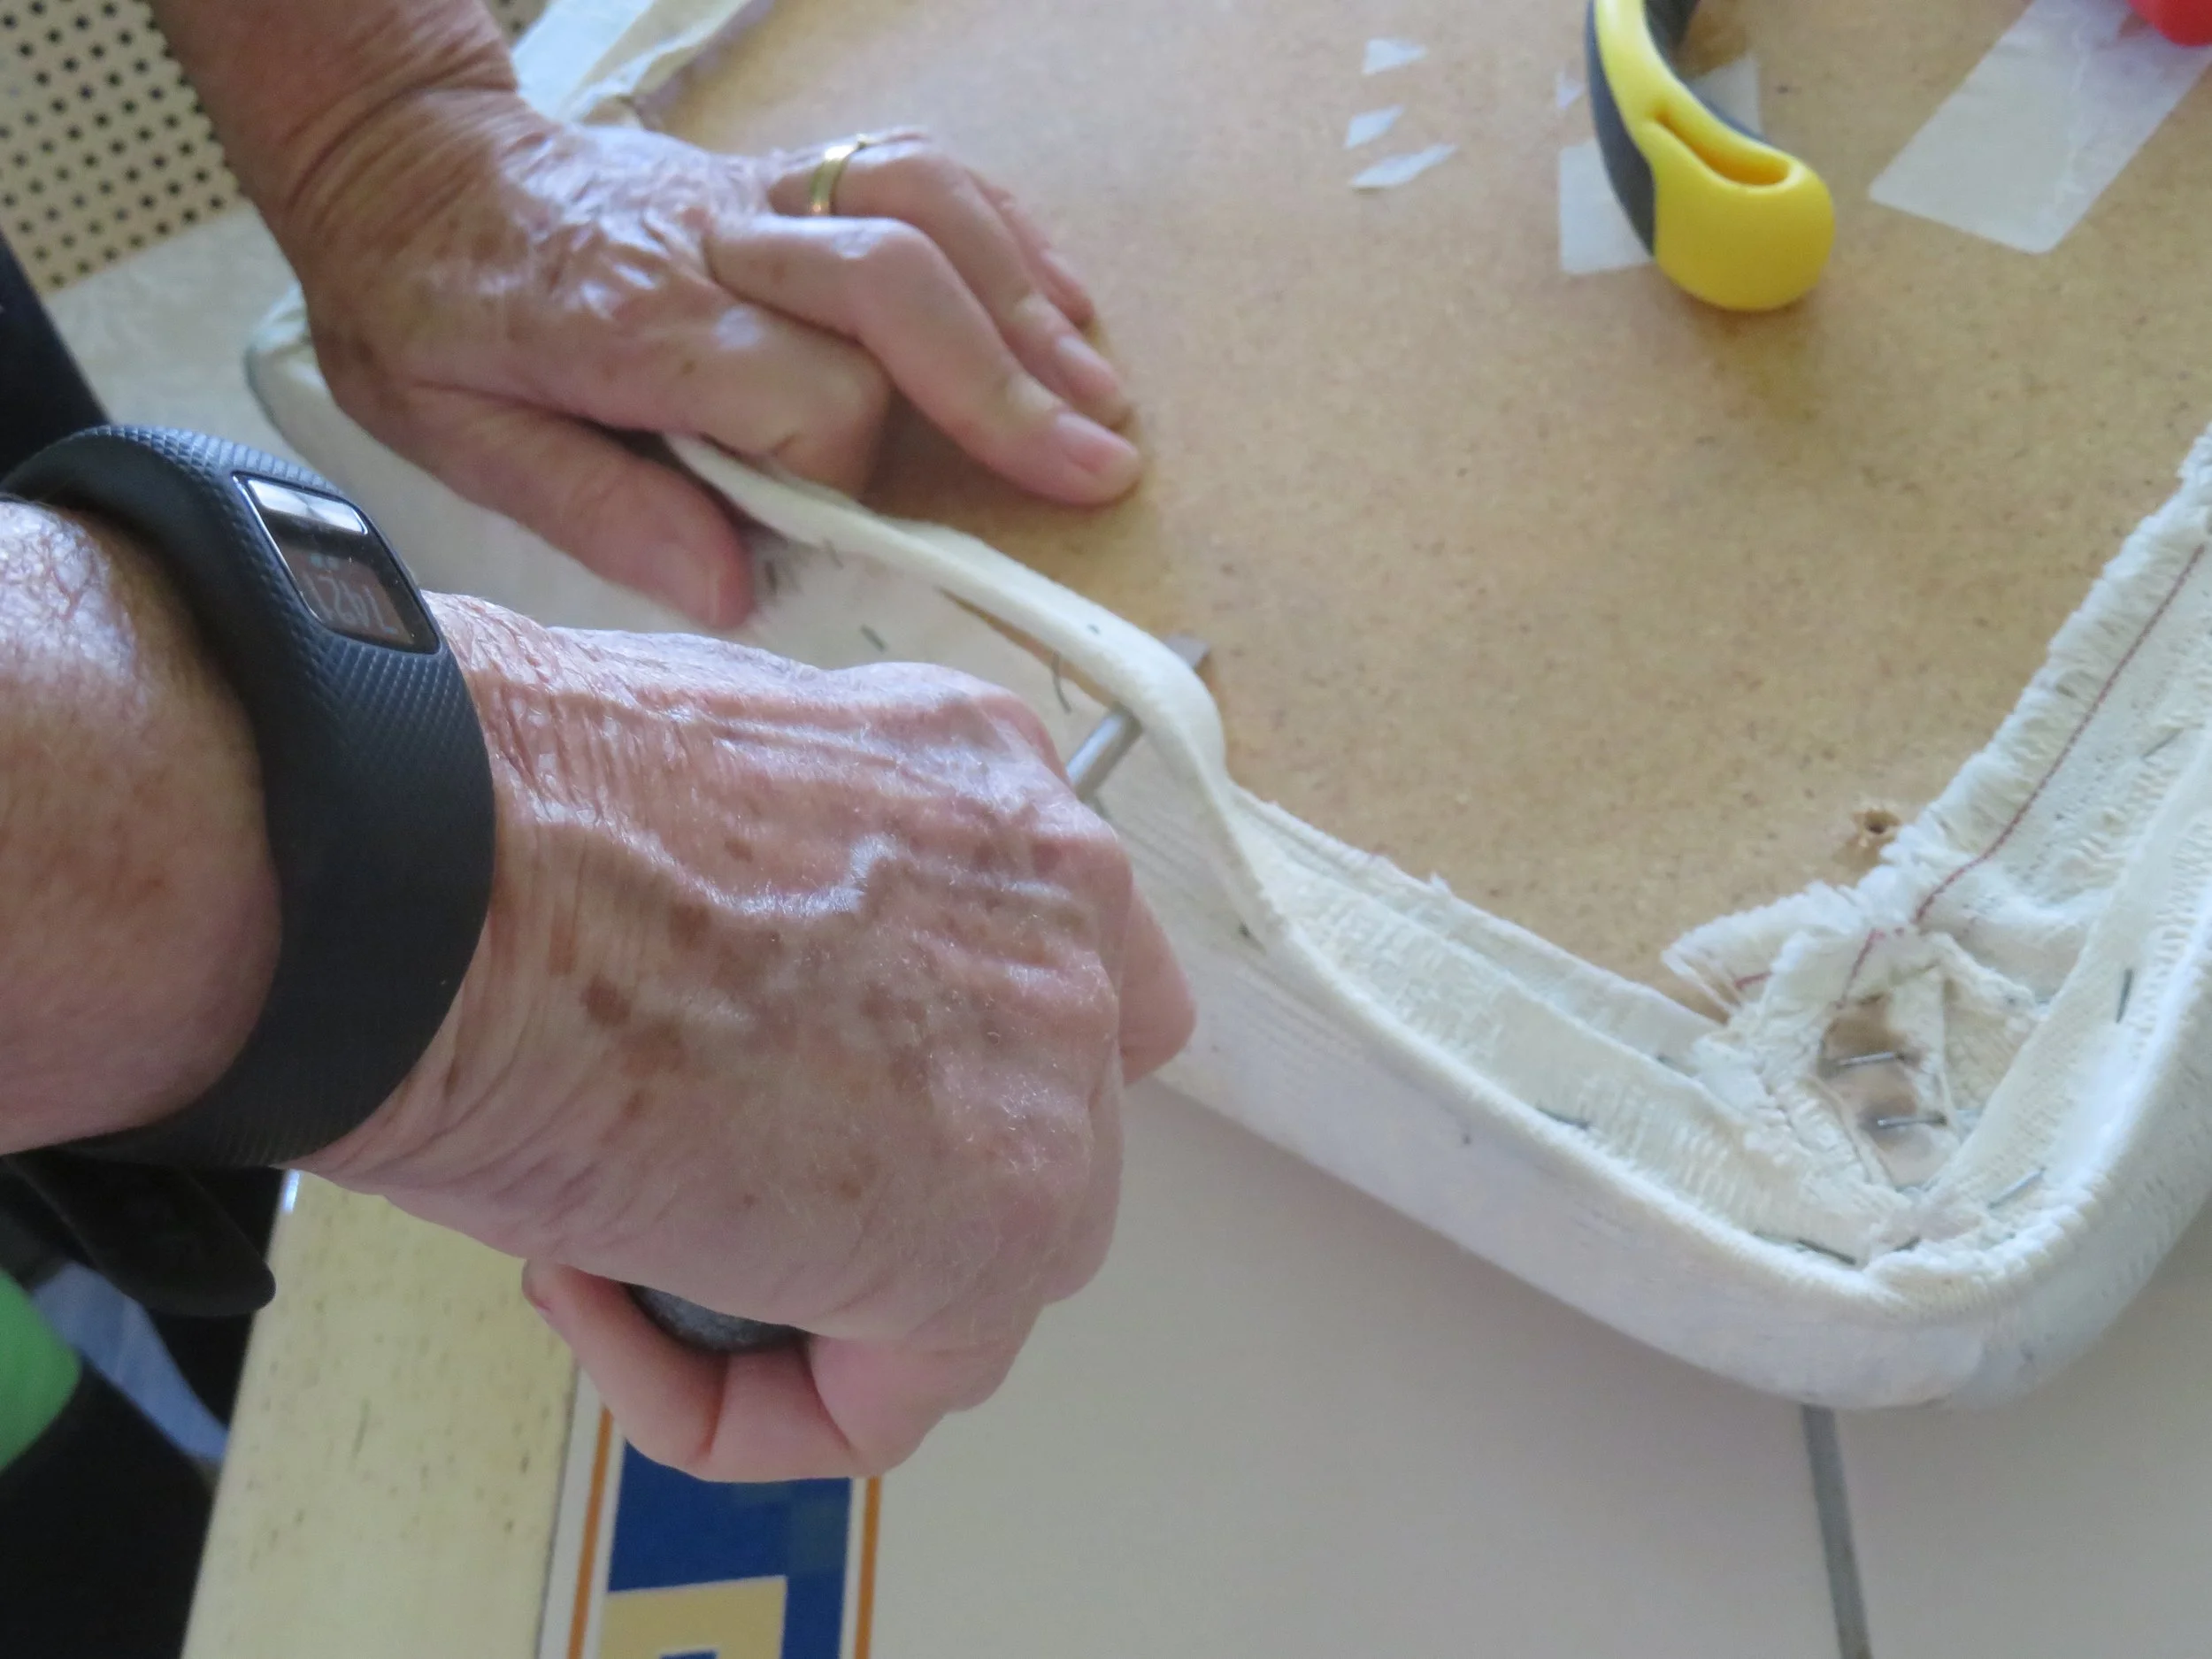
Removing all the staples from the old fabric was tedious and tiresome, but the new staple removers in addition to the needle-nosed pliers worked well. At first, it was a very slow process, but I became faster with each chair. That said, it was definitely backbreaking. My proficiency is for naught, however, as I won’t be doing this as a fun pastime any time in the near future.
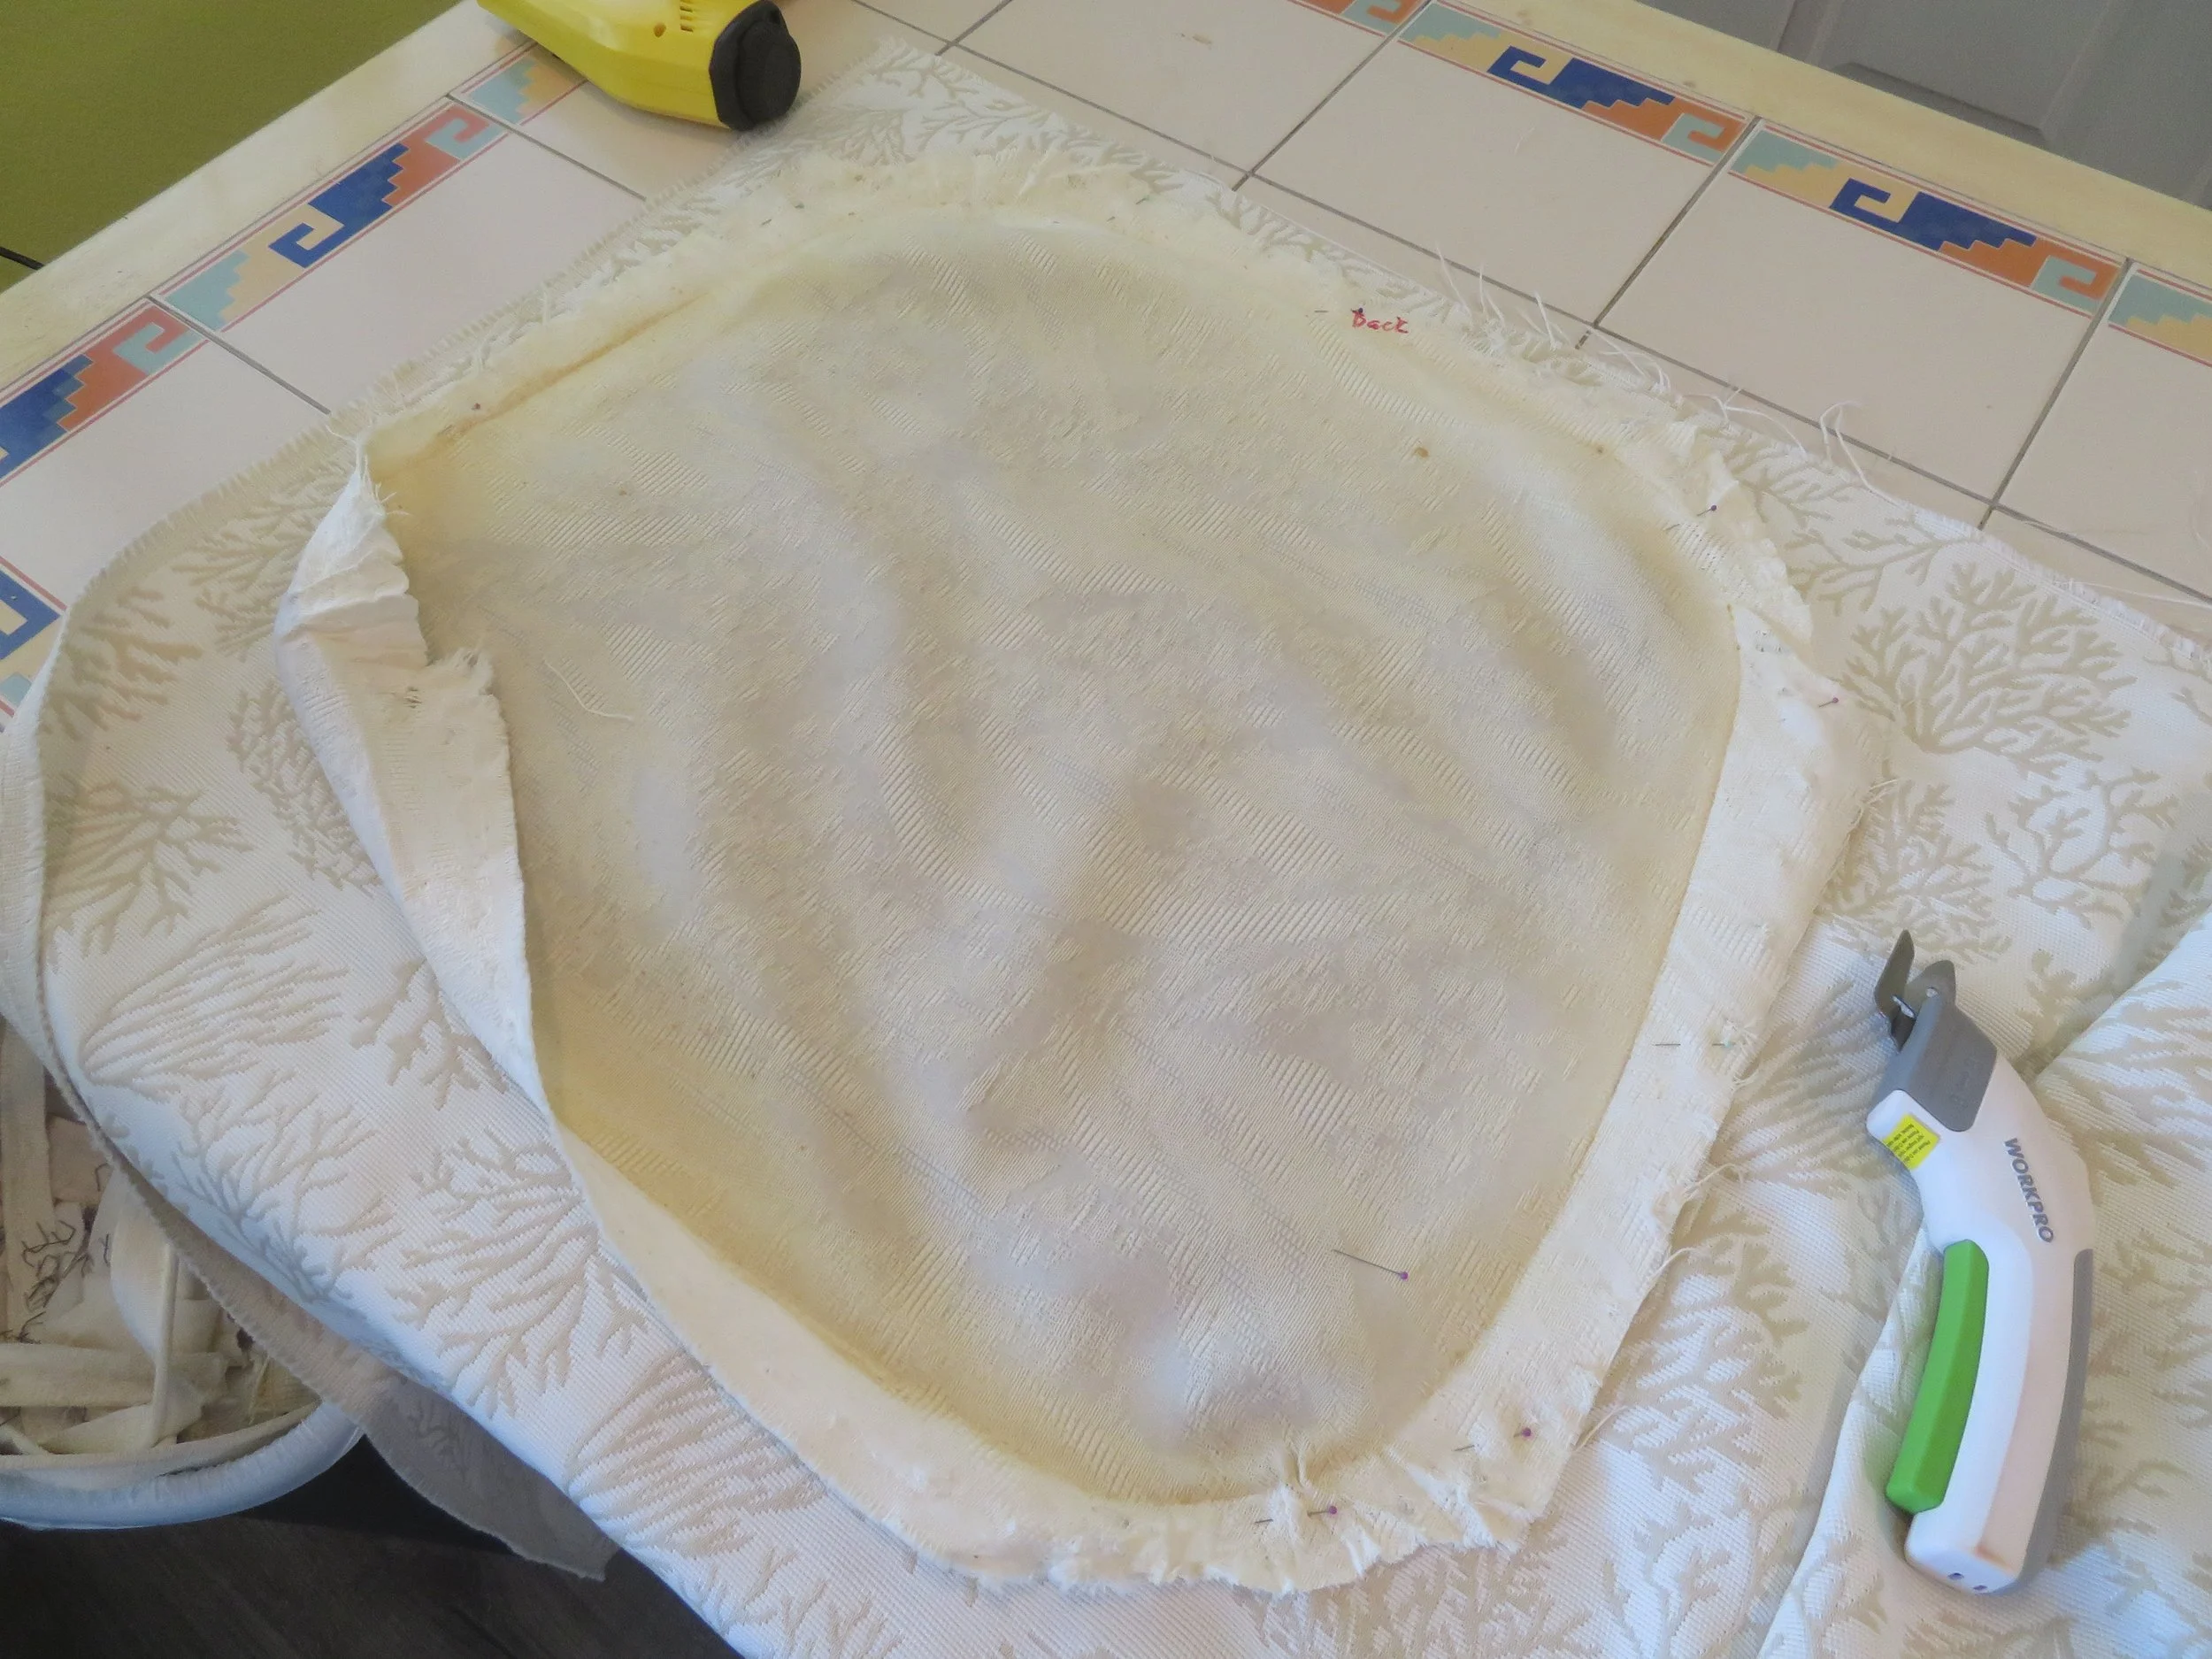
Luckily, the foam cushion was in good condition, so I could reuse it. The old seat cover, however, was definitely due for replacement. I removed it carefully so I could use it for my pattern.
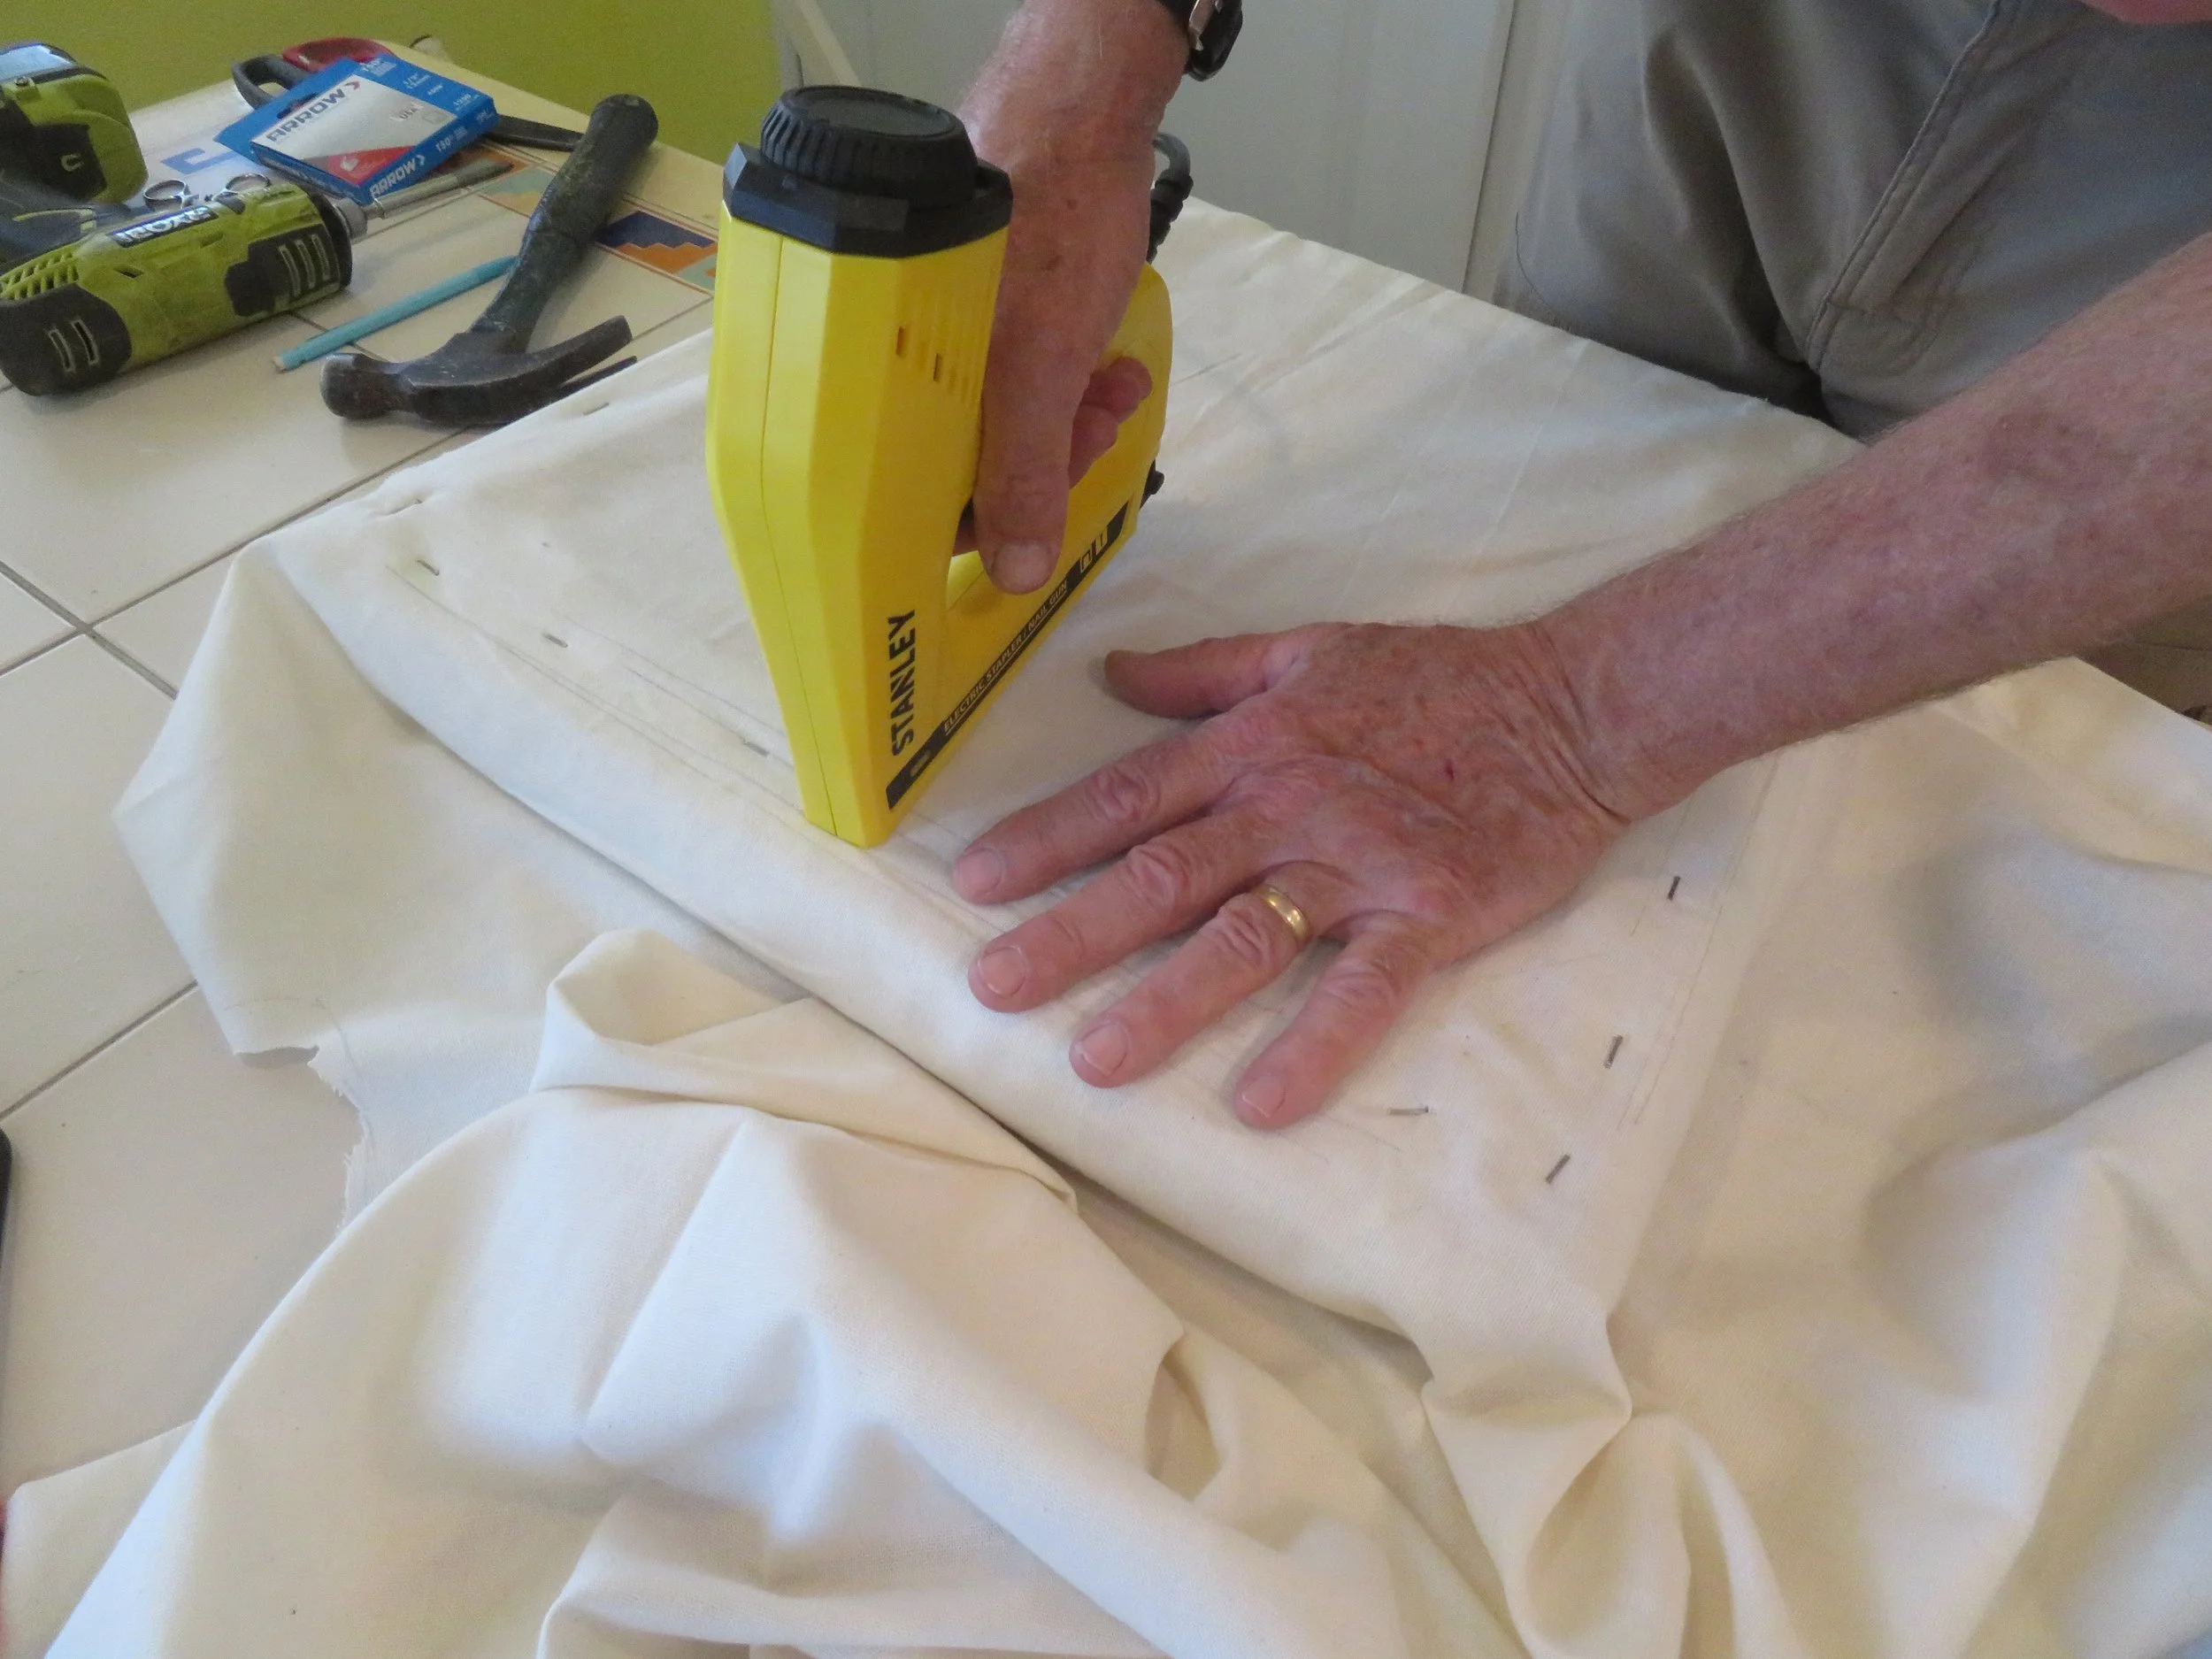
I stretched out the new fabric and gave myself plenty of extra fabric to wrap over the seat. I figured I could trim any excess later. Following the DIY instructions, I stapled one side, then pulled the fabric taut after checking there were no wrinkles on the front and the fabric pattern was straight. I stapled the opposite side and proceeded slowly, adding staple after staple (after staple after staple) and constantly checking that the front was smooth and tight and straight.
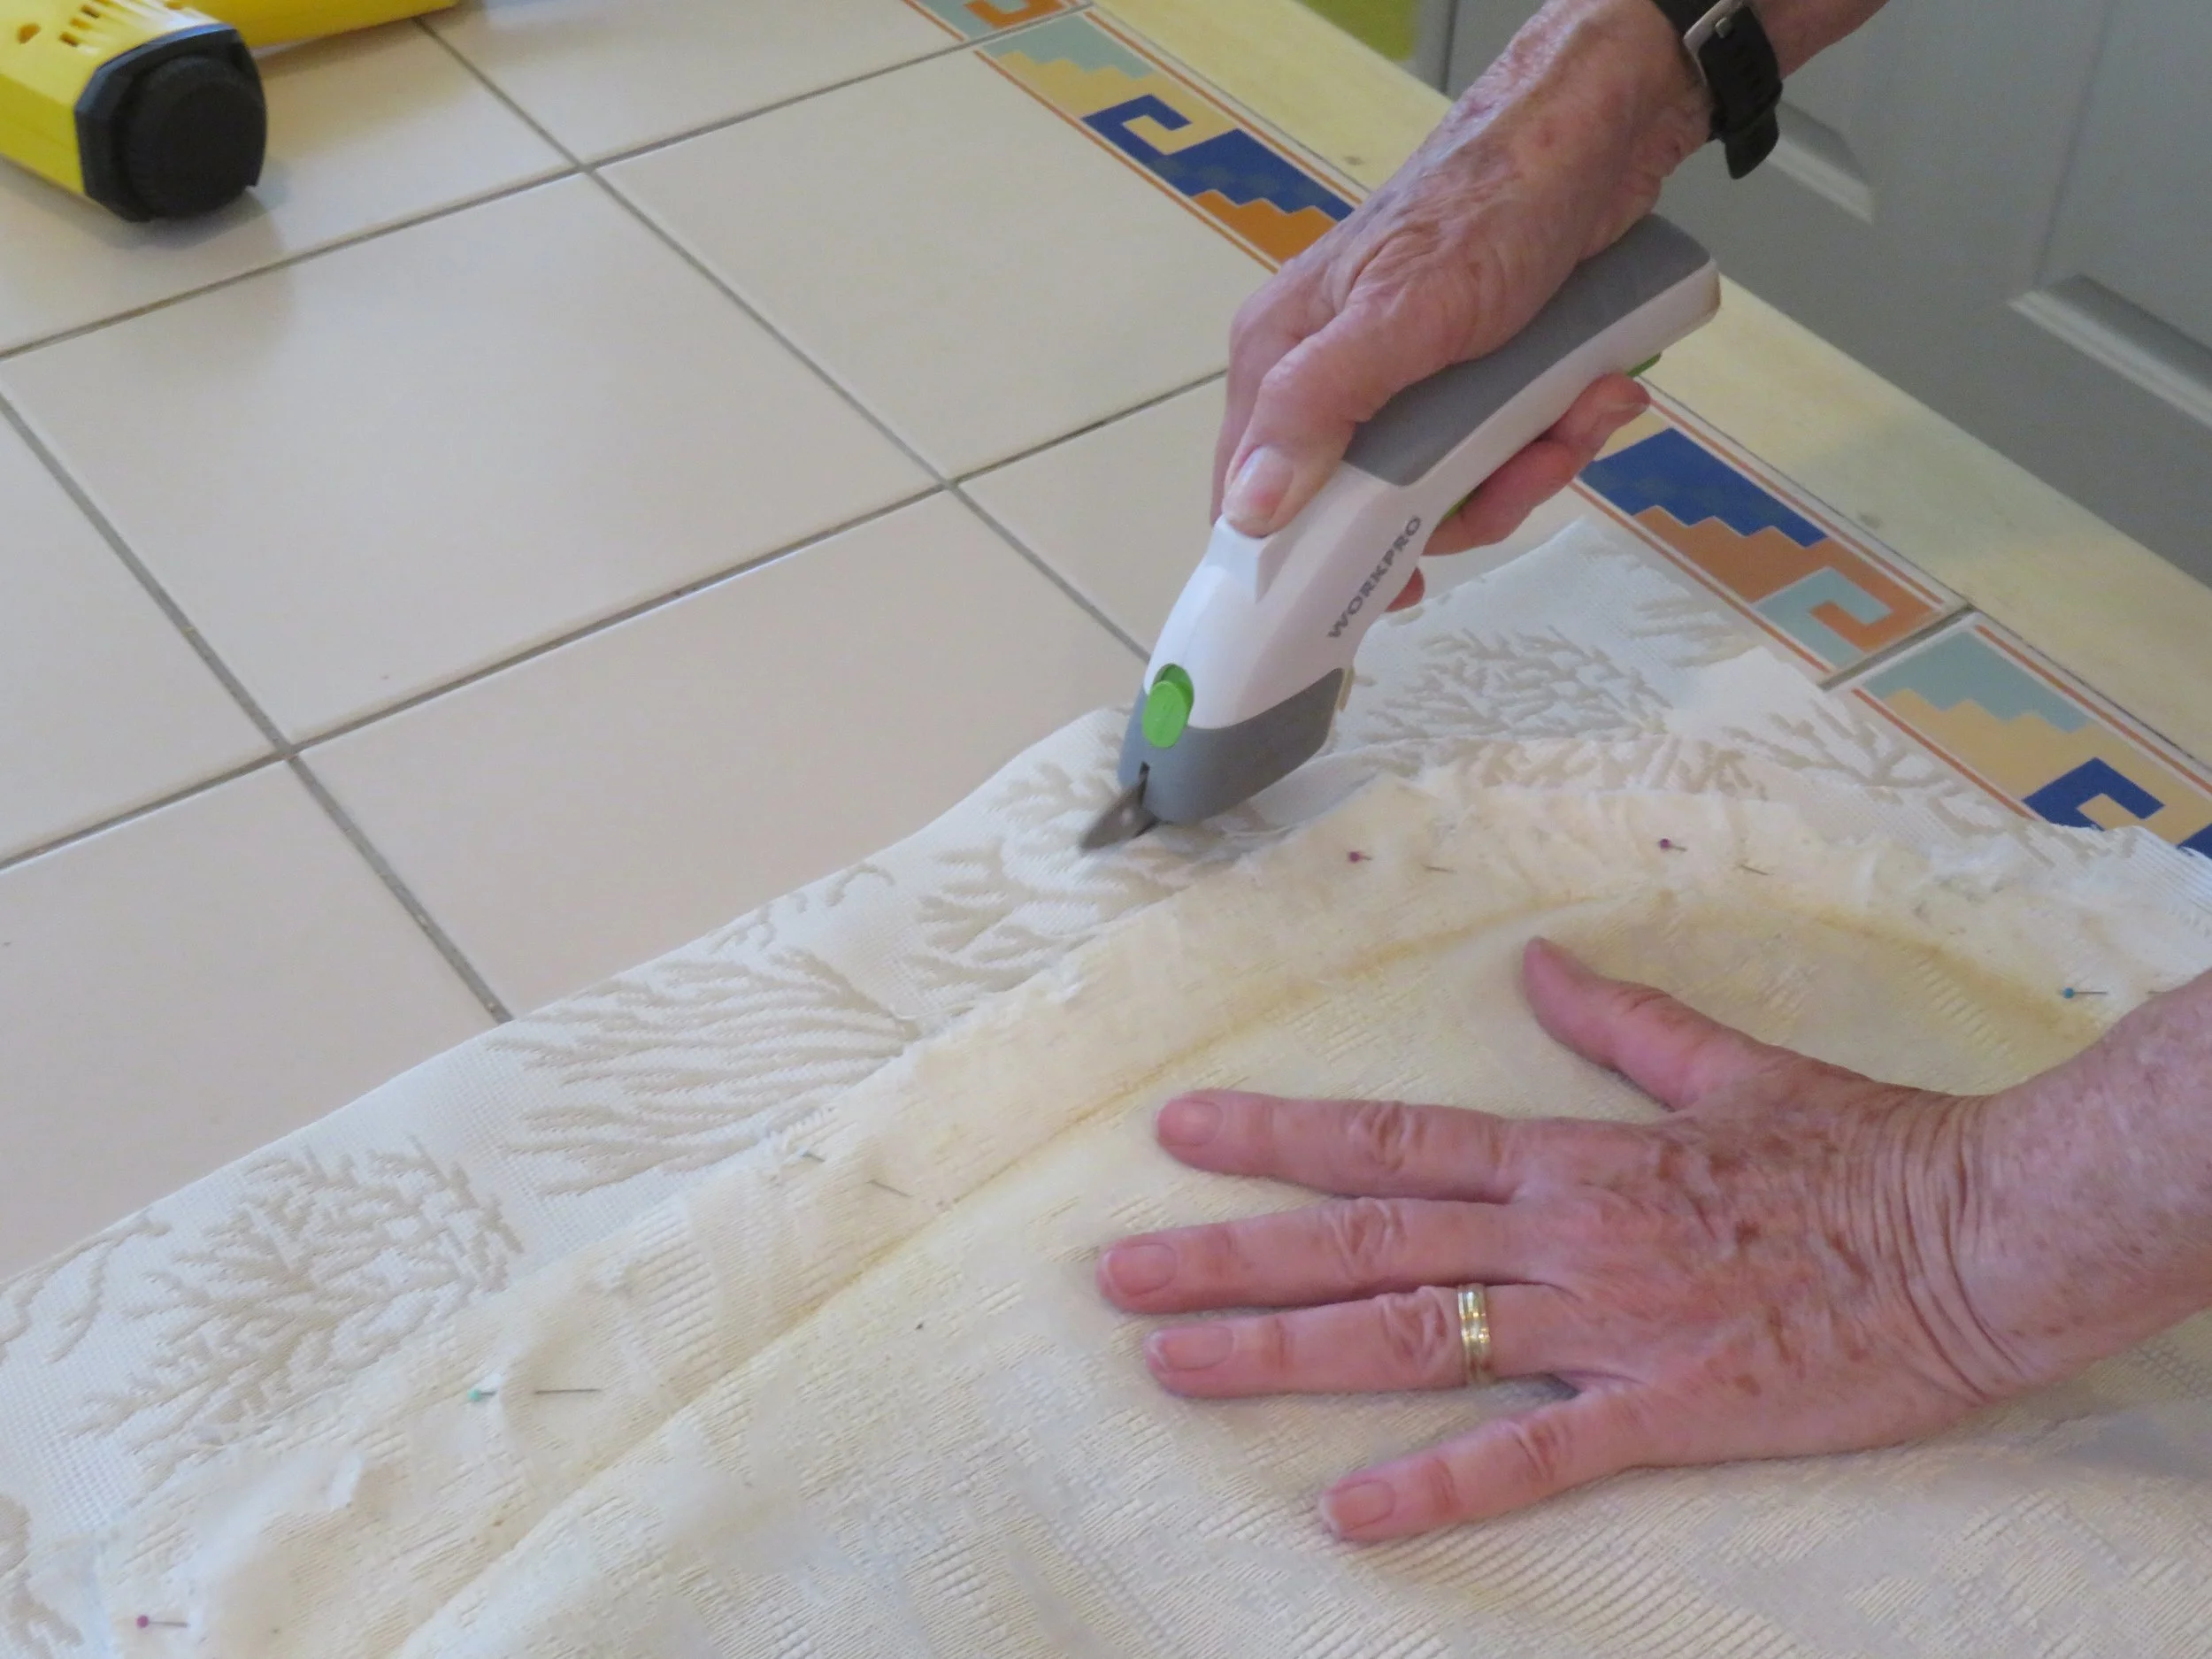


The corners were a bit of a challenge, but after several tries, I got the hang of it and they came out just fine.
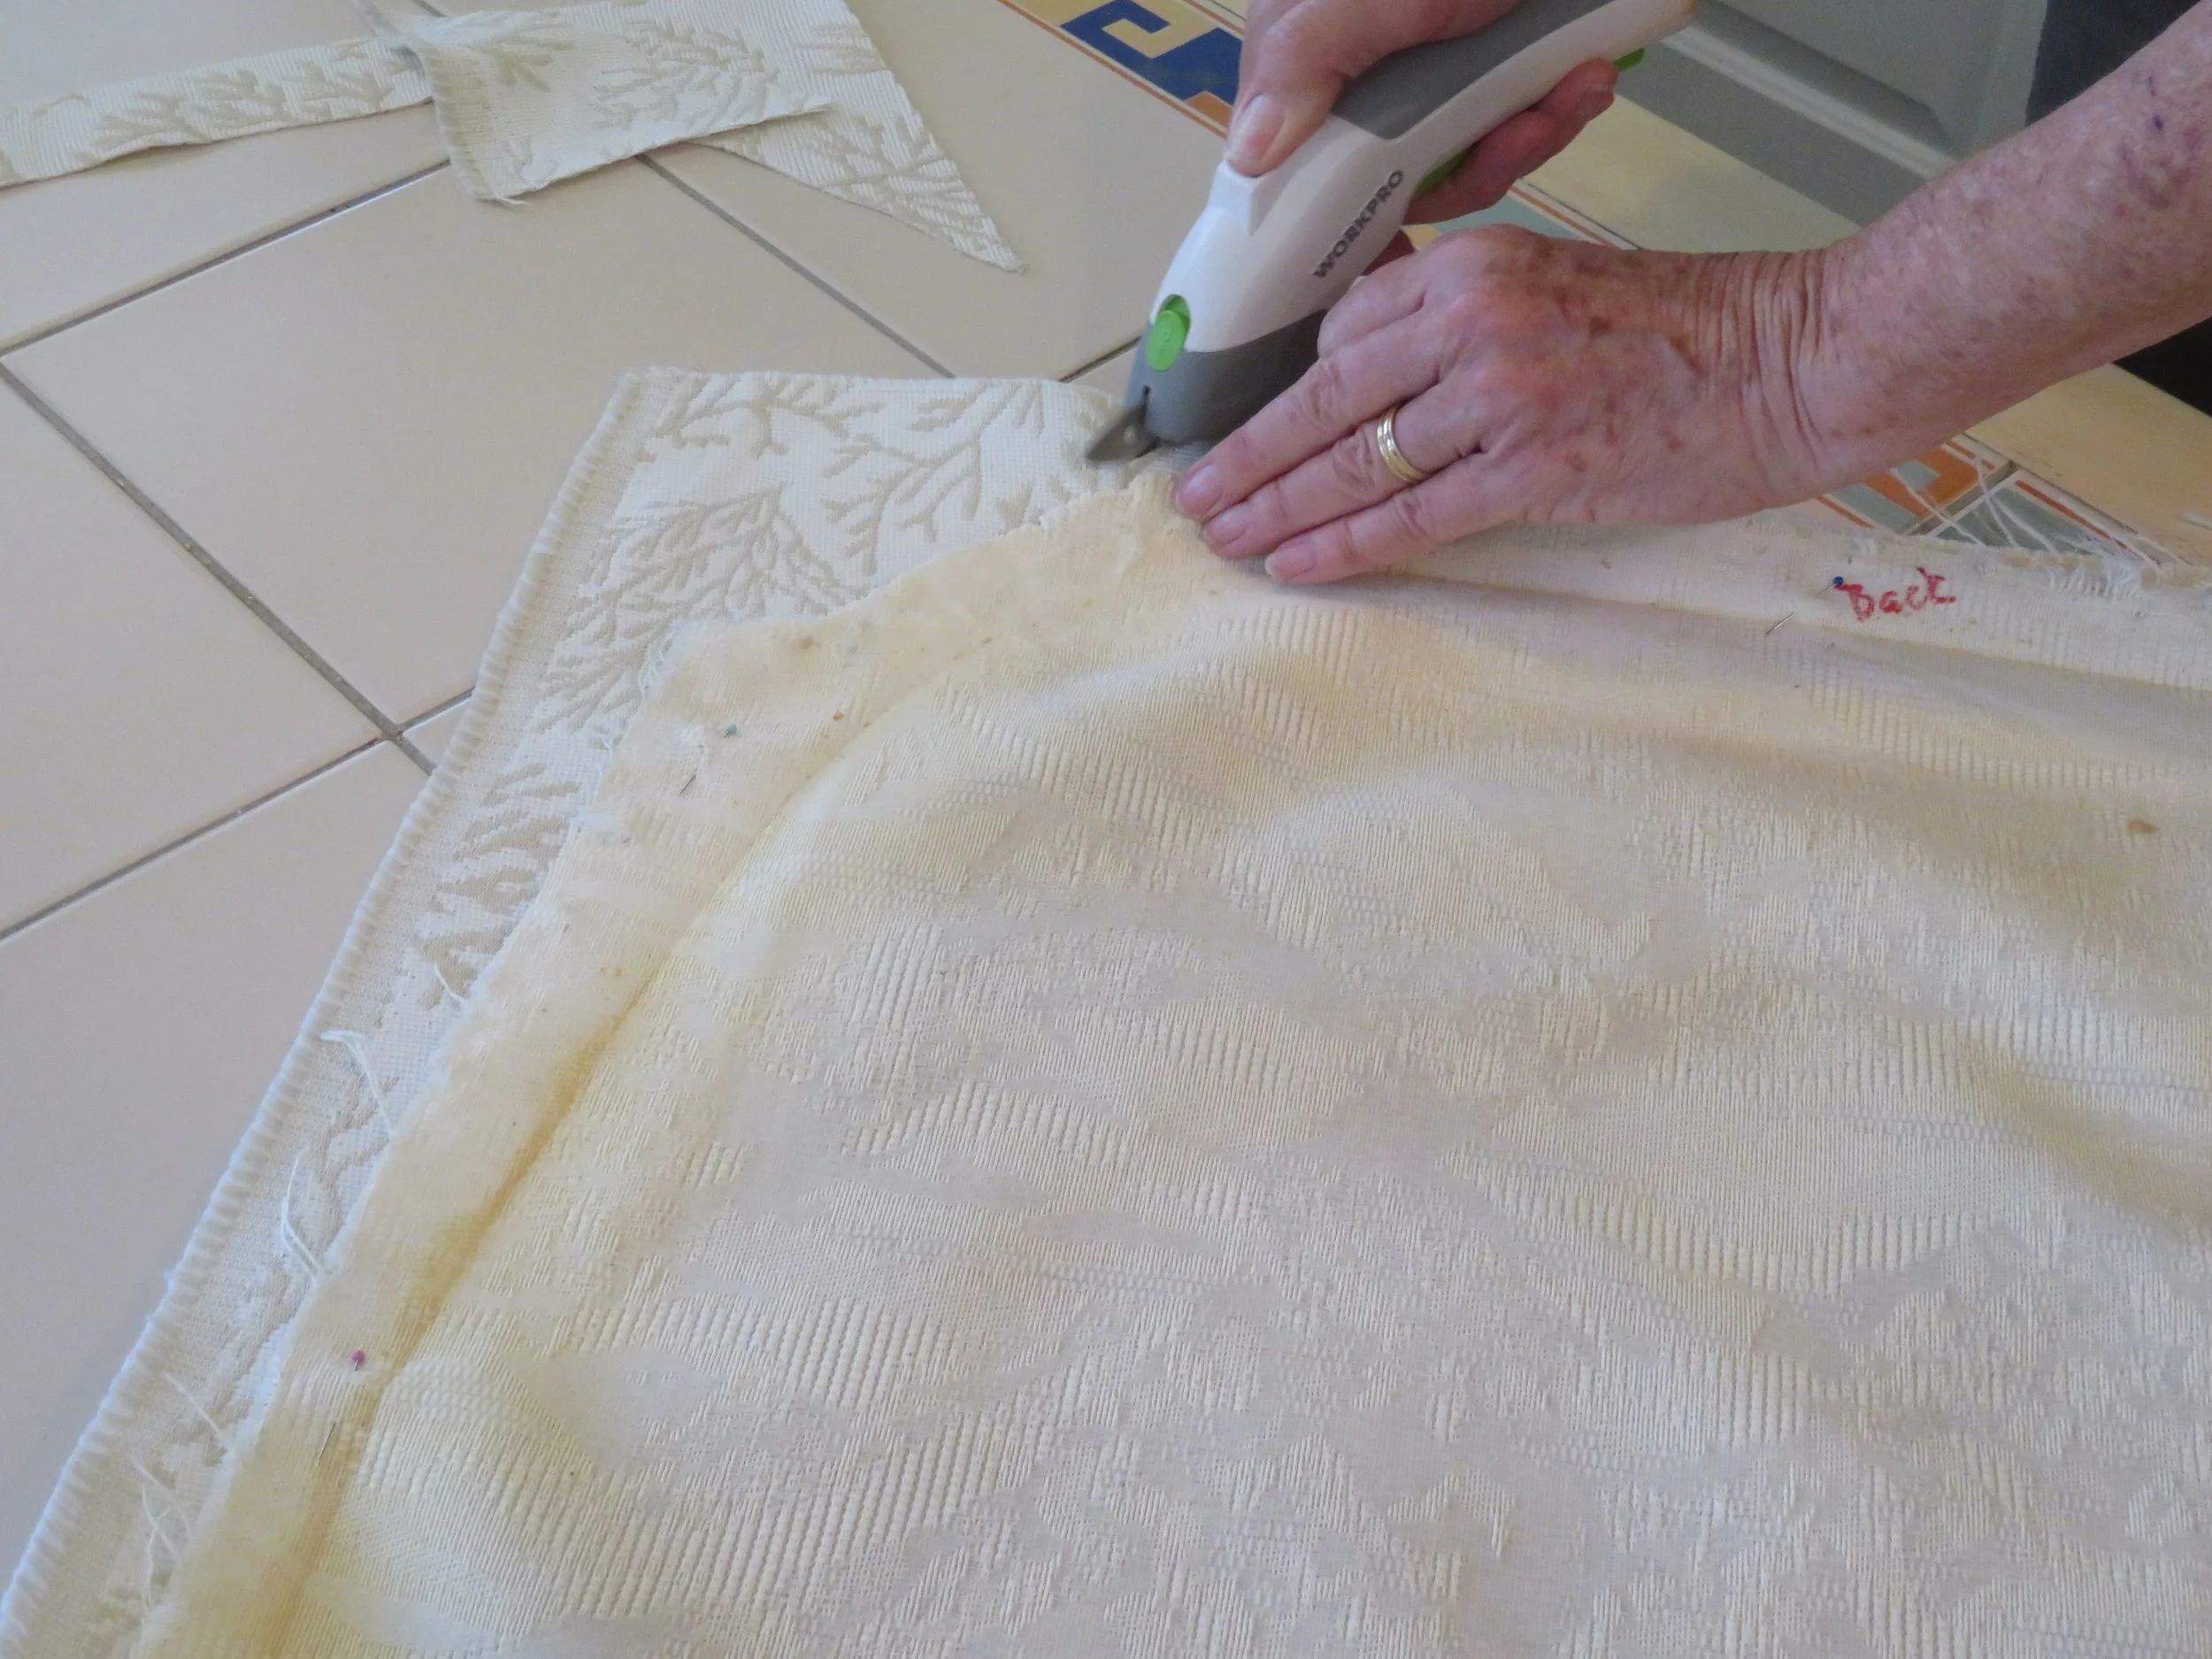
I made a mistake on the second chair. I forgot that in addition to keeping the pattern straight, I needed to match the direction of the coral pattern. For subsequent chairs, I marked ‘back’ so I was aware of which way to position the fabric before cutting.
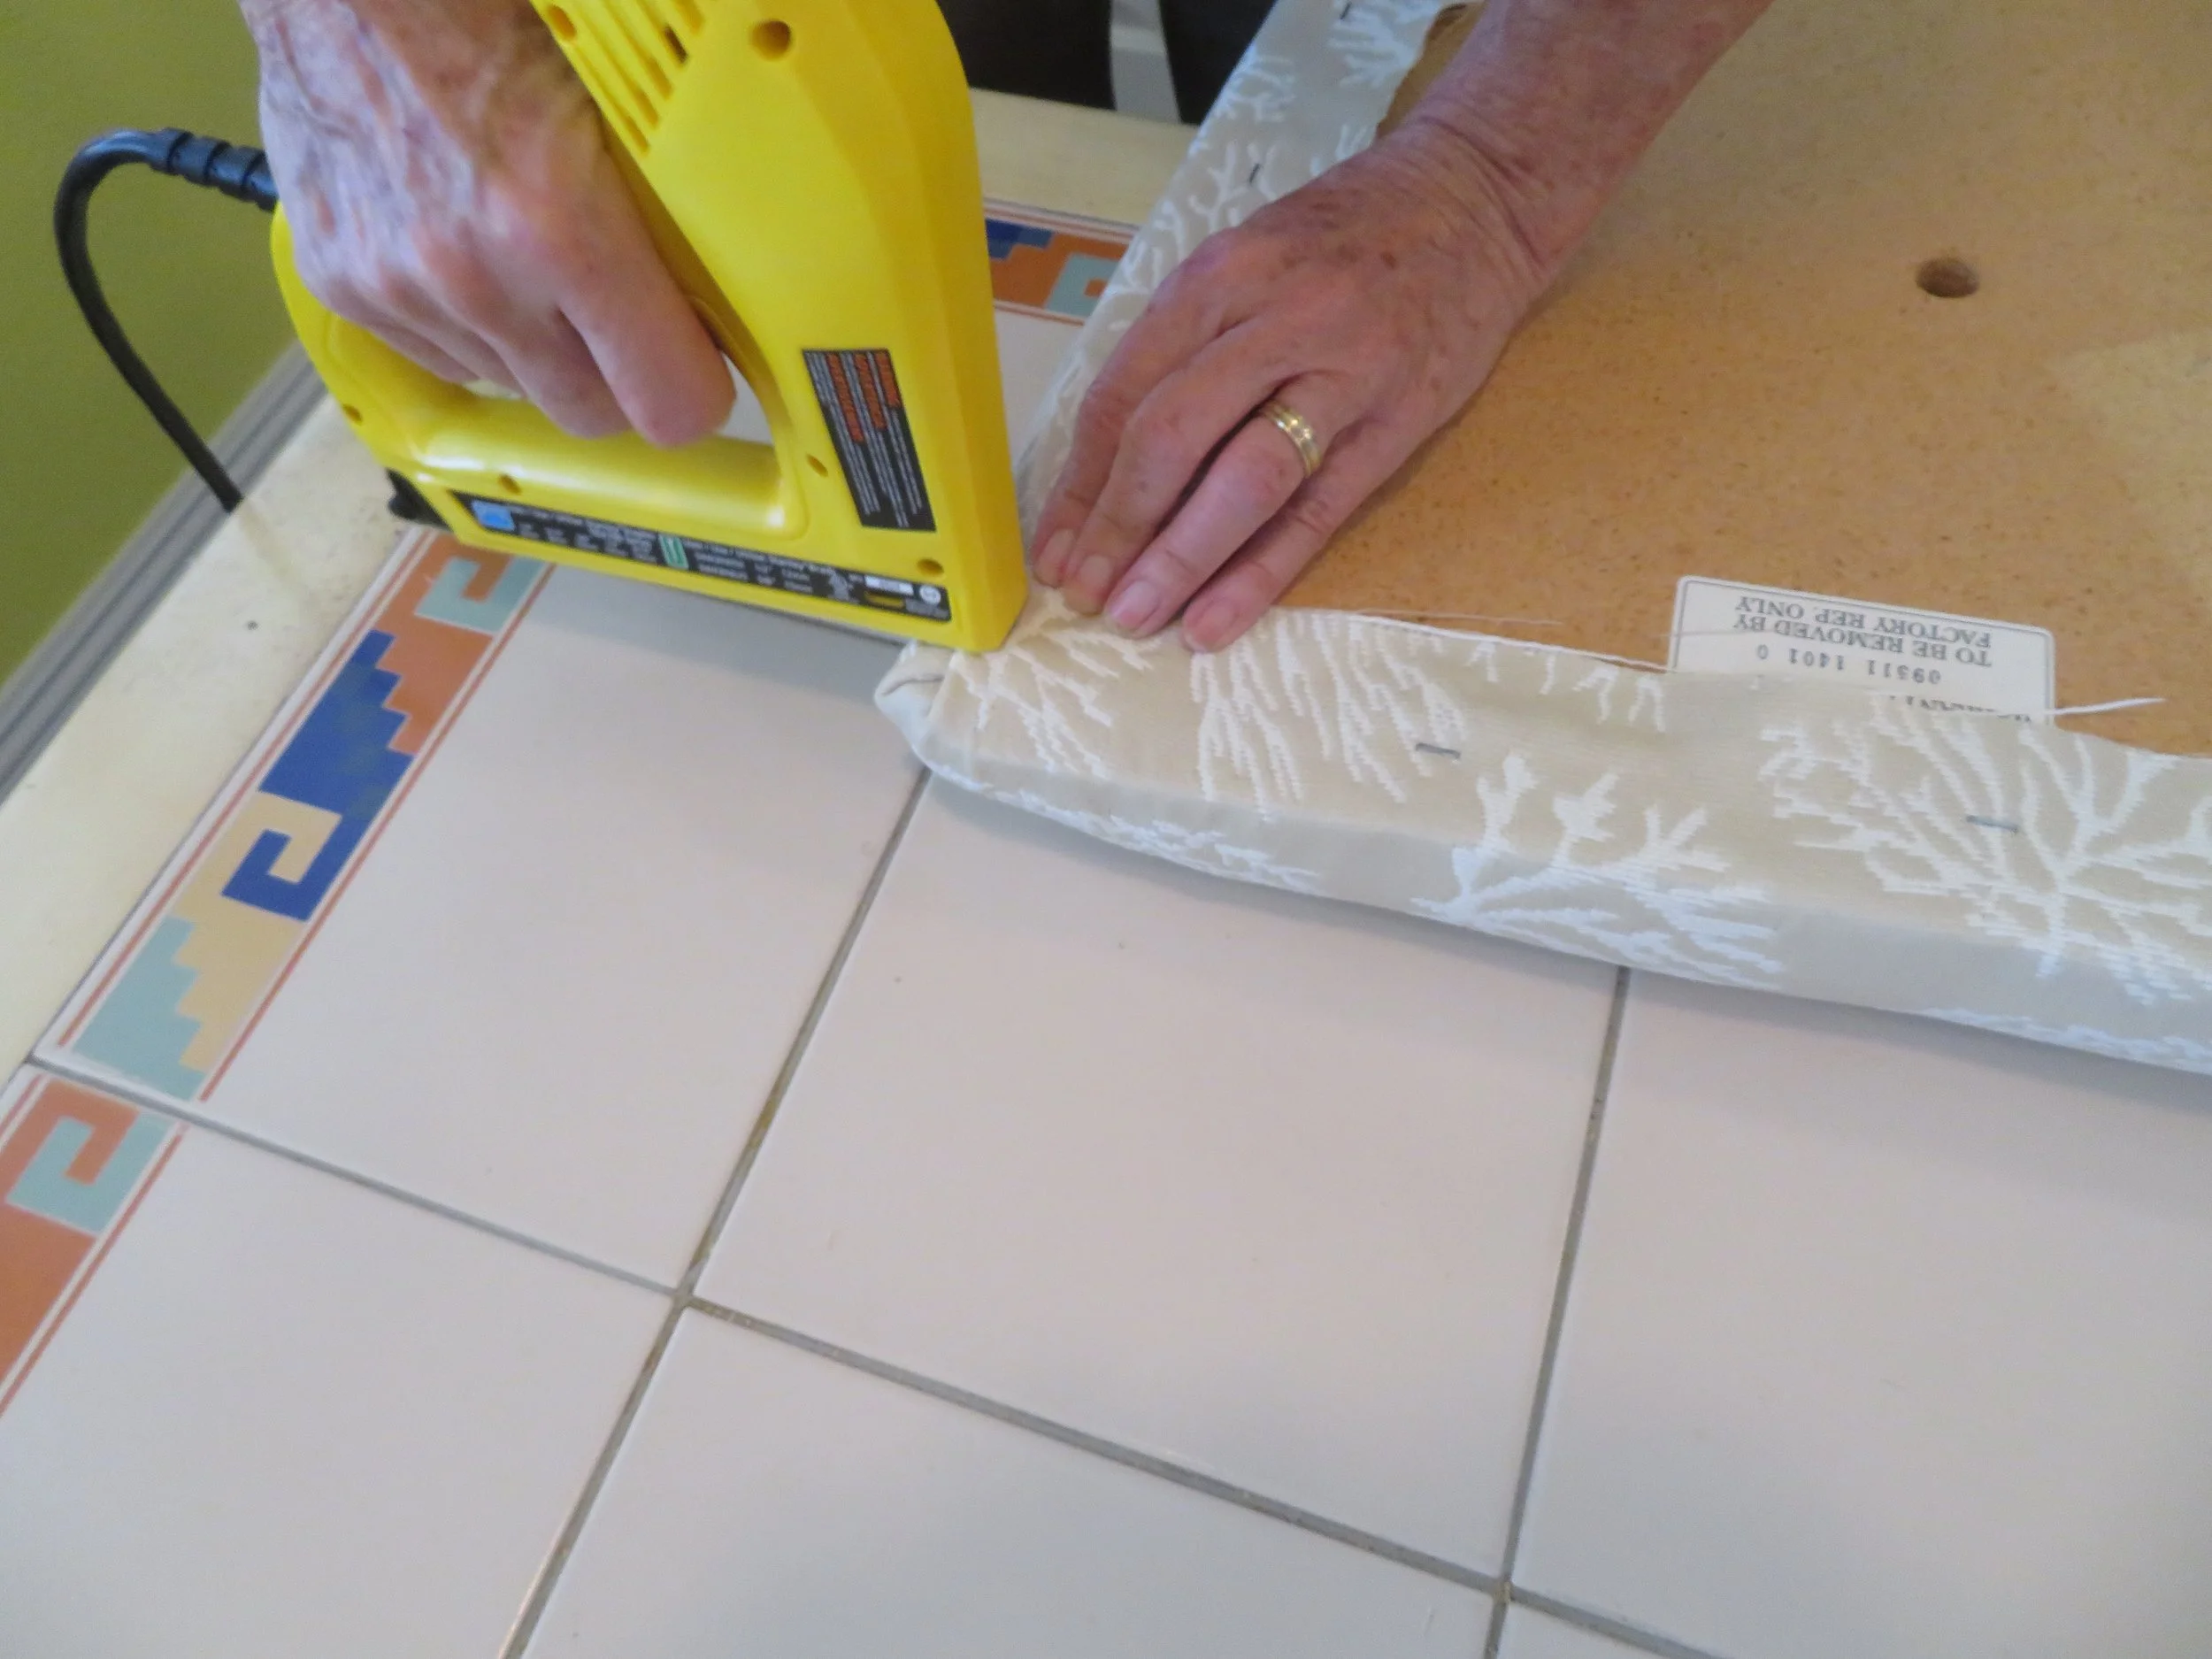
David took over with the cambric dust covers, cutting the fabric, stapling and trimming, then reassembling the chairs as I finished each one.
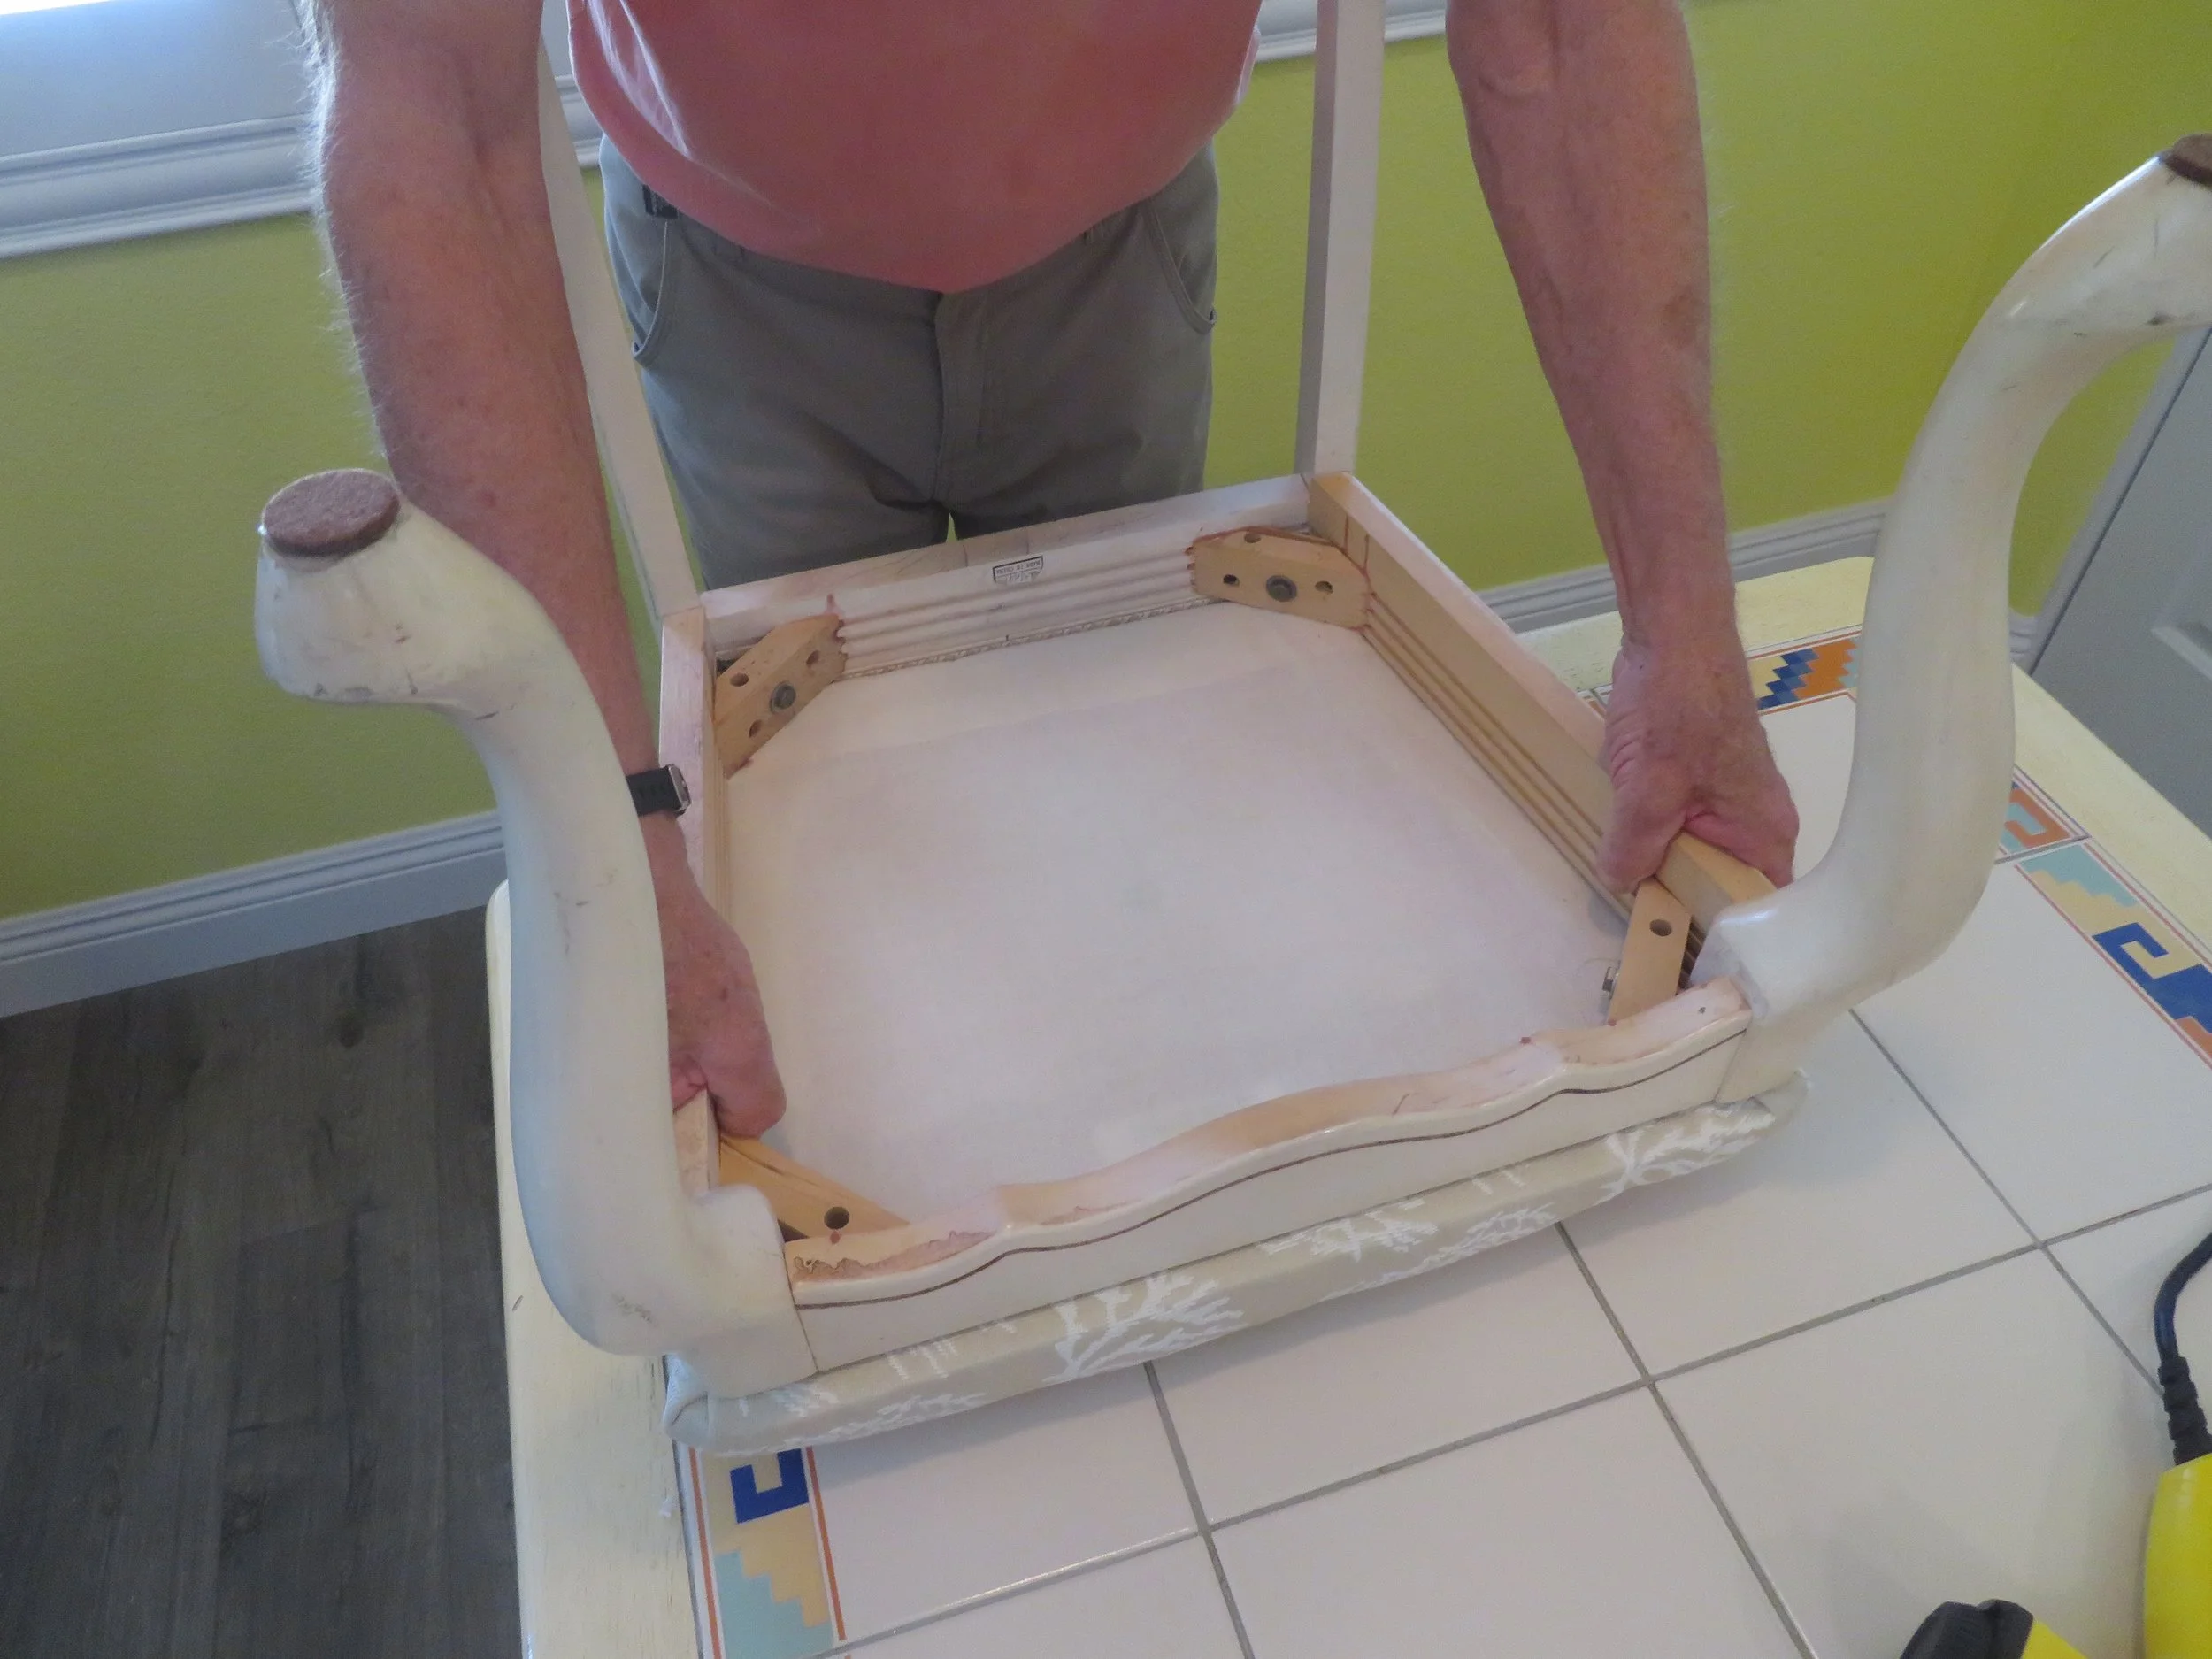
Of the six chairs to be upholstered, four were slip seats, but two had arms. The armchairs were more cumbersome and awkward to disassemble and assemble, but the slip seats were handled the same way as the others.
The last step… David sprayed the seats with Scotchgard™ fabric shield to provide some protection against spills and food stains.
The final cost for the reupholstering project was under $200 including everything… even the Scotchgard™. We estimated that each chair took about an hour or so. We became more efficient as we figured out quicker methods to do each phase of the project. We’re quite satisfied with the results and when I get the urge, there’s plenty of material left to tackle the six dining room chairs.